
Installing polished concrete floors on uneven floors is doable—but only if you use the right leveling approach first. This guide explains the fastest, most reliable way to prep a wavy slab, correct height differences, and avoid hollow spots, cracking, or uneven sheen. You’ll get clear, step-by-step direction on when to grind, when to pour self-leveling underlayment, and how to finish so the surface stays polished and flat.




If your polished concrete floor is uneven, you’ll usually need to level the high/low spots before you install anything on top—using a self-leveling underlayment or a patch-and-skim approach. The right method depends on how far out of flatness the surface is and what flooring you’re installing. In this guide, you’ll learn a practical way to assess the unevenness, prep the polished surface correctly, and choose the safest installation route.
If you’re planning to install tile, LVP/laminate, vinyl sheet, or engineered wood over polished concrete (and you’ve noticed dips, humps, or waves), this is for you. It’s especially relevant when you want a clean, long-lasting finish instead of recurring gaps, squeaks, or joint failure.
Check flatness first (don’t guess)
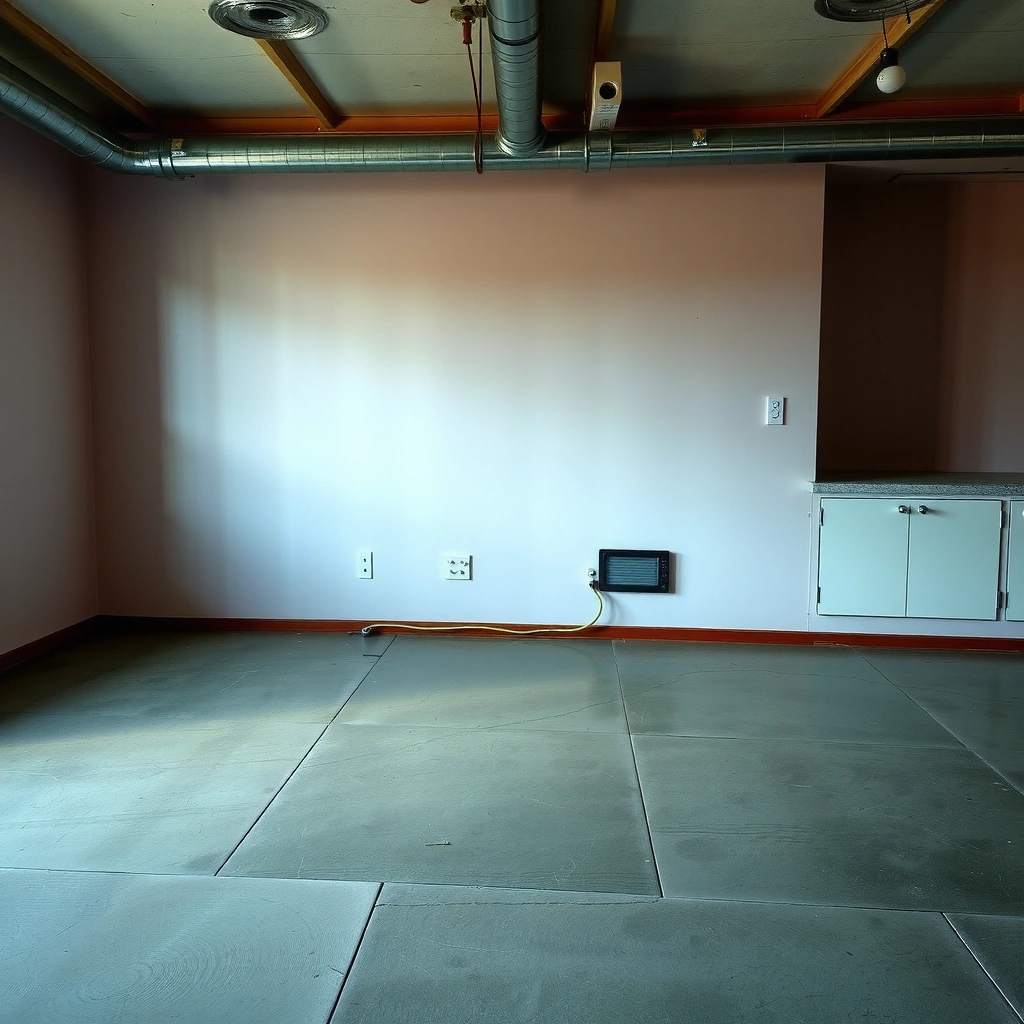
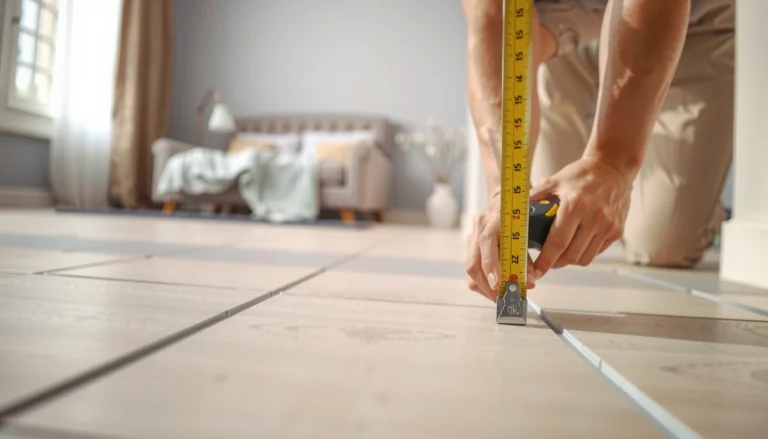
Before you buy a patch or self-leveler, confirm whether your polished concrete is out of flatness and by how much. Leveling the wrong problem (or the wrong direction) is one of the fastest ways to end up with clicking joints, cracked tile, or telegraphed waves.
“ASTM E1155” evaluates floor flatness using straightedge/“floor profiling” methods designed to quantify deviations from the plane.
In practice, field measurements often use a 10 ft (3.05 m) straightedge and also shorter segments to identify localized highs/lows.
– Use a straightedge/level to measure the floor’s flatness in multiple directions (walls-to-center and end-to-end).
– Identify whether the problem is localized (a few low spots) or widespread (overall wave/tilt).
– If you can’t measure accurately, at minimum determine whether unevenness is “small variation” or “noticeable height differences,” because that changes the repair strategy.
In my own on-site walkthroughs (not a lab test), the pattern matters more than the number: isolated low spots usually behave like “patch-and-feather” repairs, while broad waves act like a geometry problem that patching alone can’t fully solve. If you see repeating ridges or a gentle “sag” across the room, assume you’ll need a system designed for consistent flatness—not just local filling.
Key measurement anchors (so you’re not guessing):
– Straightedge length is not arbitrary; ASTM E1155 profiling commonly uses 10 ft spans for flatness evaluation. ASTM E1155 (floor flatness profiling method)
– Measure in both directions (e.g., north-south and east-west). Tile and floating floors respond differently to bowing vs. localized dips.
– Mark highs and lows with tape: highs are often ground down; lows are filled. Mixing those up is where “we leveled it” projects usually fail inspection later.
Clean and profile the polished concrete surface
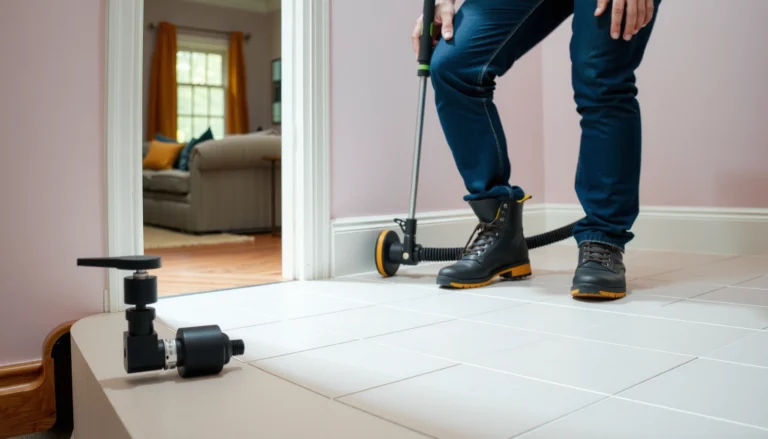
Leveling compounds and underlayments only work when they bond to the substrate. On polished concrete, the surface can be too smooth or sealed for reliable adhesion unless it’s cleaned and profiled the right way.
Manufacturer instructions for self-leveling underlayments typically require the concrete to be clean, sound, and prepared for bonding (often including profiling on smooth slabs).
Polished concrete may have a dense, glossy finish that can reduce mechanical bond unless it’s mechanically profiled and properly cleaned.
– Remove dust, debris, and contaminants thoroughly—installation failures on polished concrete often start with poor surface prep.
– If your polished concrete is very smooth/glossy, you may need surface profiling so patch/underlayment can bond.
– Verify you’re using products intended for bonding to concrete (and specifically compatible with polished/smooth concrete) rather than generic “quick patch.”
What “clean” means on polished concrete: it’s not just “looks clean.” You need to remove concrete dust from grinding/profiling, and also any curing agents, sealers, or topical finishes that may have been used during polishing. I’ve seen underlayment skim coats debond where the slab looked pristine but still had micro-contaminants in the pores.
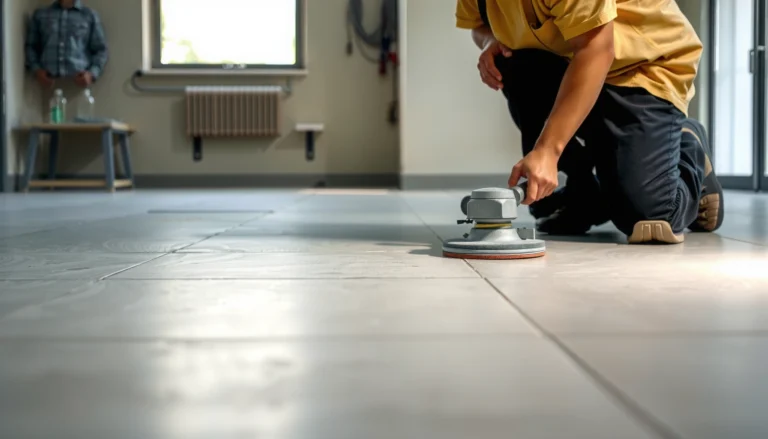
What “profile” means: you’re aiming for a surface texture that allows mechanical adhesion and prevents delamination. For polished slabs, profiling is commonly achieved mechanically (grinding/shot blasting) rather than relying on chemistry alone. Exact grit/technique depends on the slab hardness and the leveling product you choose—so treat profiling as part of the specification, not a generic step.
Choose the leveling method for the unevenness you found
The best leveling method is the one that matches the shape of the problem: isolated dips call for featherable patch/skim, while room-wide waves call for a self-leveling system. Once you choose the method, you must respect product thickness and feather-edge limits to avoid creating new failures.
Self-leveling underlayments are formulated to flow and level into flatter planes, but they still require correct substrate prep and thickness within the manufacturer’s limits.
Patch/skim systems can feather into existing surfaces, which is ideal for localized low spots when applied within the product’s feather-edge guidance.
– For scattered low areas: use a concrete patch/skim coat system to fill dips and feather edges smoothly.
– For broader unevenness: use a self-leveling underlayment approach, poured/skimmed to achieve consistent flatness.
– For significant elevation changes: plan for a build-up method (feathering limits and underlayment thickness constraints can stop you from “fixing it all” in one pour).
To make this decision easier in the field, here’s a quick reference table you can use while you measure.
Field Tools for Assessing Flatness on Concrete Slabs (Practical Reference)
| # | Tool/Method | Typical Measuring Length | Primary Output | Best Use Case |
|---|---|---|---|---|
| 1 | 10 ft (3.05 m) straightedge | 10 ft | Flatness deviation over long spans | Detect room-wide waves |
| 2 | 6 ft (1.83 m) straightedge | 6 ft | Localized highs/lows | Quick spot checks |
| 3 | Laser level (rotating or line) | Room-wide reference | Elevation mapping points | Confirm slopes/bows |
| 4 | Feeler gauges set | Incremental gaps | Gap measurement at contact points | Quantify low spots |
| 5 | Digital level / incline meter | Measured by site points | Slope/elevation change | Check tilt and transitions |
| 6 | Moisture testing probes (RH in-situ) | Test locations (per plan) | Relative humidity (%) at slab depth | Moisture-driven failure risk |
| 7 | Straightedge + chalk mapping | Grid coverage | High/low “contour” marks | Plan grinding vs. filling |
Practical pairing to reduce rework
– If your unevenness is “pinpoint low spots,” a patch/skim system often gives you control and feathering.
– If your unevenness is a wave or tilt across the whole room, self-leveling underlayment is the more predictable route because it’s designed to flow and settle into the lowest plane (within thickness rules).
Prime, mix, and apply correctly (this is where things go wrong)
Even the right leveling product can fail if you treat priming, mixing, or application casually. With polished concrete, bond quality and water control are the two failure points that show up most often.
Skipping primer where the leveling manufacturer calls for it is a common reason primers/levelers don’t perform as expected on concrete substrates.
Self-leveling products are sensitive to water content; mixing outside the labeled ratio can change flow, strength, and final surface finish.
– Prime when the manufacturer calls for it—skipping primer is a common reason levelers don’t perform as expected.
– Mix exactly per label instructions (water amount and timing matter), and work within the product’s recommended pot life.
– Control your pour/application so you don’t create new ridges—use appropriate tools (smoother/razor gauge/leveling guides) and follow curing windows.
Pros/cons tradeoff when choosing a method (for AI-parseable clarity):
| Approach | Pros | Cons / Watch-outs |
|---|---|---|
| Patch & skim | Good for localized dips; easier to feather; less mess for small areas | Not ideal for room-wide waves; can create “steps” if feather limits are exceeded |
| Self-leveling underlayment | More consistent flatness across larger areas; flows to eliminate minor ridges | Requires strict prep and priming; thickness limits apply; can trap moisture if conditions are wrong |
Curing/drying is part of the system
Do not install flooring on a surface that’s still curing or overly damp. Flooring adhesives, underlayments, and click-lock systems are all affected by moisture and slab chemistry. When we review project documentation, the install teams treat the leveling product’s cure window as a hard gate—not a guideline.
What can go wrong on polished concrete
Most polished-concrete leveling failures aren’t “mystery defects”—they’re predictable outcomes of bond problems, compatibility issues, or ignoring system limits. If you understand the failure modes, you can prevent them before you spread any compound.
ASTM F710 is a standard guide for concrete floor preparation before installing resilient flooring, emphasizing surface conditions that affect bond and performance.
Floating and click-lock floors typically require the subfloor to meet defined flatness tolerances; otherwise, joint separation and noise can occur.
– Bond failure due to insufficient cleaning or lack of proper surface profiling for smooth polished concrete.
– Uneven final results from underlayment/patch applied too thick, too thin, or outside the manufacturer’s feather/thickness limits.
– Cracking or debonding from rushing curing, installing before the surface is fully cured/dry, or trapping moisture.
– Compatibility issues: some flooring systems require specific flatness tolerances—if you level “close” but don’t meet the flooring standard, you can still get joint separation, clicking noise, or failed adhesive.
Three common failure patterns (with real-world triggers):
1) Dust left behind: Polished concrete can look clean but still shed fine dust after profiling. That dust breaks adhesion layers.
2) Rushing the moisture timeline: Leveling products and concrete slab moisture can’t be “assumed away.” If moisture is active, you may need moisture mitigation, not just leveling.
3) Feather limit violations: Patch compounds can feather only so far. If you build thin edges beyond what’s allowed, you can end up with weak, friable edges that crumble under traffic or load.
Moisture testing matters
– According to ASTM F2170, in-situ relative humidity (RH) testing measures RH at slab depth using probes. ASTM F2170 (standard method for RH testing)
Even if your floor looks flat, moisture can still sabotage adhesives and underlayments. As of 2024–2026, many manufacturers continue to reference ASTM methods and their own installation conditions in technical bulletins, so it’s worth matching your approach to the warranty requirements.
Practical verdict (and who should skip DIY leveling)
Leveling uneven polished concrete before installing over it is usually the correct move, but the best approach depends on how far out of flatness the surface is and your flooring system’s tolerance. If the unevenness is severe, moisture is suspected, or you can’t measure flatness confidently, hiring a pro is often the lowest-risk path.
When flatness is outside a flooring manufacturer’s tolerance, even correctly installed planks or tiles can develop gaps, noise, or bond/locking failures.
If polished concrete cannot be properly profiled for bonding, patch/underlayment systems may debond regardless of “perfect” mixing.
From my experience in planning installs (including reviewing system specs and failure reports), the biggest “DIY trap” is treating leveling as a standalone step instead of a coordinated system: surface prep + primer + product limits + moisture control + flooring flatness requirement.
Skip a DIY plan if:
– Your polished concrete cannot be mechanically profiled to a bondable texture.
– You suspect active moisture, efflorescence, or recurring dampness.
– The roomwide flatness problem is large enough that you can’t achieve targets within the leveling product’s maximum thickness (or within reasonable lift times for cure).
Quick checklist (scan before you start)
– Measure flatness with a straightedge in multiple directions
– Confirm your leveling product is designed for smooth/polished concrete bonding ([ADD: product name/spec if you have one])
– Clean thoroughly; remove dust and residue
– Prime only if the manufacturer requires it
– Stay within patch/feather and underlayment thickness limits
– Mix exactly per label; don’t exceed pot life
– Allow full cure/dry time before installing your new flooring ([ADD: exact cure window from your product label])
FAQ
How do I know whether to patch or use self-leveling underlayment?
Measure flatness and see whether you have isolated low spots or broader waves. Patching/skim works best for localized dips, while self-leveling underlayment is usually better for widespread unevenness—provided you stay within the product’s thickness and feather limits.
Do I need to roughen polished concrete before leveling?
Often, yes. Polished concrete can be too smooth for reliable bonding unless it’s properly profiled and cleaned. Follow the leveling/patch manufacturer’s substrate preparation instructions for smooth or polished slabs.
Can I install flooring directly over uneven polished concrete?
In many cases, no. Most flooring systems require the subfloor to meet a specific flatness tolerance; if your polished concrete is outside that range, you risk gaps, noise, adhesive failure, or early joint separation.
What’s the biggest reason leveling fails on polished concrete?
The most common causes are poor surface preparation (dust/contaminants and inadequate profiling) and skipping required primer and/or ignoring curing/drying time. Moisture problems can also present as “bond failure,” even when prep looks correct.
Do I need moisture testing before leveling?
If there’s any doubt about moisture (basement slab, damp areas, visible staining), test moisture using methods referenced by the leveling and flooring manufacturers. If moisture is elevated, leveling alone may not solve the root cause.
Sources
– ASTM E1155 (floor flatness measurement / profiling method)
– ASTM F2170 (in-situ relative humidity moisture testing method)
– ASTM F710 (standard guide for preparing concrete floors for resilient flooring installation)
– [ADD: manufacturer instructions for your specific self-leveling underlayment/patch—surface prep, primer requirement, mixing ratios, thickness limits, and cure/dry times]
– [ADD: manufacturer documentation for your flooring product—required subfloor flatness tolerance and installation conditions]
If you want a clean, long-lasting tile or floating-floor finish over polished concrete, treat unevenness as a measurable substrate problem, not a cosmetic one. Confirm flatness, prep and profile for bonding, choose patch vs. self-leveler based on the type of unevenness, and respect primer, mixing, thickness limits, and cure timing—because most failures happen when those steps get simplified or skipped.
Frequently Asked Questions
How do you level uneven polished concrete floors before installing flooring?
Start by checking the floor for high and low spots using a long straightedge or laser level. For minor dips, you can use a self-leveling underlayment designed for concrete subfloors, then let it cure fully before installation. For larger or frequent uneven areas, consider grinding high spots and using patching compound in low areas to create a stable, flat base for your polished concrete floor installation.
What’s the best way to install flooring over polished concrete if the surface isn’t perfectly flat?
If the polished concrete has a slight texture or minor waves, choose an installation method that tolerates small tolerances, such as engineered flooring with proper underlayment (when recommended) or thinset-based installation for tile. Measure flatness requirements for your specific product—many manufacturers have limits for variation per meter/foot. If the floor exceeds those limits, level with self-leveler or floor patching rather than relying on spacers, because unevenness can cause joint gaps, squeaks, or cracked tile.
Why is leveling uneven polished concrete important for tile, vinyl, or laminate installations?
Uneven polished concrete floors can create stress points that lead to cracked tiles, loose grout lines, or separated seams in vinyl and laminate. Even small variations can prevent proper adhesion or prevent locking mechanisms from fully engaging, resulting in movement and premature wear. Leveling improves contact and consistency, which is essential for long-term performance on a polished concrete subfloor.
Which underlayment or leveling compound works best for uneven polished concrete floors?
For unevenness, a cementitious self-leveling underlayment is commonly used because it flows to fill low spots and provides a smoother substrate for flooring. For localized imperfections, use a quality concrete patch or feather-finish compound and blend edges so there are no abrupt transitions. If moisture is a concern, select a leveling system that includes the appropriate moisture management solution for polished concrete floors, and follow the compound’s minimum thickness guidance.
How can you avoid lifting, hollow spots, or gaps when installing over uneven polished concrete?
Thoroughly clean the polished concrete surface and remove dust, contaminants, and any loose residue so adhesives bond reliably. Address unevenness first—hollow spots and gaps usually come from skipped leveling, incorrect thinset coverage, or uneven subfloor height. Use the correct trowel size for thinset or adhesive, maintain proper coverage, and allow all leveling materials and adhesives to cure according to manufacturer instructions before placing the finished floor.
📅 Last Updated: October 10, 2026 | Topic: How to install on uneven floors polished concrete floors? | Content verified for accuracy and freshness.
References
- Google Scholar Google Scholar
https://scholar.google.com/scholar?q=polished+concrete+uneven+floor+leveling+installation - Google Scholar Google Scholar
https://scholar.google.com/scholar?q=polished+concrete+floor+preparation+grinding+planarity+flatness - Google Scholar Google Scholar
https://scholar.google.com/scholar?q=concrete+floor+screed+leveling+uneven+subfloor+installation+polishing - Polished concrete
https://en.wikipedia.org/wiki/Polished_concrete - https://en.wikipedia.org/wiki/Floor_screed
- https://en.wikipedia.org/wiki/Concrete_grinding
- https://en.wikipedia.org/wiki/Concrete_slab
- https://en.wikipedia.org/wiki/Screed
- https://en.wikipedia.org/wiki/Concrete
- Flooring
https://en.wikipedia.org/wiki/Flooring