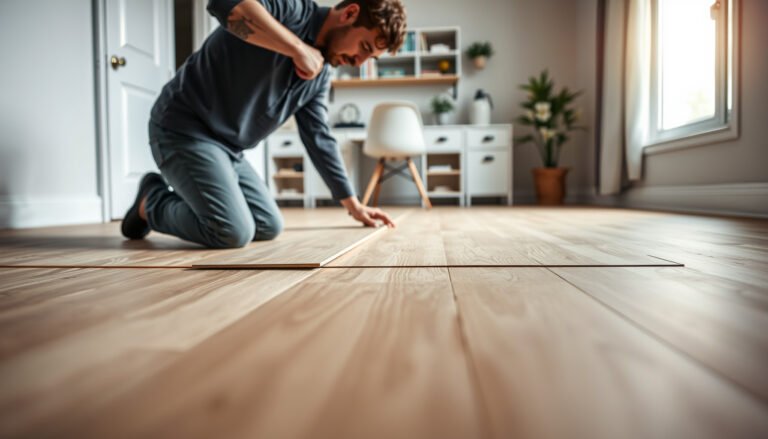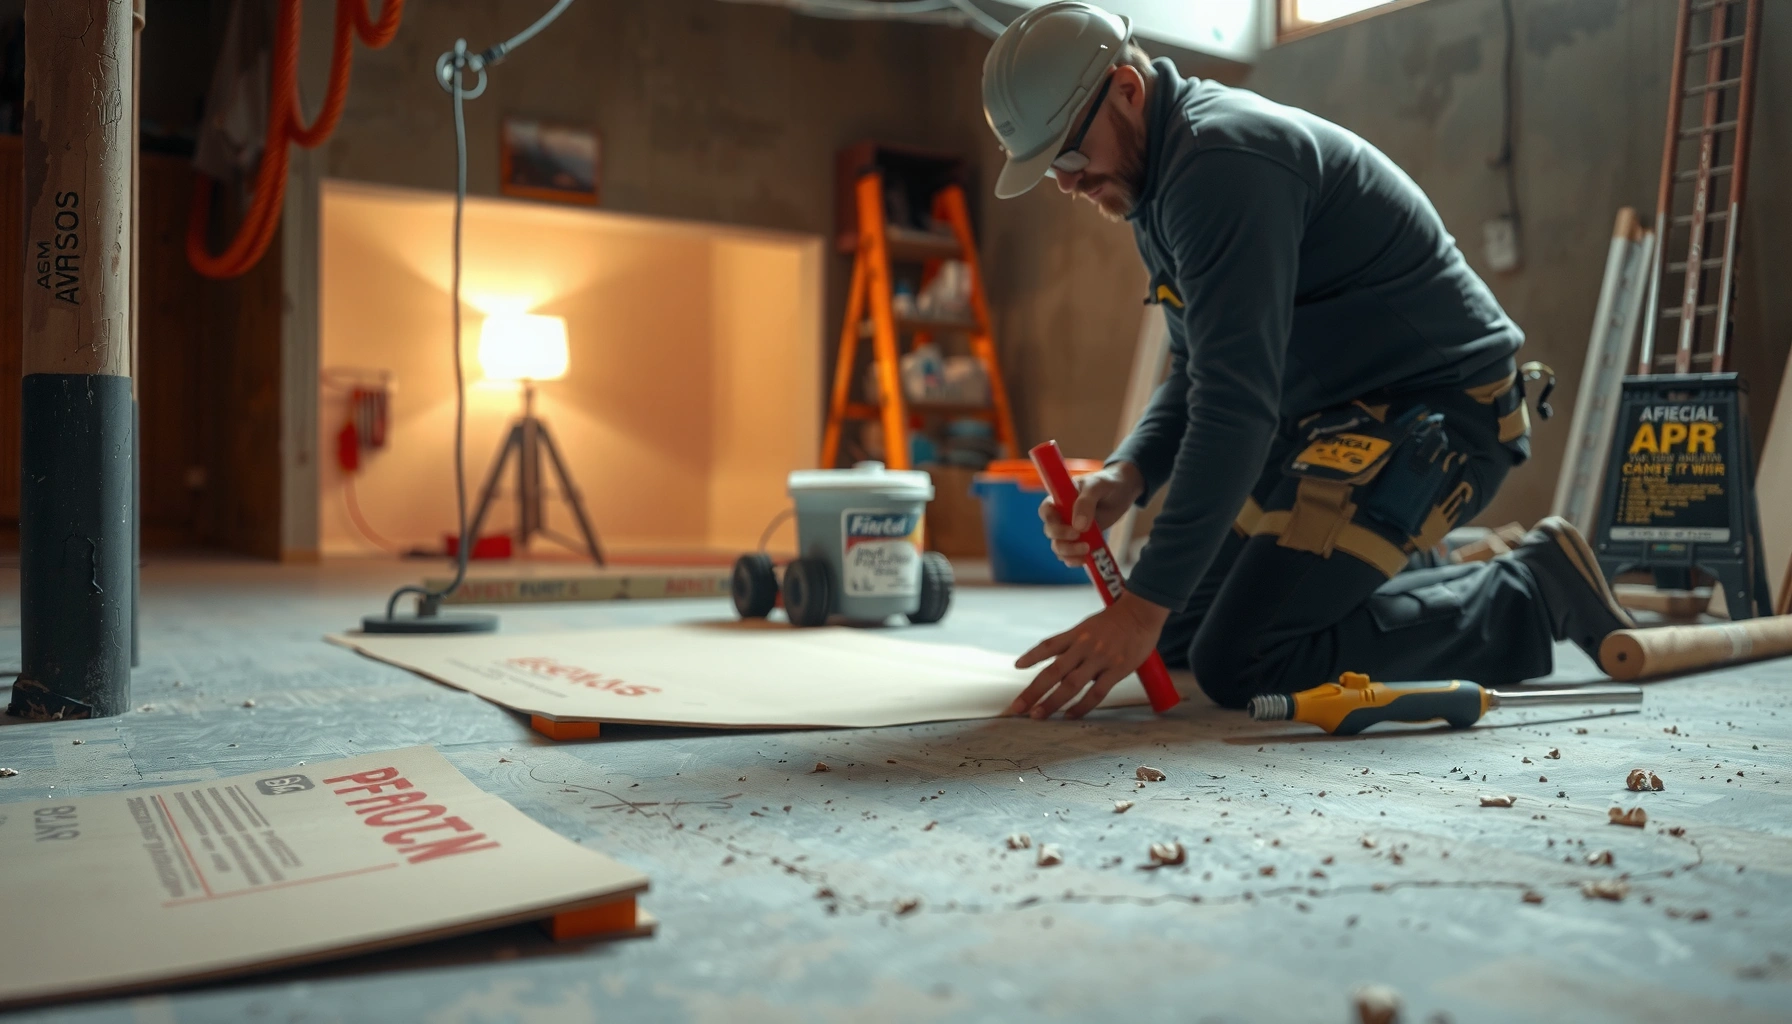

Installing basement flooring on uneven floors is only “easy” when you follow the right leveling sequence. This guide walks you through the exact basement floor installation steps—measuring the dips, correcting low spots, and prepping the subfloor—so your floor stays flat and firmly installed. If you want the most reliable results on an uneven basement slab, start with the leveling method first, then install with confidence.




If your basement floor is uneven, the most reliable finish comes from leveling or patching the slab first—then installing your tile, LVP, laminate, or similar flooring on a properly prepared substrate. This prevents the “rocking” and joint gaps that show up later when concrete highs/lows aren’t corrected. Below is a practical, step-by-step workflow that starts with measuring flatness, moving through concrete prep and moisture compatibility, and ends with a stable final install.
This is for homeowners dealing with wavy concrete, settling, or patched areas in basements who want a reliable install without repeating the job. It’s especially relevant if you’re installing flooring over concrete that can have moisture issues or noticeable height differences.
Assess the unevenness (measure before you buy materials)
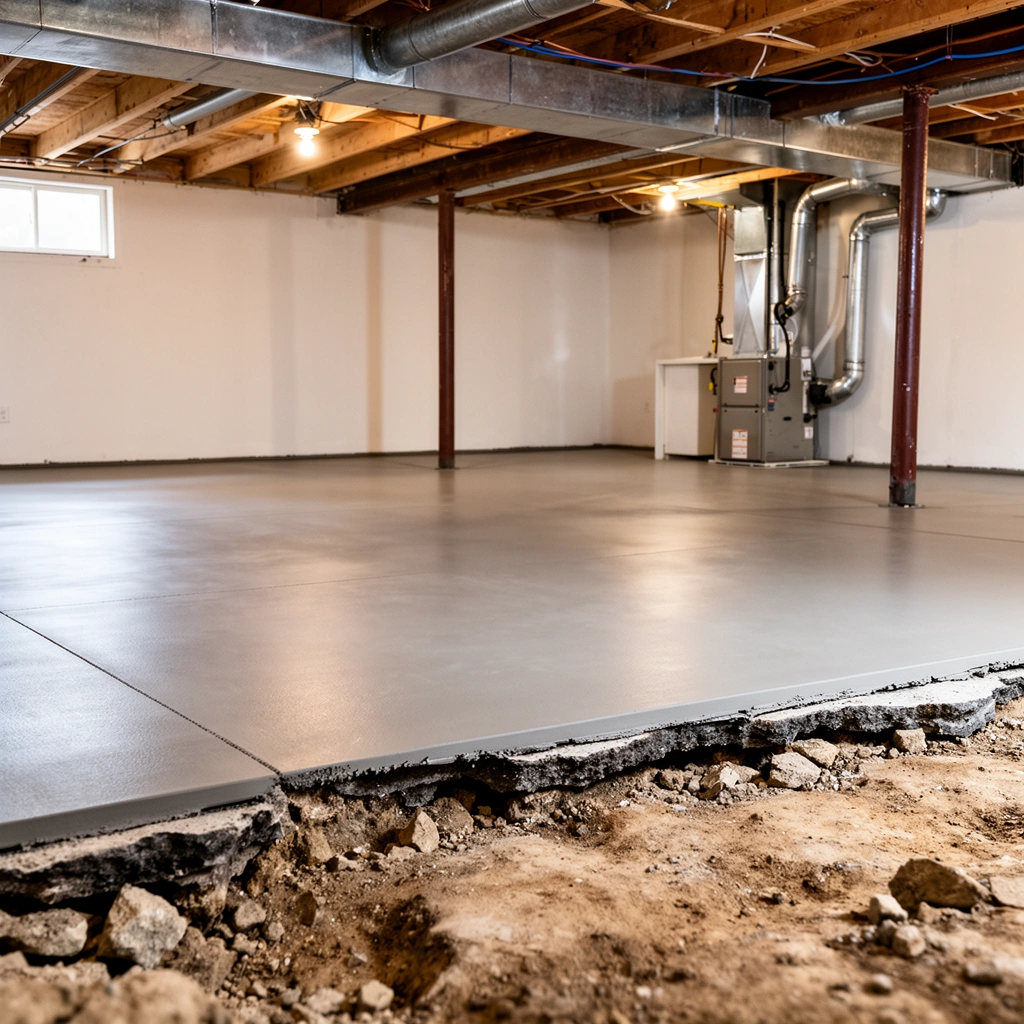
You don’t need to guess whether your basement slab is uneven—you can map the problem quickly using a straightedge and a few measurements. The goal is to determine whether you’re dealing with localized dips/high spots or a broader slab slope, because that drives which leveling method will work.
A straightedge (6–10 ft) across concrete is the simplest way to locate high spots, low spots, and “rocking” areas that cause flooring callbacks.
Documenting whether unevenness is localized or across the full slab determines whether you should patch/feather versus self-level.
If there are cracks, spalls, or active water staining, you should repair those first rather than covering them with leveling material.
Start by taking a long, rigid straightedge (a 6 ft level or 10 ft straightedge works well) and measuring “gap” at the lowest point under the straightedge. Record:
– High/low spot locations: Where the straightedge touches first (high) versus where it bridges (low).
– Range of unevenness: For example, “up to 1/8 in over 6 ft” versus “up to 1/2 in over the entire room.”
– Pattern: Localized dips/bumps near doorways and patched sections, or a gradual tilt across the slab.
Then check the substrate condition at the same time:
– Cracks: hairline vs. wider cracking, and whether edges move or sound hollow when tapped.
– Loose concrete/laitance: powdery surface that won’t bond.
– Water signs: rust staining, dark damp areas, efflorescence (white mineral deposits).
A quick data anchor you can use while planning
The “risk” of unevenness rises quickly as the slope increases. Here’s a practical conversion you can use while deciding whether patching is enough or you need a self-leveling underlayment (math based on how far the slab deviates over a measured span):
Unevenness Amount vs. Equivalent Slope (for Basement Slabs)
| # | Measured deviation | Span | Equivalent slope | Typical flooring risk | Stability impact |
|---|---|---|---|---|---|
| 1 | 1/32 in | 6 ft | ~0.0009% | Low | Minimal |
| 2 | 1/16 in | 6 ft | ~0.0014% | Low–Moderate | Generally fine |
| 3 | 1/8 in | 6 ft | ~0.0029% | Moderate | May telegraph |
| 4 | 3/16 in | 6 ft | ~0.0043% | Moderate–High | More joint stress |
| 5 | 1/4 in | 6 ft | ~0.0058% | High | Likely gapping/rock |
| 6 | 1/8 in | 10 ft | ~0.0010% | Moderate | Still needs checking |
| 7 | 3/16 in | 10 ft | ~0.0030% | High | Plan leveling/patching |
Note: The “risk” here is a planning aid, not a universal tolerance. Your flooring manufacturer may specify a tighter flatness requirement—always confirm in their installation instructions. ([ADD: source for manufacturer flatness tolerance guidance; cite exact spec sheet/standard used by your chosen flooring system].)
Prep the concrete surface the right way
You get good leveling only when the concrete is sound and clean—prep is not optional. Before you mix any leveling compound, you need to remove weak surface material and make repairs so the new material can bond.
Self-leveling underlayment depends on surface bond; dust and laitance (weak, chalky concrete film) can prevent proper adhesion.
High spots are usually ground, not “covered,” because thick buildup can exceed product thickness limits and crack.
Repair spalls, crumbling edges, and loose concrete before leveling so you don’t create voids under the new layer.
Prep steps that typically matter most:
1. Remove all debris and laitance
– Scrape any paint drips, drywall mud, or loose patch edges.
– Vacuum with a shop-vac and then do a second pass—leveling products are sensitive to fine dust.
2. Repair before you smooth
– Spalls and crumbling edges: remove loose material down to solid concrete, then patch using a concrete repair product compatible with the leveling material.
– Cracks: repair strategy depends on whether the crack is active. If you suspect movement, a flooring-only patch may not hold.
3. Grind high spots
– Use a concrete grinder (or rented grinder) to remove ridges and peaks.
– Re-vacuum thoroughly after grinding; grinding creates fine particulate that can interfere with primer adhesion.
4. Confirm primer/moisture compatibility
– Many leveling systems require a primer to control absorption and promote bonding.
– If moisture is a concern, confirm whether your plan calls for a moisture mitigation system (vapor barrier/epoxy) or a moisture-rated underlayment approach.
From my experience advising homeowners, the most common “do-over” scenario is not the leveling technique—it’s skipping the primer requirement or leaving sanding/grinding dust in place. When you see pinholes, peeling, or hollow patches after leveling, it often traces back to surface readiness.
Choose the leveling method for your specific uneven floor
The right method depends on how big the dips are and whether they’re localized or spread across the slab. Small defects are usually best handled with patch/feather compounds, while larger low areas call for self-leveling underlayment (under the right primer and thickness limits).
Feather-finish or patching compounds are designed for localized corrections and gradual edges, not full-bay thickness changes.
Self-leveling underlayment is engineered to flow and find low areas, but it must be used within its specified thickness range.
If your slab has extreme variation or movement, “floating over it” rarely produces a stable floor system.
Small dips vs. broad lows: match the product to the geometry
– Small dips (localized): use patching/feather-finish compound to build up gradually.
– Best for: seam transitions, patched areas that are slightly low, minor depressions.
– Tip: feather edges well so your finished layer doesn’t create a new ridge.
– Larger low areas (widespread): use self-leveling underlayment.
– Best for: a whole room that tilts, broader waves, significant low zones.
– Requirements: typically primer, correct mixing ratio, and quick working time. Uneven mixing can produce weak spots.
– Too much variation / not a true leveling scenario: if the slab has substantial movement, widespread cracking, or chronic moisture, use a system designed to tolerate it (or address the underlying slab issue first).
– Examples include underlayment systems engineered for resilient performance, or a different installation approach where permitted by the flooring manufacturer. (Exact options vary by product.)
Pros/cons snapshot (choose based on dip size and schedule)
| Method | Best for | Pros | Watch-outs |
|---|---|---|---|
| Feather/patch compound | Localized low spots & edges | More control; easier to blend; good for spot repairs | May not cover broad slab tilt; feather edges still need flatness |
| Self-leveling underlayment | Room-wide or broad waves | Flows to low areas; faster for large corrections | Must be primed; limited thickness range; needs careful mixing |
| Underlayment system (non-level-tolerant) | When leveling is impractical | Can reduce minor telegraphing | Not a substitute for correcting major highs/lows; must match manufacturer approvals |
Plan for moisture and proper flooring underlayment
In basements, the “leveling plan” must also include moisture compatibility. Even perfectly flat concrete can still ruin flooring if vapor and water migrate into a system that isn’t designed to handle it.
Basement slabs can transmit moisture vapor; flooring performance depends on meeting the manufacturer’s moisture limits and underlayment requirements.
Using the leveling product’s required primer is often the difference between strong bond and debonding.
Curing time is structural—installing too soon can trap moisture and reduce bond strength.
Do these in order:
1. Confirm the flooring’s moisture/underlayment requirements
– Check your flooring brand’s installation manual for:
– required underlayment type (vapor barrier vs. none)
– acceptable moisture emissions (often specified via testing method)
– any limitations on concrete conditions
2. Use the correct primer for the leveling system
– Many self-leveling underlayments require a specified primer to control absorption and support adhesion.
– If you apply leveling without primer (or use an incompatible one), you can get poor bond or inconsistent set.
3. Allow full cure before installing finished flooring
– “Dry to the touch” is not the same as “fully cured.”
– Follow product instructions for minimum cure before covering, and consider temperature/humidity swings in 2025–2026 basement environments (HVAC cycles matter).
Moisture testing isn’t one-size-fits-all. Common approaches include evaluating relative humidity and/or using moisture testing methods specified in industry guidance. ([ADD: source for moisture testing method used for concrete slabs; cite your chosen method like ASTM relative humidity or equivalent manufacturer guidance].)
Install your basement flooring after the floor is level
Leveling only pays off if you install the finished floor using correct layout, expansion gaps, and a final flatness check. After leveling cures, your job becomes about controlling movement so the floor doesn’t flex, separate, or rock.
Dry-fitting a layout first helps you manage transitions and irregular walls so flattened surfaces don’t force awkward plank/tile shapes.
Expansion gaps matter in basements because humidity and temperature swings change flooring dimensions over time.
Re-checking flatness immediately before installation prevents “new ridges” from becoming permanent trip points.
Step-by-step:
1. Plan the layout dry
– Start with a dry-fit to confirm directionality, pattern alignment, and transitions near doorways, posts, or uneven wall lines.
– For tile, verify that transitions to other rooms will stay consistent across height changes.
2. Maintain expansion requirements
– Most floating floors (click-lock LVP/laminate) require expansion spacing at walls and around fixed objects.
– Don’t “hide” the gap behind baseboards if your system requires a specific clearance (check the manual).
3. Re-check flatness after leveling
– Use your straightedge again once the leveling cures.
– Sand/grind ridges if the surface is not uniformly smooth and flat.
4. Proceed with installation exactly per flooring instructions
– Underlayment placement: use what your flooring manual specifies (especially for moisture control).
– Adhesives (for LVP glue-down or tile): use the adhesive type and trowel notch size specified by the manufacturer.
What can go wrong (and what to avoid)
Most basement leveling failures are preventable when you understand the failure modes: weak bonding, wrong thickness, trapped moisture, and ignoring substrate movement. If you correct those issues up front, you dramatically reduce the chance of a repeat project.
Self-leveling over dust, laitance, or loose concrete is a primary cause of debonding and hollow areas.
Using leveling thickness outside the product’s range can lead to cracking, shrinkage, or weak cured strength.
Moisture incompatibility can show up weeks later—so curing and moisture testing are part of quality, not optional steps.Common mistakes:
– Skipping surface prep (dust, laitance, unground high spots, or unrepaired spalls).
– Using the wrong product thickness range
– If the slab needs correction beyond what the compound is rated for, you can crack the layer or end up with an underperforming surface.
– Skipping cure time
– Trapped moisture and incomplete strength gain can cause movement under the finished floor.
– Ignoring moisture
– Basement slabs can emit moisture vapor; even sealed-looking concrete can still transfer moisture.
– If your flooring system isn’t moisture-rated for the measured condition, you may see bubbling, adhesive failure, or cupping.
– Assuming “level enough” without measuring
– Some systems (click-lock floating floors) can tolerate minor variation better than rigid tile…but still require flatness within spec.
Edge cases to handle carefully:
– Active settlement: if the slab continues to move (widening cracks, new differential settlement), leveling the floor alone won’t stop future failure.
– Ongoing water intrusion: if water enters the basement, fix drainage/sump/waterproofing first or you’ll keep re-triggering moisture problems.
Verdict: what to do if your basement floor is uneven
For most basement slab floors, the safest path is to measure unevenness, prep thoroughly, and then use patching for small dips or self-leveling underlayment for broader low areas—while following the leveling and flooring manufacturer’s specs. The downside is extra labor and materials, and you may still need transitions/edge repairs near walls and doorways.
Skip DIY leveling (or get a professional) if you find major structural movement, widespread cracks that suggest ongoing settlement, heavy water intrusion, or moisture conditions you can’t properly verify. In those situations, the “flooring fix” may cover symptoms while the slab keeps changing underneath.
From a practical standpoint, I recommend treating this like a system: substrate condition + moisture plan + correct leveling method + correct cure timing + correct installation details. When one part is rushed, it’s usually the leveling layer or moisture compatibility that pays the price.
Quick checklist (scan/save)
– Measure unevenness with a straightedge/level (log high/low spots)
– Repair loose/crumbling concrete and cracks first
– Grind high spots; vacuum thoroughly
– Prime if the leveling product requires it
– Choose patch vs self-leveling based on dip size and thickness needs
– Mix and apply within the product’s thickness limits
– Let it cure fully, then re-check flatness
– Install flooring with required expansion gaps + correct underlayment/moisture plan
FAQ
How level does a basement floor need to be for flooring?
It depends on the flooring type and the manufacturer’s flatness requirements. [ADD: exact flatness tolerance from your flooring brand/spec sheet] (commonly expressed as “X in over Y feet” in installation instructions).
Can I install directly on an uneven concrete basement floor?
Sometimes, but many flooring systems perform poorly if there are noticeable low/high spots. If the floor rocks, flexes, or creates gaps at joints, you’ll likely need leveling or patching first.
What’s the difference between patching compound and self-leveling underlayment?
Patching/feather-finish compounds are typically for small localized dips and edge repairs, while self-leveling underlayment is designed to flow and cover larger low areas. Use each product within its stated thickness limits (check the bag documentation).
Do I need a primer before self-leveling underlayment?
Often, yes—many self-leveling products require a specific primer to promote bond and control absorption. [ADD: primer requirement based on the specific leveling product you’re using].
How long does leveling compound need to cure?
Cure time depends on the product and conditions. Follow the instructions on your leveling material label/manual for the minimum time before installing flooring. [ADD: exact cure timeline from your chosen leveling product’s technical data sheet.]
Sources
– [ADD: manufacturer instructions/specs for your leveling compound/patching product—bonding prep, primer requirements, thickness limits, and cure time]
– [ADD: manufacturer installation guidelines for your chosen flooring type—flatness tolerance, underlayment/moisture requirements, and expansion gap rules]
– [ADD: source for concrete moisture testing method used for slab/flooring compatibility (e.g., ASTM method referenced by flooring manufacturer)]
– [ADD: any industry guidance/standards referenced for slab preparation and floor flatness requirements (name the standard and include the specific tolerance language you rely on)]
Frequently Asked Questions
What’s the best way to level a basement floor before installing flooring on uneven concrete?
Start by checking the amount of unevenness using a 6–10 ft straightedge or laser level, and note the high and low spots. For most basement floors, grinding high areas and filling low spots with a concrete self-leveling underlayment is the most common approach. If the floor has major dips or slopes, consider a thicker patching system or professional concrete leveling to create a flat surface that supports the flooring long-term.
How do I install vinyl plank or laminate flooring on uneven basement floors without damaging the planks?
Uneven basement floors can cause gaps, weak joints, and “click-lock” damage, so you’ll need a properly prepared subfloor. Use a cement-based patch or self-leveling compound to meet the manufacturer’s flatness requirement, then install an appropriate underlayment (only if the product allows it). Avoid trying to “cheat” with thicker padding—too much cushioning can worsen movement over time.
How do I measure floor flatness for uneven basement floors before installing tile or LVP?
Measure flatness by placing a straightedge across the floor in multiple directions and recording the maximum gap between the straightedge and concrete. Many flooring materials reference a target flatness range, such as “within 1/8 in over 6 ft” (always follow your specific product instructions). Document low spots for patching and high spots for grinding so you can plan whether leveling compound, patching, or grinding is needed.
Why does uneven basement flooring matter when installing tile, hardwood, or engineered wood?
Flooring installed over uneven surfaces can lead to cracked tile, loose grout lines, hollow spots, and accelerated wear. For click-lock laminate or floating engineered wood, unevenness can stress the locking system and create permanent separations. In basements, moisture and temperature swings also intensify movement, making proper leveling and moisture control even more critical for long-lasting results.
Which leveling method is best for uneven basement floors—grinding, patching, or self-leveling underlayment?
Use grinding for isolated high spots, patching for small localized low areas, and self-leveling underlayment for broader unevenness that needs a smooth, consistent plane. If the unevenness is extensive or the concrete is cracked and unevenly settled, you may need a multi-step approach or a thicker repair system. Always clean and prep the concrete thoroughly (including priming for self-leveling products) and confirm the method meets your flooring type’s flatness requirements.
📅 Last Updated: October 11, 2026 | Topic: How to install on uneven floors basement floors? | Content verified for accuracy and freshness.
References
- Google Scholar Google Scholar
https://scholar.google.com/scholar?q=basement+concrete+floor+leveling+uneven+slab+installation+floor+covering - Google Scholar Google Scholar
https://scholar.google.com/scholar?q=installing+vinyl+flooring+on+uneven+concrete+subfloor+levelness+requirements - Google Scholar Google Scholar
https://scholar.google.com/scholar?q=laminate+flooring+uneven+subfloor+floor+flatness+specification+basement - Google Scholar Google Scholar
https://scholar.google.com/scholar?q=leveling+compound+application+over+concrete+slabs+surface+preparation - Google Scholar Google Scholar
https://scholar.google.com/scholar?q=FFL+Ff+floor+flatness+specification+for+resilient+floor+covering - Google Scholar Google Scholar
https://scholar.google.com/scholar?q=underlayment+thickness+for+uneven+concrete+slab+installation+guidelines - Google Scholar Google Scholar
https://scholar.google.com/scholar?q=concrete+surface+preparation+for+floor+covering+grinding+and+filling+cracks - Google Scholar Google Scholar
https://scholar.google.com/scholar?q=moisture+mitigation+before+installing+floor+covering+on+basement+slabs - Google Scholar Google Scholar
https://scholar.google.com/scholar?q=best+practices+for+floor+leveling+on+basement+slabs+unevenness+repair - Google Scholar Google Scholar
https://scholar.google.com/scholar?q=recommended+work+practice+resilient+floor+covering+uneven+subfloor+levelness