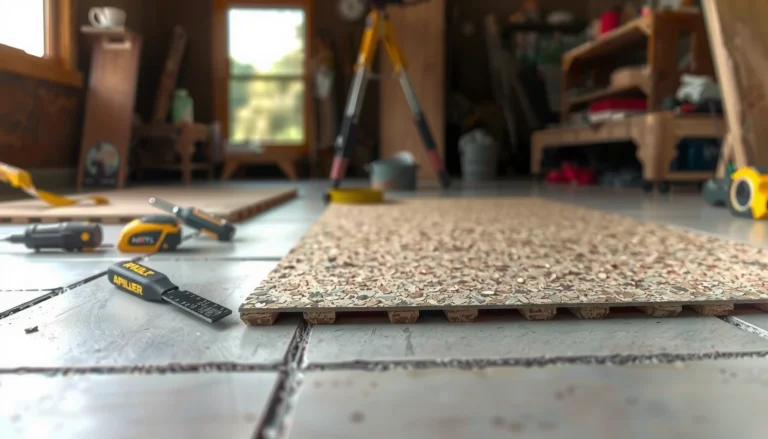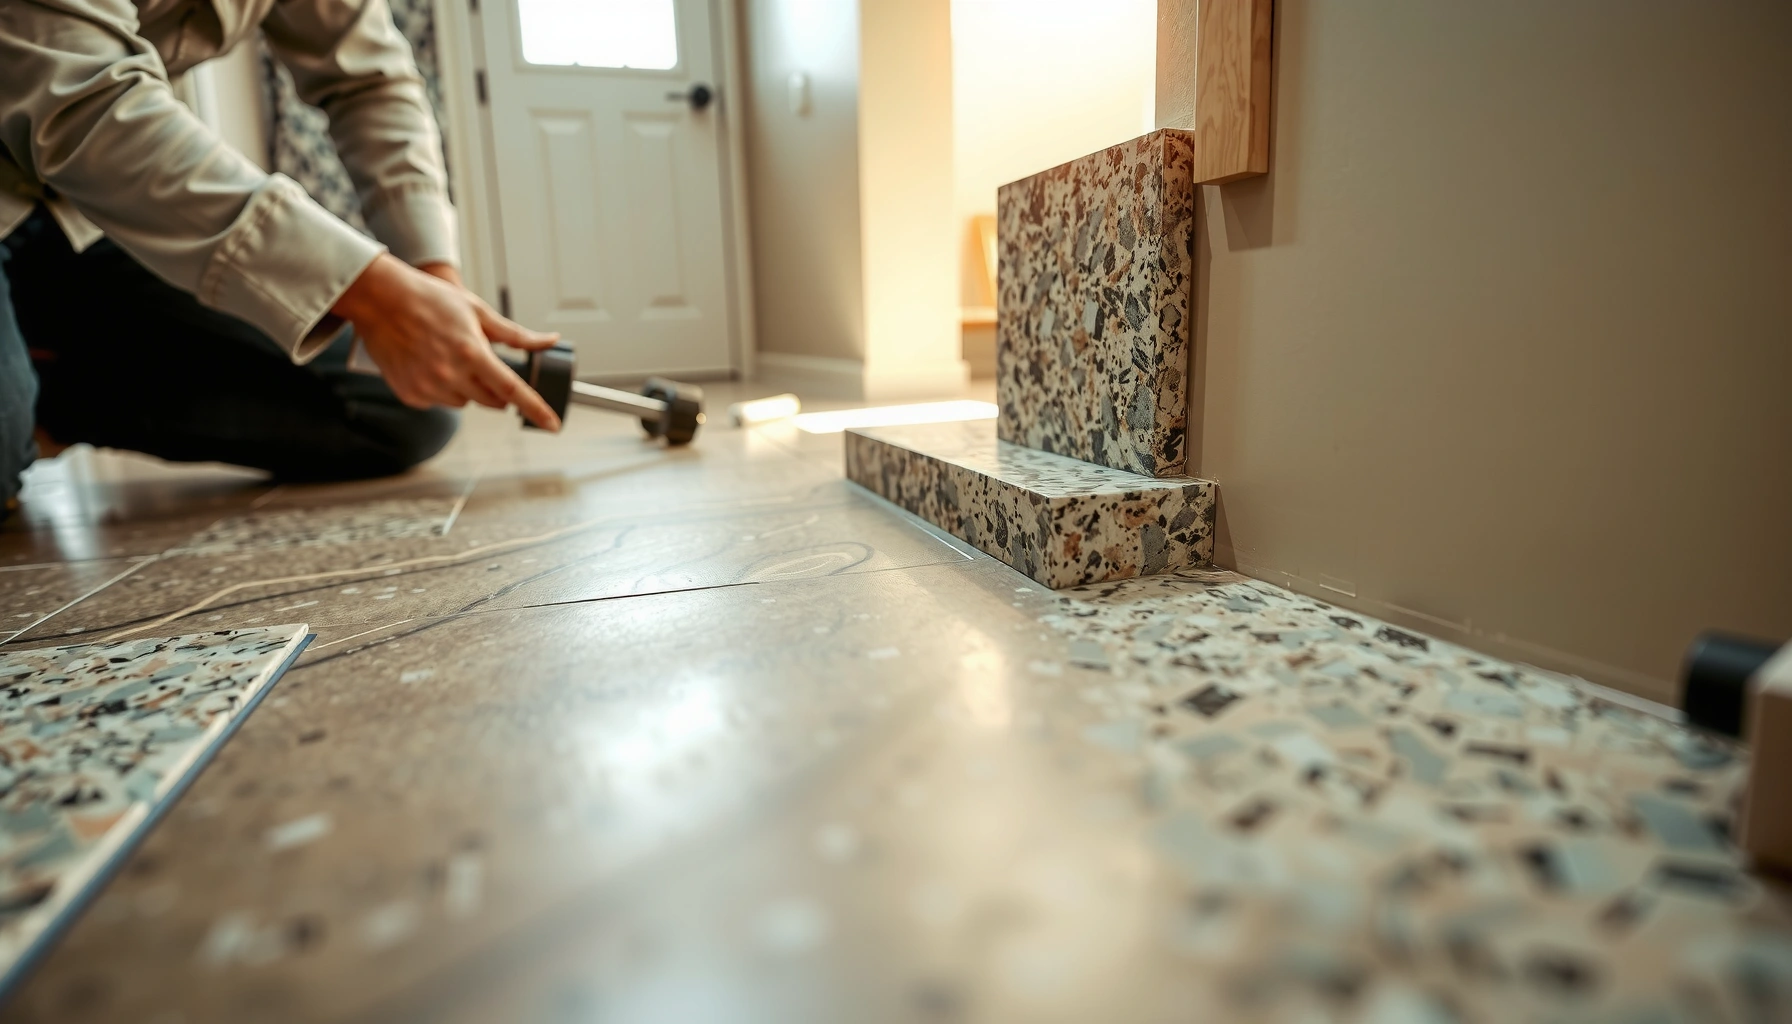

Installing granite floors around stairs is the hard part—this step-by-step guide shows exactly how to do it cleanly and permanently, with precise cutting, solid support at edges, and proper thinset and grout to prevent cracking. If you want a finish that looks seamless while handling the constant foot traffic of stair treads and risers, follow these instructions in order. You’ll know what to do at every phase, from measuring each contour to sealing the finished granite.



Installing granite around stairs comes down to one thing: controlling transitions and movement. Plan every cut, undercut detail, and expansion gap before you set stone—then dry-fit, install in a consistent order (treads first, then risers), and finish edges and joints to prevent shifting, cracking, and toe-stub hazards.
This guide is for homeowners or installers using granite tiles (or stone panels) on stair treads and risers—especially where the stone wraps corners and meets drywall, base trim, or existing flooring. If your stairs are already carpeted, uneven, or have tricky nosing profiles, you’ll want to prep carefully before any granite goes down.
Map the stair layout and plan your cuts
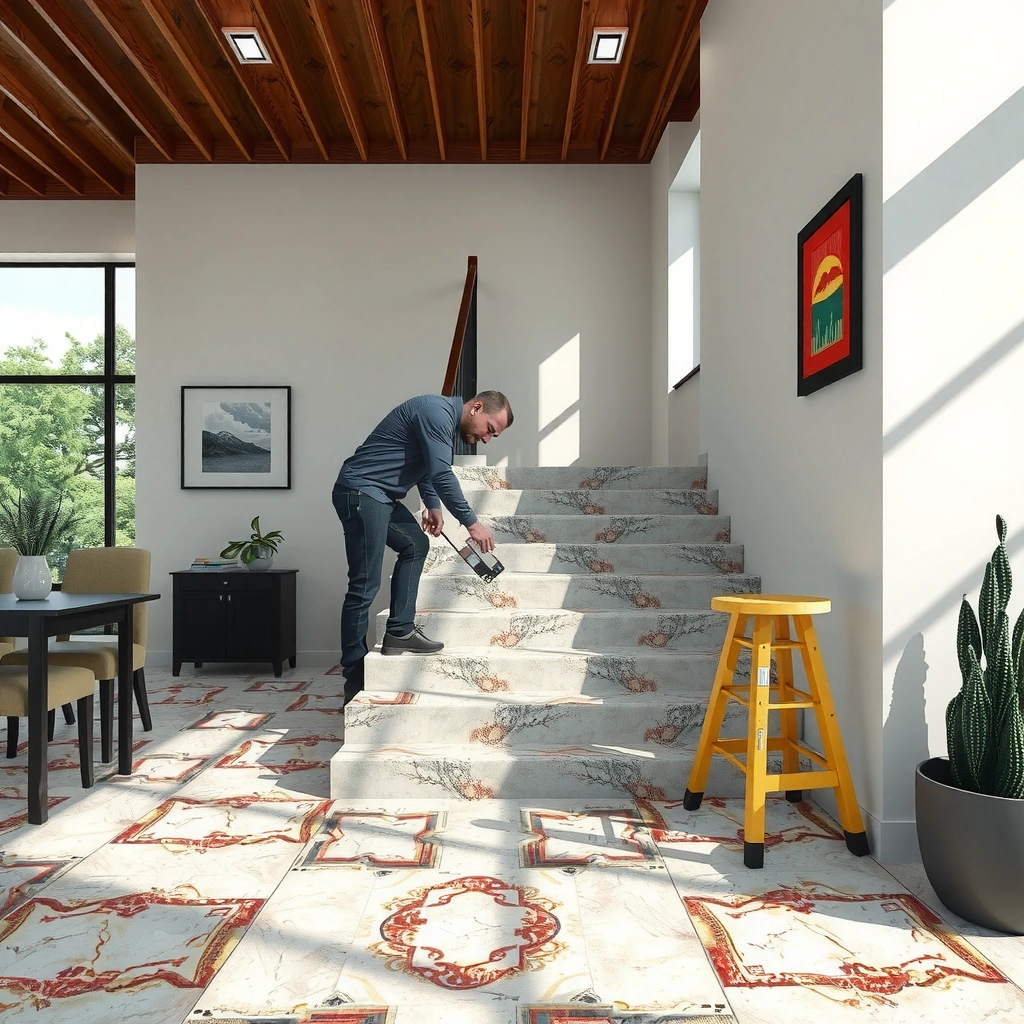
You get the cleanest granite stair look when you treat your layout like a “map” rather than a series of cuts. Start by measuring every tread/riser, identify the most visible edges, and decide where joints will land so you avoid tiny slivers at the stair nose and side returns.
According to ANSI A108.5, most tile/stone floor installations require full mortar bed transfer—commonly interpreted as 95% coverage for floors in dry interior conditions. ANSI A108.5 (Typical Thin-Set Mortar Installation Requirements)
For stair and tile work where movement occurs, industry guidance emphasizes using movement joints at designated locations (not filling them with standard rigid grout). TCNA Handbook guidance; movement/joint concepts consistent with EJ171
Natural stone assemblies are expected to manage thermal and structural movement through correct joint planning, not by “forcing” pieces together. TCNA / ANSI natural stone installation practices (joint and movement principles)
Measure what matters (and label “finished” edges)
Granite around stairs always reveals mistakes at the most visible surfaces—so you should measure with that reality in mind.
– Measure stair width, every tread depth (left/right if inconsistent), and every riser height (top to bottom).
– Identify which edges are truly “finished” in your design:
– Front edge/nosing (what shoes hit and see every day)
– Side returns (where granite meets drywall or base trim)
– Landing transition (where stone meets existing flooring or threshold materials)
Sketch the layout and avoid “mystery slivers”
Once you know your dimensions, sketch a layout that shows:
– Where each granite tile lands on each tread
– Where each riser piece lands on each step
– Where the joints will fall—especially on the front nosing line
A common mistake is placing a joint where you end up with a thin sliver near the tread front. On granite stair fronts, those slivers are harder to cut cleanly, easier to chip during handling, and more likely to telegraph any micro-movement.
Decide your corner and transition strategy early
You typically have three practical options:
– Butt joints (two cut edges meet)
– Eased/grind-finished edges (edge profile softened after install)
– A defined edge piece (bullnose or a dedicated stair nosing profile)
Pick one approach and apply it consistently across the stair run. Consistency is what makes granite look “designed,” not “patched.”
Prep the substrate for granite to sit flat
You can’t “thinset your way” out of a wavy stair—granite will follow the substrate. Prep means making the stair structure clean, stiff, properly primed/conditioned, and flat enough that thinset can do its job.
For tile and stone, the substrate must be structurally sound and meet flatness requirements set by ANSI/TCNA methods; otherwise lippage, debonding risk, and cracking increase. ANSI/TCNA substrate and flatness requirements (method statements)
Thin-set mortar performance depends on correct surface preparation (clean, sound, and properly conditioned/primed when required by the mortar system instructions). Manufacturer technical data for thin-set/setting mortars
Stairs are movement-prone because of repeated foot loads; stone assemblies rely on proper substrate stiffening and correct movement-joint detailing. TCNA Handbook stair assembly principles
Remove old coverings and check flatness + stiffness
If your stairs are carpeted or have old padding, remove it down to the substrate. Then:
– Check flatness along each tread (left-to-right and front-to-back).
– Check for bounce (loose framing or sagging stringers).
– Look for high ridges and low dips that would cause granite to bridge.
From experience on stone floors: even small dips on stairs “show up” because the tread is walked on at an angle, and the front edge catches light.
Clean, prime/condition, and follow the mortar system
Granite installation depends on the setting material system:
– Clean dust, paint overspray, drywall mud, and any contaminants.
– Use the primer/conditioning method specified by your chosen thinset/setting system (especially for plywood, patch compounds, or existing coatings).
Because natural stone varies (and manufacturers can require specific primers), this is one of those points where you should follow the actual written instructions from your mortar manufacturer and not rely on guesswork.
Fix height issues before you set stone
If your stairs are uneven, patch/shim now—don’t rely on thicker thinset alone.
– Address “step-down” ridges that will appear when different risers/treads are slightly out of plane.
– Where you add build-up, do it in a way that keeps framing stiff and transitions smooth.
Dry-fit and test your stair “wrap” details
You should dry-fit granite around stairs until the layout looks right in person—because stair corners and nosings can’t be “tweaked” once the stone is set. Dry-fitting is where you catch alignment issues, undercut needs, and toe-snags before thinset goes on.
Dry layout and mock-ups are standard practice for controlling joint placement and edge alignment in tile/stone work, especially at visible thresholds. TCNA Handbook guidance emphasizing layout/planning
Corner and nosing details must be verified on-site because stone profiles, substrate geometry, and trim conditions rarely match drawings exactly. Manufacturer installation instructions for natural stone tile and edging systems
In practice, the most noticeable stair defects are edge misalignment, inconsistent joint spacing, and chipped/rough nosing fronts—issues dry-fitting is meant to prevent. General best practices across TCNA/ANSI methods and installer guidance
Confirm joints step-to-step and wall-to-wall
Dry-fit:
– Each tread section
– Each riser
– Side pieces that wrap to walls/base trim or meet existing flooring
Mark cut lines directly on the stone (or using tape lines on the stone) so your later cuts match the verified layout.
Plan undercuts for clean trim and wall contact
Where granite meets drywall, base trim, or existing flooring, you often need:
– Undercuts so the stone tucks cleanly
– Clearance zones so movement joints don’t get “locked” rigidly into place
If your base trim must remain, measure the gap you’re working with and decide whether the granite will butt to trim or terminate before it with an edge profile.
Test the nosing/edge profile for shoe-friendly finish
The stair nose must not catch shoes. If you’re using an edge profile or stair nosing piece:
– Dry-fit it with the tread and riser in place
– Check how the front corner feels and how it visually lines up across multiple steps
If your granite is honed vs. polished, remember light will emphasize even tiny misalignment at the nosing.
Install treads and risers in the right order
You keep edges tight and joints consistent by using a predictable installation sequence. For most stair granite projects, set treads first, then risers, while maintaining the movement-gap plan from your layout.
Stone tile/stone floor installations rely on correct thin-set mortar application technique to achieve required coverage and bond. ANSI A108.5 mortar coverage/installation technique concepts
Movement joints should remain honored as movement joints; they are typically not treated the same way as rigid grout joints. TCNA movement joint principles (e.g., EJ171 methodology concepts)
Consistency in joint spacing reduces visual waviness on stairs, because repeated steps amplify any mismatch. Installer best practices aligned with TCNA layout and joint control
Set in a logical sequence (treads → risers)
A common approach:
1. Install tread stones for a run (one step at a time or in “bands,” depending on your layout)
2. Install riser stones for the same step set
3. Continue upward, maintaining alignment and joint rules
This order helps you control the most visible geometry at the nosing line.
Use the correct thinset/mortar and follow trowel guidance
Natural stone and stone tile require a compatible setting system:
– Use the thinset specified for natural stone (not just “any tile mortar”).
– Match the trowel size and mixing method to the manufacturer’s instructions.
Because mortar coverage depends on technique (keying-in and combing), stick to the system’s directions for achieving transfer.
Maintain movement gaps at walls and critical junctions
Your layout should define where movement happens:
– Perimeter joints at walls/trim
– Changes of material (stone meeting other surfaces)
– Any location your system’s method calls out for movement joints
Treat those gaps with the correct joint material per your tile/stone system—not standard rigid grout.
Finish edges, joints, and transitions so they last
Edges and joints determine longevity on stairs because they get the most impact, flex, and abrasion. Finish granite with the correct grout/caulk system, protect the surface based on finish type (honed vs. polished), and only grind/shape edges if the stone and instructions allow it.
Grout selection matters for natural stone; some grouts and additives are not suitable for all stone types or for movement-prone stair locations. Manufacturer grout compatibility instructions for natural stone
Movement-prone junctions typically need joint sealant or a flexible joint treatment rather than conventional grout. TCNA movement joint methodology principles (EJ171 concepts)
Sealing requirements depend on granite finish and porosity; follow sealer and stone-supplier instructions to avoid haze, staining, or uneven sheen. Granite sealer manufacturer and stone-supplier technical guidance
Install nosing/edge pieces last (or as your design dictates)
Many installers stage edge work so:
– Field tile placement is locked first
– Edge pieces can be aligned cleanly to the finished tread/riser plane
– You avoid “chasing” edge alignment during the main setting phase
If your design uses integrated edge pieces, follow that system’s sequence.
Use the right grout and joint treatment (stone-compatible)
For granite stair joints:
– Confirm the grout product is approved for natural stone
– Use joint width and tool/cleaning methods aligned with the grout manufacturer
For perimeter and movement joints:
– Use the specified sealant/caulk system where the assembly requires flexibility
– Don’t bridge movement joints with rigid materials
Grind/finish edges only when appropriate
Not every granite tile edge should be ground after install. If your stone supplier or edge system requires specific finishing steps, use those instructions.
Finally, sealing:
– Seal only as directed for your granite finish and any treatments already applied by the supplier.
– Test in an inconspicuous area if your stone-supplier guidance allows it.
What can go wrong (and how to avoid it)
Granite stairs fail (or look bad) when the installer fights physics: uneven substrate, incorrect joint planning, and rushed edge transitions. Here are the most common issues and how to prevent them with planning and careful installation.
Granite (like other rigid natural stone) reflects substrate irregularities; if flatness is off, lippage and stress concentrations increase. ANSI/TCNA substrate requirements for tile/stone assemblies
Cracking risk rises when movement joints are omitted or when joints are filled with the wrong material. TCNA movement joint principles (EJ171 concepts)
Visible stair defects are often joint-related (misaligned risers/treads, inconsistent spacing, or tiny slivers at the nosing) rather than structural. Installer field best practices consistent with layout and joint control methods
Common failure points on stair granite
Uneven substrate
– Symptom: light-catching humps, rocking stones, or inconsistent tread feel.
– Fix: check flatness before setting; patch/shim and re-check.
Wrong joint sizing
– Symptom: grout cracking, debonding at perimeter edges, sealant failure.
– Fix: honor movement gaps and use the correct rigid vs. flexible products.
Poor dry-fit at the front nosing
– Symptom: uneven “front edge” line, pinched corners, shoe-catching edges.
– Fix: dry-fit nosing/edge profile and confirm alignment before thinset.
Rushed corner transitions
– Symptom: toe-stub corners, visible gaps at side returns, chips from forcing stone.
– Fix: cut pieces with correct support, confirm fit in real conditions, and use the right edge profile.
Pros/cons: two common ways to handle stair edges
| Approach | Pros | Cons |
|---|---|---|
| Integrated stair nosing/edge pieces | Consistent front profile; easier to achieve a shoe-friendly edge; often more forgiving visually. | Requires accurate measurement for length/fit; may cost more; some systems have specific layout rules. |
| Custom-cut eased/grind-finished edges | Maximum design flexibility; can match existing trim profiles; clean “monolithic” look. | Harder to execute consistently; can increase chipping risk if cuts/finishing aren’t controlled; may void some product expectations. |
Verdict / tip
If you want the cleanest granite look, plan joints and transitions early, dry-fit everything on the actual stairs, and follow your thinset/grout/sealer instructions exactly. This approach works best for careful DIYers (or installers) who can take time with layout and minor substrate correction; if your stair structure is flexing, severely out of level, or you’re not confident about stone cutting/finishing, consider professional help for edge/nosing details.
Quick checklist (scan/save)
– Measure every tread/riser; sketch joint placement and “finished” edges
– Check substrate flatness, stiffness, and prep/prime per product specs
– Dry-fit treads, risers, and edge/nosing pieces on the actual stair geometry
– Use the correct thinset + trowel size guidance for natural stone
– Keep movement gaps at walls/critical junctions (use the right joint treatment)
– Set in order (treads then risers) while maintaining consistent alignment
– Finish edges, grout/caulk with stone-appropriate materials
– Seal granite only per the stone finish instructions (honed vs. polished behavior differs)
Typical Movement-Joint Planning for Tile/Stone Floors (Stair Context)
| # | Movement-joint location | Typical guidance (interval/trigger) | Primary purpose | Risk if omitted |
|---|---|---|---|---|
| 1 | Perimeter/wall interfaces | Use perimeter movement joint at framing/walls (exact width per system) | Allow expansion at the perimeter | High ★★★ |
| 2 | Substrate change (wood/patch/old slab) | Install joints/transition to match structural change | Accommodate differential movement | High ★★★ |
| 3 | Long runs (continuous areas) | Movement joints often planned about every 8–12 ft (system/method dependent) | Control cracking through length | Moderate–High ★★☆ |
| 4 | Corner/returns near trim | Use appropriate joint/edge detailing at corners where movement collects | Prevent edge stress concentrations | Moderate ★★ |
| 5 | Changes in tile/stone plane (landing-to-run) | Match method at transitions (often joint at the structural break) | Let the assembly move without cracking | Moderate ★★ |
| 6 | Existing control-joint alignment (if present) | Locate tile/stone joints to respect existing movement paths | Avoid “blocking” the building’s intended movement | High ★★★ |
| 7 | Per-step “softness” (stair dynamics) | Use stiff framing + correct movement-joint concept; avoid rigid perimeter grout bridging | Reduce cracking from repeated load cycles | Moderate–High ★★☆ |
> Note: Exact joint width, placement, and products vary by your chosen setting/grout/sealant system and the method you follow in the TCNA/ANSI framework. Use the most specific instructions available for your materials. TCNA Handbook movement-joint methodology concepts (EJ171) and ANSI/TCNA method statements
FAQ
Do I need expansion gaps when installing granite around stairs?
Usually, yes—especially at perimeter/wall junctions and movement-prone areas. Use the expansion/movement-joint guidance from your thinset/grout system and follow natural stone best practices. [ADD: source for your specific manufacturer’s movement-joint instructions and required gap width]
Should I install risers before treads?
Many installers follow a consistent order (often treads first) to keep edge alignment and joint spacing controlled. The right sequence depends on your layout and edge/nosing details—confirm your plan and chosen setting system instructions. [ADD: source for your chosen setting system’s recommended sequencing, if provided]
Can I use regular tile grout on granite stair joints?
Stone needs the right grout and joint treatment; not every grout type is suitable for natural stone or for stair movement. Check the grout manufacturer’s instructions for natural stone compatibility. [ADD: grout manufacturer compatibility reference]
How do I prevent chipping at stair corners?
Prevent chipping by supporting stone during cutting/handling, making accurate cuts, and using the correct edge/nosing profiles and finishing steps. If you’re uncertain about cutting/edge finishing for your granite, get professional help for the visible fronts. [ADD: source for edge finishing/corner handling from your stone supplier or installer guideline]
Sources:
– [ADD: manufacturer installation instructions for your thinset/setting mortar system (natural stone/stone tile)]
– [ADD: manufacturer installation instructions for your grout and whether it’s suitable for natural stone]
– [ADD: manufacturer guidance on expansion/movement joints for stone tile installations]
– [ADD: natural stone finishing/sealing guidance for honed vs. polished granite, per your sealer or granite supplier specs]
– ANSI A108.5 (typical mortar installation/coverage principles for tile and stone)
– TCNA Handbook (movement-joint and method concepts for tile/stone assemblies, including EJ171-style joint thinking)
If you take one idea from this guide, make it this: treat stair granite like a system—layout, substrate prep, movement-joint planning, and finish details all work together. When those pieces align, granite around stairs looks crisp and stays stable; when they don’t, the stair’s repeated load and visible edges will expose the problem quickly.
Frequently Asked Questions
What is the best way to measure and template granite around stairs before installation?
Start by measuring each step tread and riser individually because stair geometry often varies slightly. Use cardboard templates to capture the exact contours where the granite will meet the bullnose, landing edges, and any stair stringers. Dry-fit the templates and confirm the overhang and expansion gaps before ordering granite slabs. Accurate templating helps avoid costly cutting errors and reduces the need for rework on stair granite flooring.
How do you cut granite to fit stair treads, risers, and awkward corners safely?
Granite should be cut with a wet saw using a diamond blade rated for stone, and any notches or bullnose profiles should be templated first. For tight corners or irregular edges, use angle measurements and mark the cut lines carefully, then test-fit on scrap stone when possible. Always support slabs during cutting to prevent chipping and use proper PPE for silica dust. If you’re not experienced, hiring a professional stone fabricator is often the best way to achieve clean edges for stair granite floor installations.
How do you install granite tiles around stairs without cracking or uneven edges?
Ensure the substrate is flat, stable, and properly prepared—stairs require strong mortar coverage and correct leveling so granite doesn’t rock. Use a suitable thin-set mortar for stone and apply full coverage (especially on treads) to reduce voids that can lead to cracks. Maintain consistent slope and alignment using leveling systems or spacers designed for tile and stone flooring. For transitions at stair edges, use quality edge profiles and set them securely to keep the granite stair surfaces even and durable.
Why is substrate preparation and leveling especially important for granite stair flooring?
Granite is rigid and doesn’t flex, so any bumps, dips, or loose flooring under the stone can cause stress points and cracking over time. Proper leveling also ensures consistent riser height and tread overhang, which affects both safety and appearance. Before installing around stairs, remove old adhesive or debris, check for moisture issues, and confirm the stairs are structurally sound. Good prep is key to a long-lasting granite floor installation around staircases.
Which installation method and materials are best for granite flooring around stairs?
Most stair granite flooring projects use stone-rated thin-set mortar and proper cement board or a compatible substrate that meets the manufacturer’s requirements. If the stairs are frequently exposed to moisture or temperature swings, consider a system that includes waterproofing where appropriate and follow the recommended cure times. For stair edges and bullnose profiles, ensure you’re using the correct sealant or grout/adhesive products intended for granite and high-traffic areas. Choosing the right mortar, grout, and sealants improves grip, reduces staining, and helps prevent failure at stair seams and joints.
📅 Last Updated: October 09, 2026 | Topic: How to install around stairs granite floors? | Content verified for accuracy and freshness.
References
- Google Scholar Google Scholar
https://scholar.google.com/scholar?q=granite+stair+installation+thinset+grout+step+nosings - Google Scholar Google Scholar
https://scholar.google.com/scholar?q=natural+stone+installation+guidelines+stair+treads - Google Scholar Google Scholar
https://scholar.google.com/scholar?q=tile+stairs+installation+backer+board+waterproofing+guideline - Redirecting…
https://www.ada.gov/2010ADAstandards_index.htm - Tile
https://en.wikipedia.org/wiki/Tile - https://en.wikipedia.org/wiki/Thinset_mortar
- https://en.wikipedia.org/wiki/Grout_(masonry
- https://en.wikipedia.org/wiki/Backer_board
- Stairs
https://en.wikipedia.org/wiki/Stair - https://en.wikipedia.org/wiki/Slip_resistance