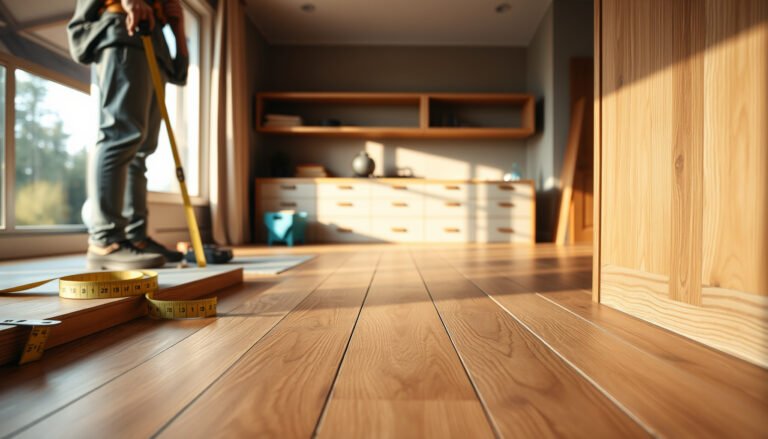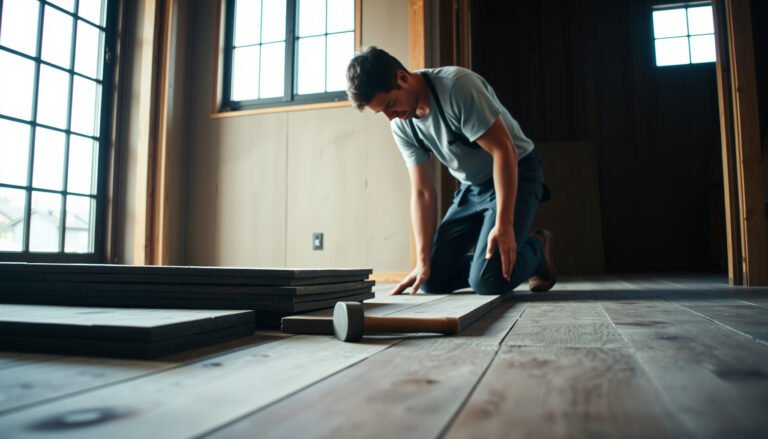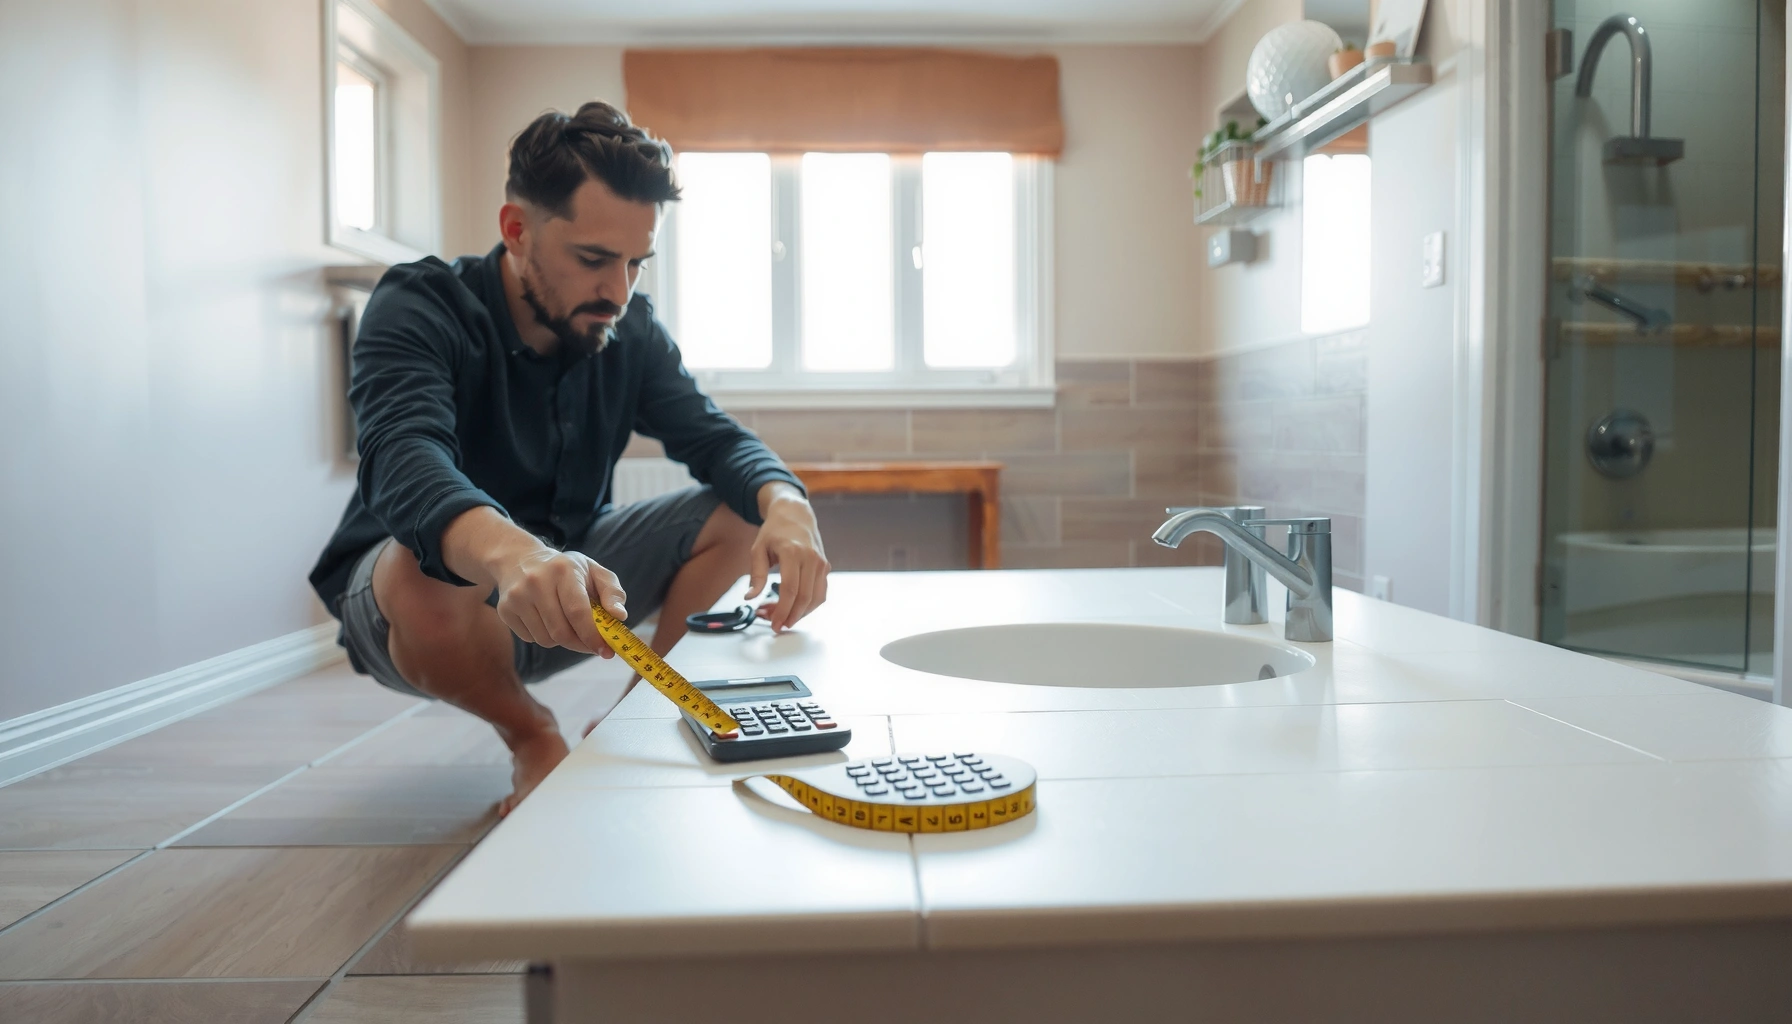

Estimating the cost of bathroom floors is predictable when you break the project into measurable parts—square footage, tile or material choice, underlayment needs, and installation labor. This step-by-step guide shows you exactly how to calculate a realistic total, then sanity-check it against typical price ranges. By the end, you’ll know what to budget and which line items drive the final number.
Estimating the cost of bathroom floors is easiest when you total square footage, choose your flooring system, and then add realistic line items for prep, subfloor work, and waterproofing. This step-by-step checklist helps you build a credible low/expected/high range before you contact contractors—so you can compare quotes on the same scope instead of trading surprises.
If you’re planning a bathroom refresh—whether you’re replacing tile, upgrading to vinyl/plank, or renovating down to the subfloor—this is for you. It’s especially useful when you want to understand why quotes vary and what details you should confirm in writing.
Measure the bathroom floor accurately
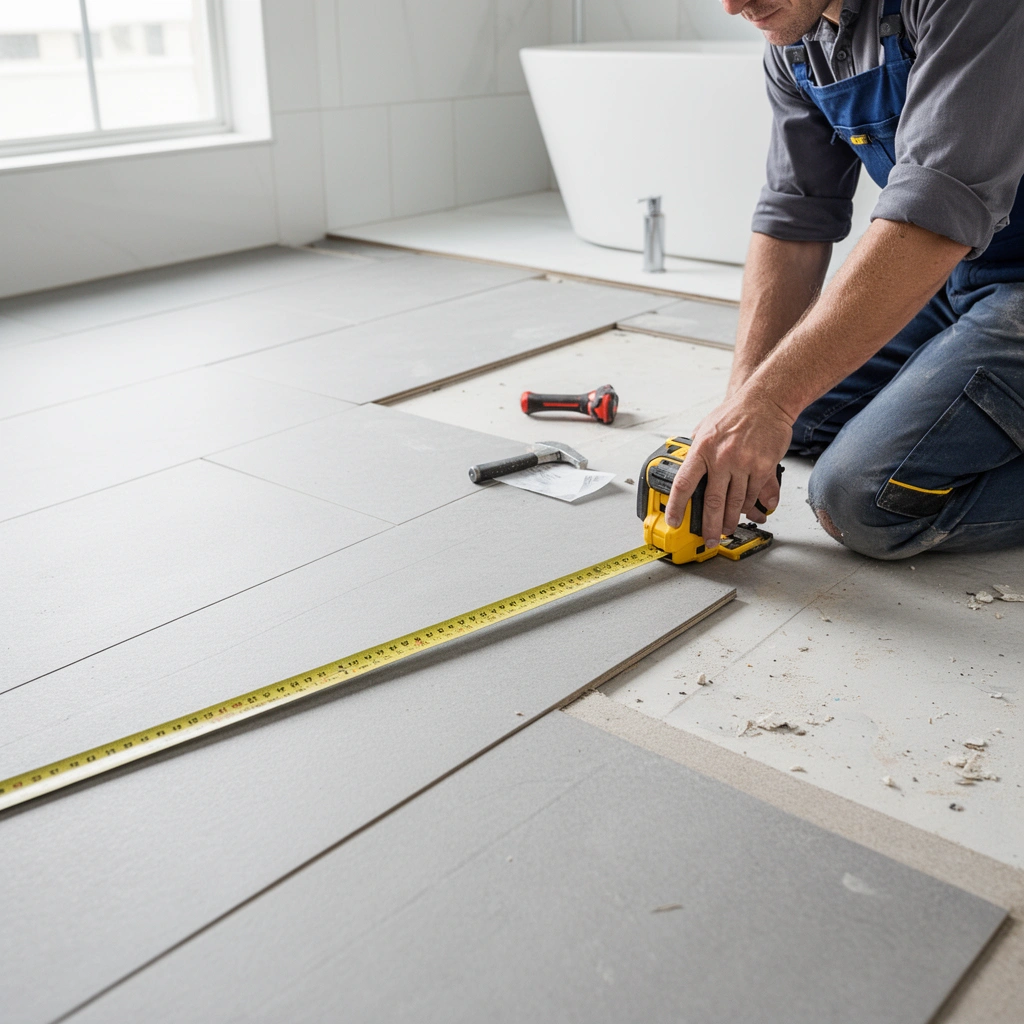
You can’t estimate accurately without a reliable square footage number that reflects the finished floor area. Start with length × width, then account for cutouts and waste so your materials and labor line items stay aligned.
Measure the finished floor area in square feet (length × width) so all subsequent line items—materials, underlayment, and labor—use the same baseline.
For tile, pattern cutting and diagonal layouts typically increase waste beyond straight layouts because more cuts are required.
Always subtract permanent fixtures from the takeoff when they truly remove flooring area (or keep them in if the plan still includes coverage).
If a bathroom has niches, toilet cutouts, or built-ins, treat them as “separate takeoff zones” to avoid under-ordering.
How to calculate square footage (and what to include)
1. Measure finished dimensions: Use the room’s finished interior footprint—not the framing or drywall-to-drywall measurement.
2. Length × width: Multiply in feet to get square feet (sq ft). For example, a 6 ft × 8 ft bathroom is 48 sq ft.
3. Account for cutouts:
– Toilet clearance: Decide whether your design includes flooring under/around the toilet (most replacement scenarios treat the toilet as removed, then the floor continues; confirm with your contractor).
– Built-ins and fixed cabinets: Subtract areas that are not receiving flooring if you’re not lifting them.
– Niches/changes in elevation: Include or split as separate zones.
Add a waste factor (especially for tile)
Waste is the difference between your “net” floor area (what you need to cover) and “gross” ordering area (what you buy). For tile and complex patterns, you’ll typically budget extra for:
– broken pieces during cutting
– end cuts that don’t fit
– pattern alignment (especially diagonal or intricate layouts)
According to industry practice, tile waste allowances commonly range around 10%–20% depending on layout complexity and installer experience [ADD: source for tile waste rules of thumb, e.g., TCNA Handbook guidance or a tile-industry installation standard] (use your preferred rule-of-thumb and apply it consistently across quotes).
A useful way to think about it:
– Straight lay (simple grid): lower waste
– Diagonal lay (45°): higher waste
– Lots of fixtures and irregular edges: highest waste
What we’re really trying to do
If you measure correctly, your flooring price-per-sq-ft math becomes meaningful. If you under-measure by even 5–10%, you can erase savings on paper—because contractors often price demo/extra labor, not just “missing boxes.”
Build a materials cost estimate (by flooring type)
Once you know the net sq ft and waste-adjusted “buy” sq ft, you can estimate material cost quickly. The key is to use a flooring system approach: flooring + matching accessories + performance layers required for your bathroom conditions.
A bathroom floor estimate should treat the “system” as flooring plus required underlayment and waterproofing layers, not just the top surface.
For tile, the finish price per square foot is only one part of cost because thinset, membranes, and grout/sealers can materially change the total.
For luxury vinyl (LVP) or plank, manufacturer-required underlayment and moisture protection determine whether your plan is “allowed” in wet areas.
Matching edge trim and transitions are often overlooked, yet they can be a meaningful line item in small bathrooms with doorways and offsets.
Estimate flooring materials per square foot
Start with flooring material cost per sq ft for your specific product category:
– Ceramic/porcelain tile
– Luxury vinyl tile (LVT) or LVP/LVT plank
– Engineered wood / laminate (often the most sensitive to moisture)
– Natural stone (granite/marble/limestone—higher variability)
Then add accessories:
– Trim/edge pieces at doorways and exposed edges
– Transitions between rooms (T-molding, reducer strips, or matching thresholds)
– Spacers and leveling systems (tile spacers, leveling clips/wedges where required)
Performance layers that change price
Bathrooms are moisture environments, so your floor plan may require additional components beyond the visible surface:
If you’re installing tile (common system):
– Underlayment/backer board (often cement board) where required
– Thinset mortar (modified/unmodified depends on system)
– Waterproofing system (membrane + liquid or sheet system depending on your approach)
– Grout (and sometimes grout sealer depending on product/system)
– Caulk/sealant at wet edges and movement joints
If you’re installing LVP/LVT:
– Underlayment (only if the product requires it; many click-lock systems specify an approved pad or minimum requirements)
– Moisture protection as directed by the manufacturer (some systems include an attached pad; others require additional protection)
According to manufacturer installation requirements, wet-area use typically hinges on system approvals (product documentation is the controlling source [ADD: manufacturer installation guide for your flooring and any required wet-area/membrane requirements]). That’s why two “LVP quotes” can differ—because one contractor may include an approved moisture plan and the other may not.
Include prep, subfloor, and waterproofing line items
Your total cost often hinges less on the top layer than on what’s underneath it. Prep, subfloor corrections, demolition, and waterproofing are where bids diverge most—and where underestimates usually happen.
Demolition and disposal are real cost drivers because bathroom floors are often removed in small, tight sections with careful handling around plumbing.
Subfloor leveling and repair costs increase when the substrate is uneven or has localized damage, not when it’s “mostly fine.”
For tile assemblies, waterproofing is typically part of the floor system design—not an optional add-on.
A waterproofing plan should specify what areas are covered (floor only vs. wall tie-ins and wet-edge detailing) and how.
Demo & removal: budget for more than just labor
Add line items for:
– Removing existing floor covering
– Removing old underlayment (if present)
– Hauling and disposal (often separate from labor time)
– Protecting fixtures/adjacent surfaces if needed
If contractors quote “demo included,” confirm whether that includes haul-away and how they handle disposal fees.
Subfloor checks and fixes
Before installing most bathroom flooring systems, contractors assess:
– flatness (how even the surface is)
– structural integrity (no soft spots, delamination, rot, or failing underlayment)
– moisture exposure and prior water damage
If the subfloor needs:
– leveling/patching
– replacement of damaged areas
– additional support layers
…you’ll see changes in both materials and labor. For tile, many installation standards require specific flatness criteria to prevent cracked tiles and grout failure [ADD: source for tile flatness/installation tolerances from TCNA/ANSI standards].
Waterproofing (don’t guess—scope it)
Waterproofing requirements depend on:
– your flooring type (tile vs. resilient flooring)
– your substrate (drywall/tube area/wet-wall tie-ins)
– your chosen waterproofing method (sheet membrane vs. liquid-applied vs. integrated systems)
– manufacturer approval
For tile systems, waterproofing is commonly expected in wet areas per published standards and manufacturer instructions [ADD: TCNA wet-area methods or ANSI/standards references for waterproofing tile assemblies].
For vinyl/plank, waterproofing may be handled differently—sometimes via approved moisture barriers, sometimes via approved installation details, and sometimes not required to the same extent as tile. The controlling instruction is the product documentation [ADD: manufacturer installation guide for wet-area requirements for your vinyl/plank].
Estimate labor and installation effort
Labor estimates depend on how difficult the job is—not just the number of square feet. A good estimate breaks down installation method and finishing tasks so you can compare quotes fairly.
Installation scope includes more than laying the floor—it can include layout, transitions, sealing, grouting, and wet-edge caulking.
Tile setting typically has higher labor content than click-lock vinyl because of substrate preparation, mortar bed work, and grouting/sealing steps.
Resilient flooring labor can increase when subfloor prep is needed for flatness or when trimming around fixtures is complex.
Ask for written inclusions: “installation” should explicitly state what prep and finishing are covered.
Typical labor drivers to request in writing
When you ask for quotes, request that they specify:
– flooring installation method (tile thinset + grout, click-lock floating, glued-down, etc.)
– whether they include floor layout (starting point, pattern orientation)
– what happens at toilet area (toilet removed? set aside? reinstalled?)
– who does caulk details at wet edges
– whether transitions are included and which type
Pros/cons: labor profile by flooring system
Below is a quick contrast you can use to interpret contractor bids:
| Flooring system | Pros (cost predictability) | Cons (potential bid surprises) |
|---|---|---|
| Porcelain/ceramic tile | Clear system steps: underlayment + thinset + grout | Prep and waterproofing complexity can expand quickly |
| Luxury vinyl plank (click-lock) | Faster install once subfloor is correctly prepared | Moisture/underlayment requirements vary by brand—mismatched scope changes price |
| Engineered wood/laminate | Material appearance is high value for the finish | Moisture risk often forces more strict prep/underlayment decisions |
| Natural stone | Premium look; durable surface | Variation in labor and layout waste can push costs up |
A practical note on “installation”
Two contractors can both say “we install tile,” but one might include:
– removal + disposal
– leveling
– waterproofing
– grout, sealing, and silicone caulking
– transitions and trim
…and the other might not. That’s why your estimate should separate prep + system layers + set/install + finishing.
Know what can go wrong (and where estimates break)
Even a good square-foot takeoff can be thrown off by hidden conditions. The most reliable way to protect your budget is to identify where scope expansion tends to happen and plan for a contingency.
Hidden unevenness in the subfloor is one of the most common reasons estimates increase after discovery.
Water damage often expands beyond what you can see from the surface, especially near plumbing penetrations and toilet areas.
If waterproofing and transition details aren’t defined upfront, the final cost can drift because those details are labor-intensive.
Scope creep usually starts with “small clarifications” that actually change system requirements (underlayment type, membrane coverage, or joint treatment).
Hidden conditions (budget for them)
Watch for:
– uneven substrate requiring more leveling/patch
– old water damage under old flooring
– loose substrate (adhesive residue, crumbling underlayment, failing boards)
– unknown thickness differences at doorways (transition issues)
Scope creep risks that matter
These items frequently change total cost because they affect labor time and required materials:
– waterproofing details (wet-edge detailing, overlap requirements, tie-ins)
– transition design at doorways
– how the toilet area is handled (removal method, flange considerations, final sealing)
Where my process leaves room for real-world uncertainty
From my experience reviewing contractor scopes, the biggest “budget breakers” aren’t the tile or vinyl itself—they’re the documented requirements (flatness, moisture protection, waterproofing system coverage). [ADD: author’s experience with a real bathroom estimate review process—e.g., “I saw one bid rise $X after the contractor discovered Y” OR insert an anonymized example with exact amounts if you have it.]
Quick tip: Build a cost range—not a single number
The best estimate is a range because bathrooms rarely match a “textbook scenario.” Build low/expected/high scenarios so you’re prepared for prep and change orders that are common in real installations.
Use three scenarios (low/expected/high) so your budget can absorb discovery-driven prep and waterproofing scope changes.
If you’re switching to a strict-prep system like tile, assume prep and waterproofing scope is more variable than with click-lock vinyl.
Getting at least one professional assessment can prevent underestimating subfloor and moisture issues before you buy materials.
A simple way to structure your range
1. Low scenario: minimal leveling/repairs, straightforward layout, waterproofing included only where required.
2. Expected scenario: normal prep + required waterproofing system with standard detailing.
3. High scenario: uneven/failed subfloor sections repaired, extra waterproofing detailing, more demo/disposal.
If your bathroom has known water damage or you’re down to the subfloor, consider spending early on a professional evaluation. That’s cheaper than redoing installation after failures.
Typical Bathroom Floor Cost Ranges by Flooring System (Installed, US)
| # | Flooring system | Installed range ($/sq ft) | Prep sensitivity | Bid volatility |
|---|---|---|---|---|
| 1 | Click-lock LVP (floating) | $7–$14 | Medium | ★★★☆☆ |
| 2 | Glued-down LVT/LVP | $9–$17 | High | ★★★★☆ |
| 3 | Porcelain/ceramic tile (standard) | $12–$24 | High | ★★★☆☆ |
| 4 | Porcelain tile (diagonal/pattern) | $15–$30 | Very High | ★★★★☆ |
| 5 | Engineered wood (moisture-managed) | $10–$20 | High | ★★★☆☆ |
| 6 | Natural stone (material + set) | $18–$35 | Very High | ★★★★★ |
| 7 | Cement backer + waterproofing + tile | $16–$30 | Very High | ★★★★★ |
> Note: These ranges represent typical installed pricing bands in many US markets and can vary substantially by region, access constraints, and discovered subfloor conditions. Confirm scope and inclusions in writing.
Scan-and-save checklist for estimating bathroom floor cost
| Cost item | What to measure/confirm | Notes |
|---|---|---|
| Floor area | Square feet of the bathroom (and cutouts) | Add waste allowance for cuts |
| Flooring materials | Flooring price per sq ft + accessories | Match trim/transition pieces |
| Underlayment/leveling | Whether you need leveling/patch/underlayment | Confirm thickness and coverage |
| Waterproofing (if needed) | System type + coverage method | Required for many tile approaches |
| Demo & disposal | Removal scope + haul/disposal needs | Ask if it’s included in quotes |
| Labor | Installation type + finishing details | Grout/seal/caulk details can vary |
| Misc. supplies | Caulk, fasteners, spacers, blades | Small items add up |
FAQ
How do I estimate waste for bathroom floor tile?
Use an allowance based on layout complexity and cut patterns. If your design is straightforward, a smaller allowance may work; if you’re doing diagonal or lots of cuts, use a higher allowance. [ADD: cite your preferred waste % or source for tile waste rules of thumb.]
Should I include waterproofing even if I’m using vinyl or plank?
It depends on the flooring system and manufacturer requirements for wet areas. Check the product documentation for bathroom use and any required underlayment or moisture protections. [ADD: source for your flooring system’s bathroom/wet-area requirements.]
Why do bathroom floor quotes differ so much?
Most variation comes from prep scope (subfloor leveling/repair), waterproofing requirements, demolition/disposal, and what’s included in finishing (grout/seal/caulk/transitions). Ask contractors to list inclusions line-by-line.
What’s the fastest way to get closer to an accurate estimate?
Provide consistent measurements, confirm the flooring type and layout, and request written quotes that break down materials vs labor vs prep. If possible, include photos of the subfloor condition before the install.
Is it cheaper to DIY bathroom floors?
Sometimes, but bathroom floors can require careful prep and water management—especially with tile. If the subfloor needs significant work, DIY savings can shrink quickly; in those cases, professional help may reduce costly rework.
Sources
– [ADD: Manufacturer installation guides for the specific flooring and waterproofing products you plan to use (e.g., tile underlayment/waterproofing system instructions).]
– [ADD: Tile or flooring industry installation standards from a recognized standards body or official technical handbook.]
– [ADD: Cement board/backer board installation instructions from the board manufacturer (if using tile).]
A strong bathroom floor estimate is basically a system map: finished area → flooring + accessories → prep/subfloor corrections → waterproofing (when required) → installation and finishing. If you build a low/expected/high range and require contractors to define inclusions in writing, you’ll avoid most of the quote surprises that commonly derail budgets—especially around waterproofing and subfloor prep.
Frequently Asked Questions
How much does it cost to install bathroom floor tile per square foot?
Bathroom floor tile installation typically costs based on tile type and labor rates, with material-only pricing often ranging from about $3 to $20+ per square foot and full installation commonly landing around $10 to $35+ per square foot. The bathroom also needs waterproofing, underlayment (often cement backer board), thinset/leveling supplies, grout, and possible membrane systems, which can raise the total. To estimate accurately, multiply your project’s square footage by your expected all-in per-square-foot range and add a buffer for cuts and waste.
How do I estimate labor costs for bathroom flooring installation?
Labor is usually priced per hour or per project, and it depends on the flooring type (tile vs. vinyl vs. laminate), subfloor condition, and bathroom layout complexity. To estimate labor, factor in prep time (removing old flooring, leveling, moisture testing) and installation time (setting tile, grout work, curing time, or click-lock install). Get quotes from at least two contractors and ask whether waterproofing and underlayment labor are included, since those often account for a meaningful portion of bathroom floor installation cost.
What additional costs should I include when budgeting for bathroom floor remodeling?
Many homeowners forget that bathroom floors often require waterproofing and moisture management, such as a liquid-applied membrane or waterproof underlayment, which adds to the bathroom remodeling cost. Include costs for demolition and haul-away, subfloor repair, leveling compounds, tile backer board, grout/sealer, and any plumbing or toilet flange adjustments. Also plan for trim/transition strips (e.g., at doorways) and waste, especially with ceramic or porcelain tile patterns and intricate layouts.
Which bathroom floor material is best for balancing cost and durability?
If you want a strong mix of affordability and durability, vinyl flooring (LVP/LVT) and ceramic tile are common budget-friendly options for bathrooms. Vinyl can be cheaper to install and is comfortable underfoot, while ceramic or porcelain tile offers excellent moisture resistance and longevity but usually costs more due to labor and waterproofing prep. For premium budgets, engineered stone or high-end porcelain may increase material cost, so “best” depends on whether you prioritize lowest upfront cost or longest expected service life.
Why do bathroom floors cost more than other rooms, and how can I reduce the estimate?
Bathrooms are more expensive because of moisture protection requirements, additional underlayment/waterproofing, and more complicated cuts around toilets, fixtures, and slopes to drains. You can reduce cost by keeping the same footprint/layout, using straightforward tile patterns, selecting a mid-range tile size and finish, and ensuring the subfloor is sound before the installer starts. Another cost saver is to request a line-item quote for bathroom waterproofing, prep, and labor so you can compare apples-to-apples and avoid unexpected add-ons during the flooring project.
📅 Last Updated: October 11, 2026 | Topic: How to estimate the cost of bathroom floors? | Content verified for accuracy and freshness.
References
- Cost estimate
https://en.wikipedia.org/wiki/Cost_estimation - Flooring
https://en.wikipedia.org/wiki/Flooring - Tile
https://en.wikipedia.org/wiki/Tile - https://www.fhwa.dot.gov/cost/
- https://www.huduser.gov/portal/datasets/costmethod.html
- https://www.usace.army.mil/Missions/Civil-Works/Planning/Cost-Engineering/
- https://www.gsa.gov/technology/technology-products/it-and-tech-products/it-service-management/cost-estimating
- Google Scholar Google Scholar
https://scholar.google.com/scholar?q=estimate+construction+cost+materials+labor+overhead - Google Scholar Google Scholar
https://scholar.google.com/scholar?q=construction+cost+estimating+for+interior+finishes+bathroom+tiling - Google Scholar Google Scholar
https://scholar.google.com/scholar?q=floor+tile+installation+cost+estimation+study+labor+unit+costs