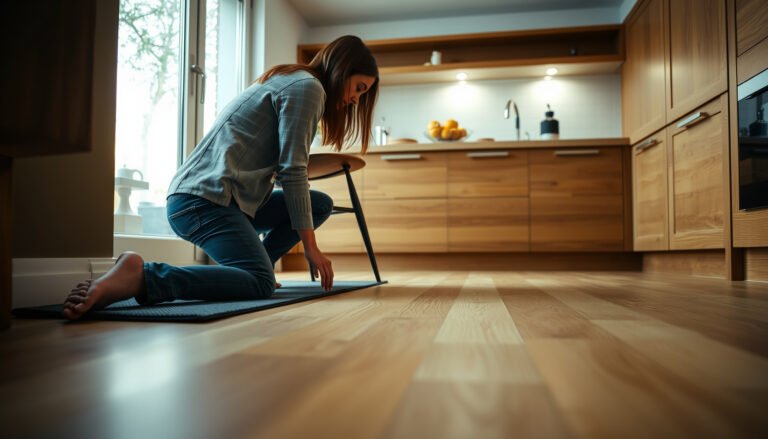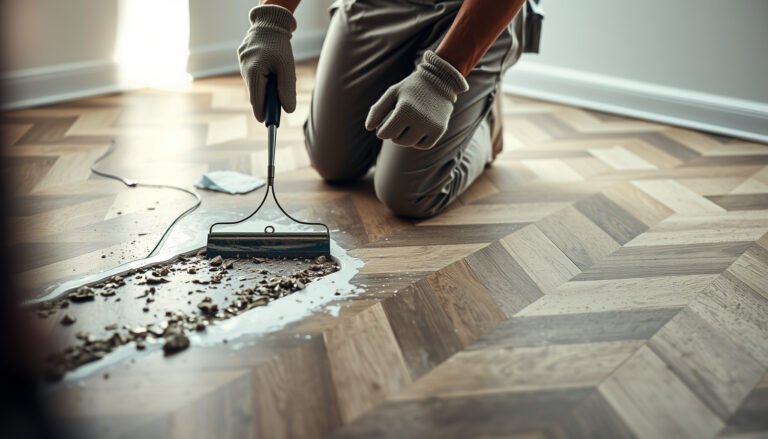

If you’re searching for how to deep clean terracotta floors, this step-by-step method delivers a true refresh without wrecking the finish. You’ll be walked through the right cleaner, how to remove embedded grime, and the exact way to rinse and dry so your tiles don’t look dull or streaky. Follow these steps and you’ll get the deepest clean that still preserves the natural warmth of terracotta.


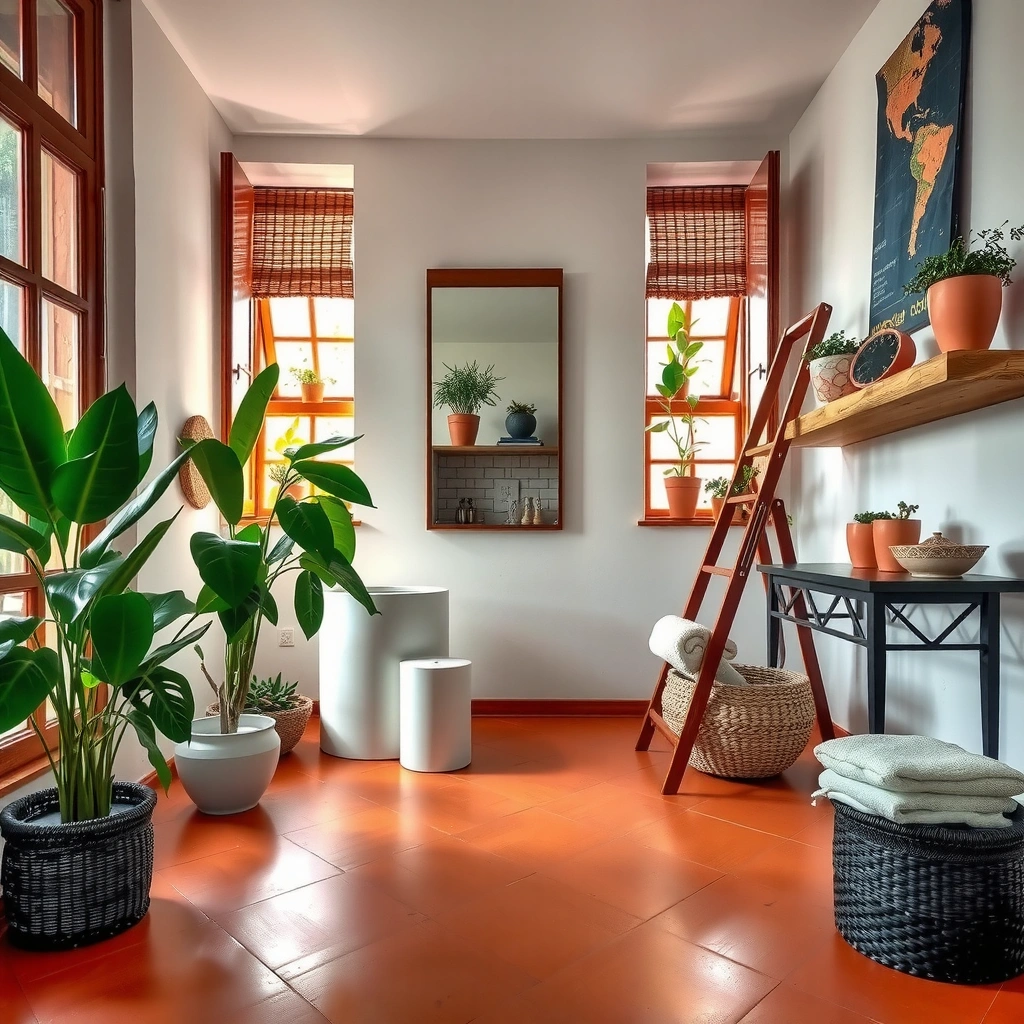
If your terracotta is unsealed or lightly sealed, the risk is mainly over-wetting, using the wrong cleaner, or scrubbing too aggressively and dulling the surface. If it’s sealed (or you’re not sure), you’ll also need to tailor the approach so you don’t break down the sealer or leave a residue haze.
Who this is for / when it applies
This step-by-step method is for homeowners, facilities teams, and cleaning contractors who need a repeatable process for terracotta (including saltillo-style tiles) where appearance matters and the wrong chemistry or too much water can cause darkening, haze, or accelerated wear. It’s designed to work whether your floor is sealed, unsealed, or only partially protected—though you should adjust based on what you observe.
Prep first: clear grit and protect grout lines
The fastest way to make terracotta look clean (and stay clean) is to remove grit before you introduce any moisture. If sand or soil stays on the surface, your mop can turn it into abrasive paste that embeds in pores and dulls the tile over time.
Dry sweeping and vacuuming before wet cleaning prevents grit from becoming an abrasive slurry that can grind into terracotta’s porous surface.
Grout lines and cracks collect debris; cleaning them last (or with targeted care) reduces the chance of dragging dark water back over freshly cleaned tile.
Terracotta’s fired clay structure is porous, so trapped particles can darken later when moisture reactivates them.
To prep correctly:
– Dry-sweep, then vacuum using a soft brush attachment so sand and grit don’t grind into the pores during cleaning. Use the brush to lift, not polish; keep the suction moving steadily.
– Remove surface debris first (mats, loose dirt, dust) and spot-treat any sticky spots before the full wash.
– If you have grout or cracks that catch grime, plan extra care around edges and corners so you don’t drag dirty water back across clean tile. Work from the farthest corner toward an exit path so you’re not walking back over damp sections.
Practical detail: if your terracotta has a waxy look or a sheen that beads slightly, test gently near a corner—glassy residue often indicates sealing/wax layers that need lighter moisture and more careful rinsing.
Choose the right cleaner for terracotta (and its finish)
The right deep-cleaning chemical is the difference between “clean and bright” and “clean but permanently dull.” For terracotta, you generally want a pH-balanced, stone-safe cleaner compatible with the floor’s finish (sealer, wax, or natural oil).
Using pH-balanced cleaners is recommended in natural stone maintenance guidance to help avoid etching or film left behind by harsh chemistries.
Acidic cleaners can increase surface roughness on calcium- and mineral-containing stone materials, raising the likelihood of dull appearance and faster re-soiling.
Bleach and strong alkalines are commonly discouraged for stone care because they can damage finishes and create stubborn residues.
Here’s how to decide:
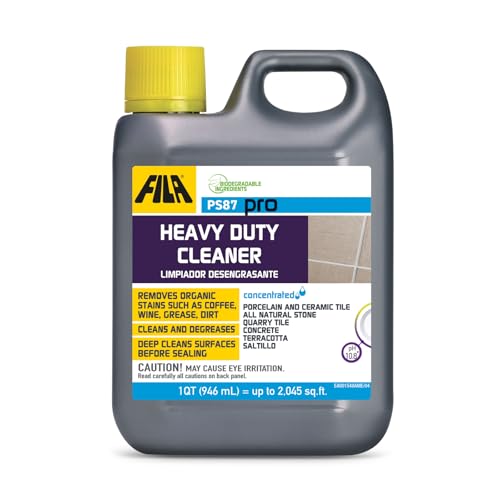
– Use a cleaner designed for natural stone/terracotta and keep it pH-balanced; avoid harsh acids/alkalis and “universal” degreasers that can etch or dull the clay.
– If the floor is sealed, use a cleaner that’s compatible with stone sealers; if it’s unsealed, you generally need a gentle approach that won’t leave long-lasting residue.
– When in doubt, do a small test patch in an inconspicuous area to confirm the cleaner doesn’t change color or finish.
Cleaner chemistry at a glance (why pH matters)
Below is a quick reference to help you match product chemistry to terracotta’s sensitivity. These are typical ranges/values used in labeling and common household chemistry.
Typical pH Ranges of Common Cleaning Chemistries (Terracotta Risk Guide)
| # | Product type | Typical pH range | Primary risk to terracotta | Compatibility rating |
|---|---|---|---|---|
| 1 | pH-balanced stone/terracotta cleaner (labeled) | ~6–8 | Low residue risk when dilution is correct | ★★★★☆ ★★★★ |
| 2 | Mild detergent (not specifically stone-safe) | ~7–9 | May leave surfactant film if rinsing is weak | ★★★☆☆ ★★★ |
| 3 | Vinegar / acetic acid cleaners | ~2–3 | Acid risk of dulling/etching and residue haze | ★☆☆☆☆ ★1 |
| 4 | Bleach (sodium hypochlorite) | ~11–13 (varies) | Alkaline/oxidizer risk to finishes; discoloration potential | ★☆☆☆☆ ★1 |
| 5 | Heavy-duty alkaline degreaser | ~10–12+ (varies) | Can strip or soften protective layers; film risk | ★★☆☆☆ ★2 |
| 6 | Rubbing alcohol / solvent spot cleaners | ~neutral chemistry (solvent-based) | Can affect sealers/waxes; spot-only application required | ★★☆☆☆ ★2 |
| 7 | Dry absorbent + minimal moisture (for spills) | N/A (process-based) | Lower chemical exposure; still needs rinse if residue remains | ★★★★☆ ★★★★ |
Two key reminders with real-world implications:
– Don’t “overconcentrate.” Manufacturer dilution guidance matters because too much surfactant can leave film that looks like haze.
– Avoid DIY chemistry swaps. For example, vinegar (typical pH ~2–3) and bleach (typical pH ~11–13, varies by product) are strongly off the range used for “stone-safe” maintenance. For stone pH guidance, refer to the Natural Stone Institute (formerly Marble Institute of America) recommendations and your specific product label.
Deep clean steps: low-moisture wash + gentle agitation
The safest deep clean for terracotta is a low-moisture wash that lifts grime without soaking. You’re targeting dirt in pores and grout-edge buildup, but you’re doing it in controlled sections with gentle agitation and frequent water management.
Keeping terracotta damp rather than saturated reduces the chance that loosened dirt re-deposits deeper in the tile as it dries.
Microfiber mops and soft nylon brushes can remove embedded soil with less risk of scratching than abrasive pads.
Changing rinse water during deep cleaning helps prevent redepositing suspended soil, especially in high-traffic zones.
Step-by-step:
1. Mix cleaner according to the label (don’t guess on dilution). Use the concentration the product specifies for “cleaning” or “heavy soil,” whichever applies.
2. Apply in small sections and keep the floor only damp—not soaked. If your solution pools, you’re already overdoing moisture.
3. Use a microfiber mop or soft nylon brush and work in straight sections to lift embedded dirt without over-scrubbing. For corners, use a clean cloth edge or a small brush rather than dragging a dirty mop head.
4. Work systematically: start farthest from your exit and overlap passes slightly so you don’t miss strips of tile.
5. Rinse thoroughly with clean water (as recommended by the product instructions) and change rinse water when it gets dirty, especially near high-traffic areas.
Process logic (why this works): terracotta is porous ceramic clay—so dirt and oils can sit in micro-channels. Gentle agitation dislodges the soil; low moisture limits how far it travels; rinsing removes the mobilized residue before it re-dries as haze.
According to Natural Stone Institute maintenance guidance on pH and cleaning, residue left by improper cleaners can contribute to faster resoiling and uneven appearance (a common “hazy” outcome).
Rinse, dry, and check for residue or hazing
The final pass determines whether your floor looks truly clean or just “temporarily dark.” After the wash, you must rinse thoroughly and dry promptly so leftover minerals or cleaner film don’t re-deposit in pores.
Prompt drying reduces the likelihood of mineral deposits and cleaner haze becoming visible as the floor dries.
Streaks or uneven dull patches often indicate trapped residue in pores rather than remaining surface dirt.
If residue remains, improving rinse technique is usually safer than escalating chemical strength.
Do this:
– Dry the floor promptly using clean towels or a dry mop. Use towels for edges where water hides under grout lips.
– Inspect in good lighting for dull patches, streaks, or uneven color—these often mean residue is trapped in pores.
– If residue remains, repeat with a lighter cleaner solution and better rinsing rather than switching to stronger chemicals right away. The goal is to remove film, not to “re-etch” the surface.
According to manufacturer care instructions commonly provided for natural stone cleaners, re-cleaning with correct dilution and extra rinsing is preferred to harsh chemistry escalation.
Pros/cons: cleaner intensity vs. finish safety
| Approach | Pros | Cons / risks |
|---|---|---|
| Low-moisture, pH-balanced cleaner + multiple rinses | Most consistent results; lower risk of film and haze | Requires patience and proper section control |
| High-concentration “deep clean” chemicals | May feel faster initially | Higher chance of residue, dulling, or finish breakdown |
| Abrasive pads / aggressive scrubbing | Can remove stubborn scuffs | Scratches and surface roughening increase future dirt pickup |
What can go wrong (and how to avoid it)
The most common deep-clean failures are caused by water, chemistry, and mechanical abrasion—not by a lack of scrubbing. Avoid over-wetting, skip harsh cleaners, and use gentle tools so the terracotta stays stable and visually even.
Standing water can seep into terracotta and carry soil deeper, causing the floor to look darker after it dries.
Acidic cleaners can etch surfaces and finishes, creating permanent dullness or color change.
Skipping rinsing leaves residue that attracts more soil and can produce a lasting haze.
Common pitfalls:
– Over-wetting: standing water can seep into terracotta and carry dirt deeper, making “clean” areas look darker later.
– Wrong chemical: acidic cleaners (or very alkaline degreasers) can etch or strip finishes, causing permanent dullness or color change.
– Aggressive scrubbing: wire brushes, abrasive pads, or high-pressure methods can scratch and roughen the surface over time.
– Skipping rinsing: even a “stone-safe” cleaner can leave film that attracts more soil and makes the floor look hazy.
Edge case to watch: partially sealed floors. If only some areas are sealed (common around vents, windowsills, or previously maintained zones), the floor may dry unevenly—darker where the sealer absorbs less or where moisture lingers.
Verdict: best-practice deep clean (and who should skip DIY)
A controlled, pH-balanced low-moisture wash followed by thorough rinsing and fast drying is the safest DIY route for most terracotta floors. The downside is that deep cleaning takes longer than “spray and wipe,” and heavily stained floors may require targeted stain removal rather than general cleaning.
For most terracotta, the lowest-risk method is gentle agitation with correct dilution, followed by thorough rinse and immediate drying.
If the goal is appearance restoration, film removal is often more important than stronger chemistry.
When finish condition is uncertain, a test patch prevents permanent color or sheen changes.
Skip the DIY approach if you suspect significant etching, damaged sealer, crumbling grout, or widespread staining you can’t identify—those situations may require a specialist cleaning method tailored to the surface condition. Also pause DIY if your floor has structural issues (loose tiles, failing grout, or widespread hollow spots) because excess moisture can worsen them.
[ADD: For your specific product brand, include the manufacturer’s recommended dilution ratio and whether they require neutral-water rinsing.]
Quick checklist (save this)
– [ ] Dry-sweep + vacuum with soft attachment
– [ ] Choose pH-balanced stone/terracotta cleaner (label dilution only)
– [ ] Test patch in a hidden spot
– [ ] Damp mop in sections (no soaking)
– [ ] Gentle brush/microfiber agitation only
– [ ] Rinse thoroughly with clean water
– [ ] Dry immediately; re-check for haze
FAQ
Can I use vinegar or bleach to deep clean terracotta floors?
Usually, no—vinegar and bleach are both likely to be too harsh for natural terracotta or any existing finish. Use a cleaner specifically formulated for terracotta/natural stone instead, following the label instructions.
What if my terracotta looks darker after cleaning?
That often happens when dirt and moisture are trapped in pores or when the floor wasn’t dried quickly enough. Rinse thoroughly, dry right away, and avoid soaking next time.
Should I strip the sealer before deep cleaning?
Only if you’re sure the sealer needs removal and you have a compatible stripping product and process. If you’re unsure whether the floor is sealed, start with a test patch using a gentle, compatible cleaner.
How often should I deep clean terracotta?
It depends on foot traffic and whether it’s sealed, but deep cleaning is typically less frequent than routine mopping. [ADD: recommended frequency based on the specific product/manufacturer care guide you use.]
Sources
– Natural Stone Institute (formerly Marble Institute of America) — pH-balanced cleaning guidance and warnings about acidic/alkaline cleaners on natural stone
– [ADD: manufacturer care guidelines for terracotta cleaning (pH guidance and dilution instructions) from the product label or official website]
– [ADD: manufacturer or natural-stone care documentation explaining pH-balanced cleaning and residue/haze risks]
Deep cleaning terracotta floors works best when you treat the process like a control system: remove grit first, clean with the correct pH chemistry, keep moisture low, and rinse/dry thoroughly. If you follow the sequence—prep, pH-balanced damp wash, rinse, then immediate drying—you reduce the biggest risks: over-wetting, finish damage, and the haze that comes from residue.
Frequently Asked Questions
How do you deep clean terracotta floors without damaging the seal?
Start by dry sweeping or vacuuming to remove grit, since sand can scratch terracotta. Use a pH-neutral cleaner made for natural stone/terracotta and dilute it according to the label. Avoid acidic cleaners (vinegar, lemon, descalers) and do not soak the tiles—apply with a damp mop or soft brush and then rinse with clean water to remove residue. If your terracotta is sealed, test any cleaner in a small hidden area first, and consider reapplying a penetrating sealer after the deep clean if the surface looks dull or water no longer beads.
What is the best way to remove embedded dirt and grime from terracotta tile?
For embedded dirt, begin with a thorough dry clean, then use a soft-bristle brush and a terracotta-safe cleaner to work the solution into grout lines and low-traffic buildup areas. Let the cleaner dwell briefly (per product directions) so it loosens grime, then scrub gently in circular motions. Rinse well with clean water to prevent a hazy film, and repeat only on the dirtiest spots rather than over-wetting the entire floor. For heavy buildup, a steam cleaner is sometimes used on stone, but only if the manufacturer explicitly says it’s safe for your terracotta and finish.
Which cleaning products should you avoid when deep cleaning terracotta floors?
Avoid anything acidic or harsh, including vinegar, hydrochloric acid, toilet bowl cleaners, and descalers, because they can etch terracotta and weaken the surface. Stay away from abrasive powders, steel wool, and stiff scrubbers that can scratch and dull the tile. Also be cautious with “all-purpose” cleaners that may contain detergents or solvents that leave residue; residue can attract dirt and make the floor look streaky. Use only pH-neutral, terracotta or natural stone–approved products for the safest deep cleaning results.
Why does deep cleaning terracotta floors leave them looking dull or blotchy, and how can you prevent it?
Dullness or blotchy areas often come from soap residue, over-wetting, or using the wrong pH cleaner that alters the porous surface. Terracotta is porous and absorbs moisture, so letting water sit or skipping a thorough rinse can cause uneven discoloration. To prevent this, clean in small sections, keep the floor damp (not wet), and rinse with clean water after the scrubbing step. After drying completely, you can protect the finish with the appropriate terracotta sealer to maintain an even look.
How often should you deep clean terracotta floors, and what routine helps between deep cleans?
Deep clean terracotta floors about every 6–12 months, depending on traffic, indoor/outdoor conditions, and whether pets or heavy foot traffic contribute to dirt buildup. Between deep cleans, use dry sweeping or vacuuming with a soft brush attachment, then mop occasionally with a pH-neutral terracotta cleaner diluted properly. Place doormats at entryways to reduce grit, and wipe up spills promptly to minimize staining. Consistent gentle maintenance helps keep the grout and tile cleaner so your next deep clean is faster and more effective.
📅 Last Updated: October 10, 2026 | Topic: How to deep clean terracotta floors? | Content verified for accuracy and freshness.
References
- Google Scholar Google Scholar
https://scholar.google.com/scholar?q=deep+cleaning+terracotta+tile+floors+porous+stone - Google Scholar Google Scholar
https://scholar.google.com/scholar?q=terracotta+tile+cleaning+methods+acid+alkali+neutral+pH - Google Scholar Google Scholar
https://scholar.google.com/scholar?q=terracotta+floor+maintenance+sealing+stain+removal - https://en.wikipedia.org/wiki/Terracotta
- Tile
https://en.wikipedia.org/wiki/Tile - https://www.nps.gov/subjects/preservationbriefs/preservation-briefs.htm
- Conservation Institute | Getty
https://www.getty.edu/conservation/ - Homepage | ICCROM
https://www.iccrom.org/ - U.S. Environmental Protection Agency | US EPA
https://www.epa.gov/ - https://pubmed.ncbi.nlm.nih.gov/