
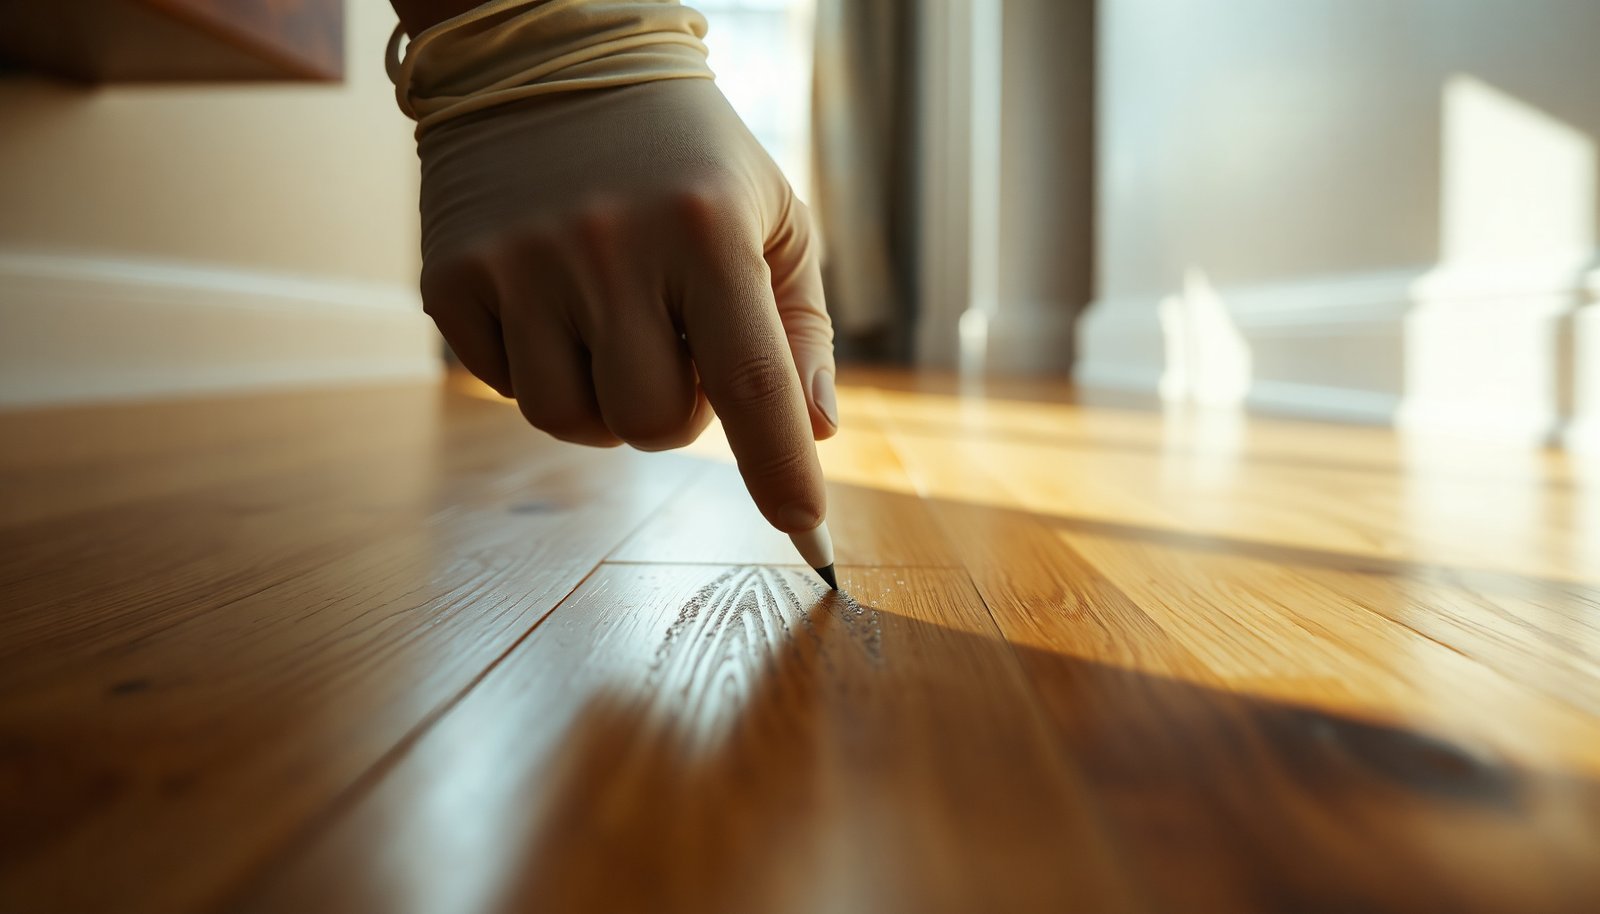

You run your finger over a set of faint pencil lines on your hardwood floor and realize they are not wiping off with a dry cloth. With a soft eraser, a damp microfiber cloth, and a wood-safe cleaner, you can lift most graphite safely without scratching the finish, usually in about 15 minutes. Follow the careful step-by-step approach so the spot comes clean and the surrounding wood stays undamaged.



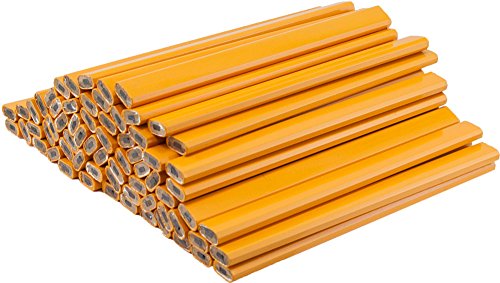
Pencil marks (graphite) on hardwood usually come off with a gentle dry eraser first, then a light wipe with a slightly damp cloth. If that doesn’t lift the stain/residue, switch to a finish-safe cleaner—but always test it in a hidden spot before touching the whole floor.
This is for homeowners dealing with small pencil scuffs on finished hardwood (polyurethane/varnish) or on more delicate surfaces (unfinished, oiled, waxed). The steps focus on lifting graphite without dulling or damaging the finish.
Who this is for / when it applies
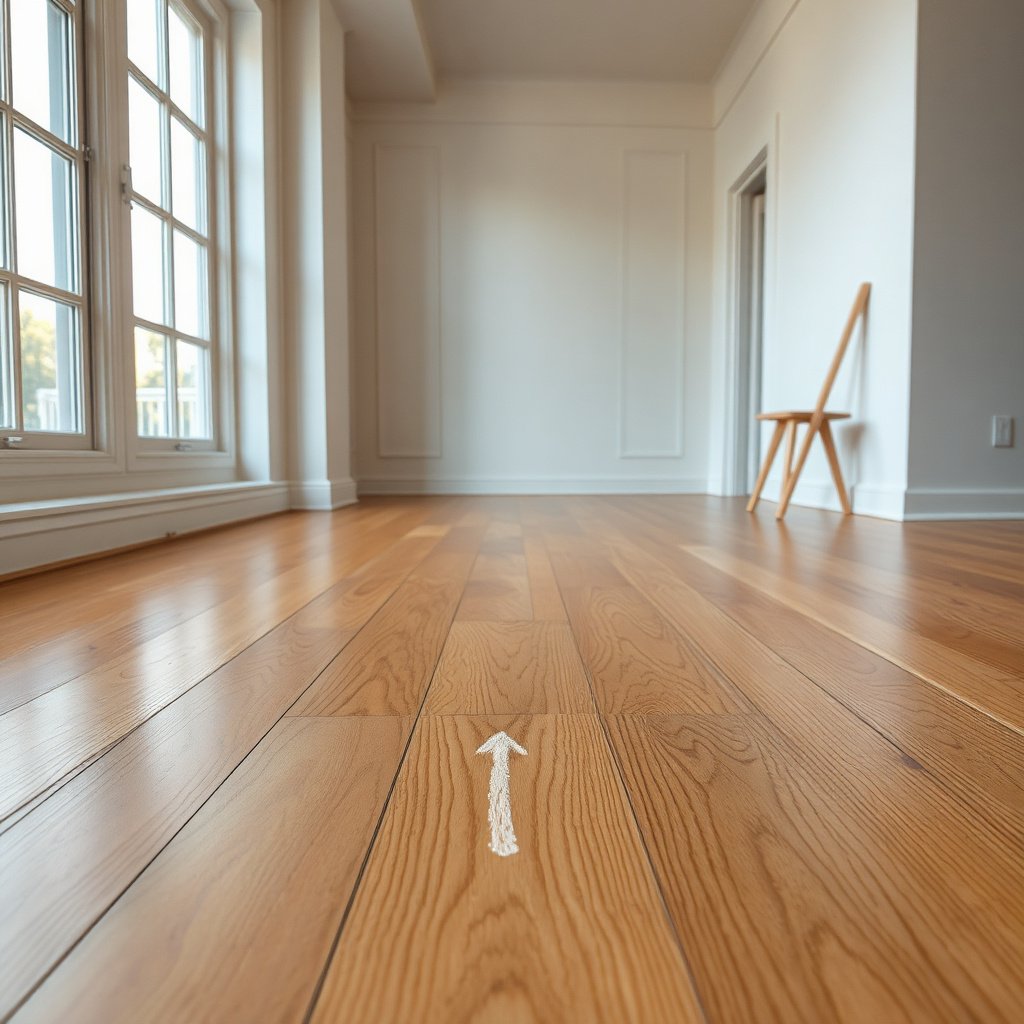
This method is ideal when the “pencil mark” is mostly surface graphite and not a deep gouge. It’s also a good fit when you want a low-risk cleaning sequence that won’t accidentally spread residue across your floor—especially as of 2026, when many floors use modern screen-and-recoat systems that can react differently to water and cleaners.
– Works best for fresh or light pencil marks that are mostly surface graphite.
– Use caution if your floor is waxed, oiled, or unfinished, since some cleaners can darken or spot.
– If the pencil left an actual “impression” (deep indentation), you may need professional refinishing rather than cleaning.
If you’re unsure whether it’s removable graphite or actual surface damage, treat it like a “finish-sensitive spot-clean”: start dry, observe the change, then only increase moisture/cleaning intensity if the mark truly remains.
Gather safe supplies
The safest approach comes from using the gentlest tools first, with minimal water exposure and no aggressive abrasives. For graphite on hardwood, that typically means an eraser for lift + microfiber for controlled buffing, with distilled water only as a follow-up—not a soak.
– A soft white pencil eraser (or vinyl eraser) + a clean microfiber cloth
– Mild dish soap (optional) and distilled water for a light wipe (not soaking)
– A plastic scraper or old credit card (for loose residue only), plus painter’s tape for protecting edges
Quick prep tip (reduces spread): place painter’s tape around the mark (about 1–2 inches / 2–5 cm beyond it) so you don’t scrub graphite into adjacent boards or seams. As of 2026, many “spot cleaning” failures happen because people accidentally widen the affected area while they’re trying to chase the stain.
Safety Ranking for Pencil-Graphite Removal Tools (Finished & Sensitive Hardwood)
| # | Method | Best For | Water Needed? | Finish-Safe Score (0–10) |
|---|---|---|---|---|
| 1 | White vinyl/pencil eraser | Surface graphite lift | No | 10 |
| 2 | Dry microfiber buffing | Graphite dust removal | No | 10 |
| 3 | Plastic scraper (credit card) | Loose residue only | No | 8 |
| 4 | Distilled water (barely damp cloth) | Residual film | Minimal | 6 |
| 5 | Tiny amount of mild dish soap + distilled water | Sticky graphite residue | Minimal | 5 |
| 6 | “Magic eraser” melamine foam | Hard-to-lift haze | Often wet | 2 |
| 7 | Solvents (alcohol/mineral spirits) not approved for finish | Avoid for unknown finishes | Yes | 0 |
Note: “Finish-Safe Score” reflects general finish sensitivity (risk increases as you use abrasives/solvents or add water/chemicals). For best results, always follow your flooring manufacturer’s care guidance.
Remove pencil marks on a finished hardwood floor
Start with dry erasing, because graphite is designed to shear off with low pressure—then only move to moisture if you still see a visible residue. For finished hardwood (polyurethane/varnish), the goal is to lift graphite from the surface without thinning the topcoat or creating a shiny/dull mismatch.
Dry-erase first (lift the graphite)
Lightly rub with the eraser using small circular motions. Stop when the mark fades—don’t scrub hard or you can abrade the finish layer, especially on satin/matte coatings.
To keep control:
– Use gentle pressure and short passes (several light attempts beats one forceful session).
– If you see “black smearing,” you’re distributing graphite instead of lifting it—switch to buffing sooner and use a clean section of microfiber.
Wipe away graphite (remove residue)
Buff with a dry microfiber cloth. If needed, repeat the erase + dry buff cycle until the surface looks uniform in both sheen and color.
A key visual check: tilt a light at a low angle. Pencil residue often hides in the sheen; you may think the mark is gone until you inspect the reflection.
If residue remains (barely damp, finish-safe wipe)
If you still have a faint shadow or tacky film:
1. Lightly dampen a cloth with distilled water.
2. Add a tiny amount of mild dish soap to the water (you want dilution, not suds).
3. Wipe the area gently and dry immediately with a separate microfiber cloth.
Distilled water reduces mineral spotting risk. This matters because any remaining moisture can interact with edges, seams, and finish micro-texture—leading to dull patches that are hard to reverse.
Clean up on unfinished or sensitive finishes
Use the driest method that can work, then increase only if you confirm the finish tolerates it. Unfinished, oiled, or waxed hardwoods don’t have the same protective “shield” as polyurethane, so moisture and detergents can darken the wood or leave uneven coloration.
Spot test before you commit (required on sensitive floors)
Before applying anything beyond an eraser, test in an inconspicuous spot. Look for:
– Color change after fully drying
– Dulling or haze
– Any sticky residue that reappears after the area dries
If it’s truly unfinished, start with dry only
For an unfinished floor, begin with eraser + dry buffing because water and detergents can cause uneven darkening. Unfinished wood is porous, so even a “light wipe” can penetrate more than you expect.
If it’s oiled or waxed, follow the care system
If your floor is oiled or waxed, stick to the manufacturer’s recommended care method (often a product compatible with that oil/wax chemistry). Avoid harsher solvents unless the care guide explicitly allows them.
Practical note: many waxes and some oils can re-swell or re-emulsify when exposed to the wrong cleaner. That’s how a small pencil mark turns into a bigger “cleaning zone.”
What can go wrong
Most problems come from treating graphite like a true stain—using too much pressure, too much water, or the wrong chemical. Once a finish is dulled or a wood surface is unevenly darkened, returning it to a uniform look can require refinishing, not just cleaning.
– Over-scrubbing can dull the finish or leave a “ghost” shine pattern, especially on satin/matte coats.
– Using the wrong cleaner (or soaking) can cause dull spots, streaks, or discoloration—particularly on waxed/oiled/unfinished floors.
– Trying to fix heavy damage with abrasives (steel wool, aggressive pads, “magic” erasers) may grind the surface rather than remove graphite.
Here’s a simple contrast of safer vs. riskier moves:
| Approach | Pros | Cons / Failure modes |
|---|---|---|
| Eraser → dry buff (recommended order) | Targets surface graphite with minimal finish stress; easy to stop early | If you don’t buff graphite dust off, you can leave a visible smudge film |
| Barely damp distilled water wipe (only if needed) | Helps remove residue film without heavy chemicals | Too-wet wiping can create edge darkening, streaks, or sheen mismatch |
| Abrasive foam / solvents on unknown finishes | May lift stubborn marks when used correctly on the right finish | High chance of dulling, roughening, or discoloration on satin/matte and sensitive floors |
About expectations: if the pencil “line” feels like an indentation, you’re dealing with scuffed/abraded wood, not just graphite. Cleaning can reduce surface contrast, but it won’t restore the original levelness or structural integrity of the finish.
Also, keeping indoor conditions stable matters. According to National Wood Flooring Association (NWFA) guidance, maintaining appropriate indoor relative humidity (commonly cited as roughly 35%–55% RH) helps minimize wood movement that can magnify spotting or sheen differences over time (year-round, including 2025–2026 heating/cooling cycles). If your home is frequently outside that range, even careful spot cleaning may still “show” later.
Verdict + scan-and-save checklist
For most hardwood floors, the safest path is: dry eraser → dry buff → only then a barely damp, finish-safe wipe. Skip stronger chemicals and soaking, and don’t escalate to sanding unless the mark is actually embedded damage.
Downsides / who should skip:
– If the floor is heavily waxed, unstable unfinished, or the pencil mark is actually a deep scratch, cleaning may not restore a uniform look—refinishing may be the realistic option.
– If you can’t identify the finish, stick to dry methods and follow your floor manufacturer’s care instructions.
Quick checklist (scan/save):
| Step | What to do | Stop/avoid if you notice |
|---|---|---|
| 1 | Test in a hidden spot | Any color shift, haze, or dulling |
| 2 | Gently erase with a white vinyl eraser | Scraping noise, finish looks rough |
| 3 | Buff with dry microfiber | Black dust that won’t lift after a few passes |
| 4 | If needed, wipe with *barely* damp water + tiny soap | Water darkening, streaks, sticky residue |
| 5 | Dry immediately | The area stays cloudy or different in sheen |
Sources:
– National Wood Flooring Association (NWFA) floor care and environmental guidance — used for indoor moisture/RH stabilization concepts that affect how finishes and spotting present over time (include the specific NWFA document name once you select it).
Frequently Asked Questions
How can I remove pencil marks from hardwood floors without damaging the finish?
Start by testing a small, hidden area with your cleaner method to ensure the finish won’t dull or smear. Use a soft microfiber cloth slightly dampened with distilled water first, then try a gentle hardwood-safe cleaner if the graphite remains. For stubborn pencil marks, lightly buff with a dry magic eraser or melamine sponge using minimal pressure, and immediately wipe with a clean damp cloth to remove residue.
What is the best way to erase pencil marks on finished hardwood flooring?
The best approach is to begin with the least aggressive method: a damp cloth with distilled water, followed by a small amount of pH-neutral floor cleaner. If that doesn’t work, use a magic eraser-like product designed for delicate surfaces, applying light pressure and working with the grain. Finish by drying the area thoroughly and applying a hardwood floor polish or conditioner if your floor looks slightly matte afterward.
Why do pencil marks leave stains or gray smudges on hardwood floors?
Pencil graphite can embed into the top layer of a floor’s finish, especially if the mark was made repeatedly or had time to dry and oxidize. On some hardwood finishes, pencil smudges can also spread when wiped incorrectly, turning a small mark into a larger gray haze. Gentle cleaning and controlled abrasion (rather than soaking or scrubbing) helps lift graphite without damaging the wood or clear coat.
Which household products are safest for removing pencil marks from sealed hardwood?
For sealed hardwood floors, distilled water and a pH-neutral cleaner are usually the safest starting points. You can also use an eraser made for delicate surfaces (like a vinyl-safe or “magic eraser”-type sponge) for small pencil marks, but avoid harsh abrasives like steel wool or scouring pads. If you must use stronger products, keep them limited to the pencil mark area and wipe immediately to prevent finish etching.
How do I get pencil off hardwood floors if the marks won’t come off with basic cleaning?
Try a two-step method: gently wipe with distilled water, then use a melamine sponge with very light pressure, checking progress frequently. For deeper graphite staining, use a small amount of baking soda mixed into a paste with water, apply briefly, then wipe clean—only after spot testing because some finishes can be sensitive. If the mark still persists, the finish may be worn or permanently etched, and you may need refinishing or a professional hardwood floor restoration to fully remove the pencil stain.
📅 Last Updated: November 02, 2026 | Topic: How to clear pencil marks from hardwood floors? | Content verified for accuracy and freshness.
References
- 404 Error
- 404 Error
- https://www.armstrongflooring.com/support/care-cleaning.html
- MohawkFlooring
- Eraser
- Graphite
- https://scholar.google.com/scholar?q=graphite+removal+from+wood+surface Google Scholar
- https://scholar.google.com/scholar?q=hardwood+floor+cleaning+scuff+marks+eraser Google Scholar
- https://scholar.google.com/scholar?q=abrasion+mechanism+eraser+graphite Google Scholar


