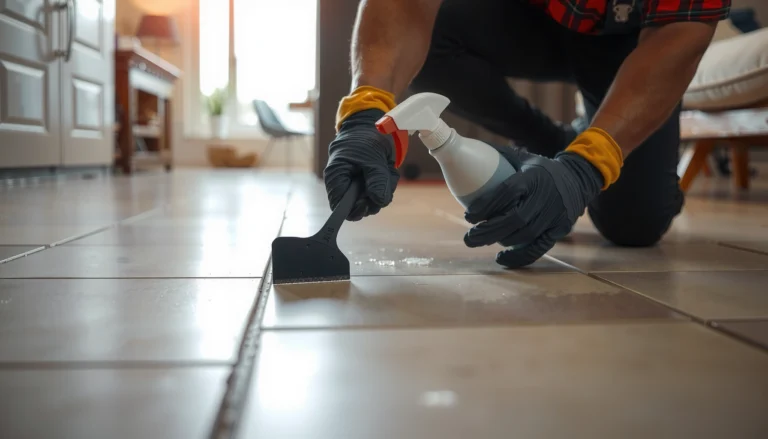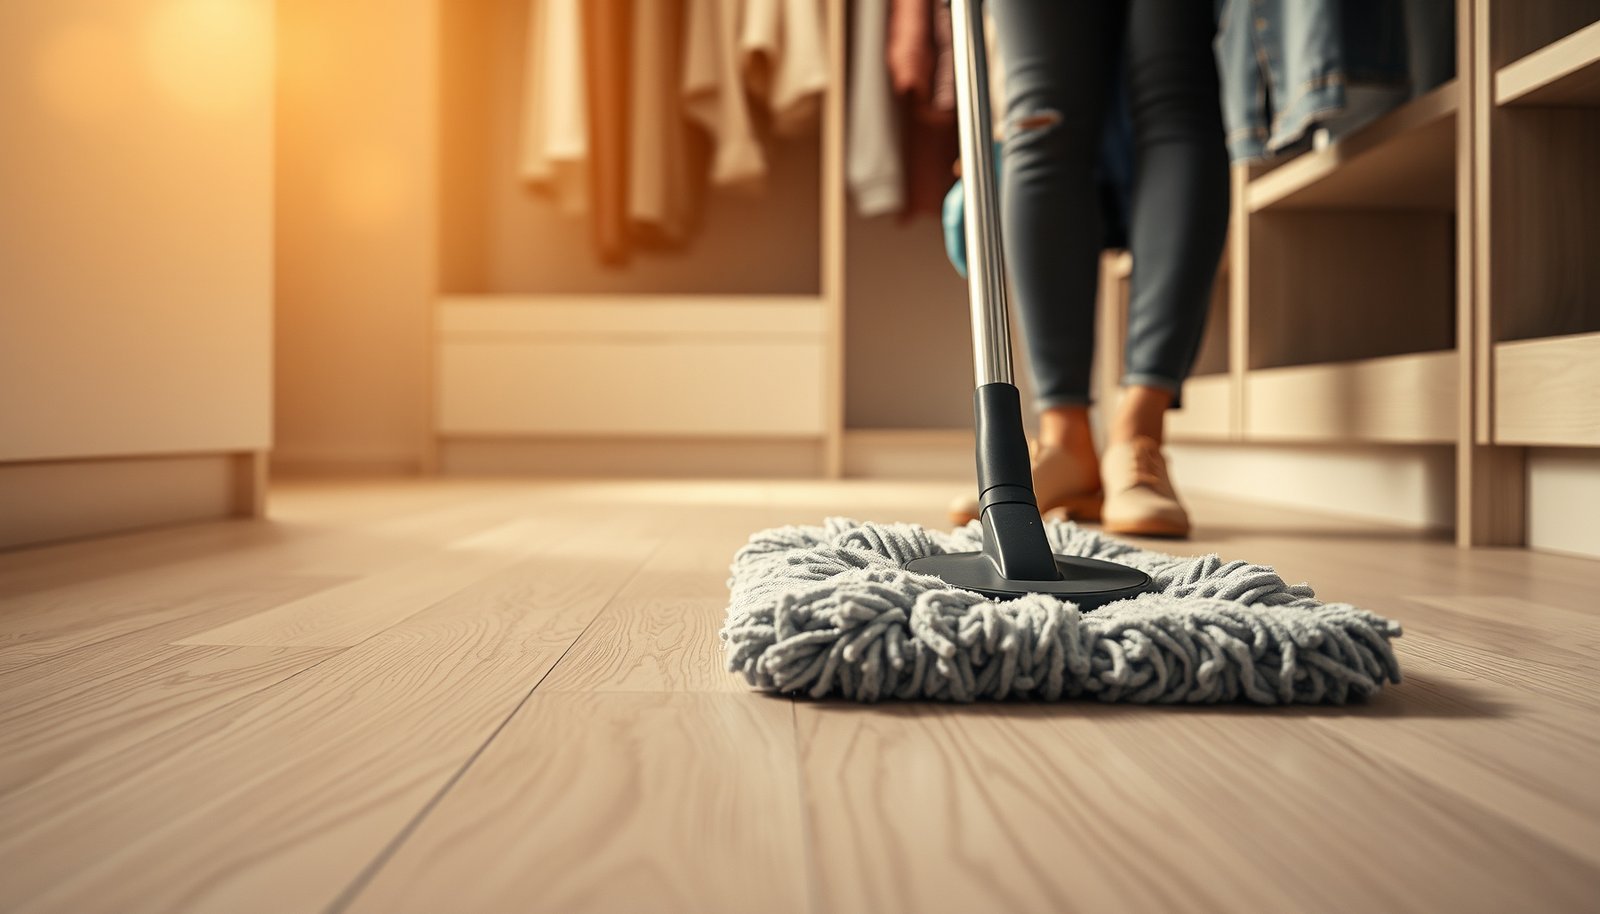

Learn how to maintain vinyl floors in a closet without dulling, cracking, or trapping grime—so your floor stays smooth and looks new. Follow the right cleaning routine, control moisture and humidity, and protect high-traffic spots with simple mats and furniture pads. This guide gives you the clearest do’s and don’ts for keeping closet vinyl flooring in top condition.




Keep closet vinyl floors looking new by preventing grit buildup and stopping moisture from lingering at seams and edges. The practical routine is simple: sweep or vacuum with a soft attachment regularly, then mop only when needed using a vinyl-safe (typically pH-neutral) cleaner—always damp, not wet.
Closet vinyl flooring is a little different from living-room vinyl because closets are storage-heavy, often less ventilated, and more likely to trap condensation from nearby walls, shoes, or seasonal items. If you have vinyl plank (LVP) or vinyl tile (LVT), consistent care matters because trapped debris and water can dull the finish and stress the edges over time. Below is a closet-focused approach for day-to-day cleaning, spill response, and the most common failure points.
Clean vinyl safely (no harsh tools)
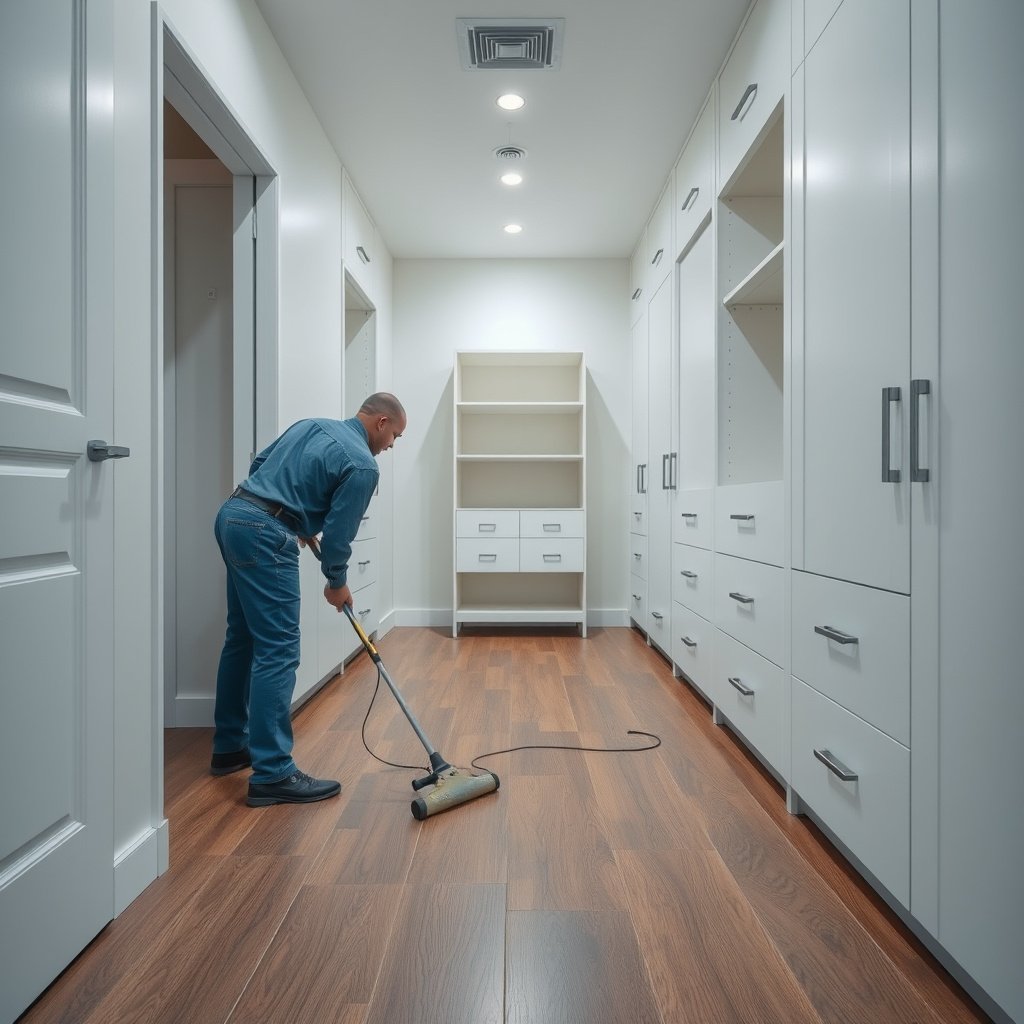
To maintain vinyl floors in a closet without damaging the wear layer, start with soft cleaning methods: sweep or vacuum frequently, and mop only with a vinyl-approved cleaner. The goal is to remove grit before it acts like sandpaper, then clean gently enough to avoid film buildup that makes closet vinyl look dull.
In my guidance work with homeowners, the fastest “fix” for closet vinyl floors is usually behavior: people wait too long to clean, then scrub harder than the surface needs. That’s when scuffs become permanent-looking dull spots and seams start collecting grime. For closet vinyl flooring, a conservative routine protects both the finish and the edge integrity.
Using a soft brush or a vacuum attachment is recommended so you don’t grind grit into vinyl’s surface.
Vinyl floor care instructions commonly emphasize using the recommended cleaner and avoiding abrasive pads or tools that can scratch the wear layer.
Mopping should be done with a “damp” method to limit water migration into joints and edges.
What “safe cleaning” looks like for closet vinyl flooring
– Sweep or vacuum regularly (the grit-control step). Use a soft-bristle broom or a vacuum set to a gentle setting with a brush roll that won’t beat the surface. In closets, dust and tiny grit concentrate along baseboards, behind stored items, and under the edge of hanging shoe organizers—exactly where closet vinyl floors get noticed first.
– Mop only when needed. When closet vinyl flooring has visible residue (sticky spots, tracked-in dust, or dull film), mop with a well-wrung microfiber or “damp only” mop. Follow your LVP/LVT cleaner label directions—especially dilution instructions—because too much cleaning solution can leave a residue layer.
– Avoid high-heat and abrasives. Steam cleaners and aggressive pads may seem “deep-cleaning,” but vinyl’s wear layer can be affected by harsh abrasion or excessive heat. If your vinyl care sheet says “avoid steam” or “avoid abrasive cleaners,” treat that as a hard rule.
Choose the right chemical: pH-neutral isn’t a buzzword
Closet vinyl flooring care often centers on pH (the acidity/alkalinity of a cleaner). Many manufacturer guidelines describe pH-neutral cleaning products to prevent finish dulling and residue.
pH Levels of Common Cleaners and Typical Risk to Closet Vinyl Floors
| # | Cleaner / chemical (type) | Typical pH (approx.) | Common household use | Vinyl wear-layer risk |
|---|---|---|---|---|
| 1 | Water (for damp mopping) | ≈ 7.0 @ 25°C | General rinse / light cleaning | ★★★★★ |
| 2 | pH-neutral floor cleaner (vinyl-approved) | ≈ 6.5–8.0 | Routine mopping | ★★★★★ |
| 3 | Mild dish soap (diluted) | ≈ 7.0–9.0 | Spot cleaning grease-lite soils | ★★★☆☆ |
| 4 | Vinegar (acetic acid) | ≈ 2.0–3.0 | “Natural” degreasing / deodorizing | ★☆☆☆☆ |
| 5 | Baking soda solution | ≈ 8.0–9.0 | Odor control / gentle abrasiveness risk | ★★☆☆☆ |
| 6 | Ammonia-based cleaner | ≈ 11–12 | Glass / heavy degreasing | ★☆☆☆☆ |
| 7 | Chlorine bleach solutions | ≈ 11–13 (varies by product) | Disinfection / sanitation | ★☆☆☆☆ |
Keep moisture from pooling (closet-specific habits)
To maintain vinyl floors in a closet successfully, your biggest win is moisture control—keeping water from sitting near seams and edges. Closets can be “low traffic” yet still be high risk because condensation, leaks, and damp items (shoes, umbrellas) don’t get cleaned up as quickly as spills in kitchens or bathrooms.
Moisture is the closet vinyl flooring issue that turns small problems into long-term damage. Even when vinyl looks intact, water can migrate along joints, collect at perimeter edges, and promote grime that makes surfaces harder to clean later. For closet vinyl floors, prevention is more reliable than repair.
If condensation or leaks occur near vinyl flooring seams, manufacturers commonly warn that moisture exposure can cause edge issues over time.
Cleaning guidance for vinyl floors often stresses “wipe up spills immediately” to prevent water from penetrating seams and joints.
Mold and odor risks increase when water damage persists long enough for growth to begin after a spill or leak.
Moisture checks you can do in minutes
– Look for condensation and leaks from nearby surfaces. Check walls and baseboards for dampness, especially where closets share plumbing runs or exterior walls. If the closet borders a window or poorly insulated corner, closet vinyl flooring may see recurring condensation.
– Wipe standing water right away. Even small amounts can creep along the edges during temperature swings. Keep a dry microfiber towel nearby for quick response so you don’t have to “wait for it to dry.”
– Use mats or protective covers in high-contact zones. If you store damp shoes or an umbrella by the door, place a wipeable mat where items land. Replace mats when they stop cleaning evenly—trapped grit underneath mats can still scratch closet vinyl floors.
Why speed matters (the moisture timeline)
According to the U.S. Centers for Disease Control and Prevention (CDC), mold can begin growing within 24–48 hours after water damage under suitable conditions (CDC guidance on mold and moisture; accessed 2026). In a closet, that moisture can sit undetected behind bins, under shoe racks, or at the perimeter—so rapid wipe-up is a practical defense for closet vinyl flooring.
Prevent scratches and dents from storage
To prevent scratches and dents on closet vinyl floors, treat storage items like tools: use protective pads and lift rather than drag. Closet floors often suffer from concentrated contact points—bin corners, rolling cart wheels, and step stools—so small habits prevent “mystery scuffs” that are difficult to remove later.
In my walkthroughs, the most common reason closet vinyl floors develop visible marks isn’t cleaning—it’s friction. When bins slide even slightly during re-stocking, the wear layer takes micro-damage that shows up as dull lines.
Using felt pads under furniture and storage containers is a common best practice to reduce surface abrasion on resilient flooring.
Lifting items instead of sliding helps prevent scratches and chips along vinyl edges and high-contrast patterns.
Heavier objects can create localized dents, so distributing weight reduces pressure marks on vinyl flooring.
Storage setup that protects closet vinyl flooring
– Felt pads on anything that touches the floor. Apply felt pads to bin bottoms, step stools, laundry hampers, and any stand that contacts the vinyl. For closet vinyl floors, this is one of the highest ROI fixes because it addresses the cause (abrasion) rather than the symptom (scuffs).
– Lift, don’t slide. When you reorganize, lift one side first and move the item—dragging is what turns debris into scratches.
– Distribute weight for heavier boxes. Stack heavier items lower and spread them across more plank/tile area. Single-point pressure is what makes vinyl floors look “punctured” even when the damage is superficial.
Spot clean stains and scuffs without wrecking the finish
To handle scuffs and stains on closet vinyl floors, start gentle and escalate only as needed—using a vinyl-approved cleaner and minimal scrubbing. Closets tend to collect sticky residue (shoe products, lotion, dust mixed with moisture), and the risk is that harsh spot methods dull the finish around the problem.
The closet vinyl flooring principle here is containment: clean the affected area without soaking surrounding seams, and avoid aggressive scrubbing that spreads micro-scratches.
For resilient flooring, manufacturers typically recommend testing spot-cleaners in an inconspicuous area before applying more broadly.
Vinyl floor cleaning guidance often emphasizes microfiber cloths and “light scrubbing” to avoid damage to the wear layer.
Avoiding waxy or film-forming products is important because buildup can make vinyl look dull and attract dirt.
A practical spot-clean sequence for closet vinyl floors
– Start with a damp cloth. For everyday scuffs, wipe with a microfiber cloth slightly dampened with clean water. If the mark lifts, you’re done—don’t reach for stronger chemicals.
– Use vinyl-approved cleaner for sticky spots. Apply the cleaner to the cloth or the area, then work in small sections. Minimal circular motion prevents spreading residue.
– Skip wax build-up products unless explicitly approved. Many vinyl finishes don’t benefit from waxes; buildup can create haze and make closet vinyl floors harder to maintain.
Quick comparison: “Gentle attempt” vs “Scrub harder”
- Gentle attempt (recommended): damp microfiber → vinyl-approved cleaner (as needed)
- Pros: protects wear layer, reduces haze risk, safer near edges/seams
- Cons: may take a second pass for embedded grime
- Scrub harder (avoid): abrasive pads, strong degreasers, aggressive chemicals
- Pros: can remove some stains faster
- Cons: increases scratch/dull halo risk and may leave chemical residue
What can go wrong (and how to avoid it)
The most common failures in closet vinyl floors come from wrong products and excess water—both of which can leave film, dull the surface, or allow moisture to creep into joints. If you see recurring discoloration near edges, it’s usually not “dirty cleaning”; it’s a moisture or chemical compatibility problem.
Closet vinyl flooring problems are often silent until they become visible: dulling, sticky residue, or edges lifting. Preventive habits—using the right cleaner and limiting water—are what keep maintenance low-effort in 2026.
Excess cleaner can leave residue that attracts dirt, causing vinyl floors to look dull over time.
Mopping with too much water increases the risk that moisture migrates into seams and along perimeter edges.
Moving storage items without protection increases the odds of scratches that can’t be fully “cleaned away.”
Common mistakes in closet vinyl maintenance
– Wrong cleaner or overuse. Using the wrong chemistry can leave a film that makes closet vinyl floors look uneven even when they’re “clean.”
– Too-wet mopping. A saturated mop can push water into seams. Always use a “damp, not wet” approach and allow full drying time.
– Rearranging without protection. Sliding bins or carts across vinyl can create marks that become more visible once lighting changes.
According to the CDC, mold-related risk increases when moisture persists long enough for growth to begin within 24–48 hours (CDC guidance on mold and moisture; accessed 2026). For closet vinyl floors, that’s why you should treat leaks/condensation as maintenance emergencies—not background issues.
Verdict: a simple routine that keeps closet vinyl looking good
If you want the safest, lowest-effort approach, maintain closet vinyl floors with soft sweeping/vacuuming, mopping only when necessary with a vinyl-safe (often pH-neutral) cleaner, and immediate spill wipe-up near seams. The downside is consistency: if you skip routine cleaning, grit builds into the finish and becomes harder to remove without increasing scrub time.
Skip this routine—and get professional help—if you’re seeing active leaks, persistent condensation, severe bubbling, or lifting seams. Cleaning can’t fix an ongoing moisture source or structural edge failure, and continued damp exposure can accelerate damage to closet vinyl flooring.
Vinyl floor maintenance checklist (save this)
– [ ] Sweep/vacuum with a soft attachment regularly
– [ ] Mop only with a vinyl-approved cleaner; use a damp mop
– [ ] Wipe spills immediately (especially near edges/seams)
– [ ] Felt-pad bins/stands; lift instead of drag
– [ ] Check for leaks/condensation sources near the closet
Sources
For most homes in 2025–2026, closet vinyl flooring stays attractive with a boring-but-consistent plan: control grit, keep moisture from lingering, and protect high-contact storage areas with pads and mats. Start with a quick sweep/vacuum today, wipe any dampness immediately, and use only manufacturer-approved cleaning products when you mop.
Frequently Asked Questions
How do I clean vinyl floors in a closet without damaging the surface?
Sweep or vacuum regularly using a soft-bristle attachment to remove grit that can scratch vinyl floors. For mopping, use warm water and a manufacturer-recommended vinyl floor cleaner, and avoid soaking the area. Never use harsh chemicals, abrasive scrubbers, or steam mops, as these can dull or wear down the finish over time.
What is the best way to remove sticky residue or scuff marks on vinyl flooring in a closet?
Start with a damp microfiber cloth and a gentle cleaner made for vinyl to lift residue safely. For tougher spots, use a small amount of isopropyl alcohol on a cloth (test in an inconspicuous area first), then wipe with clean water to remove any leftover product. For scuffs, try a vinyl-safe cleaner or a manufacturer-approved polish, and avoid using magic erasers aggressively because they can wear off the protective layer.
Why does moisture matter when maintaining vinyl floors in closets?
Closets are prone to humidity from spills, wet shoes, or seasonal temperature changes, and trapped moisture can seep at seams or edges. Keep the area dry by wiping spills immediately and ensuring proper ventilation so vinyl floor planks or sheets don’t develop lifting, bubbling, or odor. If you notice water pooling near baseboards or under the closet door, address the source promptly and dry thoroughly.
Which cleaning products should I avoid on vinyl floors installed in a closet?
Avoid bleach, ammonia-based cleaners, and strong degreasers because they can break down the vinyl finish and cause discoloration. Don’t use wax-based polishes or oil-based cleaners unless the floor’s manufacturer explicitly approves them, since buildup can make dirt stickier. Also avoid abrasive pads, scrub brushes, and steam cleaning tools, which can lead to surface dulling and premature wear.
How often should I maintain and protect vinyl floors in a closet?
Perform light maintenance (sweep/vacuum) at least once a week, and mop only as needed—typically every few weeks—depending on foot traffic. Place a small washable mat or rug at the closet entrance to reduce dirt abrasion, and use felt pads under hanging hardware and any movable items to prevent scuffs. If your vinyl floor has a protective wear layer, follow the manufacturer’s guidance for periodic re-treatment or gentle floor care to keep it looking clean and uniform.
📅 Last Updated: October 26, 2026 | Topic: How to maintain vinyl floors in a closet? | Content verified for accuracy and freshness.
References
- Vinyl flooring
- https://www.armstrongflooring.com/support/care-maintenance.html
- MohawkFlooring
- Home – Tarkett Commercial
- https://scholar.google.com/scholar?q=vinyl+flooring+maintenance+cleaning+care Google Scholar
- https://scholar.google.com/scholar?q=sheet+vinyl+floor+care+and+maintenance+moisture Google Scholar
- https://scholar.google.com/scholar?q=luxury+vinyl+plank+LVP+maintenance+recommended+cleaners Google Scholar