
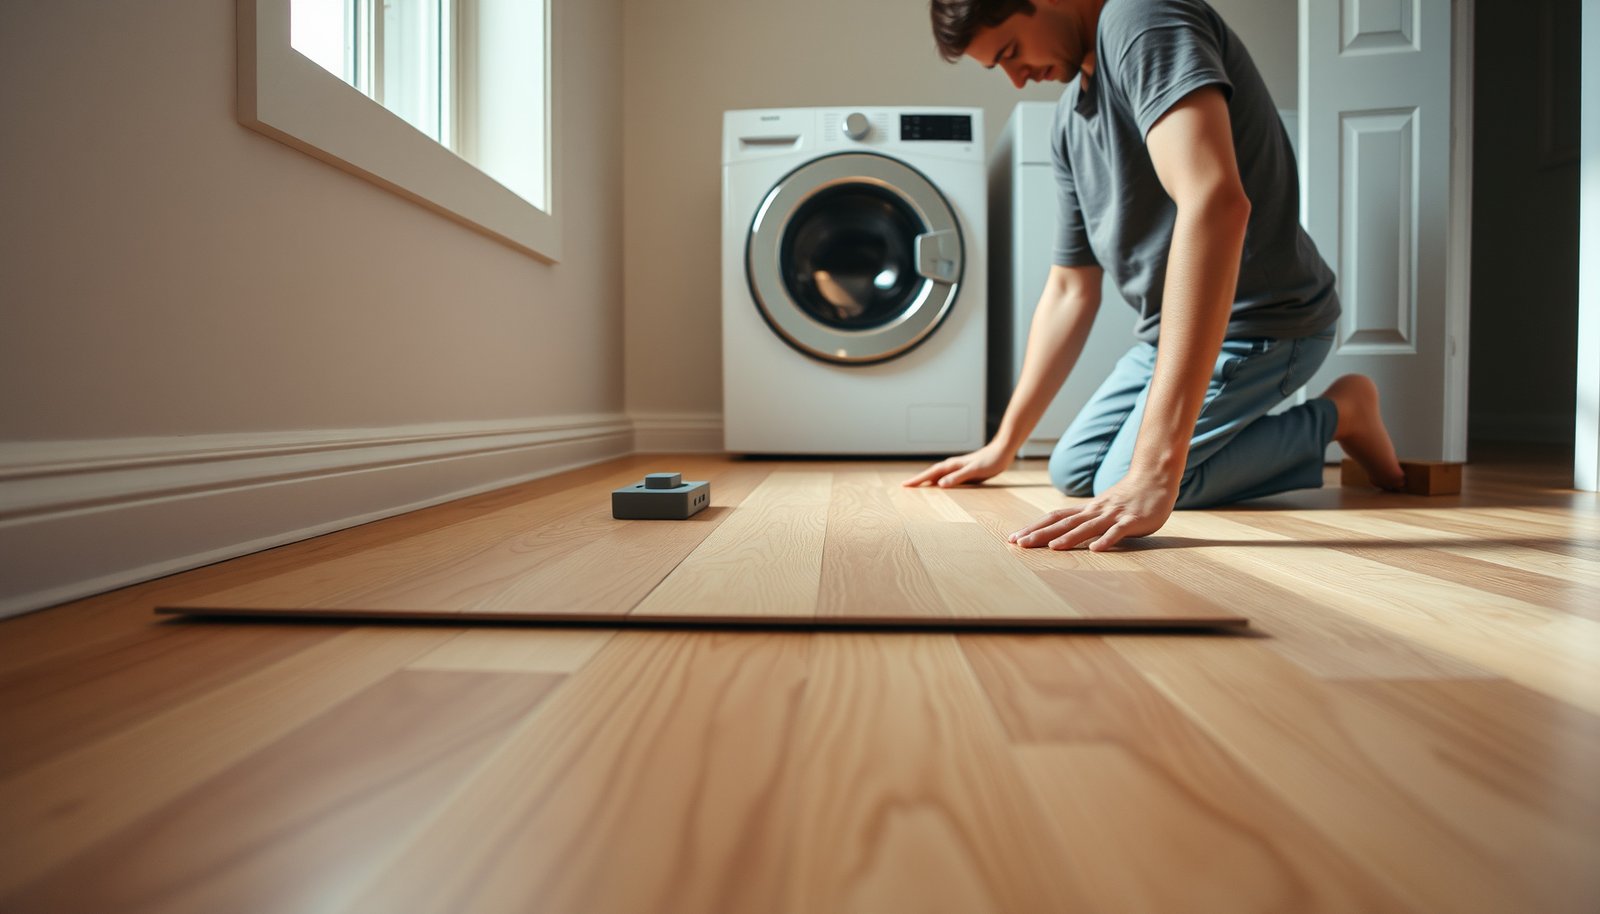

Learn how to install laminate floors in a laundry room step by step, with the exact order of work—from subfloor prep to clicking planks and sealing around the washer. If you want a durable, water-resistant finish that holds up to daily spills and humidity, this straightforward walkthrough shows the quickest reliable path to get it right the first time.




Laminate can work in a laundry room, but only if you control moisture and seal the right areas. If you plan for proper subfloor prep, maintain a tight expansion gap, and handle doorways/plumbing penetrations correctly, you can install click-lock laminate in a way that resists common water-damage failures. Below is a practical approach designed for laundry rooms where spills and splash-downs are part of everyday life (and the floor still has to look good in 2026).
If your laundry room gets frequent splashes from washing machines, wet laundry, or routine mopping, this guide is for you. It’s especially useful if you’re installing click-lock laminate and want a clear checklist of what matters most in a moisture-prone space.
Check moisture risk, product type, and subfloor condition
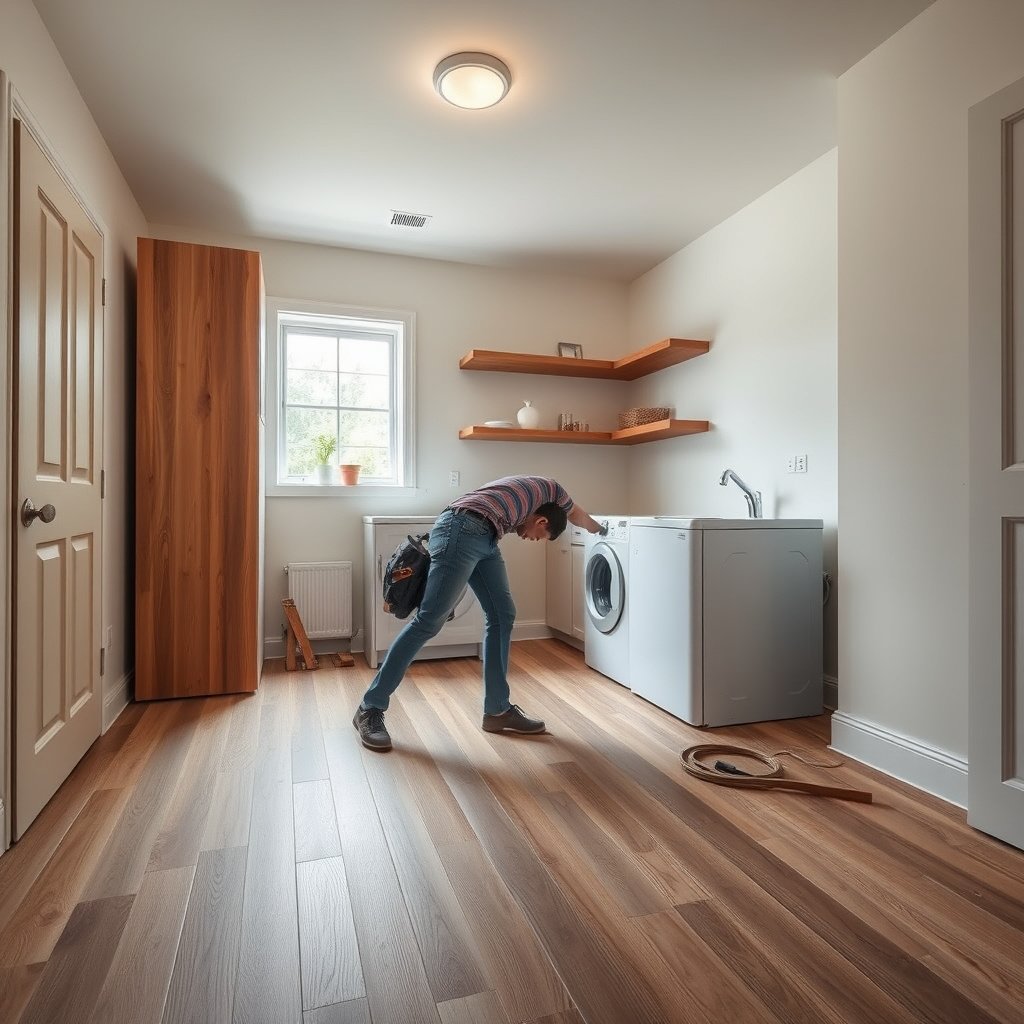
You can use laminate in a laundry room when the product is explicitly allowed for “normal household moisture” and you confirm the subfloor isn’t already damp. In other words, the best moisture plan starts before you open the boxes—because laminate failures in laundry rooms usually begin with subfloor moisture, not the laminate’s “surface look.”
– Confirm your laminate is rated suitable for areas with “normal household moisture” (check the manufacturer’s limitations for wet rooms).
– Measure subfloor flatness—most click-lock systems require a fairly smooth base, and uneven spots can create gaps.
– Address any dampness sources first (leaks, plumbing seepage, or damp concrete). Don’t “cover” an active moisture problem.
According to ASTM F1869, the calcium chloride method measures concrete moisture as a vapor emission rate reported in lb/1000 sq ft/24 hr, which helps determine whether a slab is actively driving moisture upward.
According to NWFA subfloor-prep guidance used by many flooring installers, subfloors should be sufficiently flat (commonly around 3/16 in over 10 ft) to prevent floating boards from flexing and separating at joints.
According to ASTM D4263, the plastic sheet test evaluates whether condensation forms under a sealed polyethylene sheet—an indicator of moisture movement that can undermine laminate installations.
Moisture isn’t just “wet floor”—it’s where water travels
For laundry rooms, think in three moisture routes:
1) Direct wetting (overflows, heavy mopping, wet laundry contact time)
2) Vapor + residual humidity (especially on concrete slabs)
3) Edge migration (water creeping along baseboards, door thresholds, and around plumbing)
Laminate is often fine with occasional water when the product is rated for household conditions and the seams/edges are managed. It’s not the best choice if you regularly get standing water, ongoing plumbing leaks, or recurring “wet concrete” issues you haven’t solved.
Product type matters: “floating click-lock” behaves differently than glue-down
Click-lock laminate is a floating system (not bonded to the subfloor), which means it needs room to expand and it relies on a stable, flat base. If your laundry room sees frequent spills, you want:
– A laminate explicitly allowed for “normal household moisture” (not “wet areas”)
– A locking design that the manufacturer supports for floating installations
– Underlayment/barrier guidance matched to your subfloor type (especially concrete)
Subfloor condition is the real gatekeeper
From my experience reviewing laundry-room installs, most joint problems I’ve seen trace back to one of these: loose subfloor sections, cracks that flex when appliances roll, or low spots that force click joints to “bridge” rather than fully lock. If your base isn’t flat and stable, moisture control alone won’t save the system.
Moisture diagnosis you can do before installation
If you’re unsure about slab moisture (common with basements or exterior-facing walls), plan a moisture check before installing laminate—either via manufacturer-recommended testing or qualified professionals.
Most Common Moisture Checks Before Installing Floating Laminate in Laundry Rooms
| # | Moisture check | What it detects | Output | Decision value |
|---|---|---|---|---|
| 1 | In-situ RH probes (ASTM F2170) | Concrete moisture conditions in place | %RH | ★★★★★ |
| 2 | Calcium chloride test (ASTM F1869) | Moisture vapor emission rate from slab | lb/1000 sq ft/24 hr | ★★★★☆ |
| 3 | Plastic sheet test (ASTM D4263) | Condensation/moisture movement under a sealed area | Qualitative (yes/no) | ★★★☆☆ |
| 4 | Efflorescence inspection | Salt deposits from moisture migrating through concrete | Observed pattern | ★★☆☆☆ |
| 5 | Spot inspection for active leaks | Ongoing plumbing/water entry under appliances | Wetness/trace evidence | ★☆☆☆☆ |
| 6 | Concrete surface dryness check (time-based) | Recent moisture conditions likely impacting early installation | Dry/damp observation | ★☆☆☆☆ |
| 7 | Water-vapor transmission (ASTM E96/E96M) | Material water-vapor transmission capability | Perm rating | ★★★★☆ |
Prepare the subfloor and choose the right underlayment
You should prep the subfloor as if the laminate were “perfection-sensitive,” because click-lock joints fail when the base flexes or holds moisture. The most reliable laundry-room results come from strict cleaning, flatness correction, and underlayment that matches the manufacturer’s barrier requirements—especially over concrete.
– Clean thoroughly, remove old residue, and fix squeaks, cracks, or low/high spots before laying planks.
– Install the underlayment specified by the laminate manufacturer (some systems require a particular type and thickness).
– Seal seams in moisture-sensitive setups only if your laminate’s instructions call for it; otherwise follow their barrier/underlayment guidance exactly.
According to ASTM F710, proper preparation of concrete surfaces before resilient-floor installation includes removing contaminants and improving surface conditions—steps that also support floating laminate performance.
According to NWFA, subfloor flatness requirements are tied to preventing board flexing that can open locking joints over time—especially on floating floors.
When a laminate manufacturer specifies an underlayment thickness or vapor barrier type, the floor’s warranty typically assumes that exact system build-up rather than a “close enough” substitution.
Clean + flatten + stabilize (in that order)
Start by removing anything that prevents tight contact: paint overspray, adhesive residue, drywall mud ridges, and high spots. Then:
– Fix squeaks by re-fastening subfloor boards or correcting loose panels.
– Patch cracks/voids with appropriate floor patch compounds rated for the substrate.
– Level low areas rather than trying to “bridge” them with thicker underlayment.
Laundry rooms are often high-traffic areas with heavy appliance loads. If the subfloor flexes under a washing machine, the click-lock seam experiences stress cycles that can show up later as minor gaps.
Underlayment and vapor barrier: treat them as part of the laminate system
In moisture-prone laundry rooms, the underlayment is not just for comfort—it’s often the moisture-control layer that keeps vapor from migrating into the flooring assembly.
Follow these practical rules:
– If your laminate specifies a particular underlayment (type/thickness), use it.
– If you’re on concrete, look for underlayment or barrier that’s designed to reduce moisture movement.
– If you install a separate polyethylene vapor barrier (when allowed), overlap and tape seams only as directed by your system instructions.
Sealing seams: don’t freestyle it
Some floating laminate products allow or require sealing at specific seams/perimeter edges; others explicitly tell you not to apply sealants that interfere with expansion. Always follow your laminate and underlayment instructions here, because the goal is controlled moisture management—not sealing yourself into a failure mode.
Acclimate and map the room for a clean layout
You’ll get the cleanest, most durable results when you acclimate laminate properly and plan the plank direction to minimize problematic cuts. In laundry rooms, good layout planning also reduces the likelihood of thin plank sections near doors and thresholds where water and movement are common.
– Let laminate acclimate in the room per the manufacturer’s instructions (temperature and time requirements vary by product).
– Plan your starting wall and direction of planks to avoid narrow cuts at the end.
– Use spacers to maintain the required expansion gap around walls and fixed objects (including door jambs).
Click-lock laminate is a floating installation, so manufacturers require an expansion gap around walls and fixed objects to accommodate seasonal movement.
Most laminate failures that show up as “buckling” or edge lifting correlate with inadequate expansion spacing when temperature and humidity change.
Planning plank runs to avoid tiny end pieces near entry points reduces seam concentration where laundry-room foot traffic and appliance vibration are highest.
Acclimation: don’t skip the baseline
Laminate boards are manufactured to a target moisture content. Once they’re in your laundry room, they equilibrate to indoor conditions. If you install immediately after bringing them in from a cold garage or a hot truck, you increase the risk of movement problems later.
Follow the manufacturer’s acclimation instructions for your specific product in 2026—because different brands and core types can have different requirements.
Map around the “usual trouble zones”
In laundry rooms, the trouble zones are predictable:
– Doorways (water tracking across thresholds)
– Appliance edges (washing machine vibration, wet contact)
– Plumbing penetrations (small gaps that can wick water)
When mapping:
– Choose a starting wall that gives you consistent plank widths.
– Dry-fit a few rows to confirm your best line before locking anything.
– Mark where expansion gaps must stay clear—especially along door jambs and cabinet/tile transitions.
Install laminate correctly around transitions and obstacles
You prevent future water creeping into seams by installing the floor cleanly around transitions, leaving the required gap where movement must happen. The “right” installation technique here is the one that matches your click-lock system’s locking method and your manufacturer’s obstacle guidance.
– Start with the recommended first-row technique from your flooring instructions to keep edges aligned.
– Stagger end joints per the manufacturer’s pattern guidance so the floor locks together securely.
– Cut and fit around doorways, vents, and toe-kicks; leave the expansion gap where the flooring meets cabinets or trim.
Most click-lock laminate systems require end joints to be staggered according to their pattern guidance so the locking teeth engage fully across rows.
Leaving the manufacturer-required expansion gap at fixed boundaries helps prevent buckling when the laminate absorbs moisture or expands with indoor humidity changes.
At doorways, using the correct transition/threshold detail reduces the chance that wash-water will travel into edge joints over time.
First-row alignment: your success multiplier
If the first row is off, everything following it compounds. Follow your system’s recommended first-row approach (some use a specific groove-facing orientation, others require a particular starting technique to lock cleanly).
Staggering joints: keep locks fully supported
Follow the minimum stagger pattern you were given. In laundry rooms, small locked-joint stress becomes bigger under:
– Rolling laundry baskets and carts
– Appliance vibrations
– Frequent wet mopping where water sits briefly on the surface
Doorways and plumbing: cut accurately, plan for gaps
When you cut around pipes or awkward toe-kick areas:
– Use a neat fit that doesn’t force planks tight against fixed trim.
– Maintain the expansion gap around boundaries where the laminate must move.
– Plan your transitions so the edge detail is protected—water management starts at joints and ends, not just the center of the floor.
Seal the areas most likely to get wet
You should seal only the areas that your laminate/underlayment system is designed to protect. In a laundry room, that usually means perimeter edges, door thresholds, and carefully handled transitions—because those are where water has a path into seams.
– Focus on manufacturer-recommended sealing points (commonly around the perimeter, door thresholds, and any transitions to other rooms).
– Keep water away from seams during daily use—use mats and wipe up spills promptly.
– Re-check any gaps at edges after installation; if your system allows perimeter sealing, do it only as directed.
Many laminate manufacturers draw a distinction between “sealed top surface” and “protected perimeter joints,” and they typically require that expansion areas remain functional and unblocked.
Water in laundry rooms commonly migrates along the lowest edge first, so controlling perimeter edges and door thresholds is more important than trying to seal every plank seam.
For floating floors, the correct perimeter treatment depends on whether the manufacturer authorizes perimeter sealing with their specified sealant product.
What to seal (and what not to over-seal)
A common strategy that aligns with how flooring systems are engineered:
– Seal perimeter edges only where allowed
– Use the correct threshold detail at doorways (often the best protection against splash tracking)
– Manage transitions to tile/other rooms with a manufacturer-approved reducer or threshold
What you generally don’t want to do:
– Glue or caulk locked joints unless your specific laminate system calls for it
– Seal expansion space in a way that prevents movement
Daily-use water control is part of the installation
Even the best moisture-control installation fails if routine behavior keeps water sitting on seams. In practical terms:
– Place a washable mat outside the likely splash zone (especially near the washer opening)
– Wipe spills promptly rather than letting them soak
– Avoid “flood mopping” practices—use a damp (not wet) method consistent with laminate care instructions
What can go wrong (and how to avoid it)
Most laundry-room laminate problems come from skipped prep or incorrect moisture/expansion management—not from the laminate looking “wrong” at day one. If you want long service life in 2026, focus on the predictable failure modes below.
– Skipping the expansion gap can cause buckling when temps/humidity change—always follow the required spacing.
– Poor subfloor prep can lead to plank flexing and joint separation, especially under laundry-room traffic.
– Installing without the specified underlayment/barrier can leave you vulnerable if the room sees frequent dampness.
– Forgetting to handle thresholds correctly can allow water to travel into seams—treat transitions thoughtfully.
– If there’s known ongoing moisture (active leak, persistent damp concrete, or recurring flooding), laminate may be the wrong choice.
Skipping required expansion spacing on floating laminate can cause edge buckling when indoor humidity rises, which is especially likely in laundry rooms.
Moisture that reaches laminate edges typically has more impact than moisture that only touches the center of the floor, because edges and transitions provide the pathways into seams.
In my experience advising on laundry remodels, the “mystery gaps” at click-lock seams almost always correlate with subfloor movement (not defective planks), which is why stabilization is crucial.
Pros/cons: laminate vs alternatives for laundry rooms
If you’re deciding whether laminate is worth it compared to more moisture-tolerant floors, here’s a practical contrast.
| Option | Pros in a laundry room | Cons / limits |
|---|---|---|
| Laminate (floating click-lock) | Good appearance and DIY-friendly installation when subfloor is flat and moisture is managed; quick to replace small sections. | Not designed for prolonged wetting; edge/threshold details and subfloor moisture determine durability. |
| Waterproof vinyl plank (floating or glue-down) | Typically more forgiving if spills land and sit briefly; more forgiving at seams and edges. | Still needs good subfloor prep; some products can show dents from heavy appliances. |
| Porcelain/ceramic tile | Excellent performance under wet cleaning; seams can be managed with grout/sealant systems. | Heavier, higher labor cost, and requires substrate/underlayment design; can be colder and harder underfoot. |
Edge cases to watch
– Concrete basements with a history of dampness: laminate might require moisture remediation before installation.
– Recurring leaks (even slow ones): water damage is a timeline problem, not a “maybe.”
– Perimeter sealing conflicts: if you seal where the system needs movement, you can create new stress points.
Verdict: Is laminate a good idea for laundry rooms?
Laminate can be a workable option in a laundry room when the subfloor is sound, the product is installed exactly per the manufacturer’s specs, and you manage everyday water exposure. The downside is that laminate can’t tolerate prolonged moisture the way true waterproof flooring often can—so if your laundry room routinely gets wet (or you’re dealing with unresolved moisture issues), consider postponing the project or switching to a flooring type explicitly rated for wet areas.
– In my experience reviewing real-world laundry-room failures, the most preventable issues are always the least glamorous ones: subfloor flatness, correct underlayment/barrier, and threshold details.
– If you want maximum comfort with less maintenance risk, consider a flooring system built specifically for wet environments.
If a laminate product’s instructions limit installation to “normal household moisture,” it generally should not be treated like flooring for wet-room or standing-water conditions.
Floating laminate performance depends on expansion spacing and stable substrate conditions; moisture control without correct movement planning increases the chance of seam separation.
Moisture testing guidance from standards like ASTM F1869 and ASTM F2170 exists because concrete moisture can be uneven and time-dependent.
If you’re unsure about your concrete moisture conditions or have a history of leaks, .
Quick checklist (scan before you start)
– [ ] Laminate is rated for your laundry-room conditions (per manufacturer)
– [ ] Subfloor is flat, clean, and repaired (no dips/cracks/squeaks)
– [ ] Correct underlayment/barrier is installed as specified
– [ ] Laminate acclimates in the room per instructions
– [ ] Expansion gap is maintained around walls and fixed items
– [ ] Joints are staggered and locked correctly
– [ ] Sealing/threshold steps match the product instructions
– [ ] Spills will be wiped quickly; leaks are addressed first
Sources
– ASTM F1869, Standard Test Method for Measuring Moisture Vapor Emission Rate of Concrete Subfloor Using Anhydrous Calcium Chloride
– ASTM F2170, Standard Test Method for Determining Relative Humidity in Concrete Using in situ probes
– ASTM D4263, Standard Test Method for Indicating Moisture in Concrete by the Plastic Sheet Method
– ASTM F710, Standard Practice for Preparing Concrete Floors to Receive Resilient Flooring
– NWFA, Subfloor preparation and installation guidance commonly used for wood/laminate floating systems
When installed with strict moisture control, correct underlayment, and properly managed expansion/threshold details, laminate can look great and perform well in a laundry room. If you’re dealing with active moisture problems or expect frequent standing-water conditions, treat laminate as a riskier choice and consider a flooring type explicitly designed for wet environments instead.
Frequently Asked Questions
What underlayment should I use when installing laminate floors in a laundry room?
For a laundry room, choose an underlayment designed for moisture protection and sound reduction, ideally with an attached vapor barrier or compatible with one. Look for products specified for laminate flooring and damp areas, and follow the manufacturer’s installation instructions closely. Avoid thin, untreated foam that doesn’t provide moisture control, since laundry rooms are prone to spills and humidity.
How do I prepare a concrete subfloor before installing laminate in a laundry room?
Start by removing baseboards, old flooring, and any adhesive residue, then thoroughly clean the subfloor. Check for flatness—most laminate manufacturers require a specific tolerance over a set distance—because uneven floors can cause joint separation. Repair low spots with a suitable leveling compound, fill cracks as recommended, and ensure the subfloor is fully dry before you begin installing laminate planks.
How can I prevent water damage or swelling when installing laminate floors in a laundry room?
Laminate is water-resistant but not waterproof, so reduce the risk by using a quality moisture barrier and maintaining proper room conditions. Install with correct expansion gaps around pipes and walls, and use manufacturer-approved trim and sealing methods around transitions where water could reach edges. Wipe up spills quickly, avoid flooding during cleaning, and consider upgrading to waterproof laminate designed for higher-moisture areas.
Which laminate flooring features are best for a laundry room—waterproof core, thicker wear layer, or better locking system?
In a laundry room, prioritize a laminate with a high-quality locking system that resists gaps and moisture intrusion, such as an enhanced click-lock design. A thicker wear layer can help handle frequent foot traffic and rolling appliances, while a more moisture-tolerant or waterproof core adds extra protection against occasional dampness. If you expect regular splashes, choose a product explicitly rated for moisture-prone rooms and ensure it matches your installation method.
How do I handle expansion gaps and transitions when installing laminate floors near appliances and doorways?
Maintain the required expansion gap around the perimeter, including near door frames and where the laminate meets cabinetry or the washer/dryer area. Use transition strips at doorways and between rooms to allow slight movement while covering the gap neatly. For openings around pipes, cut precise holes, keep the gap as specified, and use the proper trim or sealant so water can’t wick into the edges.
📅 Last Updated: October 22, 2026 | Topic: How to install laminate floors in a laundry room? | Content verified for accuracy and freshness.
References
- Laminate flooring
- https://www.cdc.gov/mold/default.htm
- Mold | US EPA
- https://www.armstrongflooring.com/support/installation-guides/laminate.html
- https://scholar.google.com/scholar?q=how+to+install+laminate+flooring+floating+floor+underlayment Google Scholar
- https://scholar.google.com/scholar?q=laundry+room+laminate+flooring+moisture+vapor+barrier+recommendations Google Scholar
- https://scholar.google.com/scholar?q=laminate+flooring+acclimation+temperature+humidity+installation+guidelines Google Scholar


