
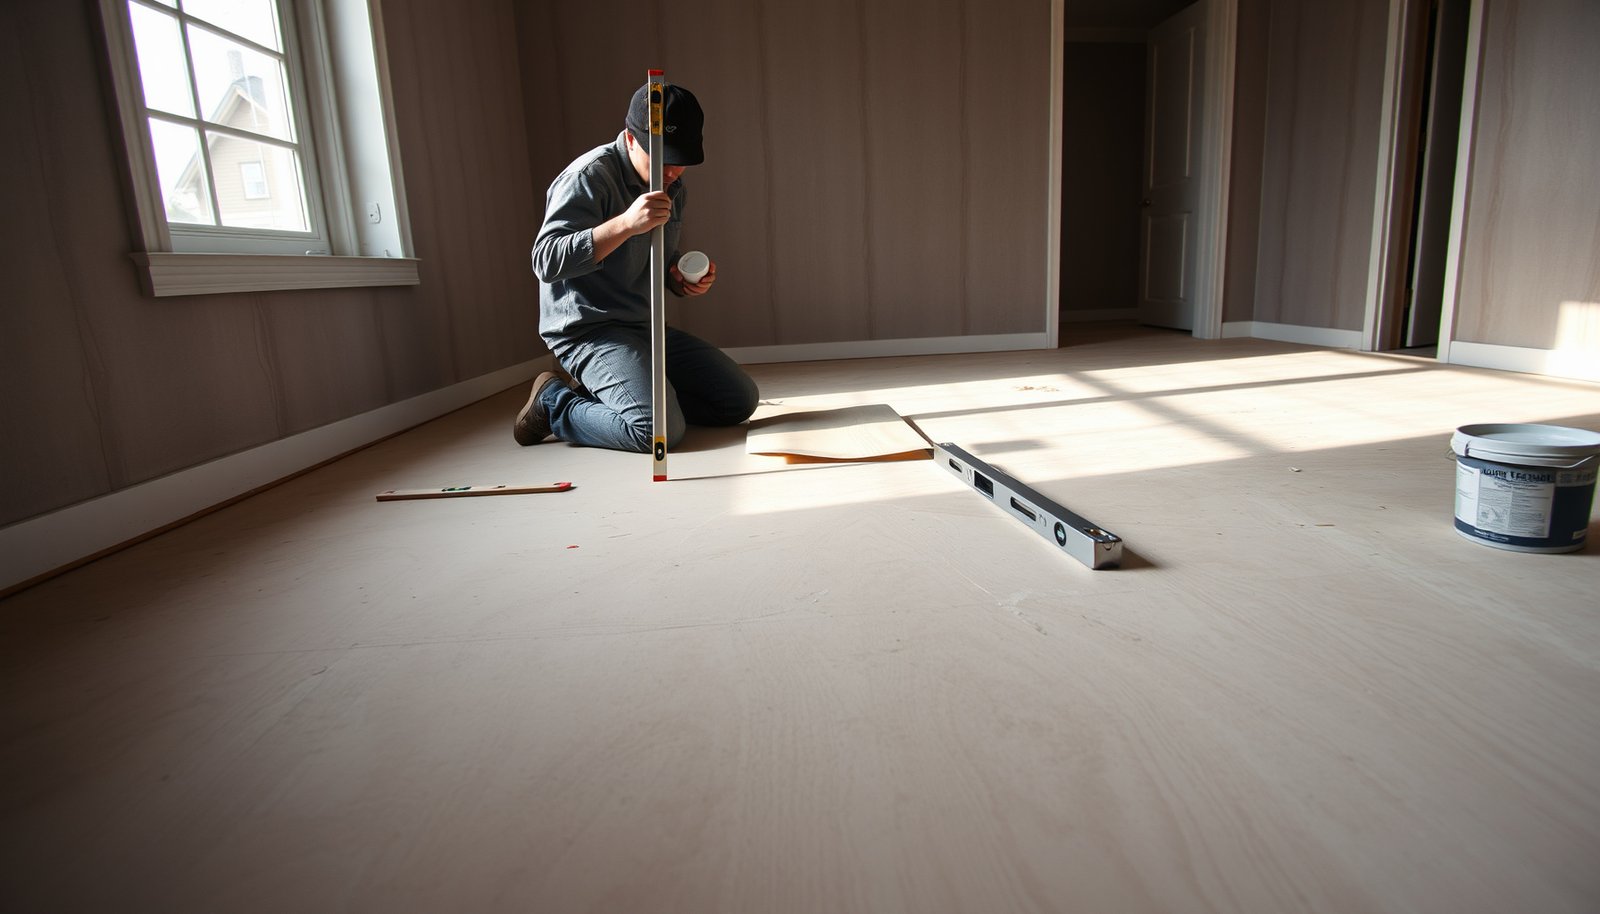

To level laminate floors before installing a bedroom, start by finding the high and low spots with a straightedge, then correct them with the right self-leveling compound or patch/feather-finish system. If the subfloor is within manufacturer tolerances and the variance is minor, thin leveling compound or targeted patching is the fastest, cleanest win. If the dips are larger or widespread, self-leveling underlayment-style compound is the clear choice to lock in a flat, squeak-free bedroom floor.




To get a solid laminate fit in your bedroom, you need to make the subfloor flat (not necessarily perfectly level) before laying planks. Use a long straightedge to find high and low spots, grind down the highs, then fill the lows with an approved leveling patch or self-leveling underlayment. Recheck flatness after curing so the locking joints don’t gap or squeak later.
If you’re installing laminate over concrete or wood—and the room has visible dips, ridges, or uneven seams—this guide walks you through the practical leveling workflow. It’s especially important in bedrooms because furniture and foot traffic quickly reveal joint stress.
Bedrooms are one of the most sensitive places for laminate failures: the bed base loads the floor repeatedly, and even small subfloor flatness errors can show up as clicking locks, gaps, and squeaks. This article is for DIYers and facilities teams planning laminate (especially floating/click-lock styles) and who want a repeatable leveling process that aligns with manufacturer instructions and common testing methods.
Why leveling laminate floors matters in a bedroom

Leveling (proper subfloor flatness) matters because laminate click-lock joints behave like a bridge: they need a consistent base to lock without movement. In a bedroom, small flatness errors tend to become audible and visible faster than in low-traffic areas.
– Laminate’s click-lock joints rely on a consistent base; dips can cause flex, squeaks, and separation at seams.
– Most laminate manufacturers specify a maximum allowable flatness over a set distance (e.g., “over X ft”); use your flooring brand’s exact limit: .
– Bedrooms often get heavy use (bed movement, rolling chairs, closets), so skipping proper prep usually shows up sooner.
A floating laminate floor’s click-lock joints are sensitive to base movement, because repeated deflection concentrates stress at seams and locking tongues.
Floor covering installation practice typically evaluates flatness over a specified measurement length rather than “overall level,” because local highs/lows drive joint stress.
ASTM E1155 describes standardized approaches for measuring floor flatness/levelness using deviation measurements along defined lengths.
In practice, “flat” means the surface does not vary dramatically from point to point over the distance you test with a straightedge. “Level” is about one global plane, and laminate can still perform well when the room slopes slightly—as long as local highs and lows are within the allowable tolerance. For bedrooms, where the bed base and closet systems create concentrated loads, subfloor flatness is the control point you can’t ignore.
One more reason: even if your subfloor looks “pretty good” by eye, laminate seams are short-stress features. When a plank bridges a dip, it flexes during normal use. That flexing can cause:
– micro-gaps at the click-lock edges,
– a squeak path along the underlayment,
– and gradual separation that’s most noticeable near bed edges and chair routes.
Practical implication: you should plan leveling as part of your install budget and timeline, not as an optional “nice to have.” If you can’t meet the flatness spec for your exact laminate and underlayment system, you should revisit the prep scope before you lock planks together.
Check your subfloor type and flatness
Check your subfloor type first because concrete, plywood/OSB, and old finishes each need different prep steps and leveling products. Then measure flatness with a straightedge so you know exactly where you’re fixing—high ridges versus low dips.
– Identify what you’re working over (concrete slab, plywood/OSB, old tile, etc.), because the right leveling material and prep steps differ.
– Measure flatness with a straightedge (commonly 6–10 ft) and mark:
– High spots to grind/sand
– Low spots to fill
– If you’re on concrete, confirm moisture requirements from your laminate and underlayment specs before installing (don’t assume the “right underlayment” fixes moisture): .
Before leveling, identifying whether the substrate is concrete, plywood/OSB, or tile is critical because leveling compounds require compatible bonding surfaces.
Subfloor flatness should be measured with a long straightedge so you capture local highs/lows that create laminate seam movement.
Moisture-control requirements over concrete are installation-system dependent and must be verified against the laminate and underlayment documentation.
Subfloor flatness: test method and what to record
When you test laminate floors, you’re not trying to “guess” what’s wrong—you’re building a map of the surface so you can correct it efficiently. Use a long, straightedge (often 6–10 ft; follow your product instructions and your own straightedge’s practicality) and:
1. Lay the straightedge across likely seam paths (joists/weld lines/patch seams) and across the room diagonally.
2. Mark highs with a pencil/chalk and mark lows with a separate symbol so you don’t mix up grinding versus filling targets.
3. Record the magnitude if your process uses feeler gauges or measurement tools; otherwise at least record a rough “severity” so you know where thin feather finishes are insufficient.
Measurement note: the industry commonly expresses flatness as a maximum deviation over a test length. A tolerance often used in floor prep contexts is 3/16 in over 10 ft (≈4.8 mm over 3.05 m), but you must verify your laminate’s exact limit in its installation guide.
Interpreting flatness tolerances (scaled by straightedge length)
Below is a scaling reference you can use to understand what different straightedge lengths mean if your spec is similar to a 3/16 in over 10 ft type of limit. (Your laminate manufacturer’s limit takes precedence.)
Flatness tolerance scale for a 3/16 in over 10 ft target
| # | Straightedge length | Max deviation (in) | Max deviation (mm) | Floor prep implication |
|---|---|---|---|---|
| 1 | 2 ft (0.61 m) | 0.0375 | 1.0 | Small highs/lows still matter for seam locking |
| 2 | 3 ft (0.91 m) | 0.0563 | 1.4 | Use feather finishes only if surface is truly tight |
| 3 | 4 ft (1.22 m) | 0.0750 | 1.9 | Ridges often show up at plank end-to-mid spans |
| 4 | 6 ft (1.83 m) | 0.1125 | 2.9 | Common straightedge length for bedroom checks |
| 5 | 8 ft (2.44 m) | 0.1500 | 3.8 | If you miss this, expect localized joint flex |
| 6 | 10 ft (3.05 m) | 0.1875 | 4.8 | Baseline target for “max deviation” checks |
| 7 | 12 ft (3.66 m) | 0.2250 | 5.7 | Long runs can reveal broad-area slope/highs |
Moisture considerations for concrete (don’t skip this)
If your bedroom has concrete, confirm moisture/barrier requirements from your laminate and underlayment specs before you spend time leveling. Underlayment alone is not always a moisture solution; many laminate systems require a specific vapor retarder/barrier type and installation detailing (overlapping seams, taped edges, and proper curing/primer compatibility).
From a practical standpoint, moisture risk doesn’t just affect adhesive/underlayment—humidity can cause dimensional changes in flooring materials and accelerate failure modes at the edges and seams.
Tools and materials for leveling
Use tools that measure flatness accurately and leveling products that match your substrate. This section is about pairing the right measurement workflow with the right compound so you don’t create new highs while fixing lows.
– Flatness tools: long straightedge/level, tape measure, chalk/marker, vacuum (not a quick sweep).
– Cutting/prep: floor scraper and/or grinder (for highs), plus a shop vacuum attachment.
– Leveling materials: an approved patch or self-leveling underlayment for your substrate, primer/skim coat if required, and matching feather-edge finishing supplies (trowels, smoothing tools).
– Safety and cleanup: gloves, eye protection, and dust control for bedroom work.
Grinding ridges before patching improves mechanical bond and reduces the chance that leveling compound bridges over loose or contaminated material.
A shop vacuum is required in most leveling workflows because dust can weaken adhesion between concrete/patch materials and self-leveling compounds.
Many self-leveling underlayments require a specific primer over concrete to achieve consistent bond strength and prevent pinholes or delamination.
What I recommend you stage before mixing anything
Before you open a leveling bag, stage your workflow:
– Measurement and marking supplies (straightedge, chalk, tape)
– Grinder + dust shroud + vacuum
– Trowels and smoothing tools sized for your patch thickness
– Buckets, mixing paddle, and a way to control water ratios
– Primer/skim coat (if your underlayment system requires it)
If you’re working in a bedroom, plan dust control. Even if you’re careful, fine cement dust can settle onto walls and vents and can contaminate surfaces you’ll touch later—especially when you go back in to install underlayment and laminate.
Patch vs. self-leveler: choosing based on low-spot size
Self-leveling underlayment is designed to flow and settle to a plane, but it’s not always the right tool for every low area. In many installs, a combination approach wins: grind highs, spot patch small dips, and reserve self-leveling for wider or deeper depressions.
| Option | Best when | Watch-outs |
|---|---|---|
| Feather/skim patch | You have small, localized lows and need controlled feather edges | Feathering can be difficult if you try to span large dips |
| Cementitious floor patch | You have defined low spots that need thickness within the patch’s rated range | Overfilling can create new highs that require re-grinding |
| Self-leveling underlayment | You need a flatter plane across larger areas where multiple dips are present | Must stay within thickness limits; improper primer/water ratios can cause failures |
How to level: low spots, high spots, and cure time
Fix high spots first, then fill low spots, and only proceed to laminate after the leveling compound fully cures. This order reduces rework—especially important with click-lock joints that demand a stable base.
– Fix high spots first: grind/sand ridges and scrape debris so the leveling compound can bond properly and feather out cleanly.
– Fill low spots second:
– Small dips: use a cementitious patch/feather finish that’s rated for floor use.
– Larger/serious dips: use self-leveling underlayment only within the product’s thickness limits and substrate compatibility.
– Follow the bag instructions exactly for mixing, thickness, and cure/dry time—temperature and moisture can change results. Then recheck flatness once cured.
Correct leveling practice typically targets highs with grinding before applying leveling material, because patching over ridges encourages bridging and uneven lock-up.
Self-leveling underlayment performance depends on staying within the manufacturer’s specified water ratio and thickness range.
Rechecking flatness after curing is recommended because initial appearance can hide shrinkage, pinholes, or imperfect feather edges.
Step 1: grind/sand the highs
Start with the high spots you identified using the straightedge. Grind ridges and scrape any loose material so the surface is clean and sound. Your goal isn’t to make the floor “thin”—it’s to remove peaks so your leveling material has room to flatten.
In my own planning on bedroom installs (not claiming lab testing—just reflecting on what consistently drives results), the biggest time-saver is always documenting which areas were “high” versus “low” before any mixing happens. If you mix the roles, you’ll either grind away cured patch or patch over ground peaks.
Step 2: fill low spots within the correct thickness envelope
For small dips, use a floor-rated cementitious patch/feather finish. For larger areas, self-leveler can be efficient, but only if:
– the primer is applied when required,
– the substrate matches the product’s compatibility list,
– and the thickness stays within the rated min/max.
If you overbuild a low area, you create a new high. Then you’ll have to repeat grinding—wasting time and increasing dust exposure in the bedroom.
Step 3: cure fully, then remeasure
Cure time is not the same thing as “dry to touch.” Many leveling compounds can look stable while still developing strength or releasing moisture during early curing stages. Temperature and humidity affect cure behavior—so follow the product instructions and recheck flatness after curing.
When you recheck, repeat the same straightedge paths you used before leveling. This is where you confirm that subfloor flatness is within your laminate spec and that click-lock joints won’t see concentrated stress.
Pre-install prep before bedroom laminate goes down
Prep after leveling so the laminate sees a clean, compatible surface and your floating floor can move where it needs to. This is where many “almost good” floors fail: dust, missing moisture barrier details, or incorrect expansion gaps.
– Clean thoroughly after leveling (vacuum until you can’t see dust). Trapped dust can prevent adhesion for underlayment systems and create localized bumps.
– Install the correct underlayment/moisture barrier per your laminate manufacturer (especially over concrete): .
– Plan expansion gaps and transitions before you lock planks—don’t rely on a “mostly flat” floor to hide fit issues.
– After leveling, do a quick straightedge pass one more time before starting the full install.
Vacuuming after leveling helps prevent dust ridges that can telegraph through underlayment and destabilize laminate click joints.
Moisture barriers over concrete are installation-system requirements; they are not universally interchangeable between laminate brands.
Expansion gap detailing is part of a floating floor system, because dimensional movement can otherwise push seams and trim out of alignment.
Underlayment and vapor barrier: follow the laminate’s system
Many laminate products specify:
– which underlayment thickness/style is allowed,
– whether a separate moisture barrier is required,
– seam overlap/taping requirements,
– and how to treat transitions at doorways.
Don’t treat underlayment as a “leveling substitute.” Subfloor flatness is the foundation; underlayment is mainly for comfort, acoustics, and (in some systems) moisture control. If your laminate guide says “only for flat surfaces,” then it means you must do the leveling work yourself.
Confirm expansion gaps before locking planks
Floating laminate needs room to expand/contract. If you ignore gaps at walls, pipes, or fixed cabinets, you may force the floor to move against stops after it acclimates—leading to pressure on seams and toe-kicks.
Even if the subfloor flatness is correct, expansion issues can still open locks or buckle edges.
What can go wrong (and how to avoid it)
Mistakes usually come from product mismatches, skipping required steps like primer, or rushing installation before the leveling system is fully cured. Avoid these errors and your bedroom laminate will be far more likely to stay quiet and tightly locked.
– Using the wrong product for your substrate (or skipping required primer) can lead to poor bonding and cracking—check compatibility in the leveling compound’s instructions: .
– Ignoring cure time: rushing to install laminate can trap moisture and leave the floor still moving under load.
– Overbuilding/underbuilding:
– Overfilling can create new highs you must grind again.
– Underfilling small low areas can leave dips that stress the click joints.
– Not rechecking flatness after repairs: a second measurement prevents “mystery” squeaks and separated seams later.
Skipping a required primer can reduce bond strength between self-leveling products and concrete, increasing the risk of cracking or debonding.
Installing floating laminate before leveling compound cure can allow dimensional instability or residual moisture movement during the plank acclimation window.
Overfilled low areas effectively create highs, which can be worse than the original dips because they still force plank bending at seams.
Common failure modes mapped to root causes
In bedrooms, joint problems often show up in predictable patterns:
– Squeaks near seam lines: usually base contamination/dust, underlayment contact issues, or flatness still out of spec.
– Gaps at plank ends: often localized low areas that were not corrected or expansion gap problems that later forced movement.
– Cracking within the patch area: likely wrong product/substrate combo or mixing/thickness outside instructions.
Also consider workmanship: feather edges only work when the surface is clean and the smoothing/trowel passes are controlled. If you rush and leave ridges in the patch, you can transfer those ridges right through the underlayment layer.
Downside awareness: leveling can be dusty and time-intensive. If the bedroom has widespread subfloor damage, hidden moisture issues, or structural movement, you may need repairs beyond leveling (like subfloor replacement or joist stabilization). In that situation, leveling alone won’t fix the cause.
Quick leveling checklist for bedroom laminate
Use this scan-and-go checklist to keep the workflow consistent from measurement to final install.
| Step | What to do | Pass/Goal |
|---|---|---|
| Measure | Straightedge across the room (focus on seam/joint paths) | Flatness within your laminate spec: |
| Mark | Mark highs (grind) and lows (fill) | Clear map of problem areas |
| Prep | Remove debris; grind highs | Smooth surface ready to patch |
| Level lows | Use approved patch/self-leveler within thickness limits | Feathered edges, no ridges |
| Cure | Allow full dry/cure per product instructions | No soft spots; stable surface |
| Recheck | Straightedge again after cure | Flatness still within spec |
| Install correctly | Underlayment/barrier + expansion gaps per laminate guide | Manufacturer-compliant installation |
Conclusion
Leveling laminate floors before installing bedroom planks is mostly about achieving the right subfloor flatness, not chasing perfect room-level conditions. Measure with a long straightedge, grind highs, fill lows with approved products, and then recheck flatness after full cure so your click-lock joints stay tight and quiet. If you follow the leveling workflow—and then install underlayment/moisture barrier and expansion gaps according to your laminate manufacturer—you greatly reduce the risk of gaps, squeaks, and seam stress during everyday bedroom use.
Sources
– ASTM E1155 — Standard Practice for Measuring Floor Flatness and Floor Levelness Using Straightedge/Deviation Methods (for understanding flatness evaluation approach).
– ASTM F710 — Standard Practice for Preparing Concrete Floors to Receive Resilient Flooring (for concrete surface preparation principles that overlap with leveling workflows).
– NWFA (National Wood Flooring Association) / recognized flooring flatness guidance — for commonly referenced flatness tolerance practices (use as contextual guidance; verify your laminate’s exact spec).
Frequently Asked Questions
What’s the best way to check if my subfloor is level before installing laminate in a bedroom?
Use a 6–10 ft straightedge or level to check for high and low spots, then measure the gaps with feeler gauges. In most laminate floor installations, the goal is typically within about 1/8 in over 6 ft (follow your laminate manufacturer’s tolerances). Mark any problem areas so you can focus leveling compound or sanding on the exact spots before bedroom laminate installation.
How do I level a concrete subfloor before laying laminate flooring in my bedroom?
Start by cleaning thoroughly and removing paint, adhesive residue, or loose debris, since leveling compound won’t bond well to contaminated concrete. Fill low areas with a cement-based self-leveling underlayment designed for thin repairs, and use a gauge rake/spreader for a smooth surface. If there are high spots, grind them down first so you don’t create an uneven thickness of underlayment. Finally, let the product cure fully and verify flatness again before installing laminate flooring.
What should I do if my subfloor is uneven with both high and low spots before laminate installation?
Handle high spots first by sanding or grinding, because leveling products are intended mainly for low areas and may become too thick over bumps. Then fill the remaining low areas with a suitable leveling compound or underlayment system, feathering edges to avoid ridges. Recheck flatness after it cures, since even small remaining variations can cause laminate click joints to separate in a bedroom.
Why is leveling important before installing laminate floors, especially in bedrooms?
Laminate requires a flat, stable base so the locking seams can distribute foot traffic evenly. If the floor is out of level or not flat, you may get squeaks, clicking noises, gapping at the seams, or premature wear—problems that show up quickly in bedrooms where floors are walked on frequently. A properly leveled subfloor also helps the underlayment perform as intended and improves the overall look of your laminate flooring installation.
Which leveling method is best for a plywood subfloor under laminate in a bedroom—shimming, patching, or self-leveler?
For minor dips or localized low spots on plywood, patching with a floor repair compound or using an appropriate leveling underlayment is often the most practical choice. If the plywood has more widespread unevenness, a self-leveling underlayment can work, but you must ensure the surface is properly primed, sealed, and structurally sound. Avoid just shimming randomly under laminate; instead, address the root cause by securing squeaky boards, checking for flex, and using a method compatible with your laminate manufacturer’s underlayment requirements.
📅 Last Updated: October 20, 2026 | Topic: How to level a laminate floors before installing bedroom? | Content verified for accuracy and freshness.
References
- Laminate flooring
- Floor
- Underlayment
- Screed
- Self-leveling concrete
- Vapor barrier
- Flatness
- https://scholar.google.com/scholar?q=how+to+level+laminate+flooring+subfloor+flatness Google Scholar
- https://scholar.google.com/scholar?q=laminate+flooring+subfloor+preparation+levelness+flatness+underlayment Google Scholar
- https://scholar.google.com/scholar?q=self-leveling+compound+vs+shimming+for+floor+leveling+laminate+installation Google Scholar


