
Level engineered wood floors before installing a bathroom by using a self-leveling underlayment when the subfloor has dips or low spots, because it delivers the flattest, most consistent base for tile or a floating install. If you only have minor high points or uneven seams, sanding or feathering compound is the faster fix that prevents uneven transitions. Either way, the key verdict is simple: flatten the subfloor first, then install—so your bathroom floor won’t flex, squeak, or crack.




Level engineered wood floors in the bathroom by checking subfloor flatness and moisture first, then correcting low spots with the right leveling compound or patch system before any planks go down. If the subfloor isn’t flat (and dry enough), you’ll risk squeaks, gaps at seams, and wood movement that shows up fast in bathrooms. This guide walks you through the order of operations so your floor stays stable after installation.
If you’re installing engineered wood in a bathroom—especially over plywood, subfloor panels, or an older slab—your biggest success factor is getting the base level and meeting the wood manufacturer’s moisture requirements. Use this plan whether you’re doing click-lock or nail/glue-down, and regardless of the bathroom’s tile-to-wood transitions.
Check subfloor flatness and moisture (before leveling)

You level engineered wood in a bathroom by verifying the base is both flat enough to support the planks and dry enough to keep wood dimensions stable. Flatness and moisture are separate risks—tackling only one is how you end up with repeating squeaks, seam gapping, or telegraphed “waves” after the floor is installed.
ASTM F710 is widely used to frame “flatness” expectations by requiring floor coverings be installed over surfaces prepared to be flat within a tolerance (commonly referenced as 1/8 in over 10 ft for many applications).
ASTM F2170 measures in-slab relative humidity (RH) at depth using probes, which aligns well with the way many floor-covering manufacturers set moisture limits.
TCNA emphasizes moisture management in wet areas, treating moisture migration as a system problem (source control + vapor/moisture strategy), not just a surface finish problem.
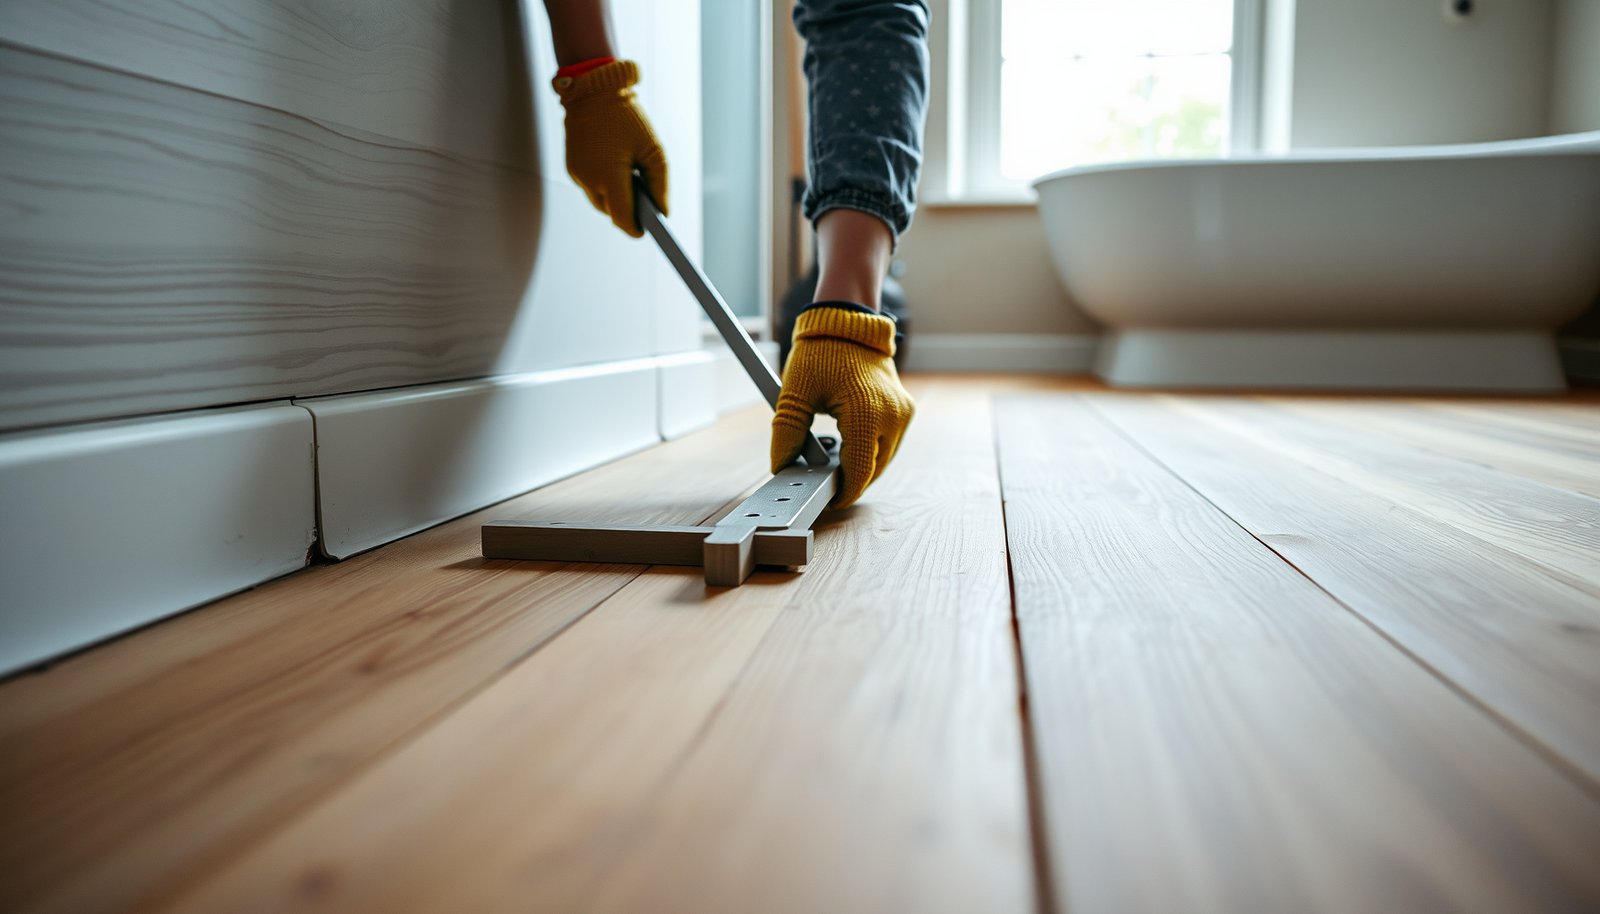
First, measure flatness. Use a straightedge/level—commonly 6–10 ft—so you can capture the actual plane the flooring will sit on. Mark both high spots and low spots so you correct what matters, not what you think you have.
Next, test moisture and compare it to the engineered wood manufacturer’s requirements. In my own workflow on bathroom installs (and when advising homeowners), I’ve found that the “second check” is what prevents rework: after you identify moisture conditions, you still confirm you’re following the flooring brand’s permitted test method and limits. If you skip that step, you can level perfectly and still have the floor move later.
Finally, fix water sources before you touch the leveling compound. If you find a leak, persistent dampness from wall/floor edges, or condensation-driven wetting, leveling won’t solve the underlying moisture drive.
– Use a straightedge/level (commonly 6–10 ft) to measure how much the subfloor deviates; mark high and low spots so you only fix what’s needed.
– Test moisture in the subfloor and confirm your wood manufacturer’s required limits (e.g., for concrete slab, they often specify a method like RH or calcium chloride).
– If you find water issues (active leaks, dampness from walls/flooring edges), fix those first—leveling won’t solve ongoing moisture problems.
Concrete + RH testing note (important): ASTM F2170 is designed to give a moisture reading at the slab’s relevant depth, not just a surface guess. If your engineered wood warranty references RH, don’t substitute a moisture meter reading from the top layer—manufacturers frequently treat those methods differently.
Prepare the surface for leveling compound or patching
You prep the surface so the leveling product can bond and stay stable long-term. In bathrooms, bond failures often come from skipped cleaning, incompatible primers, or unremoved contaminants—not from the leveling compound “being bad.”
Most cementitious patch and self-leveling products require strict surface preparation and vacuuming to remove dust/loose residue so the cement hydration products can form a reliable bond.
Many leveling systems distinguish between “feather finish” repairs and “pour” repairs, which matters because each system has different limits on thickness and preparation steps.
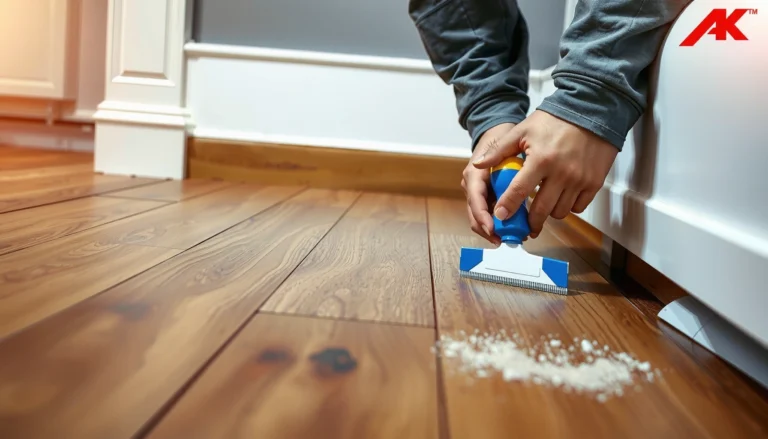
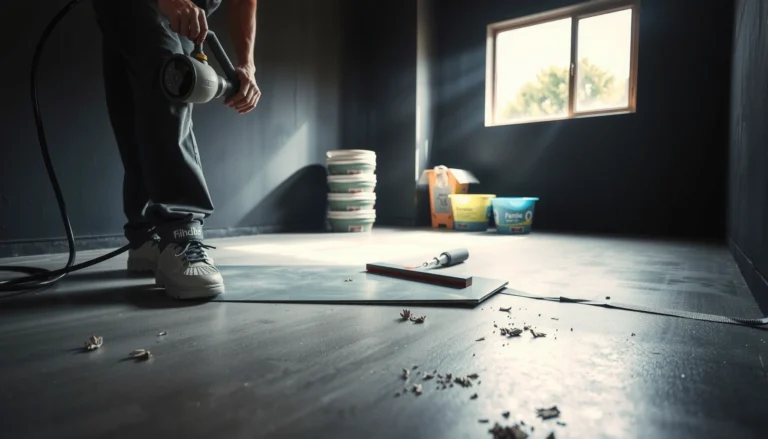
Start with removal. Anything loose, peeling, or oily undermines adhesion. Scrape off old adhesive, remove paint overspray, knock down drywall ridges, and pull protruding fasteners. Then vacuum thoroughly (not just “sweep and go”).
If you fill cracks or gaps, do it in a way the leveling system allows. Some products require a primer; others require specific prep for damp subfloors. The thickness limit (per lift) is also non-negotiable: exceeding it can cause shrinkage cracking or weak top layers that “print through” the engineered wood plane.
– Remove anything loose: old adhesive, paint overspray, drywall ridges, and protruding fasteners; vacuum thoroughly so materials bond properly.
– Fill cracks or gaps only as the leveling system allows (some products need priming; some need specific prep for damp subfloors).
– Follow the product instructions for priming, mixing, and thickness limits—don’t exceed the maximum pour thickness.
Bathroom practical tip: If the bathroom has a tile-to-wood transition, treat that edge as part of the bonding surface plan. You want a clean, sound substrate right up to (and slightly beyond, where allowed) the transition so the leveling doesn’t create a fragile “lip.”
Choose the right leveling method for engineered wood
You choose the leveling method based on how far out of plane the bathroom subfloor is. Minor imperfections are usually better handled with targeted patching/feather finishing, while broader unevenness may justify a self-leveling underlayment system.
Self-leveling underlayments are intended for larger areas of unevenness, but they still depend on correct priming and staying within maximum lift thickness per pour.
Feather-finish/patch products are designed for localized corrections and thinner builds, which often reduces risk around edges and transitions.
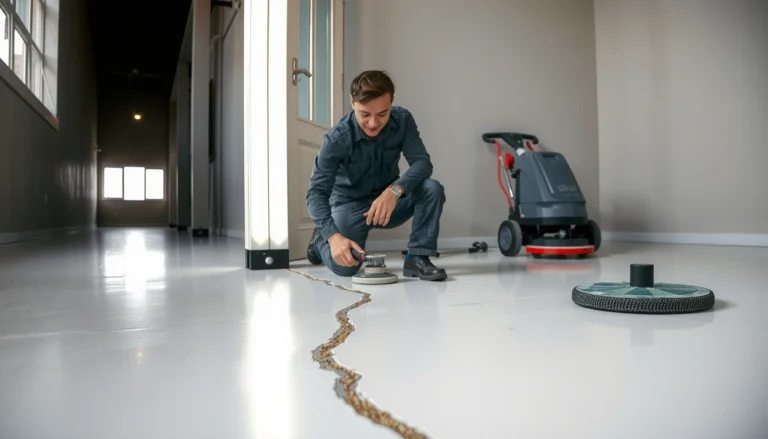
When you grind high spots, you protect planarity because you’re removing “peaks” instead of adding material that can exceed thickness limits.
From a stability standpoint, engineered wood needs a flat support plane so the locking mechanism or fastener system doesn’t flex under foot traffic—especially in bathrooms where moisture and temperature swings can slightly change dimensions over time.
Quick comparison: patch/feather vs self-leveler
| Method | Best use case | Pros | Tradeoffs |
|---|---|---|---|
| Feather-finish/patch | Low spots and thin corrections | Lower material buildup; easier to control edges | Not ideal for wide, inconsistent wave patterns |
| Self-leveling underlayment | Widespread unevenness across the bathroom | More consistent plane over large areas | Requires strict priming/mixing and lift limits |
| Grind high spots | Localized bumps/high areas | Prevents overbuilding material thickness | Creates dust; requires proper cleanup and re-checking flatness |
– Low spots only (minor unevenness): use a cementitious feather-finish/patch or a floor prep product designed for thin corrections.
– Widespread unevenness (more variability): use a self-leveling underlayment system (often requires priming and controlled mixing).
– Localized bumps/highs: grind them down and re-check flatness—sometimes it’s faster (and more stable) to remove high areas than to build up low ones.
Documents That Commonly Set Flatness/Moisture Rules for Bathroom Wood Floors
| # | Standard / Guide | Primary Topic | Quantitative Output | Decision Specificity |
|---|---|---|---|---|
| 1 | ASTM F2170 | Concrete RH testing | % RH at depth (RH probes) | ★★★★★ |
| 2 | ASTM F710 | Surface preparation & flatness | Flatness tolerance expectations (field measurement) | ★★★★☆ |
| 3 | TCNA (Wet Area Moisture Guidance) | Moisture management principles | System guidance (leak paths + vapor strategies) | ★★★☆☆ |
| 4 | Engineered wood manufacturer specs | Limits & permitted methods | Moisture limits (RH/CaCl2 or equivalent) + install tolerances | ★★★★☆ |
| 5 | Underlayment product instructions | Vapor barrier/overlap rules | Permitted layer combinations and seam/overlap requirements | ★★★☆☆ |
| 6 | Leveling/patch product data sheets | Prep, primer, cure, thickness | Max lift and cure times per system | ★★☆☆☆ |
| 7 | Local building code requirements | Permitted assemblies | Non-lab compliance requirements (site rules) | ★☆☆☆☆ |
Plan bathroom-specific layers and expansion gaps
You plan bathroom layers and expansion gaps so moisture can be managed and wood can move safely without joint failure. Even when the subfloor is flat, bathroom installation details (vapor strategy, underlayment compatibility, and perimeter spacing) determine whether the engineered wood stays stable after months of use.
Expansion space around the perimeter is essential because wood flooring changes dimensions with moisture content and indoor RH; tightening the perimeter usually increases the risk of buckling or joint stress.
Underlayment and vapor barrier choices must match the engineered wood manufacturer’s installation system; “adding more layers” is not automatically protective in bathrooms.
First, determine whether your engineered wood requires a vapor/moisture barrier and whether it must be under the flooring, attached to the plank, or handled by an approved underlayment. Some click-lock floors include an attached pad; others require a specific separate product. If you add an incompatible vapor layer, you can trap moisture where it shouldn’t be.
Second, maintain required expansion space around the perimeter and at transitions. Bathrooms often include doorways, built-ins, and tile-to-wood junctions—each one is a potential restriction point. Use the manufacturer’s spacers and follow their transition-trim guidance so the floor can float (if floating) or expand within safe margins (if nailed/glued per specs).
Third, treat edge sealing as a moisture migration strategy. The goal is preventing water from traveling under the flooring assembly and into the subfloor—not compressing the floor tighter than the system allows.
– Add the correct vapor/moisture barrier only if it’s allowed by your engineered wood manufacturer and matches your install type (some floating/click floors use an attached pad; others require a separate underlayment).
– Maintain required expansion space around the perimeter and at transitions (doorways, built-ins, and where the bathroom meets tile); cover it with the right trim/transition piece.
– In bathrooms, be extra cautious at edges where water can collect—proper perimeter sealing is about preventing moisture migration, not “gluing the floor down” tighter than the system allows.
Bathroom edge reality: Water often collects at thresholds and near vanity splash zones. That’s why the perimeter and transition details matter as much as the leveling compound itself.
Install engineered wood only after leveling cures and flatness is verified
You install engineered wood only after the leveling/patch system has fully cured and you confirm the floor is still flat. Installing too early or skipping a post-cure flatness re-check can trap moisture or create subtle planes that lead to clicking joints, squeaks, and visible seams.
Many leveling materials specify cure time and conditions; installing over material that has not cured can compromise planarity and adhesion performance.
Even when a self-leveler “looks smooth,” you still need to verify flatness after cure because shrinkage, surface laitance, or thin ridges can interfere with plank locking or contact.
Once cured, remove any surface laitance (a weak, powdery layer) where required. Then re-check flatness with the same straightedge approach you used at the beginning. If you find a new ridge or a small high spot, address it before planks go down.
When installing, follow the engineered wood manufacturer’s system instructions for fastening/gluing or click-lock use. Keep expansion gaps intact and use the right transition pieces at tile-to-wood boundaries.
– Confirm the leveling/patch material has fully cured per manufacturer directions before installing planks (installing too early can trap moisture and affect adhesion/planarity).
– Re-check flatness after cure; remove any ridges or surface laitance that could prevent proper plank locking or flat contact.
– Install the flooring according to the manufacturer’s fastening/gluing or click-lock instructions, while preserving expansion gaps and correct transitions.
In 2026 bathroom installs, one repeat issue is “schedule pressure.” The material might be dry to the touch but not cured to full strength or dimensional stability. Follow the product instructions rather than drywall-style “feels dry” judgment.
What can go wrong (and how to avoid it)
You avoid most engineered wood bathroom failures by treating moisture and flatness as two separate spec targets—then respecting leveling-system cure and thickness rules. These problems show up quickly in bathrooms because moisture swings can amplify even small installation mistakes.
Moisture out of spec can cause engineered wood dimensional movement that presents as joint separation or cupping even if the subfloor seemed “reasonably dry.”
Skipping primer requirements is a common cause of soft spots and debonding in leveling systems, because bonding often depends on the primer’s role in adhesion and moisture control.
Here are the most common failure modes and what to do instead:
– Skipping moisture testing: leveling a damp base can lead to permanent movement, cupping, or joint separation—use the wood manufacturer’s moisture limits, not estimates.
– Overbuilding thickness: self-levelers and patches have maximum thickness per lift; exceeding it can cause cracking or weak top layers that telegraph through the wood.
– No primer or wrong prep: many leveling products require priming for bonding; skipping it often leads to delamination or soft spots.
– Ignoring flatness after cure: even good products can end up slightly out of plane—re-check and correct before flooring goes in.
Pros/cons summary (fast reality check)
– Pros of doing leveling correctly: fewer squeaks, stable seams, better lock-up/contact, more predictable expansion behavior in bathrooms.
– Cons of over-correcting: added thickness can violate leveling product limits, increase labor and cost, and make transitions harder to manage.
Verdict / tip: level first, but don’t overcorrect
Leveling works best when it’s targeted: you fix low spots and remove highs to reach a flat, dry base that matches the engineered wood manufacturer’s moisture and installation tolerances. If your bathroom subfloor is only slightly uneven, feather-finish/patching is usually safer and simpler than trying to “pour the whole thing.”
For engineered wood in bathrooms, flatness verification and moisture compliance are the two strongest predictors of long-term seam stability.
Overbuilding leveling thickness increases the risk of cracking or weak top layers that can transfer through to plank locking performance.
A leveling system is only “as good as” its surface prep, primer compatibility, mixing discipline, and cure time—those steps often determine success more than the product brand.
When to consider skipping DIY leveling (or at least consult a pro):
– you suspect an ongoing leak or persistent dampness,
– the bathroom is on a slab with complex moisture conditions,
– your measurements show severe unevenness that may require structural correction,
– or you’re unsure which vapor barrier/underlayment is permitted for your exact engineered wood product.
From my experience coordinating specs across flooring brands and leveling systems, the most expensive mistake is doing a beautiful leveling job on a base that later proves to be out of moisture spec—so verification first saves money.
Quick checklist (scan before you start)
| Step | What to do | Done? |
|---|---|---|
| Measure flatness | Straightedge check; mark highs/lows | ☐ |
| Measure moisture | Test subfloor; confirm wood manufacturer limits | ☐ |
| Prep surface | Remove ridges/adhesive; vacuum; fix loose areas | ☐ |
| Prime (if required) | Use primer only if the leveling product/system calls for it | ☐ |
| Level/patch | Choose thin patch vs self-leveler based on unevenness | ☐ |
| Stay within limits | Max thickness per lift; correct mixing | ☐ |
| Cure fully | Wait for full cure before flooring | ☐ |
| Re-check flatness | Verify planarity again | ☐ |
| Install with gaps | Expansion space + correct transitions/perimeter sealing | ☐ |
If you can’t confirm moisture method and limits from the engineered wood manufacturer, you’re guessing—leveling can’t “fix” an out-of-spec base.
Cure and post-cure flatness re-checks prevent the most common “looks fine now, fails later” bathroom outcomes.
Sources
– ASTM F710 (Standard Practice for Preparing Concrete Floors to Receive Resilient Flooring or Installation of Other Floor Coverings)
– ASTM F2170 (Standard Test Method for Determining Relative Humidity in Concrete for Moisture Control)
– TCNA (Tile Council of North America) guidance on moisture management in wet areas (for general bathroom moisture principles)
– Manufacturer documentation for self-leveling underlayments/patch products you plan to use (primer requirements, maximum thickness per lift, mixing, and cure times)
Leveling engineered wood floors in a bathroom is less about “getting it smooth” and more about reaching two measurable targets: a flat substrate plane and moisture conditions approved by your flooring brand. If you verify flatness, test moisture, prep and prime correctly, stay within leveling thickness limits, and re-check after cure, you set yourself up for tighter seams, fewer squeaks, and a floor that doesn’t telegraph the subfloor’s flaws once real bathroom conditions arrive.
Frequently Asked Questions
What’s the best way to level engineered wood floors before installing a bathroom?
Start by checking the subfloor flatness with a 6 ft level or straightedge and mark high and low spots. For engineered wood, choose a leveling method that matches your subfloor condition—skim coating or patching is common for small dips, while self-leveling underlayment works better for larger uneven areas. Always follow the manufacturer’s subfloor flatness requirements and ensure the subfloor is clean, dry, and securely fastened before leveling.
How do I check and correct low spots in an existing subfloor for engineered wood bathroom flooring?
Measure low spots in a grid pattern so you know whether you have isolated depressions or widespread unevenness. Use a high-quality floor patch/feather finish for shallow areas, pressing it into the surface and blending edges for a smooth transition. After patching, sand or grind high ridges and re-check flatness—engineered wood installation typically demands a smooth, consistent subfloor to prevent squeaks and joint separation.
Why does leveling matter so much when installing engineered wood floors in a bathroom?
Bathrooms experience humidity swings that can affect dimensional stability, so uneven floors can magnify movement and stress on the joints. If the subfloor isn’t level, engineered wood planks may flex, creating gaps, squeaks, or failed click-lock performance over time. Proper leveling also helps ensure the underlayment (if used) lays flat, improving the overall performance of your engineered wood flooring system.
Which leveling materials are best for bathroom subfloors under engineered wood floors?
For minor imperfections, use a cement-based floor patch or self-leveling compound designed for thin applications and compatible with your subfloor type (plywood, concrete, or OSB). For significant unevenness, a self-leveling underlayment can bring the floor to the required flatness quickly, but you must control thickness and allow proper curing. Because bathrooms are moisture-prone, consider moisture-resistant products and follow any required vapor barrier guidelines before installing the engineered wood.
How thick can I level engineered wood floors in a bathroom without damaging the installation?
The allowable leveling thickness depends on the specific compound and the engineered wood manufacturer’s installation instructions, especially regarding subfloor flatness tolerances. Avoid overbuilding with patch or compound—excess thickness can create hard ridges, prolong curing time, or interfere with transitions and door clearances. Plan your leveling approach so the surface is flat, smooth, and within the recommended limits, then reinstall or prep any underlayment according to the engineered wood flooring system.
📅 Last Updated: October 19, 2026 | Topic: How to level a engineered wood floors before installing bathroom? | Content verified for accuracy and freshness.
References
- Engineered wood
- Self-leveling concrete
- Floor
- Underlayment
- Vapor barrier
- https://www.epa.gov/mold/mold-and-mildew
- Mold | Mold | CDC
- https://scholar.google.com/scholar?q=how+to+level+engineered+wood+floor+subfloor+flatness Google Scholar
- https://scholar.google.com/scholar?q=engineered+wood+floor+moisture+vapor+barrier+bathroom Google Scholar
- https://scholar.google.com/scholar?q=wood+floor+installation+subfloor+preparation+levelness+tolerance Google Scholar