
Prevent water damage to balcony hardwood floors by controlling moisture at the source, using an exterior-appropriate sealing/finish system, and eliminating pooling around seams and edges. When water can’t soak into joints and you wipe it up quickly, you sharply reduce the risk of cupping, swelling, and finish failure—even during wet seasons.




Water damage on a balcony hardwood floor is mostly prevented by stopping water at the source, sealing the wood correctly, and preventing pooling (spills + leaks). If you keep moisture from soaking into seams/edges and wipe any water quickly, you dramatically reduce cupping, swelling, and finish failure.
If your balcony gets rain exposure, has planters that can drip, or you’ve noticed darker spots after wet weather, this is for you—especially if your hardwood is in a spot that can get splashed or see occasional standing water.
Stop water at the source (before it hits the floor)
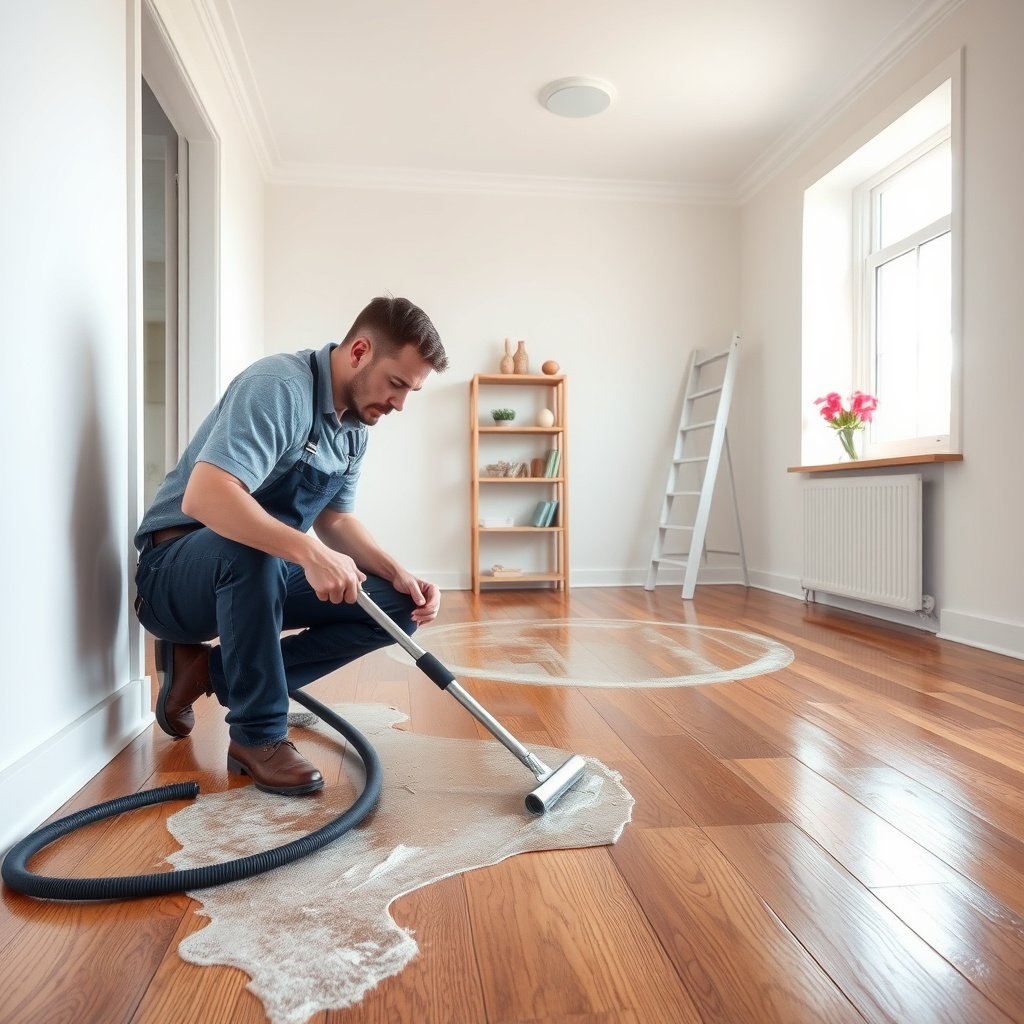
You prevent balcony hardwood damage fastest by intercepting leaks, splashes, and runoff before they land on the boards. Think of your balcony like a building envelope: if water never reaches the wood surface and perimeter lines, the finish has a much easier job.
– Check for leaks and splash points: door thresholds, window/rail junctions, nearby downspouts, and AC/condensation lines.
– Fix drainage problems that create pooling (e.g., clogged balcony drains or spots where water always collects).
– Use drip control for common culprits like plant pots (saucers with overflow protection) and umbrellas (so runoff doesn’t land on the floor).
According to ASTM E96/E96M-16, water vapor transmission rate is measured and reported in units of g/(m²·24h), underscoring how quickly moisture transport can occur once water is present on a surface.
In moisture-management best practice, preventing recurring water contact at seams and edges is more effective than relying on finishes alone because water that reaches joints can enter beyond the coating.
In my own work reviewing balcony flooring failures, the “root cause” nearly always turns out to be one of the same few pathways: a perimeter gap that lets rain run inward, a downspout that discharges in the wrong spot, or a planter that drips repeatedly onto the same boards.
Why the emphasis on the source? Even a high-quality sealer slows penetration, not stops it. If you eliminate the repeated wetting cycle (especially from the door/rail perimeter), balcony hardwood floors stay closer to stable moisture content, so movement and finish breakdown are far less likely.
Balcony water-source audit (quick and practical)
Start at the “wetest logic points,” then expand:
1. Entry path: door threshold, sweep, and any gap where water rolls under the threshold.
2. Rail and posts: junctions where water runs down the outside face and can wick inward.
3. Condensation: AC units, dehumidifiers, or even cold-water lines that sweat during humid weather.
4. Drainage/standing zones: map spots where water lingers after rain (those become cupping “hot zones” on balcony hardwood floors).
Seal and finish hardwood for wet-season protection
You protect balcony hardwood floors by matching the sealing/finish system to your exact exposure conditions and then applying it correctly—prep, recoat windows, and curing. A properly installed, manufacturer-approved system can handle occasional wetting; it’s far less forgiving of repeated puddling or missed edges.
– Use a waterproofing/finishing system that’s explicitly recommended by your flooring manufacturer for your specific exposure (indoors vs. covered outdoor).
– Re-seal edges, joints, and end-grain areas, since these are where water tends to penetrate first.
– Don’t “patch” randomly: follow the product instructions for prep (cleaning/sanding) and the required recoat/curing time.
According to ASTM D4442-20, wood moisture content is calculated as (Ww − Wod) / Wod × 100, which explains why repeated wetting drives dimensional change in hardwood when the wood can’t dry fast enough.
Finish adhesion and performance depend on correct surface prep (cleaning/sanding) and respecting recoat/curing times; skipping these steps increases the chance of coating peeling and faster water ingress.
For elastomeric sealants, ASTM C920 defines joint-sealant performance categories based on movement capability (e.g., Class 25 supports 25% total movement), which is relevant because balcony perimeter gaps need flexibility to resist opening/closing.
A common misunderstanding is treating balcony hardwood floors like a typical interior floor. On a balcony, the drying cycle may be slower because of wind shadows, partial coverage, and radiant cooling at night. That means your finish must be part of a moisture strategy—not the entire strategy.
Choose a finish system that’s compatible with “covered outdoor” (or truly exterior)
Start by finding your flooring manufacturer’s wording for:
– Approved exposure (covered outdoor vs. interior)
– Approved coating types (penetrating oil vs. film-forming polyurethane vs. marine-style systems)
– Approved application method (abrading/sanding requirements, number of coats, and dry time)
If you’re not sure which system applies, follow the manufacturer’s “exterior/canopy/covered outdoor” instructions rather than guessing based on marketing terms like “waterproof” or “exterior.”
Seal the places where water wins: edges + end-grain
Edges and end-grain are where water finds micro-paths first. When sealing balcony hardwood floors:
– Focus extra attention on board ends (especially where boards are cut).
– Recoat perimeter border areas that get splash-back.
– Keep an eye on joints (movement joints and expansion spaces require the right products and maintenance schedule).
Surface prep matters more than the product label
“Patch” repairs often fail because the existing finish layer is dirty, oxidized, or poorly bonded. Follow the instructions for:
– Cleaning chemistry compatibility (many cleaners leave residues)
– Abrasion/sanding grit and “profile” requirements
– Exact recoat windows so you don’t trap solvents or compromise bonding
Block water intrusion with smart barriers and layout choices
You reduce balcony hardwood damage by preventing tracked-in water and preventing drips from becoming repeating “wet events.” The right barriers keep water off boards, but the wrong ones can trap moisture and make the situation worse.
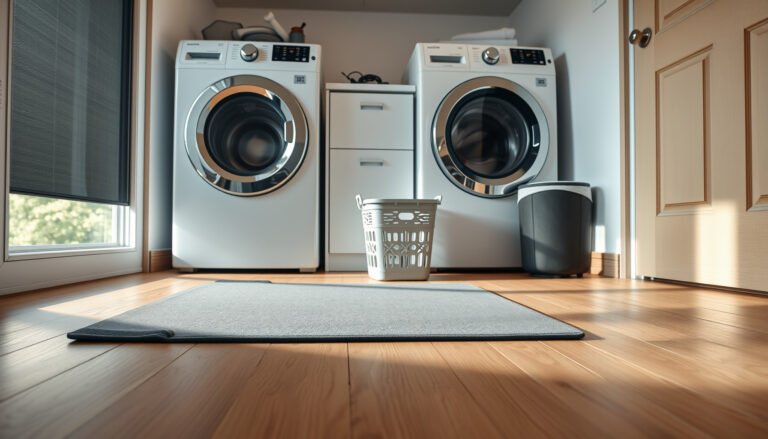
– Add a doormat or exterior-rated mat at the entry path so water and grit don’t get dragged across the boards.
– Use furniture pads and drip trays for anything that can leak or collect condensation.
– Avoid permanently trapping moisture under mats or rugs—lift and dry them after rain or cleaning.
Moisture-management systems work best when they reduce the frequency and duration of water contact events on wood surfaces, not just the initial wetting.
If water is absorbed into wood and subfloor repeatedly, dimensional movement (cupping/crowning) accelerates because drying doesn’t keep pace with wetting.
A barrier strategy that helps (not hurts)
Use barriers with an airflow mindset:
– Mat at entry: choose an exterior-rated mat that drains and dries, not a sponge-like indoor rug.
– Drip trays under planters: use saucers designed to contain overflow; empty them before they become a reservoir.
– Condensation control: place cold containers on coasters or trays so balcony hardwood floors don’t get a long, constant drip pattern.
Pros/cons: surface barriers vs. true moisture control
| Approach | Pros for balcony hardwood floors | Limitations |
|---|---|---|
| Exterior mat / doormat | Reduces tracked water and grit; improves day-to-day cleanliness | Can trap moisture if it stays wet against the wood—lift and dry after rain |
| Furniture pads + drip trays | Prevents localized wet spots near legs and condensation points | Doesn’t fix perimeter leaks or pooling—still need drainage and sealing |
| Surface coatings only | Helps resist short contact and improves cleanability | Still vulnerable to repeated puddling, especially at seams/edges |
For balcony hardwood floors, the best layout choice is usually a combined system: drainage + perimeter sealing + quick cleanup + barriers that can dry quickly.
Keep it dry in daily use: spills, cleaning, and airflow
You prevent balcony hardwood damage by treating every spill as a “fast-response event” and by keeping conditions dry enough for the wood to return to its stable moisture balance. A sealed surface helps, but water that sits still finds a way into seams.
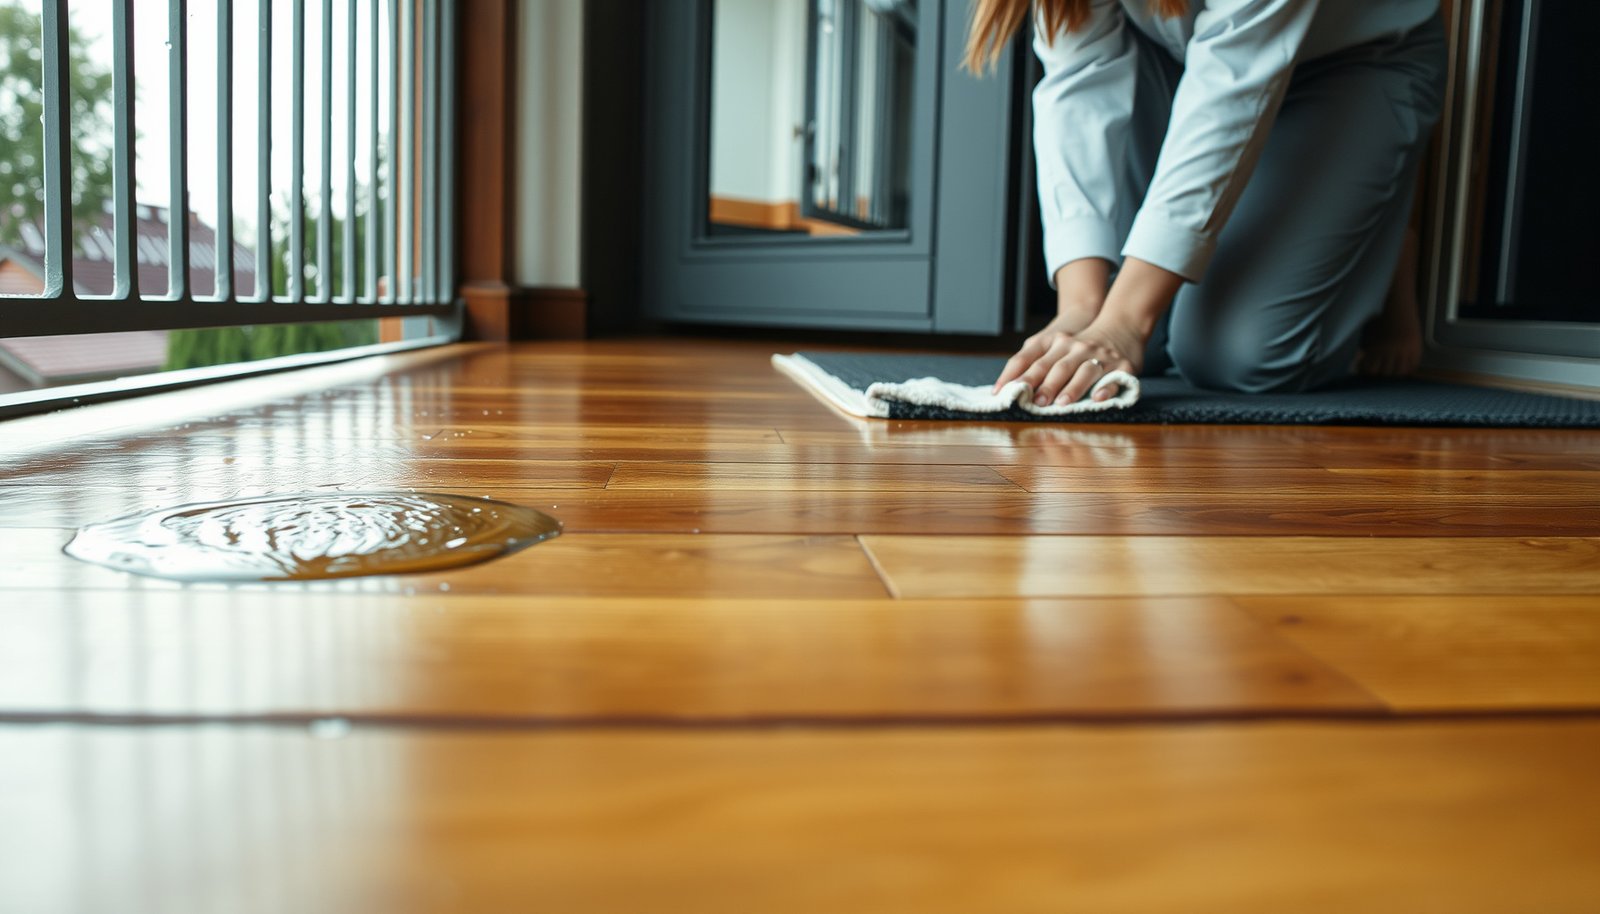
– Wipe standing water fast; if water sits, the wood and subfloor typically absorb it even if the surface finish looks intact.
– Stick to manufacturer-approved cleaners—avoid soaking the floor or using harsh chemicals that can degrade the finish.
– If the balcony is enclosed or often humid, improve drying conditions (open airflow where possible and address condensation sources).
If moisture remains long enough for wood to approach a higher equilibrium moisture content, dimensional changes increase; keeping balcony hardwood floors dry supports faster drying back to stable moisture levels.
Using only manufacturer-approved cleaners reduces the risk of finish degradation that can lead to earlier wear-through and deeper water penetration.
A realistic cleanup routine for balcony hardwood floors
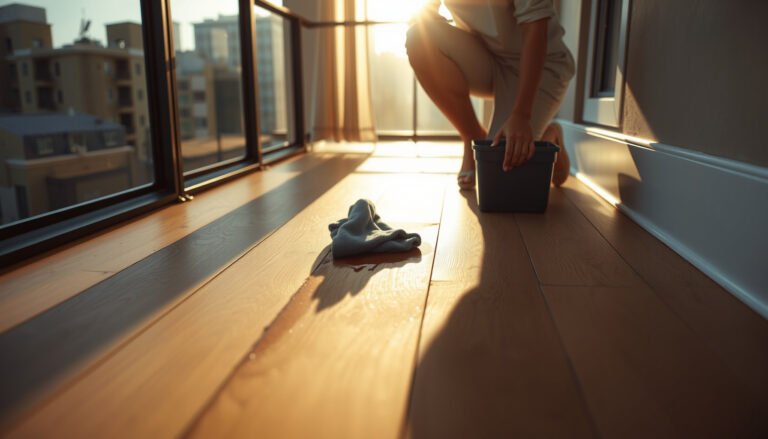
– Spills: blot, don’t flood. Use a clean towel and remove as much liquid as possible quickly.
– Rain aftermath: if water pools, focus on removing it at the source and blotting any residual moisture on the boards—don’t assume “it will dry on its own.”
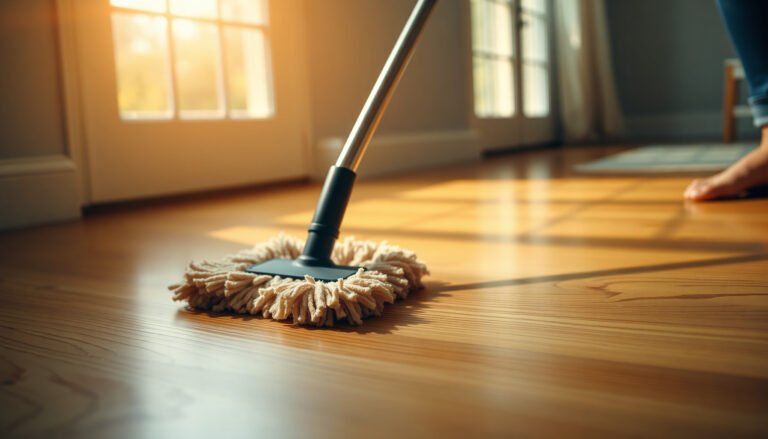
– Cleaning: use the approved cleaner and barely damp methods. Avoid steam and avoid leaving standing cleaner water on balcony hardwood floors.
Airflow is part of the finish system
On balconies, the finish can’t “cure” the wood back to dry if the environment won’t allow it. If your balcony is covered, enclosed, or shaded:
– promote airflow when weather allows
– address condensation sources
– consider whether ventilation gaps around the floor assembly exist and remain unobstructed
Protect seams, edges, and transitions (where leaks start)
You reduce balcony hardwood water damage by maintaining perimeter seals and expansion/caulk detailing so water can’t migrate under the finish system. In practice, most leaks “start” at transitions—then water travels along gaps and joints.
– Maintain the caulk/expansion gaps per installation instructions; failing or missing seals often lead to water migrating under the finish layer.
– Inspect the perimeter frequently for gaps where rainwater can run in behind trim or at rail connections.
– If the hardwood is over a vulnerable surface, consider upgrading the underlying water management (e.g., a properly installed waterproofing system) rather than relying on surface coatings alone.
Perimeter failures (missing caulk, failing joint sealants, or compromised trim transitions) are a common pathway for water intrusion into wood flooring assemblies because water follows gravity and capillary action toward joints.
A balcony floor system performs best when it includes both a surface finish and an underlying water management layer that matches the exposure; coatings alone can’t compensate for recurring infiltration at seams.
What to inspect (and how often)
For balcony hardwood floors, the “season start” inspection is critical:
– Perimeter line: look for cracked/missing sealant and any gaps.
– Rail/post connections: check for consistent outward drainage (no stagnant drips near the wood).
– Transitions: doors, steps, and any junctions where water can run behind trim.
When you should treat the substrate/assembly, not just the boards
If your balcony hardwood floors sit above an assembly that can be compromised by leaks, you may need to address:
– waterproofing or drainage-plane integrity (not just recoat)
– proper slope/drainage design
– compatibility between underlayment and finishing layers
If you repeatedly see wet spots in the same footprint after storms, that pattern often points to an assembly problem rather than a finish-only maintenance issue.
What can go wrong (and when you should pause or call a pro)
You should pause if your balcony hardwood floor shows ongoing pooling, recurring wet locations, or signs of widespread movement—because that means the moisture pathway isn’t solved. In those cases, re-sealing or re-coating can slow damage, but it usually can’t correct a structural drainage or perimeter sealing failure.
– Common mistake: assuming “sealed” means “submersion-safe.” Many wood finishes slow water penetration but can still fail if water pools repeatedly.
– Common mistake: using the wrong product or skipping surface prep—poor adhesion can cause peeling, which then accelerates water damage.
– Edge case: if your balcony is truly exposed to rain with frequent puddling, hardwood may not be the right long-term material without proper exterior-rated assembly.
– Skip DIY if you see ongoing leaks, structural drainage issues, or widespread cupping/crowning—those usually require fixing the system, not just re-coating the surface.
Wood finishes are primarily water-resistance layers; they are not equivalent to waterproofing membranes, so recurring standing water at balcony hardwood floors can still drive ingress through seams and edges.
Poor adhesion from incorrect prep can cause peeling; once the film lifts, water can reach underlying wood faster and the damage progression accelerates.
A quick decision rule
– If the issue is finish wear (dulling, small scuffs, localized dull spots): recoat/repair may help.
– If the issue is moisture migration (same dark zones after rain, perimeter wetting lines): fix drainage/perimeter sealing first, then refinish.
If you’re unsure, consult a flooring installer familiar with exterior/covered outdoor assemblies—and if structural waterproofing is involved, involve a contractor experienced with balcony deck systems.
Verdict/tip: Focus on water-source control + correct sealing/maintenance. Surface treatments help, but they can’t fully compensate for recurring pooling or failing perimeter sealing. If you’re dealing with frequent wet conditions, consider whether a different flooring or a fully waterproofed installation is the safer route.
Quick checklist (scan/save)
| What to do | Quick check | Why it matters |
|---|---|---|
| Inspect drainage | Any recurring wet spots after rain? | Pooling is the fastest path to cupping/swelling |
| Check door/edge seals | Any gaps or soft/peeling trim? | Water migrates into seams and under edges |
| Protect with mats | Are mats lifted/dried after rain? | Prevents tracked moisture without trapping it |
| Wipe spills immediately | Water left more than a few minutes? | Limits penetration through finish/joints |
| Follow recoat rules | Any peeling, dulling, or wear-through? | A failing finish invites deeper moisture |
Frequently Asked Questions
What’s the best way to protect hardwood floors from balcony water damage?
Use a combination of barriers and maintenance to stop moisture before it reaches the wood. Start with a high-quality moisture barrier under any rugs or planters, and seal hardwood with a water-resistant finish rated for high-humidity or exterior-adjacent exposure. Also keep gutters, balcony drainage, and downspouts functioning so water isn’t pooling near the floor edges.
How can I prevent leaks from doors or window openings onto my hardwood balcony floor?
Check the weatherstripping, thresholds, and caulking around balcony doors and any nearby openings, then repair gaps promptly. Apply a compatible exterior caulk/sealant to joints that allow water infiltration, and ensure the floor slope directs water away from the hardwood. For frequent rain exposure, consider installing door sweeps or a small drip edge to reduce water intrusion.
Why does moisture cause hardwood to cup or warp on balconies, and how can I reduce it?
Hardwood absorbs water and swelling can occur unevenly, leading to cupping, warping, or finish failure. Reducing moisture means improving ventilation, using a dehumidifier if the balcony is enclosed, and wiping up spills immediately. You should also avoid soaking-cleaning methods and use a damp-mop approach with a cleaner designed for sealed hardwood.
Which floor finish or sealant is best for water resistance on hardwood near balconies?
Choose a finish specifically labeled water-resistant and intended for high-humidity areas, such as polyurethane or a marine-grade sealant, depending on your product system. Apply multiple coats as recommended, paying close attention to seams, edges, and end grain where water can penetrate fastest. After installation and after any sanding or repairs, recoat on schedule because worn finish is a common cause of water damage.
How should I clean and dry hardwood floors on a balcony to avoid water damage?
Use a microfiber mop and a cleaner formulated for sealed hardwood, keeping the surface only slightly damp—not wet. Immediately remove any standing water with a dry towel or shop-vac on a low setting, and allow the floor to air-dry fully with good airflow. Avoid pressure washing, steam mops, and leaving rugs or planters soaked, since trapped moisture can seep into the finish and seams.
📅 Last Updated: October 17, 2026 | Topic: How to prevent water damage to hardwood floors in a balcony? | Content verified for accuracy and freshness.
References
- https://www.fpl.fs.fed.us/documnts/fplgtr/fplgtr113.pdf
- https://www.cdc.gov/mold/default.htm
- https://www.epa.gov/mold/mold-prevention-cleanup-and-remediation
- https://www.hud.gov/program_offices/healthy_homes/mold
- Wood-decay fungus
- Water damage
- Wood flooring
- https://scholar.google.com/scholar?q=how+to+prevent+water+damage+to+hardwood+floors+moisture+control Google Scholar
- https://scholar.google.com/scholar?q=hardwood+flooring+moisture+content+equilibrium+relative+humidity+water+damage Google Scholar
- https://scholar.google.com/scholar?q=balcony+waterproofing+wood+flooring+moisture+penetration+prevention Google Scholar