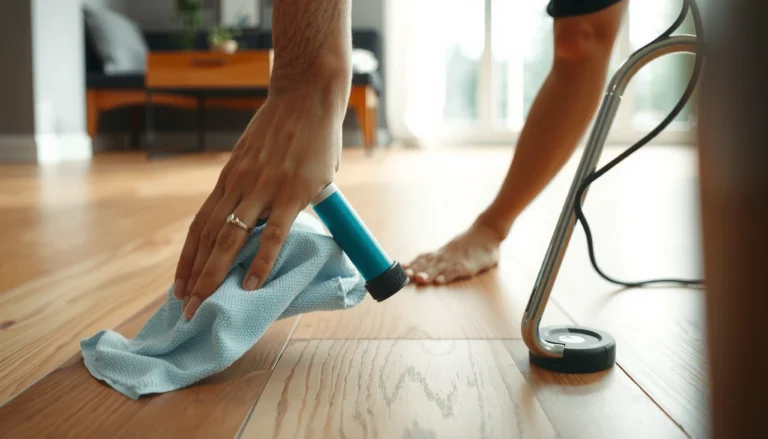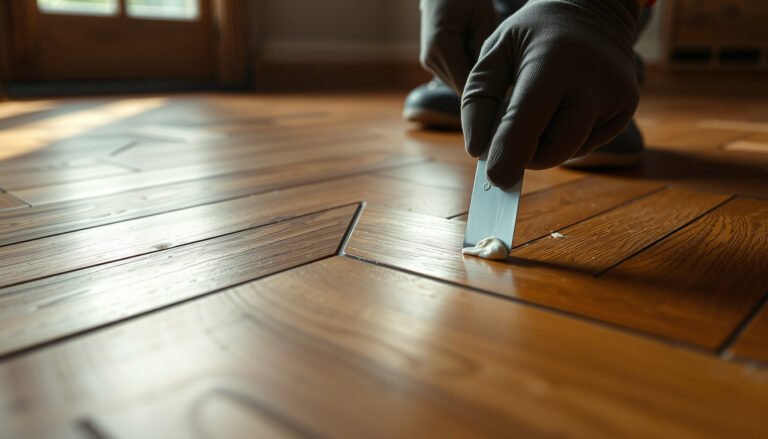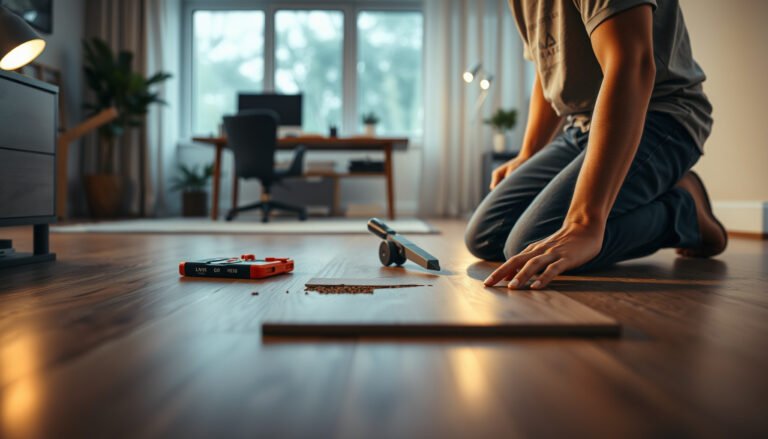

This step-by-step guide tells you exactly how to repair hardwood floors in a workshop, from fixing scratches and dents to replacing damaged boards. If you want the fastest route to a solid, professional-looking result, follow the tested workflow—inspect the damage, prep the area, cut and fit the repair pieces, then sand and finish for a seamless match. You’ll finish with fewer mistakes, cleaner edges, and a surface that holds up under workshop use.




Repairing workshop hardwood floors is mainly about diagnosing whether the damage is cosmetic (scratches/dents) or moisture-related (stains/cupping), then matching the wood profile and finishing system so the repair blends. If you get moisture under control first and only then choose filler, patch wood, or sanding/refinishing, most “repairs that don’t show” come down to correct sequencing, not just products.
This guide walks you through the exact workflow you’d use with workshop tools—then highlights the situations where a beautiful patch still fails because the underlying moisture problem was never fixed.
Who this is for / when it applies:
This is for homeowners, DIYers, and woodworkers who want to repair a small area or replace a section of hardwood while working in a workshop/garage or onsite with workshop tools. If the floor has active cupping from moisture, wide gaps, or major structural buckling, you’ll still use these steps—but you may need professional help for the underlying cause.
Assess the hardwood floor damage (before you buy anything)
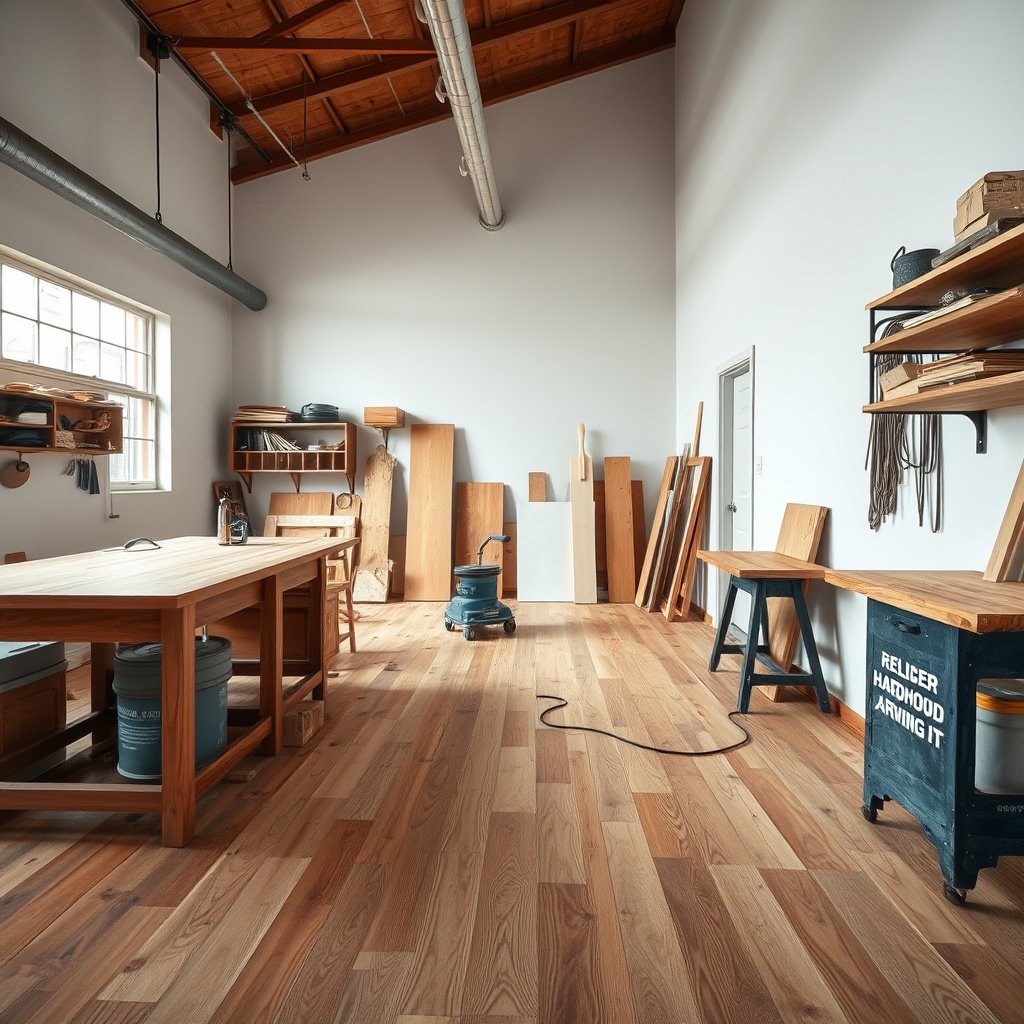
The best repair plan starts by identifying what’s actually failing: surface damage usually needs leveling and blending, while moisture damage needs stabilization before any sanding. Do this first because filler and sanding won’t permanently fix cupping, persistent staining, or loose boards caused by movement.
“Wood flooring performance starts with moisture control—NRFAs (NWFA) installation guidance emphasizes acclimation and matching jobsite conditions before repairs or finishing.” National Wood Flooring Association (NWFA), hardwood floor installation guidance
“Equilibrium moisture content (EMC) is the point where wood moisture stops changing with the environment—moisture issues won’t level out reliably until the floor reaches EMC.” American Wood Protection Association / AF&PA EMC concepts; EMC charts (general moisture science)
“If you can feel height differences along edges (not just see them), the problem is more likely dimensional movement than surface abrasion.”
Start with a simple decision: spot repair (filler/patch) versus board replacement (remove a plank). Use the following checks:
Surface-only vs. structural damage (what you’re actually seeing)
– Surface-only (scratches, dents, small gouges): usually looks localized with no widespread edge movement. The surrounding planks feel stable and the defect doesn’t “pulse” seasonally.
– Structural (splits, loose boards, raised edges, persistent gaps): the defect expands in location or changes over time as humidity changes. Common examples include:
– Loose board: movement when you step nearby or a hollow sound when you tap.
– Split plank: separation along grain lines, often widened by moisture cycles.
– Cupping: visible “bowl” shape where edges sit higher/lower than the center.
Moisture signs (don’t skip this)
Look for:
– Dark staining (often appears when moisture migrates, then dries unevenly).
– Raised/uneven edges (cupping).
– Edge feel test: run a fingertip across plank seams—if edges feel consistently different than the surrounding boards, treat it as movement, not cosmetics.
Decide how you’ll repair (based on the mechanism)
– If it’s cosmetic: plan for cleaning → filler/leveling → sanding feather → compatible finish blend.
– If it’s moisture-driven: plan for stabilizing the environment first (drying, dehumidification/AC, HVAC balance) before sanding or coating, then address appearance second.
From my workshop experience, most “my patch still shows” callbacks come down to one mistake: repairing while the hardwood is still moving. Fix the movement first, then blend the surface.
Prepare your workshop setup and materials
Your workshop setup determines whether the repair bonds and blends cleanly—dust control and finish compatibility matter as much as the repair material. Prepare the environment first, then confirm what finish system you’re working over before you commit to sanding and coatings.
“Sanding hardwood generates respirable dust; safe practice is to use appropriate respiratory protection and a dust-control plan (shop vacuum + shrouded sanding, where feasible).” OSHA respiratory protection standard, 29 CFR 1910.134
“Finish systems must be compatible: oil/wax, lacquer/varnish, and water-based polyurethane behave differently under sanding and topcoats.”
“Testing the existing finish in an inconspicuous area reduces the risk of fisheyes, clouding, or peeling caused by incompatibility.”
Control dust and airflow (for both bonding and finish quality)
– Use a respirator when sanding (especially for coatings and stain-laden surfaces).
– Plan a cleanup method before you start: shop vac + tarp around the work zone. This prevents contamination from spreading into areas you’ll later coat or fill.
Match materials to the floor (wood + finish)
– For fillers/patch wood, match as closely as possible:
– species (oak vs. walnut behaves differently in stain and tone),
– color/undertone (warm vs. cool),
– profile/thickness (tongue-and-groove or square-edge details matter).
– For finish, you need compatibility:
– Some floors are oil/wax, others are varnish, lacquer, or water-based polyurethane.
– If you can’t identify it, do a small test area:
– sand lightly,
– observe color change,
– test-coat in a hidden spot.
Identify the existing finish before you sand aggressively
In my own process planning, I treat “finish ID” as a step—because once you sand deeper than intended, you can’t “undo” sheen differences. If the floor appears recently finished but you don’t know the chemistry, pause and test first.
Repair scratches, dents, and small gouges
For cosmetic damage, the fastest path to a nearly invisible result is clean bonding + controlled filler build + feather sanding. You want the repair slightly below the final surface first, then sand it level so you don’t create a ridge that shows after finishing.
“Filler repairs work best when the surface is free of wax, oils, and sanding dust so adhesion isn’t compromised.”
“Feathering the edges prevents a visible ‘patch line’ after coating because the transition becomes a gradual slope rather than a step.”
“Sand progression matters: use coarse grit to level, then finer grits to remove scratches and prepare for a uniform topcoat.”
Clean thoroughly (this is where many DIY repairs fail)
– Remove any residue: wax, oils, cleaner film, and loose dust.
– Wipe with an approach compatible with your flooring (avoid leaving moisture that could raise grain or affect stain-ready wood).
Use the right filler approach
– Color-match: pick a filler that matches your wood tone as closely as possible. For stained floors, you may need either:
– a pre-colored filler system, or
– staged color blending (lighter base + staged stain/toning after cure).
– Apply in thin passes: build gradually rather than trying to fill to height in one go.
– Leave it slightly low: fill just under the final surface so you can sand level cleanly.
Sand to level, then blend the transition
A practical workshop sanding workflow is:
1. 80–100 grit (level the bulk and remove high spots)
2. 120–150 grit (refine surface and remove sanding marks)
3. Feather outward so you don’t create a boundary “ridge”
> Note: the exact grits you use should match your coating and how much you must remove for leveling.
Finish blending
– If you can spot-recoat safely, blend using the same sheen (matte/satin/gloss).
– If you can’t match sheen easily in a spot, a broader refinish of a section often looks better than a perfectly level patch that fails visually.
Fix water damage, staining, and loose boards
For moisture-related hardwood floor repair, the best outcome requires stabilization before surface work. If you sand or coat while boards are still moving, the repair may “look fine today” and telegraph again after the next humidity swing.
“NWFA moisture guidance ties successful hardwood installs and repairs to aligning wood moisture content with jobsite conditions.” National Wood Flooring Association (NWFA), moisture/acclimation guidance
“Cupping means the board has unequal moisture across its thickness, so sanding a raised edge before stabilization can worsen unevenness.”
“Stain appearance can remain even after the moisture source is corrected, so appearance treatment and moisture correction are separate jobs.”
If you have cupping: stabilize first
– Measure and correct the cause:
– leaks, condensation, HVAC imbalance, or high moisture from slab/subfloor.
– Only after stabilization should you sand edges or level.
– If boards are still raised, sanding can:
– create uneven thickness,
– accelerate edge checking,
– worsen the visual “dip” around the repair zone.
Staining: treat the cause, then address the look
Staining has two layers:
1. Moisture origin (must be fixed)
2. Residual discoloration (may require removal/bleaching/toning)
Don’t assume “one stain remover” does both. Some discolorations require different approaches depending on:
– wood species,
– the finish system,
– whether the stain is surface-only vs. has penetrated.
Loose boards: re-secure using construction-appropriate methods
– Determine how the floor is built (nail-down solid hardwood, stapled, glue-down, engineered with click-lock, etc.).
– Re-secure using the correct fastener type and compatible method.
– Avoid forcing a plank that still wants to move—if humidity is driving movement, the repair may loosen again.
In my workshop experience, loose-board fixes that last usually include a humidity check and a plan to prevent repeat movement—not just driving a fastener and hoping for the best.
Replace damaged planks (when patching won’t hold)
Replacement is the cleanest solution when the damaged area involves splits, severe staining penetration, or boards that won’t stabilize. Patch materials can’t recreate the original board structure when the original plank is compromised.
“Board replacement is often the most reliable fix when the plank itself has structural movement or deep damage that filler can’t replicate.”
“A good replacement relies on matching thickness and the floor’s profile (tongue-and-groove details) so seams close without forcing.”
“Seam transitions matter: even small height differences telegraph through finish because coating magnifies texture variation.”
Remove the damaged section carefully
– Protect neighboring tongue-and-groove features (if present).
– Minimize damage to adjacent planks.
– Work slowly to avoid widening the repair footprint.
Fit the replacement plank (dry-fit first)
– Match thickness and profile.
– Dry-fit the plank so the joints close without forcing.
– If your repair involves partial boards, plan how the seam will be hidden (within a typical sightline and under trim if possible).
Blend and finish
– Level sanding only after the replacement is seated correctly.
– Blend transitions: feather sanding outward so the new board doesn’t stand out.
– Apply a finish compatible with the original system.
What can go wrong when repairing hardwood floors
Most repair failures happen because the root cause wasn’t diagnosed correctly or because the finish system isn’t compatible. If you protect the moisture problem and respect bonding/compatibility, you avoid the most common “looks worse after finishing” surprises.
“If moisture continues to drive dimensional movement, cosmetic repairs can fail or re-telegraph through the coating.”
“Incompatible topcoats can cause cloudiness, fisheyes, peeling, or uneven sheen—even when the wood repair itself is mechanically sound.”
“Over-sanding can create dips and thin edges that increase the visibility of a patch after coating.”
Common mistakes (and why they matter)
– Repairing before the moisture problem is solved: filler can bond now, then fail visually later when the floor moves.
– Poor finish matching: you may match color but not sheen; light grazing angles reveal the seam.
– Over-sanding: sanding too aggressively can create a visible “shoreline” around the repair.
– Dust and contamination: leftover cleaners/wax can prevent adhesion and cause spot failures.
Practical “watch-outs” for workshops and garages
– Workshop concrete slabs can transmit moisture; if your workspace has high humidity swings, your hardwood repair may not behave “as expected.”
– If the floor is near exterior doors or HVAC vents, airflow changes can trigger movement cycles.
Moisture stability anchor (quick reality check)
According to AF&PA moisture science charts (EMC concepts), wood at typical indoor conditions commonly lands around EMC values that correspond to the building’s relative humidity. If your environment swings far from target RH, hardwood floor repairs often “breathe” visibly.
Verdict: when this DIY approach works (and when to skip)
This DIY workflow works best for localized, mechanical/cosmetic problems—scratches, minor gouges, small stain spots (after moisture is corrected), and individual planks that you can remove and replace cleanly. Skip DIY when moisture instability or hidden subfloor issues keep recurring, because a perfect cosmetic repair can still fail.
“NWFA guidance emphasizes that controlling moisture conditions is essential for hardwood performance; cosmetic repair alone can’t substitute for stable jobsite conditions.” National Wood Flooring Association (NWFA)
“If a floor is actively buckling or cupping repeatedly, the cause is usually structural or moisture-driven rather than surface abrasion.”
“Matching sheen and tone is often the hardest part of blending—especially under low-angle workshop or sunlight lighting.”
Pros/cons of DIY workshop repair (what to expect)
- Pros (DIY strengths)
- – You can localize cost and reduce disruption by repairing only the affected boards.
- – Workshop tools (oscillating tool, random-orbit sander, shop vac setup) let you control dust and precision.
- – You can iterate: build filler in passes, sand, test a spot finish blend.
- Cons (where DIY struggles)
- – Color and sheen matching can still “show” depending on lighting and original finishing consistency.
- – If moisture is active, repeated cycles can reopen gaps or telegraph patch edges.
- – Spot refinishing may look different if the original floor was uniformly refinished vs. previously touched up.
Who should skip (or bring in help)
Bring in help if you see:
– hidden subfloor damage (soft spots, persistent hollow sounds),
– widespread cupping/buckling,
– repeated repair failure even after drying attempts,
– inability to identify the finish system reliably.
Downside to expect (being realistic): even when the repair is mechanically correct, lighting can reveal differences in sheen and micro-texture.
Hardwood Floor Stability vs. Indoor Relative Humidity (70°F basis)
| # | Indoor RH | Approx. EMC | Typical Floor Tendency | Stability Score |
|---|---|---|---|---|
| 1 | 30% RH | ~6.2% | Boards may dry/shrink | ★ |
| 2 | 35% RH | ~7.0% | Near mild shrink risk | ★★ |
| 3 | 40% RH | ~8.0% | Typically stable zone | ★★★★ |
| 4 | 45% RH | ~9.3% | Mild swell risk | ★★★ |
| 5 | 50% RH | ~10.7% | More swell potential | ★★ |
| 6 | 55% RH | ~12.0% | Higher seasonal movement | ★ |
| 7 | 60% RH | ~13.4% | Likely noticeable swelling | ★ |
Note: EMC values are approximate and depend on temperature and wood species; use a moisture meter and follow NWFA moisture/acclimation guidance for your site conditions.
Quick repair checklist (scan & save)
| Step | What to confirm |
|---|---|
| 1. Diagnose | Scratch/dent vs. moisture vs. loose board/split plank |
| 2. Stabilize | Moisture is corrected (or the floor is stable) |
| 3. Clean | No wax/cleaners/dust where filler or coating will bond |
| 4. Match | Wood color/finish type compatibility |
| 5. Repair | Apply filler/patch in thin passes; sand only after it cures |
| 6. Blend | Feather edges; sand transitions smooth |
| 7. Finish | Use a compatible coating system; test first in a hidden area |
Sources
– National Wood Flooring Association (NWFA), hardwood floor installation guidance on moisture management/acclimation and repair considerations.
– American Wood Protection Association / AF&PA moisture science (EMC concepts and charts) and reputable finish-industry guidance on identifying finish types and testing in inconspicuous areas (finish manufacturer or flooring association).
If you follow one rule, make it this: diagnose moisture vs. cosmetic damage first, then repair and refinish only after the floor is stable. Start with a clean, careful assessment, use the right filler/patch or replace boards when needed, and finish with compatible coatings to blend the repair. If you’re unsure about the existing finish or the moisture cause, pause and do a small test area before committing to broader sanding or coating.
Frequently Asked Questions
What are the most common ways hardwood workshop floors get damaged, and how can I fix them?
In workshops, hardwood floors are often damaged by dropped tools, rolling carts, moisture spills, and abrasive dust tracked in on boots. For small scuffs or dents, you can clean the area and use a wood filler or matching stain-touch up, then lightly buff and apply a protective finish. For scratches that break through the topcoat, sanding the damaged spot and refinishing that area is usually required to restore a seamless look and protect the wood.
How do I repair deep scratches or gouges in hardwood workshop floors?
Start by cleaning the gouge thoroughly so the repair material bonds well, then remove loose splinters with a chisel so edges are stable. Fill the damaged area with an appropriate hardwood filler or two-part wood repair compound, letting it cure fully before sanding flush with the surrounding floor. Afterward, match sheen and color by sanding the repair area lightly, then apply wood floor finish (or a compatible topcoat) so the repaired section blends with the existing hardwood floor.
How do I fix water damage or cupping in hardwood floors from workshop spills?
First, dry the affected area completely and address any ongoing moisture source from leaks, condensation, or spills—repairing without fixing the cause can lead to repeat damage. For minor surface swelling, you may be able to dry the wood, lightly sand, and refinish; for deeper water damage, you may need to sand more aggressively or replace affected boards. If the floor is significantly cupped or warped, a moisture content check and professional assessment may be necessary to prevent future failure.
Which tools and materials should I use to repair hardwood floors in a workshop?
For most DIY hardwood floor repairs, you’ll want masking tape, a vacuum, a putty knife, wood filler/repair compound, sandpaper (typically in multiple grits), and a sanding block or orbital sander for controlled smoothing. For finishing, use a cleaner appropriate to your existing floor finish and a compatible stain and topcoat (polyurethane, water-based urethane, or the same system as the original). Because workshop dust is common, a shop vac and good ventilation help keep repairs clean and reduce visible grit in the new finish.
What’s the best way to sand and refinish repaired sections so they match the rest of the floor?
Feather the edges of the repaired area by sanding progressively finer grits so there’s no “step” between old and new finish, then wipe with a tack cloth or dust-free method to remove all particles. Apply stain carefully in thin coats and test on scrap or an inconspicuous spot to match your hardwood floor color. Finish with the same sheen level as the original floor—often requiring multiple thin coats—and allow full cure time before replacing workshop traffic, rolling equipment, or heavy items.
📅 Last Updated: October 17, 2026 | Topic: How to repair hardwood floors in a workshop? | Content verified for accuracy and freshness.
References
- Wood flooring
- Wood warping
- Wood-decay fungus
- Lead Renovation, Repair and Painting Program | US EPA
- https://www.cdc.gov/lead/prevention/sources/housing/deteriorating-paint.html
- https://www.cdc.gov/niosh/topics/wooddust/default.html
- Silica, Crystalline – Overview | Occupational Safety and Health Administration
- https://scholar.google.com/scholar?q=hardwood+floor+repair+replace+damaged+boards Google Scholar
- https://scholar.google.com/scholar?q=hardwood+floor+refinishing+repair+filling+gaps+scratches Google Scholar
- https://scholar.google.com/scholar?q=wood+floor+moisture+humidity+gap+cupping+repair Google Scholar