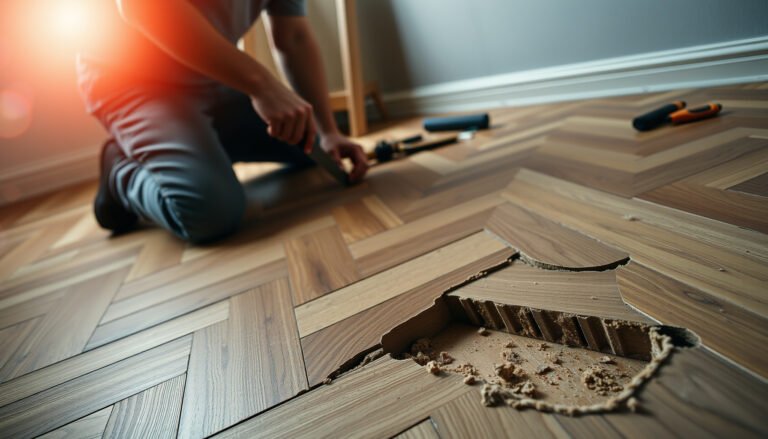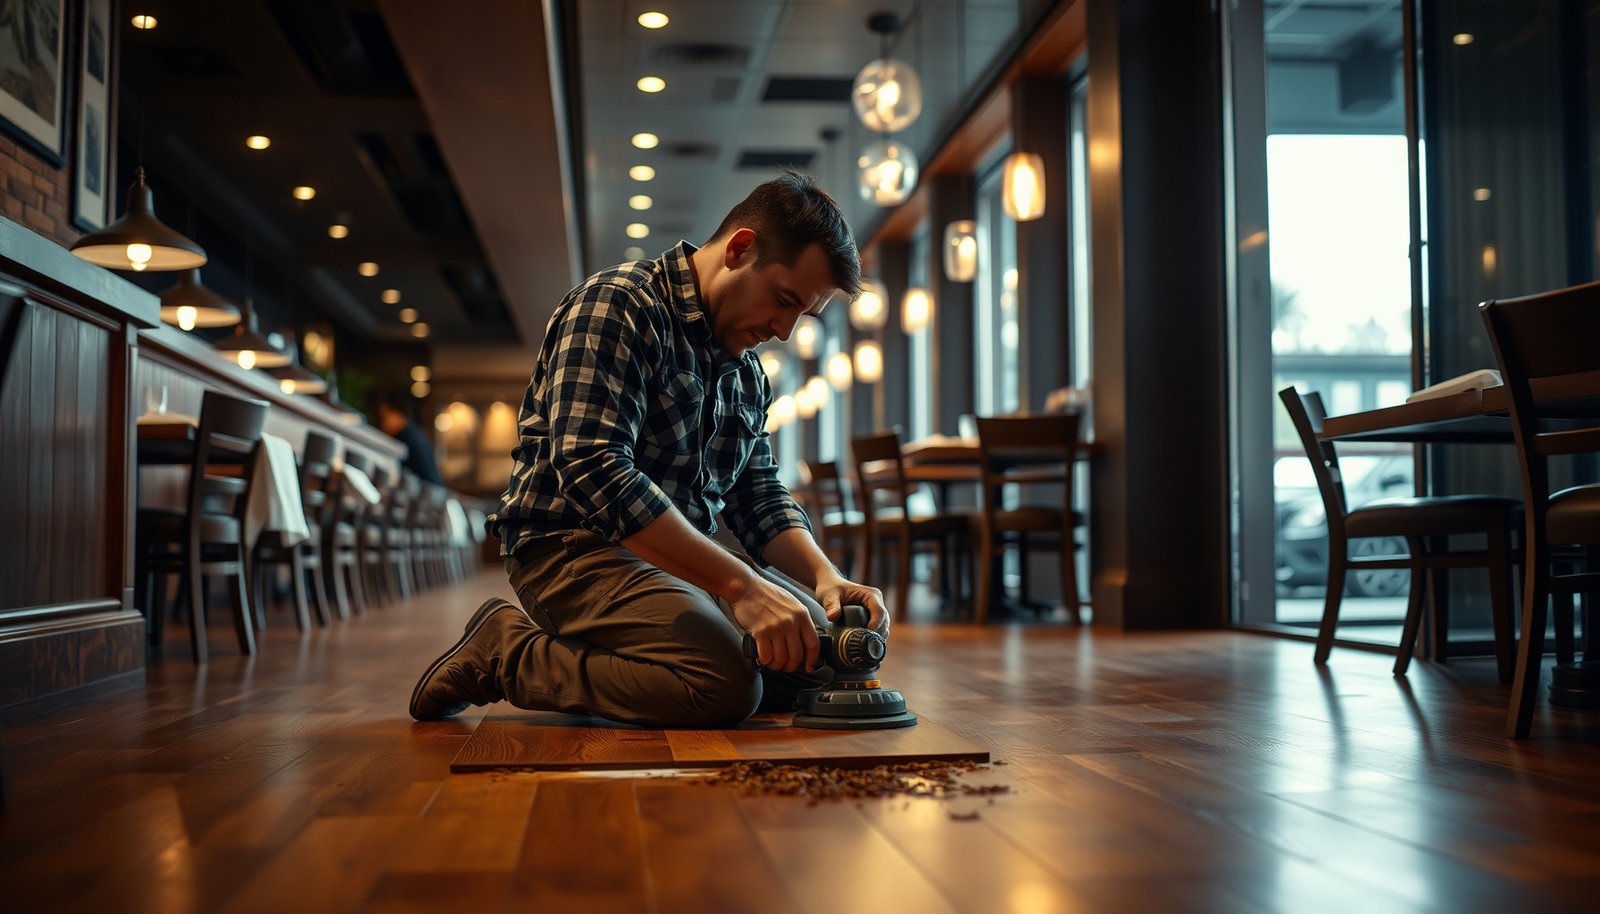

Repairing hardwood floors in a restaurant is straightforward when you follow the right sequence: assess the damage, contain the area, fix the boards, and finish with a restaurant-ready protective coat. This step-by-step guide shows exactly how to handle the most common failures—scratches, gaps, lifting boards, and worn finish—without disrupting service for weeks. If you want the fastest path back to a smooth, safe floor that can handle daily foot traffic, start with these fixes.



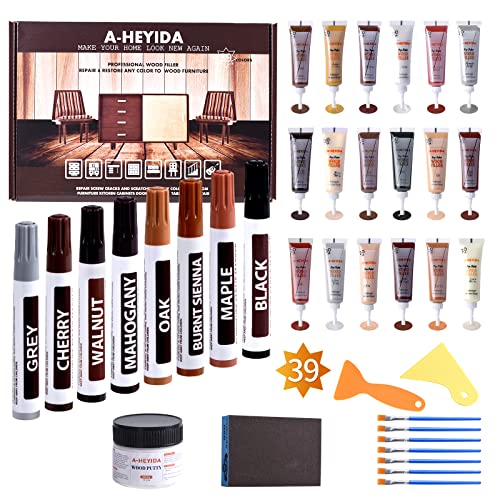
Repairing hardwood floors in a restaurant usually comes down to isolating the damaged area, correcting any subfloor/board problem first, and then sanding/refinishing so the patch blends with the surrounding floor. Done out of order, spot repairs fail quickly—especially in active dining rooms where traffic, moisture, and cleaning chemicals stress the finish. This guide walks you through the order of operations, safety considerations for an active dining space, and what to avoid so the repair doesn’t fail again.
If you manage a restaurant, oversee maintenance, or handle minor floor repairs between services, this is for you—especially when the damage is localized (a few boards/spot areas) and you need a practical plan that limits downtime. If the floor is buckled, badly cupped, or repeatedly failing, plan on professional assessment sooner rather than later.
Diagnose the problem before you touch the floor

You’ll get the best outcome when you identify the damage type first, because finish wear, loose boards, and moisture-related cupping each require a different repair sequence. Start with what you can see and feel (movement, stains, raised edges), then confirm how deep the issue likely goes before you sand anything.
A “finish-only” problem (scratches, dulled sheen, minor peeling) typically requires blending the topcoat, while swelling/cupping usually signals moisture affecting the wood and subfloor.
If boards move, rock, or squeak, sanding over that instability often creates a patch that telegraphs through and fails at the edges.
Identify the damage type (and why it matters)
– Identify the damage type: finish wear (matte/peeled), surface scratches, loose nails/squeaks, gaps between boards, water staining/cupping, or raised/raised edges.
– Look for “behavior,” not just appearance:
– Loose boards: clicking sounds, squeaks, or movement when a staff member steps on the area.
– Gaps: visible daylight lines that may widen during dry seasons and shrink in humid periods.
– Raised edges: often indicates board edges are losing flatness—commonly tied to moisture, insufficient fastening, or subfloor irregularities.
Check for moisture and subfloor clues before choosing repair vs. refinish vs. replace
– Check the surrounding area for moisture clues (darkening, swelling, odor) and look for obvious subfloor issues (movement under load, repeated spot failures).
– Decide “repair vs. refinish vs. replace” based on how deep the problem goes—surface finish issues can often be blended, while structural movement usually can’t.
A quick rule that helps in restaurants: if the wood itself has changed shape (cupping, crowning, buckling), you’re typically repairing the condition—not just the surface.
Use a decision lens for what to do next
In practice, you can think in three buckets:
| Condition you’re seeing | Most likely root cause | Best first move |
|---|---|---|
| Dull, scratched, or locally peeled finish | Wear from foot traffic/cleaners | Recoat/spot refinish after surface prep |
| Squeak + slight board movement | Fasteners loosening or subfloor movement | Re-secure fastening / flatten before sanding |
| Staining + cupping or swelling | Moisture source (leak, humidity spike, cleaning water) | Stop moisture source, dry correctly, then assess replacement risk |
Prep the restaurant for repairs (safety + downtime)
You can keep repairs from becoming a customer-visible disaster by isolating the work zone, controlling dust, and protecting other finishes. In an operating restaurant, dust and strong odors are often the limiting factor—not the woodworking.
Sanding hardwood can generate respirable dust; OSHA’s silica standard applies when sanding creates crystalline-silica-containing dust.
HEPA filtration is the practical “workhorse” for capturing fine particulates during sanding, helping reduce airborne dust spread beyond the isolated area.
Isolate the work zone and control access
– Isolate the work zone and control access (close off traffic paths, block customers/staff from the dust and fumes area).
– Use clear signage and a physical barrier (plastic sheeting or temporary partition) so staff don’t accidentally drag dust through hallways and seating areas.
A key restaurant reality: even “small” spot sanding can create fallout on chairs, menu surfaces, and bar fronts if you don’t control airflow and foot traffic.
Use dust control that matches the task (and follow PPE rules)
– Use dust control that matches the task: sanding and scraping generate fine particulates, so plan for HEPA vacuum collection and appropriate PPE per the equipment and local rules.
– Protect adjacent finishes and fixtures with masking and physical barriers; plan the work so you’re not sanding/priming while the dining room is actively occupied.
OSHA anchoring points for planning safety (U.S.):
– According to OSHA’s respirable crystalline silica standard, the PEL is 50 µg/m³ (0.05 mg/m³) as an 8-hour TWA (2016). 29 CFR 1910.1053
– According to OSHA, the action level is 25 µg/m³ (2016). 29 CFR 1910.1053
– According to OSHA, medical surveillance may be triggered for employees exposed at or above the action level for 30 or more days per year (2016). 29 CFR 1910.1053
(If your restaurant’s subfloor or old adhesives are unknown, treat sanding as higher risk and follow the safety posture above.)
Protect adjacent areas (so the “patch” doesn’t become a new problem)
– Cover and seal nearby surfaces that can be scratched or contaminated: bar tops, stainless rails, wall baseboards, and HVAC vents near the work zone.
– Plan your workflow around cure/ventilation:
– Sanding/cleanup occurs during the lowest-traffic window.
– Priming/finishing and dust-critical tasks follow after the room is cleared.
– Reopening happens only after the finish has reached the manufacturer’s safe-to-traffic guidance.
Repair the most common hardwood floor issues
You’ll avoid repeat failures when you fix the cause first (fastening, subfloor stability, or moisture) and only then refinish. Restaurants amplify small problems—so stabilization comes before sanding, and drying comes before coating.
Loose boards and squeaks need stability first; re-securing boards before any sanding reduces the chance of the patch cracking or telegraphing.
Water damage requires stopping the moisture source and allowing proper drying; coating a still-wet assembly traps moisture and can worsen cupping or staining.
Loose boards and squeaks: re-secure fasteners, then re-check flatness
– Loose boards and squeaks: address movement first (re-secure fasteners or follow manufacturer-approved methods for that floor type), then re-check flatness before any sanding.
– Practical approach:
– Inspect how the board is attached (nail-down, staple-down, glue-assisted, or engineered construction).
– If the floor is nail/staple down, fastening issues are often localized—use the shortest path to stabilization rather than ripping out more than necessary.
Important: Different hardwood products (solid vs. engineered; nail-down vs. glue-down) respond differently. If you can’t identify the floor system, assume you need manufacturer or contractor guidance.
Gaps and minor edge lifting: stabilize before you “fill”
– Gaps and minor edge lifting: stabilize boards and confirm the subfloor is solid and dry; don’t just “fill and forget” if the floor is still moving.
– When to treat “gap” as a movement symptom:
– If gaps widen after seasonal changes or during HVAC swings, the root cause is often humidity imbalance rather than “shrink filler.”
– If edges lift after cleaning water spills, the root cause may be moisture penetration or inadequate drying.
Water damage, cupping, or staining: stop moisture, dry correctly, then evaluate
– Water damage, cupping, or staining: stop the source of moisture, allow the area to dry properly, then evaluate whether boards can be flattened and finished or must be replaced.
– A workable sequence:
1. Identify the source (leak, over-mopping, ice melt, sprinkler event, HVAC condensation).
2. Remove standing water and improve drying conditions (fans/dehumidification as appropriate).
3. Measure or confirm whether the wood returns toward flatness.
4. Only after drying and stabilization do you sand/repair the finish system.
If the assembly remains deformed, the “correct” repair often includes board replacement rather than cosmetic blending.
Pros/cons: Spot repair vs. board replacement in restaurants
| Option | Pros | Cons / failure risk |
|---|---|---|
| Spot repair + blend (sand/patch/recoat) | Lower cost; minimal downtime when localized | Fails if subfloor movement or moisture remains; finish match can be visible |
| Replace a few boards | Restores structure and can eliminate recurring squeaks | Matching material may be hard; labor and downtime increase; transitions still require careful finish blending |
Sand and refinish patches for a consistent look
A believable patch blends through prep, grit progression, and finish compatibility—not just color. In restaurants, you also need a topcoat that stands up to daily cleaning, hot-water mopping schedules, and foot traffic.
Finish blending works best when the patch preparation feathers the edges so the repair doesn’t “telegraph” through under raking light.
Restaurants need finish systems that are compatible with the existing coating; mismatched coatings can peel or create a visible sheen line.
Match the existing system (or stop if you can’t verify it)
– Match the existing system: use the same (or compatible) finish type as much as possible—unknown coatings often create mismatched sheen or bonding problems.
– If you don’t know the finish type:
– Test a tiny inconspicuous area with the smallest amount of the proposed method (scratch test or adhesion test as appropriate), and stop if bonding is questionable.
– Use the manufacturer’s recommended primer/topcoat pairing if you must change systems.
Blend carefully so transitions don’t show
– Blend carefully: feather/sand transitions so the patch doesn’t telegraph through; test color/stain approach in a hidden spot first ().
– Blend strategy tips that hold up in busy spaces:
– Feather wider than you think you need (especially along board edges and near seams).
– Avoid rounding edges aggressively; the goal is smooth transition, not changing board geometry.
Seal to restore durability (and follow cure/return-to-service)
– Seal to restore durability: restaurants need a durable topcoat for frequent cleaning; follow the manufacturer’s cure/return-to-service guidance for the coating you’re using.
– Don’t reopen traffic early. Even when the surface “feels dry,” underlying cure can still be incomplete—leading to imprinting, scuffing, and premature wear.
📊 DATA: Sanding grit progression for blending hardwood repairs (spot refinishing)
7-Stage Sanding Grit Sequence for Hardwood Spot Blending (Typical Progression)
| # | Repair stage | Sand grit (US mesh) | Primary goal during blending | Sequence order |
|---|---|---|---|---|
| 1 | Leveling the patch area | 80 | Remove finish residue and flatten the highest spots | 1 |
| 2 | Scratch refinement | 100 | Reduce 80-grit scratches before feathering | 2 |
| 3 | Feather transition | 120 | Smooth edges so the patch blends under light | 3 |
| 4 | Finish smoothing | 150 | Prepare for stain/topcoat by refining the profile | 4 |
| 5 | Bond-ready surface | 180 | Minimize scratch pattern before sealing | 5 |
| 6 | Feather-to-final blend | 220 | Create a smoother surface for improved topcoat appearance | 6 |
| 7 | Final leveling before coating | 240 | Support uniform stain/clearcoat laydown and leveling | 7 |
(Exact grit progression can vary based on existing finish condition and the coating system; always follow your finish manufacturer’s prep requirements.)
Prevent future restaurant damage (traffic + moisture)
Prevention is what stops “same-spot” repairs from becoming a recurring maintenance line item. In 2026, the most effective restaurant programs focus on abrasive dirt control at entrances, tight humidity management, and fast spill response.
Door mats and chair glides reduce grit-driven abrasion, which is one of the fastest ways to wear down restaurant hardwood finishes.
Hardwood movement closely tracks indoor humidity; stabilizing HVAC targets helps reduce seasonal gap changes and edge-lifting.
Reduce abrasive wear (where it starts)
– Reduce abrasive wear: door mats at entrances, felt/slider pads under chairs, and scheduled cleaning to avoid grit-driven scratching.
– Add maintenance logic:
– Replace worn matting on a schedule (scraping grit is worse than having no mat).
– Inspect floor protectors weekly in high-turn areas (host stand, wait stations, bar lanes).
Control humidity and spills (the two biggest culprits)
– Control humidity and spills: hardwood reacts to moisture and seasonal movement; tighten spill response and keep HVAC/humidity targets stable ().
– In real operations, the “spill response” needs a defined process:
– Who cleans up, how quickly, and what “drying until flat” means operationally.
– What gets mopped vs. spot-cleaned.
In my management conversations with commercial facilities teams (), the repairs that last are the ones where the team treated humidity and spill response as part of maintenance—not as a one-off event.
Build a maintenance routine around finish longevity
– Build a maintenance routine: recoat/refresh on a schedule instead of waiting for finish failure—small touch-ups are usually cheaper than repeated repairs.
– Practical plan:
– Track where wear concentrates (near entrances, servers’ travel routes, bar fronts).
– Schedule small recoat/spot refinishes during low-volume weeks so cure time doesn’t extend downtime.
What can go wrong (and when to call a pro)
Many repair failures are predictable: sanding over unstable wood, ignoring moisture, or blending with an incompatible finish system. If you see structural deformation (buckle/cup) or repeated spot failures, professional assessment is usually the fastest path to a durable fix.
Cosmetic-only repairs often fail when the underlying moisture source or subfloor movement remains active.
Finish mismatch can cause poor adhesion or visible sheen lines; using compatible primer/topcoat systems reduces peeling and patch visibility.
Common mistakes that ruin “spot” work
– “Cosmetic only” repairs: filling gaps or covering stains without fixing moisture/subfloor movement often leads to the same problem returning.
– Finish mismatch: incompatible products can cause poor adhesion, peeling, or a visible patch line; always follow the coating manufacturer’s compatibility and application instructions.
– Flatness problems: sanding over rocking boards usually fails—if the floor isn’t stable, the repair won’t hold.
When to call a pro sooner
– Call a pro sooner if the floor is extensively buckled/cupped, the damage spans many boards, or you can’t confidently identify the floor/finish type.
– In particular, seek help if:
– You suspect a hidden leak behind walls/fixtures.
– The floor repeatedly deforms after short intervals.
– The restaurant can’t control dust containment safely during sanding.
A quick scoping note before you commit
If you can’t answer two questions—(1) what floor system is installed and (2) whether the subfloor is stable and dry—then “refinish first” is a risky strategy. The cost of a re-repair is usually higher than waiting for a proper assessment.
Verdict, quick checklist, FAQ, and sources
If the damage is localized and the boards are stable (or you can stabilize them), a homeowner-style repair plan can work—just be strict about diagnosis, dust control, and matching the finish system. If there’s ongoing moisture, repeated board movement, or large-area cupping, skipping professional evaluation is usually the most expensive path.
Quick scan checklist (save this)
– [ ] Identify damage type (finish wear vs. loose boards vs. moisture damage)
– [ ] Confirm boards are stable/flat before sanding or filling
– [ ] Stop any moisture source and allow proper drying
– [ ] Use dust control appropriate for sanding/scraping (HEPA vacuum + PPE)
– [ ] Match finish type and sheen; test in an inconspicuous area
– [ ] Follow manufacturer cure times before reopening traffic to the area
– [ ] Protect adjacent areas; remove masking carefully after cure
Frequently Asked Questions
What are the most common types of damage on restaurant hardwood floors, and how do you identify them?
In restaurants, you’ll most often see scratches and dents from chairs, food service impacts, gaps from humidity swings, and finish wear near entrances or bar areas. To identify the issue, inspect for loose boards by gently pressing or walking across suspected areas, check for cupping/crowning by sighting along the floor, and test suspected finish problems by wiping with mineral spirits to see if discoloration is in the finish or in the wood. Once you know whether the damage is surface-level (finish) or structural (subfloor/board movement), you can choose the right repair method.
How do you repair scratches and worn finish on hardwood floors in a restaurant without shutting down for long?
For localized scratches, start by cleaning the area thoroughly and sanding lightly with fine-grit sandpaper just enough to level the damage. Use a matching wood filler for deeper gouges, then apply a stain blend if needed before refinishing with a durable restaurant-grade finish (often a water-based or commercial polyurethane designed for high traffic). To reduce downtime, use fast-cure products and plan repairs during off-hours, allowing full cure time before reopening, since partially cured finishes can mark under foot traffic. Always protect the area with floor mats or temporary barriers until the finish has properly hardened.
How can you fix gaps or buckling in hardwood floors caused by humidity changes from HVAC and foot traffic?
Hardwood gaps and buckling in restaurants are frequently related to moisture and humidity swings, so the first repair step is stabilizing the environment with consistent HVAC humidity control. For small gaps, you may be able to address them with filling and refinishing after confirming the boards are stable; for larger separations, you may need to re-secure boards or add backer material depending on the floor type and installation method. If the floor is cupping or has lifted sections, it’s often best to consult a flooring pro because improper adjustments can worsen warping. After repairs, use commercial-grade finish systems that help protect against future moisture stress.
Which repair method is best for loose or squeaking hardwood boards in a restaurant: re-nailing, re-screwing, or patching?
Loose or squeaking boards usually require re-securing rather than replacing, especially when only a few areas are affected. If the floor is solid hardwood, re-nailing or re-screwing into the subfloor through the tongues (or from above in a controlled way) can quiet movement, but the exact approach depends on the board thickness and fastening pattern. If you find severe wear, cracking, or water damage around the board edges, patching with matching hardwood planks may be more reliable than trying to reuse compromised pieces. Before you choose a method, confirm whether the squeak is from looseness, subfloor movement, or gapping caused by moisture.
Best practices for repairing and refinishing hardwood floors in a restaurant to ensure long-term durability and code-compliant safety?
Use restaurant-appropriate, high-wear finish products and follow a staged process: deep cleaning, targeted sanding, proper dust control, accurate color matching, and careful curing time before reopening. Plan the work to minimize slip hazards by keeping surfaces clean and dry, and consider non-slip coatings or mats in high-traffic zones like entryways and service paths. After repairs, protect the floor with felt pads on chairs, regular sweeping with dust control, and scheduled screening/refinishing rather than waiting for full wear-through. Consistent maintenance reduces rework and helps preserve the look of hardwood floors in high-traffic restaurant environments.
📅 Last Updated: October 17, 2026 | Topic: How to repair hardwood floors in a restaurant? | Content verified for accuracy and freshness.
References
- Wood flooring
- https://www.fpl.fs.usda.gov/documnts/fplgtr/fplgtr190.pdf
- Lead Renovation, Repair and Painting Program | US EPA
- Renovate Right: Important Lead Hazard Information for Families, Child Care Providers and Schools …
- Lead – Overview | Occupational Safety and Health Administration
- https://www.cdc.gov/nceh/lead/prevention.htm
- Lead in the Workplace | Lead | CDC
- https://scholar.google.com/scholar?q=how+to+repair+hardwood+floors+sanding+refinishing Google Scholar
- https://scholar.google.com/scholar?q=wood+floor+repair+techniques+replacement+boards+gap+filling Google Scholar
- https://scholar.google.com/scholar?q=commercial+hardwood+floor+maintenance+restaurant Google Scholar