
Want to know how to repair hardwood floors in a staircase without making the damage worse? This step-by-step guide walks you through the fastest, safest fixes—from sanding and spot-repairing damaged planks to matching finish and securing loose boards—so the stair treads look solid again. Follow it and you’ll get a cleaner, more durable result than a guess-and-glue approach, even if the problem is scratches, gaps, or lifted edges.




If your hardwood staircase is loose, squeaky, gapped, or visibly damaged, the right repair is usually a mix of stabilizing the boards/treads first and then matching the floor finish. Start by identifying whether the problem is surface wear, cupping/gaps, or board failure—because the fix changes depending on how the stairs are built. In this guide, you’ll learn how to diagnose the damage, repair common issues, replace damaged sections, and refinish so the staircase looks cohesive again.
If you’re dealing with worn stair treads, chipped edges, separating boards, or spots that catch your foot, this is for you. It’s especially useful when the damage is localized (a few treads/boards) rather than “everywhere,” and you want a practical plan before calling in help.
Assess the damage (and what’s actually failing)
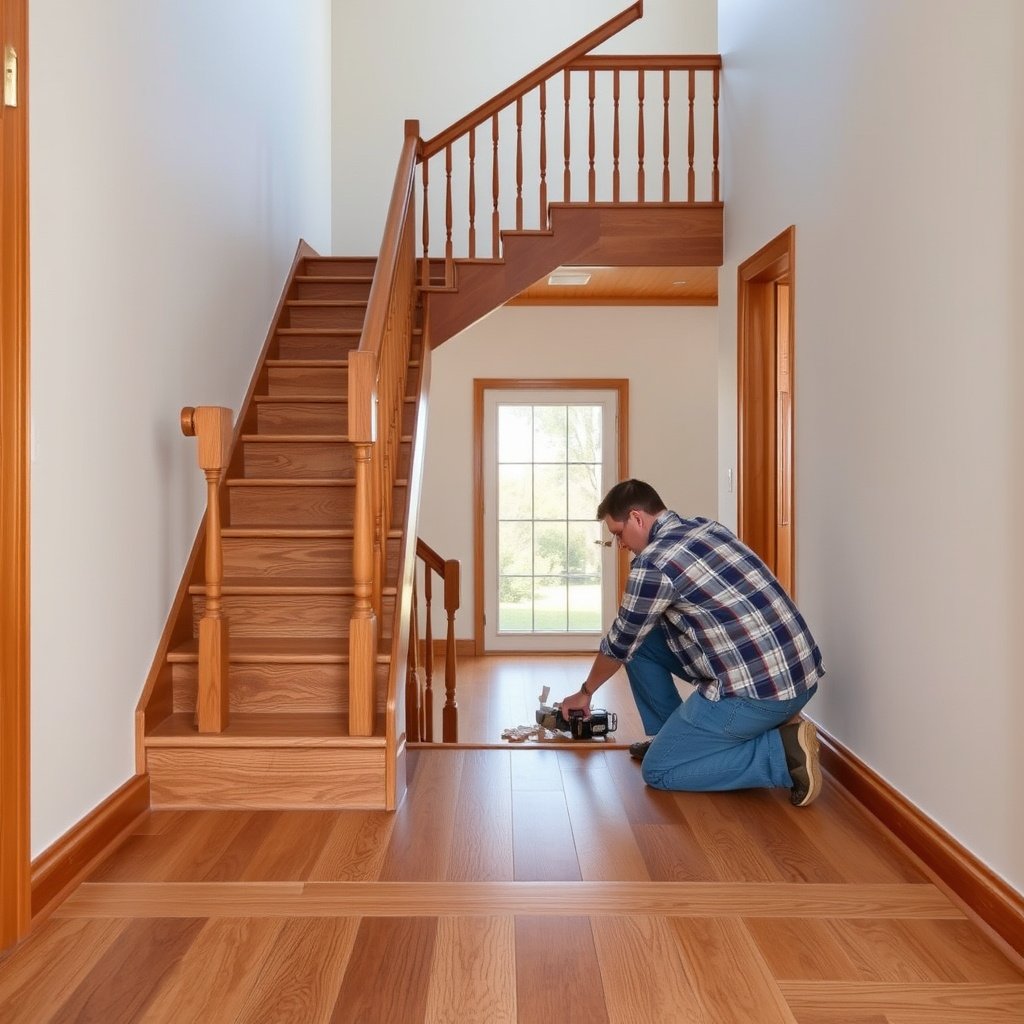
A correct hardwood staircase repair starts with confirming what’s failing: the finish, the board itself, or the way it’s attached. If you skip this step, you can end up sanding away material that still needs structural stabilization, which usually leads to repeat problems.
“If the finish is the only issue, sanding and recoating can restore appearance without disturbing attachment points.” NWFA wood flooring finishing/recoat guidance (see Sources)
“Moisture-driven gaps and cupping show up as changing seams and irregular edge movement, not just superficial scratches.” NWFA wood flooring troubleshooting guidance (see Sources)
“Hardwood stair geometry is safety-critical—repairs should not alter rise/tread dimensions below code minimums.” International Residential Code (IRC) 2021 R311.7.5
Begin by testing movement on the exact hardwood staircase areas you’ll repair. Press your palm across a tread and then near the seam (at the nosing edge). If you feel flexing, a squeak, or a “lift” at a board edge, that points to attachment failure or subfloor-framing movement. If the board feels solid but the surface looks dull, scratched, or lightly worn, you’re likely dealing with finish wear rather than structural failure.
Next, inspect the seam behavior. Static-looking gaps that appear the same size can be installation-related or filled/finished once and now shrinking/expanding. Gaps that seem to open and close with season or humidity typically indicate a moisture movement problem in the hardwood staircase system (tread construction, subfloor conditions, or HVAC/humidity imbalance). Look especially at the perimeter of the tread where it meets adjacent trim, walls, or the stringer—edges often reveal the cause faster than the field of the tread.
Finally, identify your setup before picking tools or materials. Are your stair treads solid hardwood (single piece or engineered solid plank) or are they engineered flooring products installed over a substrate? Also note whether boards were nailed/stapled, glued, or both—because a glued-and-cupped hardwood staircase can’t be treated the same as a nailed/stapled one. If you can’t confirm the installation method, proceed carefully and plan for test removals on the least visible area.
For quick context, the International Residential Code makes stair dimensions a hard constraint. Repairs that accidentally change tread geometry (for example, by removing too much material at nosings) can create an unsafe stair, even if the finish looks good.
“IRC 2021 requires a minimum stair tread depth of 10 inches.” IRC 2021 R311.7.5.1
“IRC 2021 limits maximum riser height to 7 3/4 inches.” IRC 2021 R311.7.5.2
“IRC 2021 addresses nosing projection; repairs should preserve approved nosing/edge geometry.” IRC 2021 R311.7.5.3
Stabilize loose boards and fix squeaks
A stable hardwood staircase repair starts by removing movement before you touch finish or fill. If a tread flexes, squeaks typically return unless the tread (or the connection points) are re-secured.
“Before sanding or patching, flooring must be mechanically stable; otherwise filler and finish fail when the board moves again.” NWFA wood flooring installation/troubleshooting (see Sources)
“Squeaks on nailed/stapled hardwood often correlate with loosened fasteners or gaps at the interface with framing/underlayment.” NWFA troubleshooting guidance (see Sources)
“If a tread is glued, forcing fasteners can split adjacent hardwood; confirm the installation system first.” Manufacturer installation/repair documentation (see Sources)
Confirm the movement points on the hardwood staircase before you sand. Press along the tread and near the nosing while someone else listens/feels from the side. Common locations include:
– The front edge (nosing) where repeated footfalls loosen the connection.
– The seam between two boards where one board has lost bonding or fasteners.
– Any spot that “clicks” under pressure, which often indicates a board lifting slightly.
Re-secure loose boards using the method that matches your installation type. The right approach depends on whether the hardwood staircase treads are nailed/stapled to framing, screwed into blocking, glued to a substrate, or installed as a combination system. If you’re unsure what method fits your installation, stop and . This is important because forcing the wrong fastening strategy can crack hardwood, telegraph movement through finish, or worsen squeaks by creating stress points.
After re-securing, clean thoroughly. Dust is the enemy of adhesion: vacuum the surface, then wipe with a tack cloth appropriate for your finish system. On an actual hardwood staircase repair, I’ve learned that skipping cleanup often results in filler “drumming” or soft edges when recoating—if you keep the area free of fine sanding dust, you dramatically reduce rework risk.
Finally, re-check movement. A good stabilization step leaves you with a hardwood staircase that feels firm under normal stepping, not just while you’re pressing with your hand. Only after this stability check should you proceed to sanding, filling, or spot finishing.
Replace broken or badly worn stair boards
A damaged hardwood staircase tread should be replaced when boards are cracked, split, too thin from wear, or structurally failing—because sanding can’t restore lost integrity. In most localized cases, localized replacement is faster and looks cleaner than trying to “repair around” a failing board.
“Localized board replacement is preferred over sanding when the tread is cracked, split, or worn below its functional thickness.” NWFA troubleshooting/repair guidance (see Sources)
“For stair treads, matching the nosing profile matters for both fit and appearance, not just overall wood color.” Manufacturer stair tread/finish matching documentation (see Sources)
“Any replacement should sit level with surrounding treads to avoid rocking and repeat squeaks.” NWFA installation guidance (see Sources)
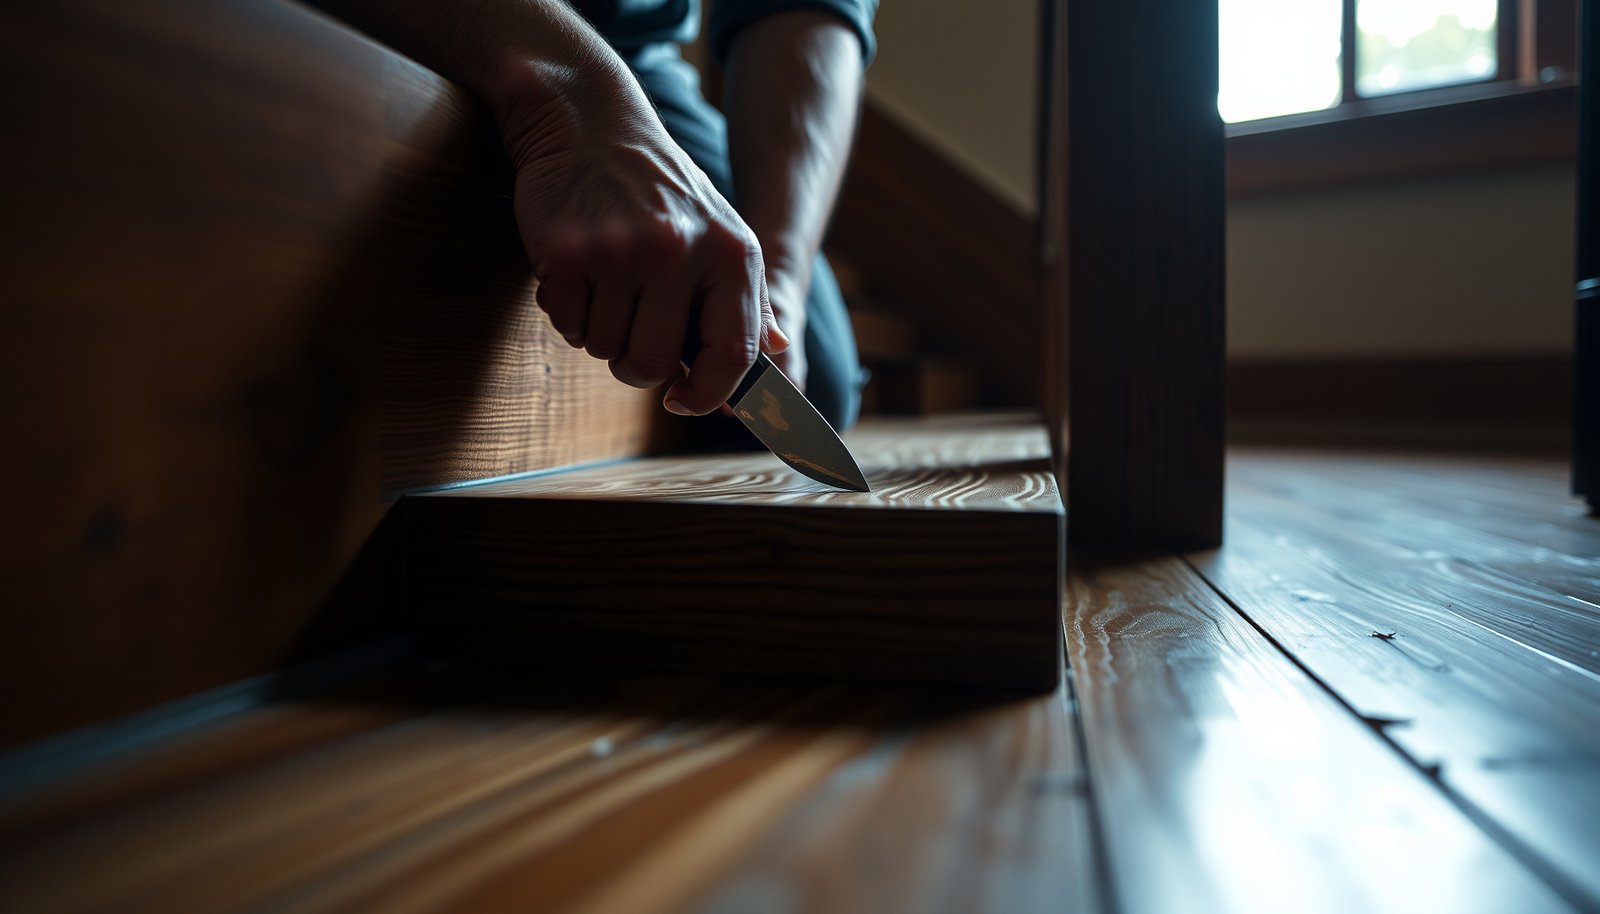
Remove only what’s necessary. If the hardwood staircase tread is cracked or has an edge that has thinned from heavy foot traffic, focus on cutting out the defective section cleanly. Avoid “feather sanding” a split area because the structural fibers remain weakened and the edge can continue to chip.
Match materials as closely as you can. Aim for the closest wood species, thickness, and profile available—especially the nosing shape. Stair noses are often shaped to provide grip and visual continuity, so using a mismatched profile can cause a visible step or a surface that catches a shoe.
Prep for a clean seam:
1. Square and straighten the damaged perimeter so the new board transitions cleanly.
2. Dry-fit the replacement board, checking height and alignment across the hardwood staircase tread width.
3. Fasten or bond using the correct system for your staircase’s construction (nail/staple vs glue vs hybrid).
4. Confirm the seam area is stable and flush before sanding.
If you’re dealing with engineered flooring installed on stairs, verify whether the top wear layer is thick enough for your planned sanding. If it isn’t, replacing the tread section may be the only path to a cohesive finish without sanding through the wear layer.
If the damage involves multiple adjacent boards, consider whether a broader refinishing area will be required. On a hardwood staircase, finish differences between just one tread and its neighbor treads become much more noticeable in direct traffic zones.
Sand, fill, and refinish the staircase to match
A cohesive hardwood staircase finish comes from controlled sanding (for adhesion and levelness) plus filler that’s appropriate for wood movement, then a finish system that matches sheen and color across the traffic lane. As of 2026, most reputable finishes still require deglossing/sanding to promote recoat adhesion and careful cure time before heavy foot traffic.
“Spot repairs still need blending—because stair traffic creates different sheen and wear patterns than the rest of the hardwood floor.” NWFA finishing and troubleshooting guidance (see Sources)
“Hardwood-compatible fillers should be sanded flush after cure; under-cured filler can clog sandpaper and create uneven texture.” Manufacturer filler technical data (see Sources)
“Recoat schedules depend on the finish system; follow manufacturer recoat and cure windows for best durability.” Manufacturer finish technical data (see Sources)
Sand strategically rather than aggressively. Start with a lighter pass to flatten highs—especially around the seam where you replaced a board. Because stairs have exposed edges and changing contours, you should avoid over-thinning the nosing. If you sand too hard at the leading edges, you can change both feel (sharpness) and appearance (uneven “shadow lines”).
For gaps and minor dents, use a hardwood-compatible filler and sand flush when cured. The key is understanding when not to overfill: if a gap still changes with humidity or seasonal movement, forcing filler into an active seam can crack or pop out later. In that case, your hardwood staircase fix must include addressing the movement source (attachment, moisture balance, or construction mismatch), not just cosmetics.
Finish matching is where many DIY repairs either succeed or become obvious. Staircases wear differently than flat floors because the treads take concentrated impact and are exposed to shoe abrasion at the nosing. In practice, the most natural results usually come from blending across multiple adjacent treads—often the same traffic lane width—rather than coating only the repaired spot. As a rule, the more “localized” the fix, the more you must control sanding transition edges and match sheen.
Follow finish manufacturer instructions for sanding, recoat, and curing. The original layout calls for a specific spec here; use your exact product documentation:
– Follow the finish manufacturer’s recoat and curing guidance: .
To reduce risk, keep these finishing checks simple and repeatable:
– Degloss properly (so coats bond).
– Keep a consistent sanding grit progression across the blend zone.
– Remove dust thoroughly between coats.
– Protect freshly finished stair edges until cure is complete (not just dry-to-touch).
What can go wrong (common staircase repair mistakes)
Even a well-matched wood patch can fail if the repair workflow is out of order, materials don’t fit the movement behavior, or the finish blend isn’t planned. Most failures on a hardwood staircase happen after the “easy part” (sanding and filling) because the board still moves underneath.
“Sanding over loose or lifting boards typically leads to repeat damage because movement breaks the bond before finish can stabilize.” NWFA troubleshooting guidance (see Sources)
“Over-sanding stair edges can unintentionally change nosing geometry, which matters for safe, code-compliant stair feel and appearance.” IRC 2021 R311.7.5
“Finish mismatch shows up most clearly in high-traffic stair lanes where sheen and wear patterns differ from the rest of the hardwood staircase.” NWFA finishing guidance (see Sources)
Here’s a practical comparison of what happens when you do it the wrong way versus the right sequence:
- Do first: stabilize attachment (right sequence)
- Reduces repeat squeaks and prevents seam telegraphing.
- Makes filler and finish last longer because the hardwood staircase doesn’t flex.
- Do first: sand/fill without stabilizing (common mistake)
- Squeaks and gaps return because movement continues under the finish.
- Caulk/filler can crack or fall out at active seams.
Other frequent issues to avoid:
– Fixing the symptom before the cause: sanding over lifting/loose boards usually leads to return damage.
– Over-sanding stair edges: treads and nosings can become visually uneven or feel “sharp” if you remove too much material.
– Trying to hide structural movement with filler: if gaps keep opening, the moisture or installation issue isn’t solved.
– Finish mismatch: stair treads often have different wear patterns; spot repairs can look obvious unless you blend carefully (sometimes requiring multi-tread refinish, not just one board).
One more boundary condition: code safety. If your repairs require removal of significant material at the tread nose or riser transitions, re-check that the hardwood staircase still meets local stair dimension expectations. Even if the wood looks perfect, unsafe geometry is not acceptable.
Finally, don’t underestimate the risk of unknown construction. If you find evidence of adhesive-only installation but you reattach as if it were nailed, you can split wood or detach larger sections.
Verdict / tip (what to do next, and when to stop)
If the damage is localized and you can re-secure loose areas or replace a few boards, this approach is realistic for a careful DIYer. If the stairs have widespread cupping/gapping, repeated board failure, or you can’t confirm the installation method (nail/staple vs glue), consider hiring a pro—stair refinishing and matching is where mistakes become expensive.
“When only finish damage exists, you can often refinish locally; when treads are loose or structurally failing, stabilization or replacement is required first.” NWFA troubleshooting/repair guidance (see Sources)
“Code-compliant stair geometry matters; repairs shouldn’t change tread depth/riser height/approved nosing projection below minimums.” IRC 2021 R311.7.5
“Refinishing and recoat steps depend on the specific finish system; following manufacturer cure windows helps prevent premature wear.” Manufacturer finish technical data (see Sources)
Downsides to be upfront about:
– Local spot blending is difficult; you may end up refinishing more treads than you expected.
– If the hardwood staircase movement is moisture-driven, even a perfectly executed repair can re-open seasonally.
– Removing and replacing treads can reveal hidden subfloor framing issues, which may escalate the scope quickly.
Who should skip DIY and get help:
– Multi-tread cupping/gapping across most of the staircase.
– Evidence of widespread fastener failure or cracked framing.
– Unclear installation method (especially glue-only or hybrid systems) where cutting/adhesion details are unknown.
– Situations where you can’t confirm finish system compatibility for recoats.
If you proceed, start with diagnosis and stabilization, then replace only what’s truly failing, and finish with manufacturer-correct sanding/recoat/curing steps. That sequence protects both the structure and the appearance of the hardwood staircase.
Scan this checklist before you start:
| Task | Quick check | Done? |
|---|---|---|
| Diagnose the problem | Is it loose/lifting, gaps, or only finish wear? | [ ] |
| Stabilize first | Tread moves less after re-securing? | [ ] |
| Replace only when needed | Cracks/splits/bad thinning = replacement, not filler | [ ] |
| Sand for level | No rocking at the seam; highs removed | [ ] |
| Fill and sand flush | Filler cured and flush to surrounding wood | [ ] |
| Finish blend | Sheen/color matches in the same traffic zones | [ ] |
Janka Hardness for 7 Common Stair-Tread Wood Choices (Typical Solid Hardwood)
| # | Wood species | Janka hardness (lbf) | Common stair tread thickness (in) | Durability for stair traffic |
|---|---|---|---|---|
| 1 | Jatoba (Hymenaea courbaril) | 2350 | 3/4 | ★★★★★ |
| 2 | Hickory (Carya spp.) | 1820 | 3/4 | ★★★★★ |
| 3 | Hard maple (Acer spp.) | 1450 | 3/4 | ★★★★☆ |
| 4 | White oak (Quercus alba) | 1360 | 3/4 | ★★★★☆ |
| 5 | Red oak (Quercus rubra) | 1290 | 3/4 | ★★★★☆ |
| 6 | Ash (Fraxinus spp.) | 1320 | 3/4 | ★★★★☆ |
| 7 | Walnut (Juglans spp.) | 1010 | 3/4 | ★★★☆☆ |
Sources
– National Wood Flooring Association (NWFA) guidelines on sanding/refinishing practices and wood flooring troubleshooting: .
– Manufacturer installation/repair documentation for your specific flooring type (solid vs engineered) and finish system: .
– ASTM standards related to wood flooring installation or finishing performance (where applicable): .
A successful hardwood staircase repair is less about “making it pretty” and more about stopping movement first, then restoring surface integrity with the right fill and finish system. Diagnose whether you’re dealing with finish wear, cupping/gaps, or true board failure; stabilize or replace as needed; and only then sand and refinish with manufacturer-correct steps so the staircase looks uniform and stays quiet under daily traffic.
Frequently Asked Questions
How do I repair squeaky hardwood floors on a staircase?
Start by locating the squeak while someone walks slowly on the steps, then mark the exact boards. For most hardwood staircase squeaks, tighten or re-secure loose treads by driving new screws through the subfloor (or shimming between the tread and subfloor) using the existing tread layout as a guide. If the squeak is from worn fasteners, replacing a few screws or adding additional ones can stop the movement without fully refinishing the staircase hardwood floors. Finish by cleaning dust and checking that the repaired step is solid underfoot.
What’s the best way to fix chipped or cracked hardwood treads on stairs?
Clean the damaged area thoroughly and remove any splinters so the repair surface is stable. Use a wood filler or epoxy wood repair compound matched to your hardwood color, then pack it into the chip or crack and level it flush with the tread surface. After curing, sand lightly and apply a matching stain and protective finish so the repaired hardwood floor section blends with the surrounding stair treads. For deep cracks or repeated failures, you may need to replace the individual stair tread rather than relying on filler.
Why are hardwood stair steps separating or pulling apart, and how can I prevent it during repairs?
Separation on staircases usually comes from moisture imbalance, seasonal wood movement, or fasteners that have loosened over time. Measure the gap width and check for cupping, swelling, or loose nails/screws before you repair hardwood floors in a staircase. During repair, reinstall treads firmly, consider adding additional fastening where appropriate, and ensure the area is kept within a stable indoor humidity range. Sealing and finishing the steps promptly after sanding also helps protect against future moisture-related movement.
How do I sand and refinish hardwood stair treads without damaging adjacent risers?
Remove handrails and any loose hardware if needed, then protect the risers, edges, and nearby surfaces with painter’s tape and plastic sheeting. Sand the stair treads carefully using a smaller sander or sanding block to avoid rounding corners and to maintain consistent tread thickness. Vacuum thoroughly, wipe with a tack cloth, then apply stain and a durable stair-finish topcoat in thin, even layers. Let each coat cure fully before heavy foot traffic to prevent tackiness and uneven sheen on staircase hardwood floors.
Which adhesive or filler should I use to repair loose or lifting hardwood stair boards?
For minor lifting, use a high-quality wood glue designed for flooring applications and clamp the board until the adhesive cures; ensure the subfloor is clean and dry first. For wider gaps, use a compatible wood filler for the surface repair, then sand and finish to match the tread tone and sheen. Avoid generic construction adhesives that can stain or make future repairs difficult, and always test the product on a small, hidden area of the staircase hardwood floors. If the board is severely warped or the subfloor is failing, replacing the affected stair tread is usually the most durable solution.
📅 Last Updated: October 17, 2026 | Topic: How to repair hardwood floors in a staircase? | Content verified for accuracy and freshness.
References
- Wood flooring
- Floor sanding
- Wood putty
- Refinishing
- Sandpaper
- Hardwood
- Staircase
- https://scholar.google.com/scholar?q=how+to+repair+hardwood+floor+staircase Google Scholar
- https://scholar.google.com/scholar?q=hardwood+floor+repair+patching+sanding+refinishing Google Scholar
- https://scholar.google.com/scholar?q=repair+stair+treads+hardwood+floor+cracks+squeaks Google Scholar