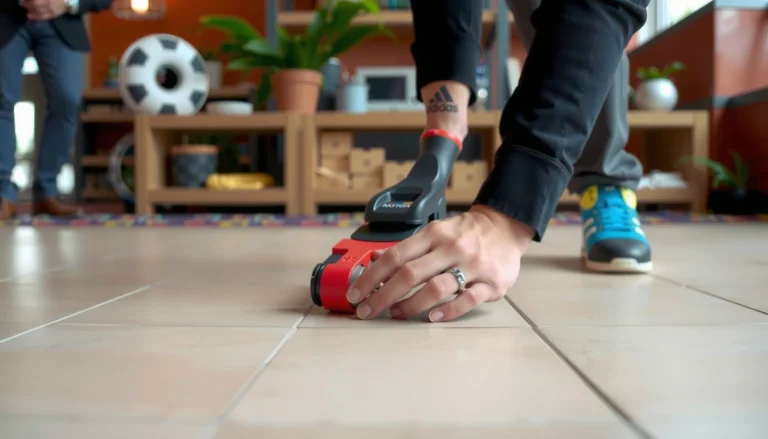

Stop mold under herringbone floors before it starts: control moisture at the subfloor, stop leaks, and manage humidity so water can’t get trapped under the pattern. This guide lays out the exact prevention steps that work best for typical installs—proper subfloor preparation, correct underlayment choices, and airflow details that prevent damp pockets. Follow these measures and you’ll dramatically reduce the risk of hidden mold growth without guesswork.




Prevent mold under herringbone floors by stopping moisture at the source, then only installing once the subfloor meets the manufacturer’s limits and remains dry and stable afterward. Because herringbone layouts can create seams and trapped-air microclimates, the “right” vapor barrier/underlayment details (when permitted) matter as much as the wood itself.
This is for homeowners and DIYers planning (or troubleshooting) herringbone wood floors—especially if you’ve seen musty smells, visible dark spots, or bubbling/soft areas near baseboards or vents.
Find the moisture source first
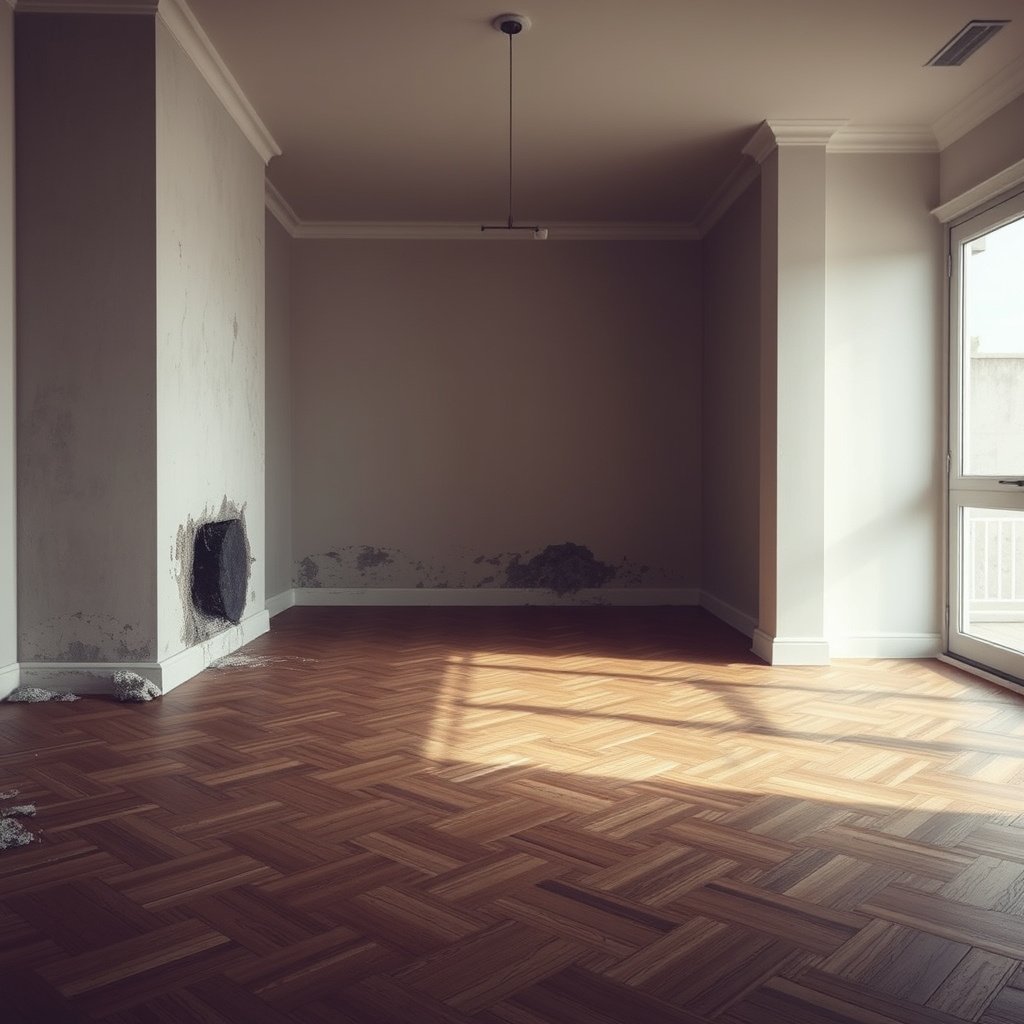
Correct answers start with this: you can’t reliably prevent mold under herringbone floors by adding a barrier alone. The most effective prevention step is identifying and fixing ongoing moisture—leaks, humidity excess, or exterior intrusion—before you install or reinstall.
U.S. EPA guidance emphasizes controlling moisture by keeping indoor relative humidity low—specifically “below 60%”—to reduce mold growth risk. U.S. EPA, Mold/moisture control guidance
U.S. EPA also stresses that water-damaged materials should be cleaned and dried quickly to prevent mold from taking hold. U.S. EPA, Mold/moisture control guidance
What to check (and where mold under herringbone floors usually “starts”)
1) Ongoing water or humidity
– Look for plumbing leaks (supply lines, shutoffs, toilets, and shower valves), wet HVAC returns, and roof/wall leaks.
– Watch for plumbing “sweating”—condensation on cold pipes can raise local humidity under baseboards and near vents.
– Check for wet mopping habits. Even if the floor looks fine, moisture can migrate at edges, under quarter rounds, and through construction gaps.
2) Exterior moisture intrusion
– Inspect exterior walls and slab edges near grades, downspouts, and window wells.
– If the subfloor is on a slab, assess whether water is migrating through the concrete or rising from below (especially without an effective vapor barrier system).
– If you’re over a crawlspace, check for standing water, high crawlspace RH, and missing/failed ground cover.
3) Subfloor environment (basement/crawlspace/HVAC)
– Mold under herringbone floors often follows a pattern: high ambient moisture + limited drying airflow.
– Confirm HVAC performance: blocked registers, undersized dehumidification, or imbalanced supply/return can keep RH elevated near the floor plane.
– In 2026, builders increasingly target tighter envelopes; that can increase indoor humidity if ventilation/dehumidification isn’t managed—so prevention for mold under herringbone floors must include the building’s overall moisture balance, not only the floor layers.
If mold is already present
If you already have visible dark spots or musty odor indicating active growth under herringbone floors, remediation typically needs to happen before installation. Covering existing mold with a new system can trap moisture and worsen odor or recurrence.
Practical field note:
Quick moisture-source triage table (scan in seconds)
| Moisture pathway to test | Typical locations to inspect | “Tell-tale” symptom near herringbone | Immediate action |
|---|---|---|---|
| Plumbing leaks or sweating | Under sinks, behind toilets, exterior wall runs | Musty smell that intensifies near wet wall lines | Shut off/repair + dry area |
| Exterior intrusion | Perimeter slab edges, base of exterior walls | Dark spotting near baseboards | Fix drainage/grade + dry |
| Crawlspace/basement humidity | Ground cover, vents, dehumidifier performance | Dampness odor near vents/returns | Improve ventilation and manage RH |
| Cleaning moisture migration | High-traffic areas; along seams/edges | Soft/bubbled planks along perimeter | Change cleaning methods + remove trapped moisture |
| HVAC airflow blockages | Registers/vents under furniture | Local odor/discoloration close to vents | Clear airflow + rebalance system |
Use moisture testing, not guesswork

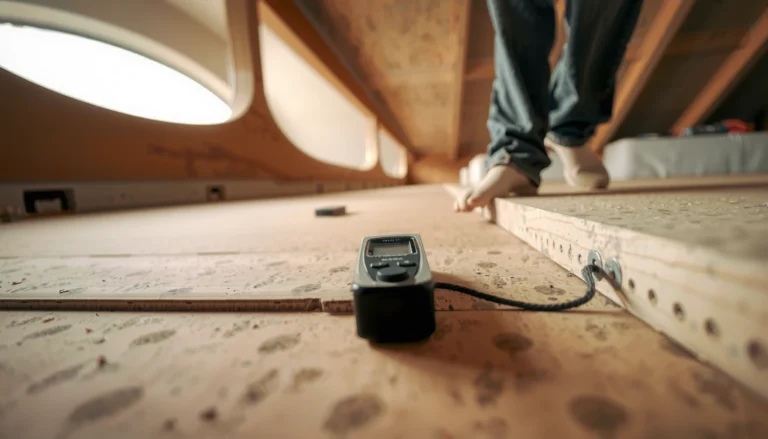
The best prevention answer for mold under herringbone floors is simple: test subfloor moisture and only install when you’re within the manufacturer’s allowable limits for your exact wood product and system. “Feels dry” is not a reliable safety standard, especially for slabs and for multi-layer assemblies that can trap moisture.
ASTM F2170 is commonly used for in-slab relative humidity (RH) testing to determine moisture conditions at installation depth. ASTM F2170 (in-slab RH testing) (as referenced in flooring systems)
ASTM F1869 measures moisture vapor emission rate (MVER) using calcium chloride testing for many flooring applications. ASTM F1869 (MVER testing) (as referenced in flooring systems)
Moisture testing methods that matter for mold under herringbone floors
1) Identify your subfloor type
– Concrete slab: in-slab RH testing (commonly ASTM F2170) and/or MVER testing (ASTM F1869) are typical approaches—exact acceptance values come from your flooring/adhesive system.
– Wood subfloor: test wood moisture content (often using a meter method aligned with industry guidance like ASTM D4442) and verify the subfloor structure is dry, stable, and ventilated.
2) Use the method your system supports
Mold under herringbone floors is often a timing problem: moisture conditions can look fine on day one and then rise after HVAC cycles. The cure is to follow the testing pathway your flooring system explicitly supports.
Statistical anchoring: what the guidance commonly targets
– According to U.S. EPA guidance, indoor relative humidity should be kept below 60% to reduce mold growth risk. U.S. EPA, Mold/moisture control guidance
– According to CDC-aligned moisture control messaging, controlling indoor humidity typically means targeting roughly 30–50% RH for many indoor environments. CDC/health guidance on dampness and humidity control (as cited in common public-health messaging)
– According to U.S. EPA guidance, quick drying (often cited as within 24–48 hours) after water intrusion helps prevent mold from establishing. U.S. EPA, Mold/moisture control guidance
(If you want, share your state/region climate and slab type; I can help interpret which thresholds are most practical for mold under herringbone floors.)
Materials acclimation: the part people skip
Even if your subfloor passes testing, herringbone wood can still create a moisture imbalance. Let flooring, underlayment, and adhesives acclimate to normal indoor conditions (as the manufacturer specifies) so mold under herringbone floors doesn’t start from condensation during seasonal swings.
Comparison table: moisture testing approaches (what to choose and when)
| Feature | ASTM F2170 (in-slab RH) | ASTM F1869 (calcium chloride / MVER) | Wood moisture testing (meter + method) |
|---|---|---|---|
| Primary measurement | Relative humidity at depth | Moisture vapor emission rate | Wood moisture content |
| Typical subfloor | Concrete slabs | Concrete slabs | Wood subfloors |
| Best for | Capturing equilibrium RH at installation plane | Estimating emission risk over time | Spot-checking structural dryness |
| Sensitivity to HVAC cycling | Often better when conditions equilibrate | Can vary during the test period | Can vary with ventilation and sun exposure |
| What you compare against | Manufacturer’s allowable RH limit | Manufacturer’s allowable MVER limit | Manufacturer/installation guidance targets |
| How errors happen | Wrong depth, incomplete conditioning | Test duration mismatch, disturbed surface | Incorrect species calibration/method use |
| When to retest | Before install if conditions change | Before install or when schedule shifts | After any wet event or major climate change |
| Loggable documentation | RH values per bore hole depth | MVER values + test conditions | Readings by location/zone |
| Common workflow | Drill probes, equilibrate, read RH | Prep pan, weigh gain/loss, compute MVER | Meter readings across grid |
| Documentation friendliness for warranty disputes | High (often required by specs) | High (often required by specs) | Moderate (depends on installer requirements) |
| **Best For** | Install risk decisions on slabs using RH-based specs | Install risk decisions on slabs using MVER-based specs | Troubleshooting wood subfloor dryness and drying readiness |
Install with the right vapor barrier and underlayment details
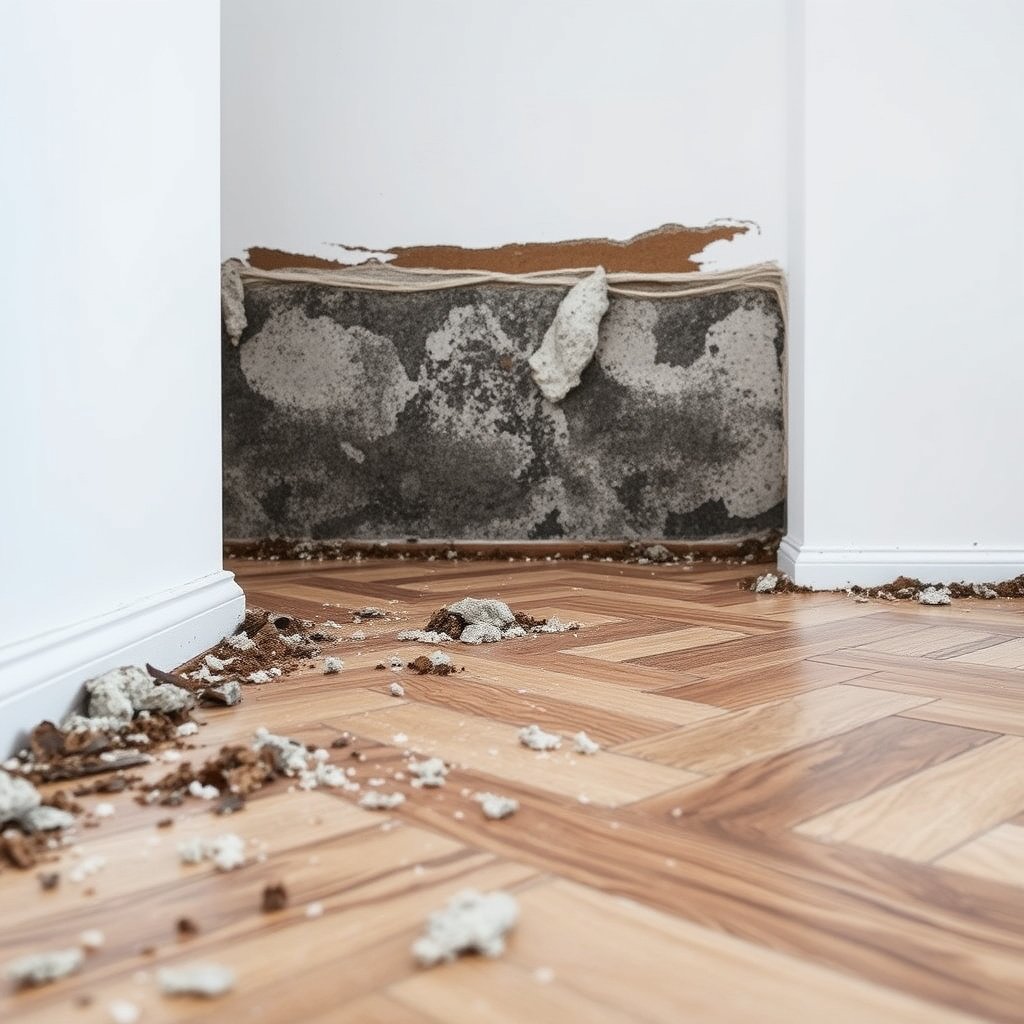
The fastest way to prevent mold under herringbone floors during installation is to use only the vapor/moisture barrier system your flooring manufacturer permits—and then install it exactly as specified (seams sealed, correct overlaps, and proper terminations). With herringbone floors, tiny gaps become airflow paths that can deliver moisture to the underside over time.
Moisture barriers only work when their seams are sealed and edges are detailed correctly; unsealed seams can create pathways for humid air that feeds mold under herringbone floors. Flooring manufacturer installation instructions (barrier seam/tape requirements)
Approved barrier systems depend on installation method (glue-down vs. nail/staple vs. floating), so using an “extra” barrier may violate specifications. Flooring manufacturer warranty/installation instructions
Match the barrier to the installation method
Glue-down vs. nail/staple vs. floating changes the rules
– Glue-down herringbone: barrier placement and adhesive compatibility are critical. Some systems require specific moisture barrier types and forbid others.
– Nail/staple (mechanically fastened): a barrier/underlayment may be allowed differently than in glue-down. Some products are designed to “breathe” through certain layers.
– Floating: underlayment is often about cushioning and dimensional control, not always true vapor sealing—check what your manufacturer allows for mold prevention under herringbone floors.
Pros/cons: barrier choices that often get people in trouble
| Approach | Potential benefit for mold under herringbone floors | Main downside / failure mode |
|---|---|---|
| Polyethylene vapor barrier (when approved) | Reduces vapor migration from slab/subbase | Incorrect seams/overlaps or wrong thickness can trap moisture where it shouldn’t |
| Underlayment with built-in moisture features (when approved) | Simplifies layer stack and can reduce odor transfer | Some foam products are not true vapor barriers; performance varies by product |
| “More barrier is always better” mindset | Feels protective | Can violate warranty and increase trapped moisture risk if the system was designed to manage moisture differently |
| Skipping a barrier when required | Lower assembly cost | Can allow slab moisture vapor migration to reach underside of planks |
VS table: which setup best fits common herringbone scenarios?
| Criteria | Setup A: Manufacturer-approved vapor barrier + sealed seams (glue-down or specified system) | Setup B: Underlayment only (no true vapor barrier) |
|---|---|---|
| Manufacturer allowance | Yes (when used exactly as specified) | Often only valid if manufacturer permits |
| Primary moisture strategy | Blocks or controls vapor transfer | Relies on subfloor dryness + drying capacity |
| Seam integrity importance | High—tape/seal is non-negotiable | Still important but failure modes differ |
| Trapped moisture risk | Lower if system is balanced and installed correctly | Higher when subfloor humidity rises after install |
| Good fit for humid basements/crawlspaces | Typically better when approved | Riskier unless ambient RH is tightly managed |
| Good fit for already-dry slabs | Can be adequate if limits are met | May still work, but only if specs allow |
| Vapor migration from slab | Mitigated | Uncontrolled (if barrier truly required) |
| Odor recurrence risk | Reduced when moisture source is fixed | Can recur if moisture migrates beneath |
| Warranty defensibility | Stronger (if documented per spec) | Depends on spec; may be rejected if not allowed |
| Installation complexity | Higher (more detailing) | Lower up-front but may cost later |
| **Verdict** | Best when your flooring system requires/permits a specific barrier assembly | Best only when your manufacturer explicitly allows underlayment-only for your conditions |
> Placement note: Use this decision logic while designing your layer stack; once the first plank goes down, correcting a bad barrier choice becomes labor-intensive—especially with herringbone patterns.
Control indoor humidity after installation
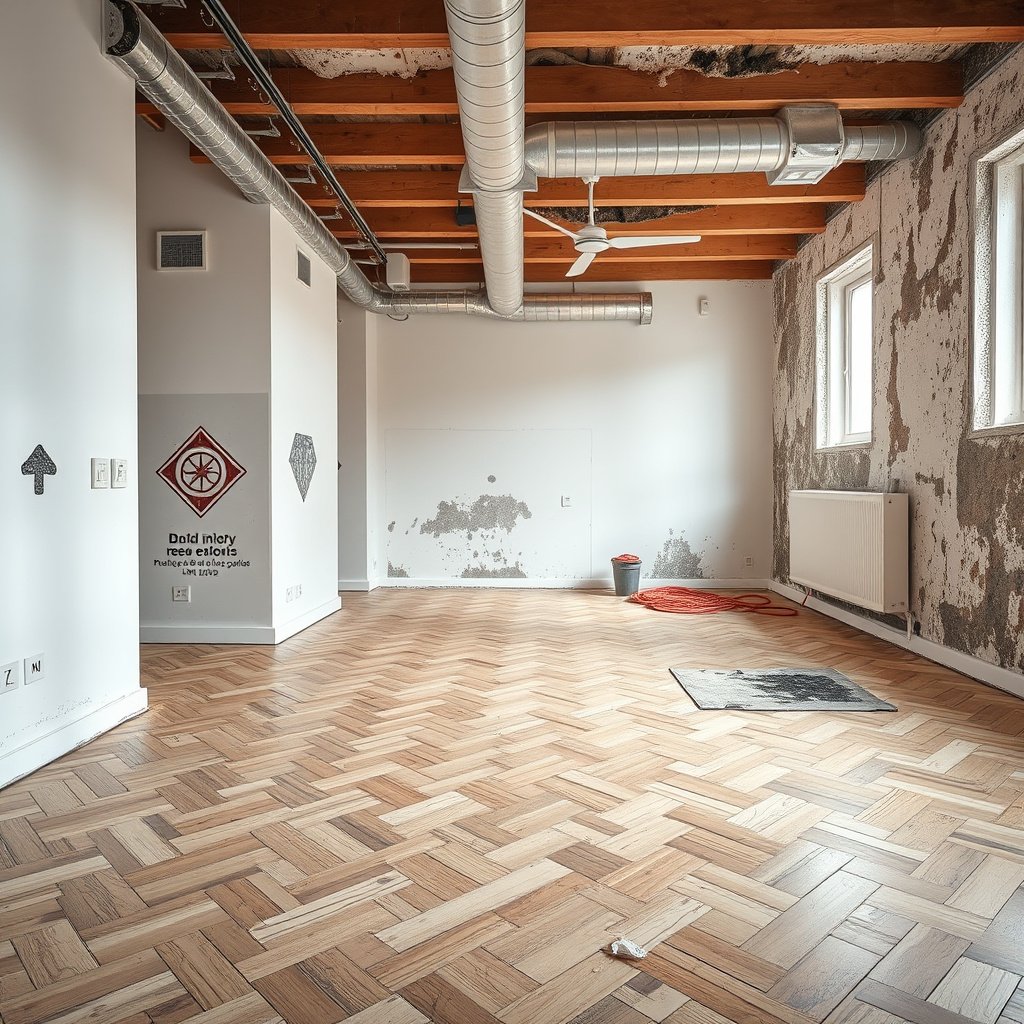
Once the floor is installed, the best answer for mold under herringbone floors shifts to humidity management: keep indoor relative humidity steady using HVAC/dehumidification and moisture-controlled cleaning. Mold risk under the planks increases when humidity swings—because the underside experiences condensation cycles even when average conditions look acceptable.
U.S. EPA guidance focuses on humidity control (often “below 60% RH”) as a key mold prevention lever for homes. U.S. EPA, Mold/moisture control guidance
CDC-aligned health messaging commonly targets indoor humidity around 30–50% RH to reduce dampness-related risks. CDC/health guidance on dampness and humidity control
What “stable humidity” practically means
– Track RH with an inexpensive hygrometer and set a target consistent with your climate and flooring spec—commonly in the 30–50% RH range in many health and building practices, but always verify the manufacturer guidance for your specific floor.
– Use a dehumidifier in humid seasons and a humidifier in dry winters only if needed for comfort and building balance. Avoid overshooting.
Cleaning without re-wetting the substructure
To prevent mold under herringbone floors, avoid soaking-cleaning practices:
– Use a damp (not wet) mop approach if allowed.
– Wipe up spills immediately.
– Use manufacturer-recommended cleaners that don’t leave excess moisture residue under edges.
Seasonal cycles and HVAC airflow
Seasonal humidity swings are a common reason mold under herringbone floors reappears after installation. In 2026, many homes run high-efficiency HVAC cycles that can reduce drying airflow near the floor. Preventive steps include:
– Keeping vents unblocked,
– Maintaining balanced supply/return,
– Ensuring crawlspaces/basements aren’t running much higher RH than the occupied space.
Inspect early and maintain before problems grow
The most effective prevention step after installation is early detection. When mold under herringbone floors starts, it often shows up first at edges, near vents, or at transitions—so a simple inspection routine can catch moisture problems before they spread.
Mold often grows where moisture persists; early signs in flooring systems can include musty odor, discoloration at edges, and localized soft spots. U.S. EPA, Mold/moisture control guidance
Moisture intrusion patterns commonly concentrate at perimeter details (baseboards, vents, and wall-slab interfaces), making those locations critical to inspect. Flooring installation best-practice guidance (manufacturer/industry guidance)
What to look for around herringbone floors
– Recurring musty odor: often indicates ongoing humidity rather than one-time dampness.
– Discoloration near edges: darkening at baseboards or around vent covers can signal moisture migration.
– Bubbling/soft areas: usually indicates the underside stayed wet enough to affect material layers.
Fast corrective actions that reduce mold under herringbone floors
– Address spills and standing moisture immediately.
– Inspect bathrooms and entry areas first—they create frequent humidity sources.
– If odor/discoloration repeats, go back to the moisture source checklist (leaks, sweating pipes, exterior water management, and crawlspace/basement RH).
Maintain in a way that respects your flooring spec
Follow manufacturer cleaning and environmental requirements. Mold under herringbone floors is often re-triggered by “maintenance drift”—people gradually increase water usage, delay dehumidifier use, or change HVAC schedules without realizing the underside is cycling.
What can go wrong (common mistakes and edge cases)
The most common reason people still get mold under herringbone floors is a mismatch between the moisture plan and the actual floor system. Mistakes typically happen in layer compatibility, testing shortcuts, and cleaning practices that unintentionally reintroduce moisture.
Using a vapor barrier that your flooring manufacturer doesn’t allow can change the moisture behavior of the assembly and create conditions that favor mold. Flooring manufacturer warranty/installation instructions
Skipping moisture testing increases the odds of installing when slab or subfloor moisture is temporarily acceptable but later exceeds manufacturer limits. NWFA/installation moisture testing concepts (as reflected in industry guidance)
Common failure modes
– Barrier not allowed / installed incorrectly
– Unsealed seams, wrong overlap, or terminating too early at walls.
– No moisture testing
– “It feels dry” fails for slabs and for multi-layer stacks that trap moisture.
– Too much water during cleaning
– Even “occasional” over-wetting can push moisture into the perimeter and seam areas.
– Ignoring crawlspace/basement ventilation
– Even with a good underlayment, humid ambient air can keep the underside cycling.
Edge cases to consider for mold under herringbone floors
– Radiant heat systems: heating can shift moisture dynamics (temperature affects RH). Ensure the floor system is designed for it.
– Subfloor planing/leveling compounds: some patches or self-levelers can release moisture.
– Long delays after moisture testing: if weather/HVAC changes between testing and installation, you may need retesting.
Verdict / tip: Aim for “dry + sealed + stable,” not just covering
If you want the best protection against mold under herringbone floors, focus on moisture testing, the manufacturer-approved vapor/moisture barrier details, and stable indoor humidity. The downside: you may need to delay installation until moisture readings comply, and barrier/adhesive choices must match your exact flooring system (otherwise you can create trapped-moisture conditions or warranty issues). If you already suspect active mold or water intrusion, start with remediation and moisture source correction before you reinstall.
Scan-Ready Mold Prevention Checklist
| Step | What to do | Quick “Yes/No” |
|---|---|---|
| Moisture test | Use the method supported by your flooring/adhesive system | ☐ Yes ☐ No |
| Barrier/underlayment | Install only what the manufacturer allows | ☐ Yes ☐ No |
| Seal details | Seal seams/edges with the specified tape/technique | ☐ Yes ☐ No |
| Acclimation | Let products reach indoor conditions before install | ☐ Yes ☐ No |
| Humidity control | Keep indoor humidity stable year-round | ☐ Yes ☐ No |
| Cleaning | Avoid soaking; follow manufacturer cleaning guidance | ☐ Yes ☐ No |
| Early checks | Inspect edges/vents for odor or discoloration | ☐ Yes ☐ No |
Sources
– U.S. EPA — guidance on mold and moisture control (“Mold” and “Mold Prevention” information pages; cite for general moisture control principles):
– National Wood Flooring Association (NWFA) — wood flooring installation guidance and moisture testing concepts:
– ASTM standards commonly referenced for moisture testing in slab and on-site conditions (used according to the testing method and installer/flooring specs): ASTM F2170; ASTM F1869; ASTM D4442 (as applicable per flooring system)
– Manufacturer installation instructions for your specific herringbone flooring (including approved moisture/vapor barriers, adhesives, underlayment, and allowable moisture limits):
In the end, preventing mold under herringbone floors is less about a single product and more about a full moisture-management workflow: find and fix the moisture source, verify dryness with the right testing method, install the manufacturer-approved barrier/underlayment with meticulous seam/edge detailing, and keep indoor humidity stable through every season—including 2026. If you follow that “dry + sealed + stable” sequence, you’re far more likely to avoid musty odors, edge discoloration, and repeating soft spots near baseboards and vents.
Frequently Asked Questions
What causes mold to grow under herringbone floors?
Mold under herringbone floors is usually driven by moisture trapped at the subfloor, such as from leaks, high humidity, condensation, or moisture rising from concrete slabs. Herringbone installations often have many seams and edges, which can hold water if the underlayment or adhesive isn’t moisture-resistant. Poor ventilation, unaddressed subfloor flatness issues, or installing before the subfloor fully dries also increases risk of mold growth.
How can I prevent moisture buildup under herringbone floors?
Start by controlling moisture at the source: fix leaks, manage indoor humidity (generally 30–50%), and ensure the subfloor is dry before installation. If you’re installing over concrete, use a proper moisture barrier/anti-fracture membrane and follow the manufacturer’s recommended film thickness and overlap. During installation, avoid over-applying adhesive and ensure correct subfloor acclimation so the wood doesn’t trap moisture.
How do I choose the best underlayment or vapor barrier for herringbone flooring?
The best option depends on your subfloor type—concrete typically needs a dedicated vapor barrier, while some wood subfloors may require a different underlayment designed for airflow and moisture management. Look for underlayment products specifically rated for “moisture barrier,” “vapor barrier,” or “crawl-space moisture control,” and verify they’re compatible with your herringbone flooring and installation method (glue-down vs. floating vs. nail-down). Always install underlayment according to instructions, including sealing seams to reduce moisture pathways.
Why should I check for subfloor moisture before installing herringbone floors?
Checking subfloor moisture is one of the most effective ways to prevent mold under herringbone floors because it helps you identify hidden dampness before wood and adhesives are sealed in. Even if the surface looks dry, elevated moisture content can lead to condensation and microbial growth after installation. Use moisture testing tools recommended for flooring (e.g., concrete RH tests or moisture meters for wood) and address any readings that exceed the flooring manufacturer’s limits.
Which installation practices reduce the risk of mold in herringbone flooring?
Choose a professional moisture-safe installation approach: maintain proper expansion gaps, don’t block ventilation paths, and ensure the subfloor is level to prevent water pooling under uneven areas. Use adhesives and sealants approved for your flooring type, and avoid sealing the entire perimeter in a way that traps moisture. After installation, keep HVAC running to stabilize humidity and promptly clean and dry any spills—standing water is a common trigger for mold under herringbone floors.
📅 Last Updated: October 15, 2026 | Topic: How to prevent mold under herringbone floors? | Content verified for accuracy and freshness.
References
- Mold | Mold | CDC
- https://www.cdc.gov/mold/faqs.htm
- https://www.cdc.gov/mold/cleanup/index.html
- Mold | US EPA
- Mold – Overview | Occupational Safety and Health Administration
- https://www.hud.gov/program_offices/healthy_homes/research/mold
- mold prevention moisture indoor – Search Results – PubMed
- https://scholar.google.com/scholar?q=prevent+wood+floor+mold+moisture+subfloor Google Scholar
- https://scholar.google.com/scholar?q=vapor+barrier+under+hardwood+floor+moisture+control Google Scholar
- https://scholar.google.com/scholar?q=parquet+hardwood+floor+installation+relative+humidity+subfloor+mold Google Scholar