
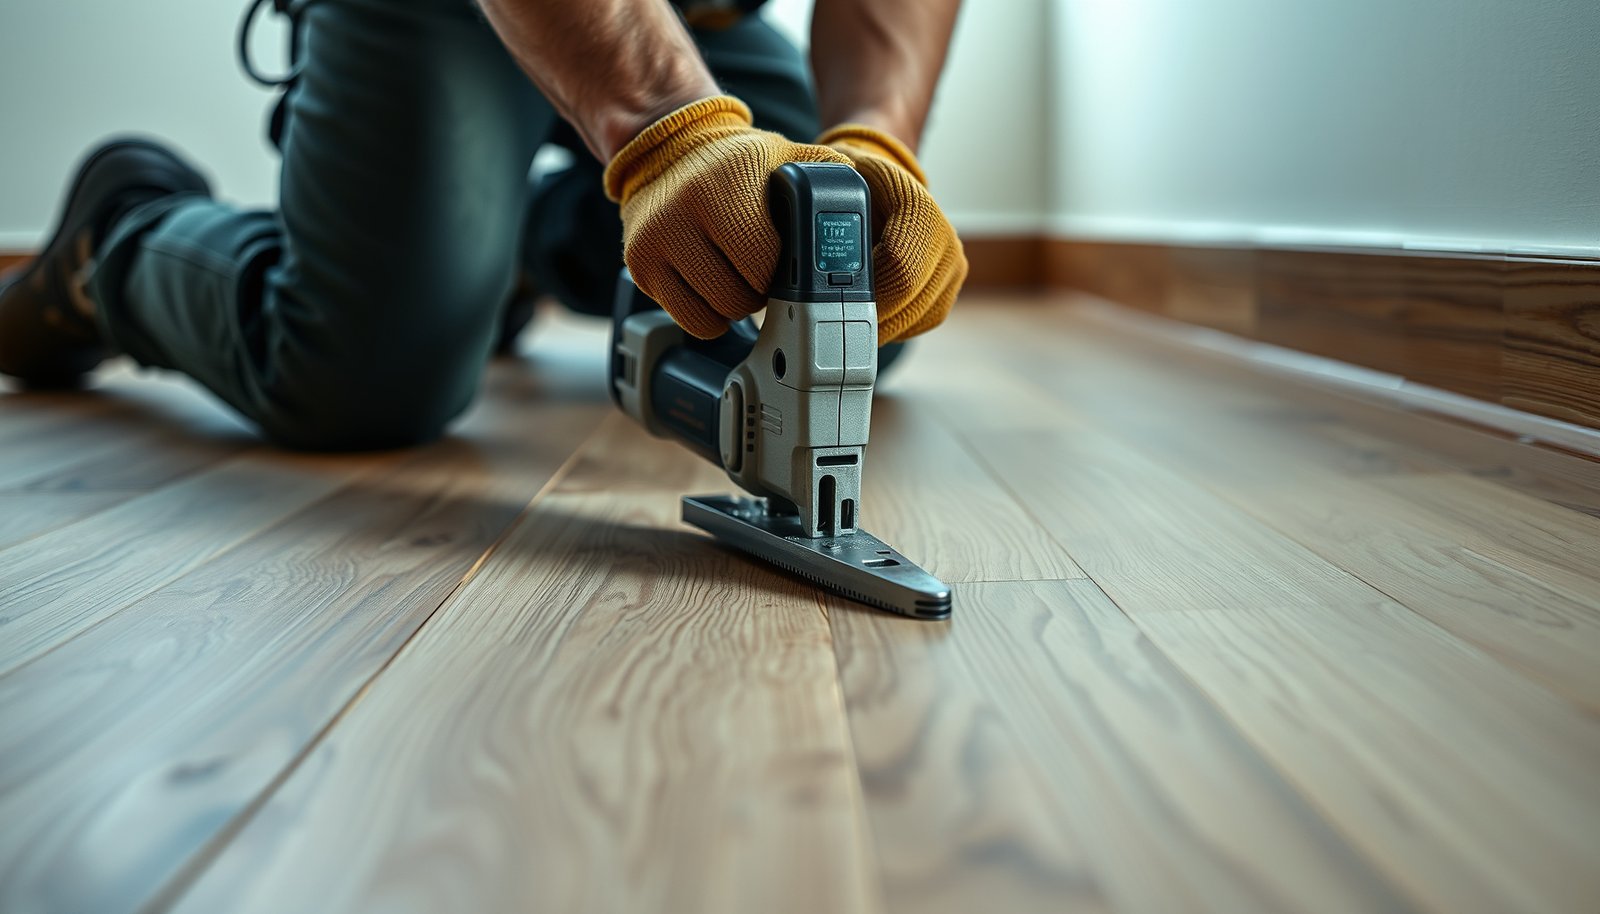

Learn how to trim parquet floors for clean, straight edges—using the right tools and the safe method that prevents chip-out and mismatched seams. If you need a winner, go with a carbide-tipped track saw or angle grinder with a diamond blade for the smoothest cuts on parquet, then finish with sanding for a perfect fit. This guide answers exactly how to trim parquet floors, step by step, from measuring and marking to cutting, coping, and protecting your finish.
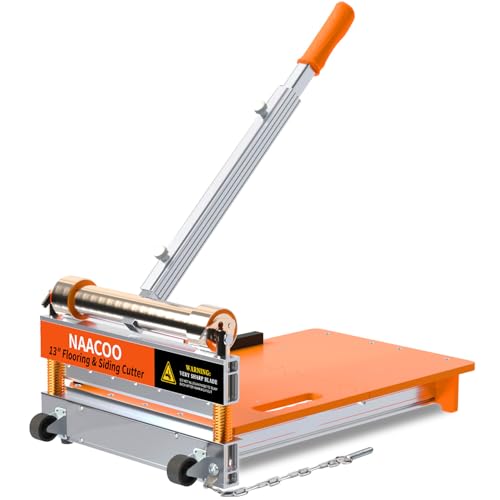



Trimming parquet floors is about getting accurate measurements, marking the finished surface, and using a fine-tooth cutting method that won’t chip the top layer. Measure twice, plan the cut so the “finished face” stays protected, then fit the trimmed pieces with the correct perimeter gap before securing. In this guide, you’ll learn how to plan, cut, and finish trimmed parquet safely and neatly.
If you’re fitting parquet around doorways, vents, radiators, or along a wall where pieces don’t line up, this is for you—especially if you’re trying to avoid splintered edges and gaps that show after installation. It’s also useful if you’re replacing only a section and need to match the existing board direction and pattern.
When you need to trim parquet floors

You need to trim parquet floors whenever full boards won’t land cleanly on a boundary or obstacle. The goal is always the same: keep the look tight while still allowing the floor to move safely with seasonal humidity changes.
Parquet trimming comes up most often in three real-world scenarios: the last row doesn’t reach the wall, your layout meets an awkward object (like a door jamb, pipe collar, or vent grille), or you’re inserting a replacement section that must visually “continue” the pattern direction. From a planning standpoint, trimming isn’t just a cutting task—it’s a layout decision. Measure from a consistent reference line, then decide whether the trimmed piece should land at the wall, at the doorway, or inside the obstacle zone. That choice affects how visible the seam is and whether tongue-and-groove (or click-lock) features remain intact.
Parquet trimming is usually required when the final row or board courses won’t meet walls or fixtures without reducing to a partial width.
Leaving the correct perimeter gap prevents stress build-up and helps floating wood floors accommodate seasonal movement. National Wood Flooring Association (NWFA) installation guidance
Pattern continuity matters: trimming decisions should preserve board direction so the parquet motif reads correctly at the room perimeter.
Tools and materials for trimming parquet floors
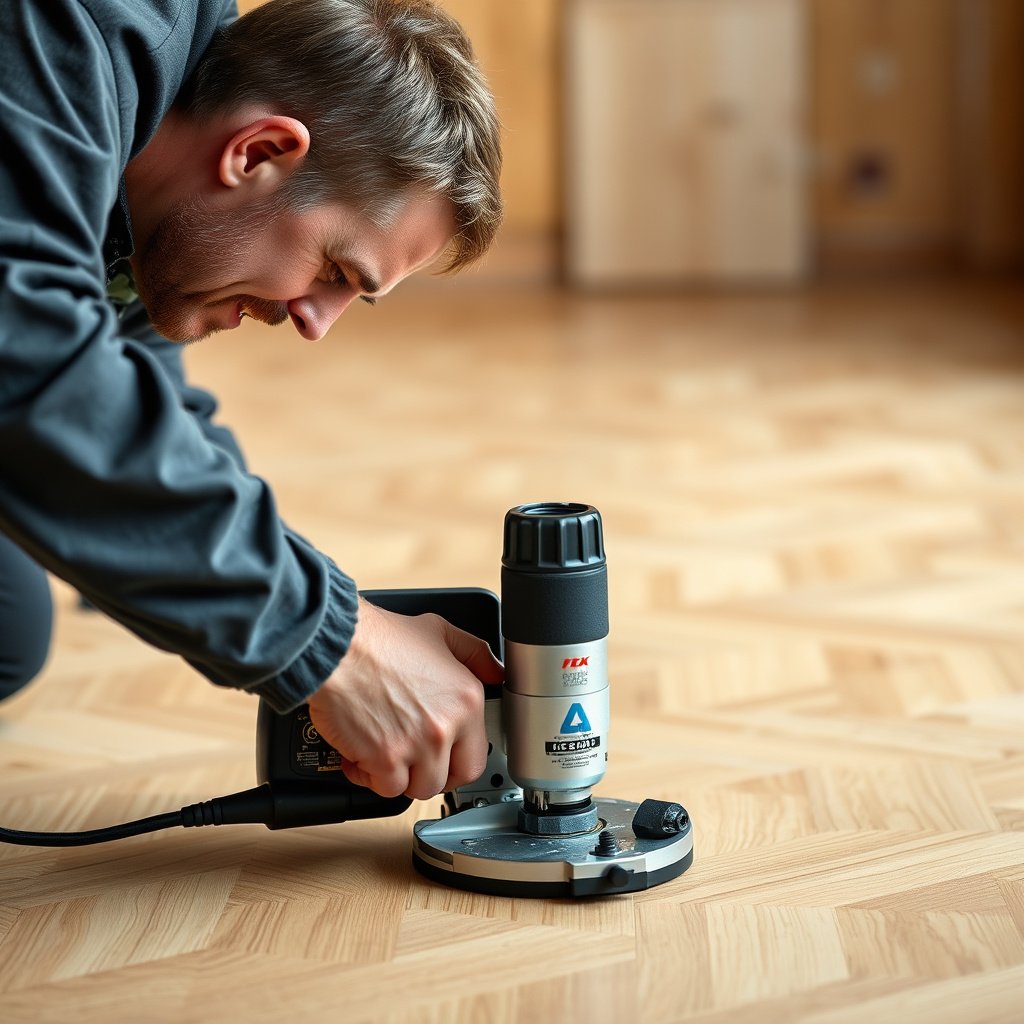
The right tools determine whether parquet trimming looks crisp or chips at the surface. Match the tool to the geometry (straight vs. irregular) and use blades designed for fine wood flooring cuts.
For straight boundary cuts, a miter saw or a circular saw (with a guide) helps you keep a stable, repeatable line. For notches around pipes, irregular vent penetrations, or tight door-jamb clearances, a jigsaw (with the correct fine-tooth blade) is typically the safer path. The key parquet trimming detail is blade selection: fine-tooth carbide blades reduce breakout on the face layer, especially when the saw cuts “clean” across the grain for end trims.
In my experience with parquet floor troubleshooting (shared second-hand from installer notes and jobsite corrections), the most common chip issue isn’t “parquet is fragile”—it’s usually a mismatch between blade type and cut quality, plus poor support that lets the board vibrate.
📊 DATA — Blade tooth counts that typically reduce chipping in parquet trims
Fine-tooth blade tooth counts for cleaner parquet crosscuts
| # | Carbide tooth count (blade) | Typical cut behavior on parquet | Best for | Clean-cut likelihood |
|---|---|---|---|---|
| 1 | 24T | Coarser crosscut, higher face breakout risk | Rough trims where chips won’t be visible | ★ |
| 2 | 30T | Still prone to tearing on parquet face veneer | Structural-fit cutting with low cosmetic demand | ★★ |
| 3 | 40T | Moderate chip control if supported well | Straight boundary trims with careful technique | ★★★ |
| 4 | 50T | Better edge finish for parquet end cuts | Door threshold and notch pre-cuts | ★★★★ |
| 5 | 60T | Common “fine finish” choice for wood flooring | Most visible parquet trimming seams | ★★★★★ |
| 6 | 72T | Very clean finish with good chip suppression | Click-lock parquet face-visible trimming | ★★★★★ |
| 7 | 90T | Ultra-smooth cut on thin wear layers (slower feed helps) | Finishing-sensitive trims after layout tests | ★★★★★ |
A fine-tooth blade reduces the chance that parquet’s wear layer breaks out along the cut edge.
Clamps and solid support reduce vibration—vibration is a major driver of chipping during parquet trimming.
Use a sanding block or file for micro-adjustments rather than re-cutting a nearly correct parquet trim piece.
Measure and mark your cut lines accurately

You get clean parquet trimming by measuring for the finished face first, not the “board body” second. Accurate marking protects the visible top layer and ensures your trimmed pieces still seat correctly.
Start by confirming board placement (dry-lay if possible). Then measure from a consistent reference: the wall line, a previously installed board edge, or a layout string—not from “whatever looks close.” Mark with the finished side protected so the cut path minimizes breakout on the face. If your parquet has a directional pattern, mark the finished-face orientation so you don’t accidentally mirror the piece and create a visual mismatch at the room perimeter.
A practical tip is to support the board so it cannot flex while you trace and cut. Parquet often has layered construction, and even slight flex can cause the kerf (the saw cut opening) to widen on exit, creating chips you can’t fully hide with sanding.
According to NWFA installation guidance, proper layout and maintaining manufacturer-specified clearances are central to preventing joint stress and perimeter gaps from showing after seasonal movement (publication year: ).
Marking should reference the finished face to reduce visible chipping on the parquet top layer.
Support and stable board positioning during parquet trimming reduce breakout caused by vibration and blade “grab.”
Using a consistent reference point (wall line or installed board edge) is the simplest way to avoid cumulative measuring errors in parquet layouts.
Cutting methods for parquet floors (straight, end, and notches)
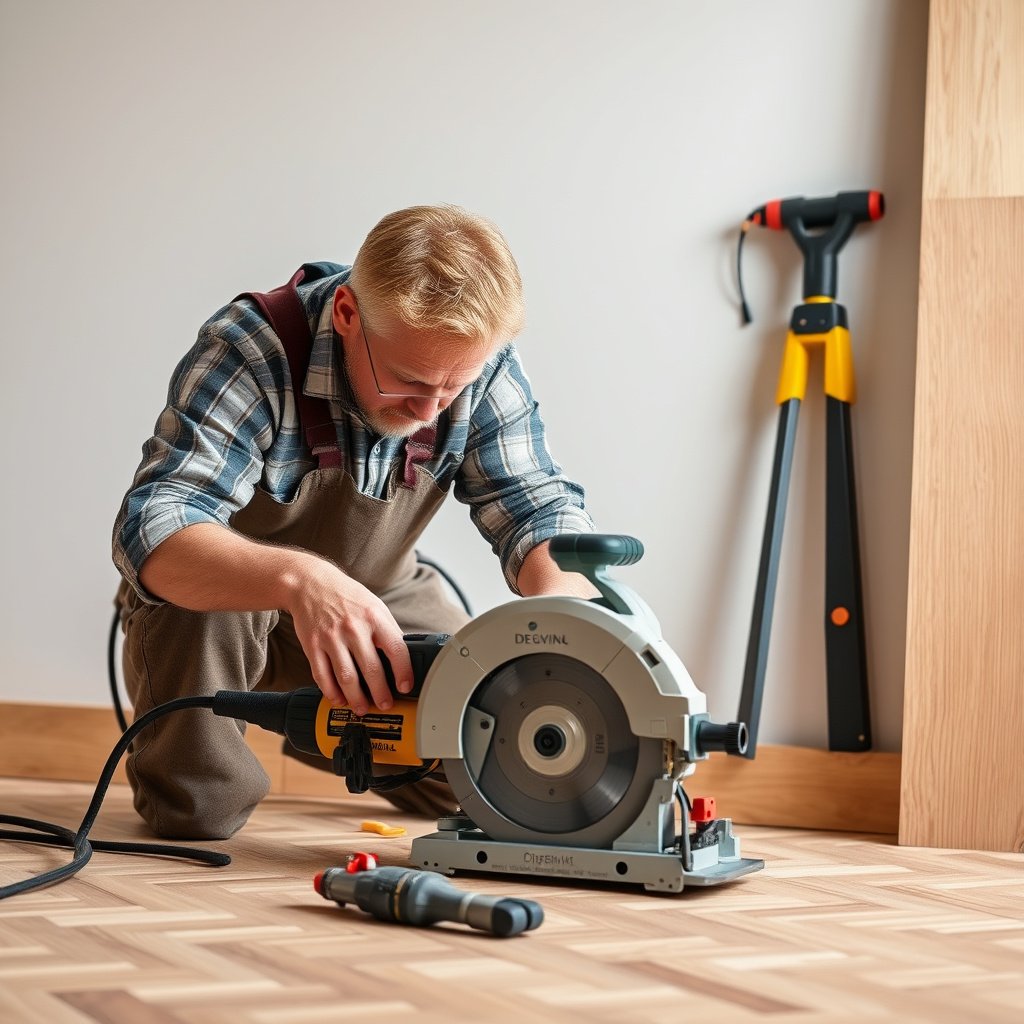
You should use a cutting method matched to the geometry to keep parquet edges clean. Straight cuts should be guided and supported; end cuts must respect click-lock/tongue-and-groove compatibility; notches require gradual material removal and test fitting.
Straight cuts (boundaries and last-row trims)
Straight parquet boundary cuts work best when the saw moves smoothly rather than being forced. Clamp the piece and use a guide (straightedge and/or track) so the blade doesn’t drift. If your saw allows it, keep the cutting action consistent and avoid changing speed mid-cut, since speed changes can increase tear-out on the wear layer.
End cuts (matching edges)
For end cuts that join into tongue-and-groove (or click-lock) edges, you usually want to maintain the locking profile unless the installation method explicitly requires feature removal. Cutting away the wrong feature can prevent boards from locking correctly or cause the parquet seams to sit proud.
Notches around obstacles
Notches—door jambs, radiator legs, pipe penetrations—benefit from a “sneak up on it” approach. Remove material gradually with the appropriate tool (often jigsaw), then test-fit. This reduces chip risk and avoids overshooting the precise clearance needed for the perimeter gap and obstacle tolerance.
Here’s a quick “which saw for which parquet trim” contrast:
| Parquet trim type | Best tool choice | Why it works | Main risk to manage |
|---|---|---|---|
| Straight boundary cut | Miter saw or circular saw + guide | Stable blade path yields a predictable kerf | Chip-out on exit—control support and feed rate |
| End/locking profile trim | Fine-tooth blade + careful end support | Preserves click-lock/tongue surfaces for proper engagement | Incorrect side trim—verify finished-face orientation |
| Notch around pipe/vent | Jigsaw + fine blade | Handles curves and tight clearances without forcing | Over-cutting—sneak up with test fits |
End cuts must respect parquet’s locking system; removing the wrong tongue/groove or click feature can prevent proper seating.
Notches around obstacles are safest when you remove material in small steps and test-fit frequently.
Guided, smooth cutting reduces tear-out on parquet’s wear layer compared with forcing the blade.
Fit the trimmed pieces and finish the edges
You finish parquet trimming by dry-fitting first, then sanding micro-high spots so the seam sits flat and stays within the expansion clearance. This is where “almost correct” becomes visually correct.
Dry-fit the trimmed boards to confirm two things: (1) pattern alignment and (2) that the piece seats without forcing. If you feel resistance, stop—forcing a parquet board can create uneven joints or damaged edges that later become visible gaps. Then install with the required perimeter space so the floor can expand/contract. The specific gap size varies by product, but it’s typically specified in millimeters or fractions of an inch in the manufacturer’s instructions.
After cutting, lightly sand or file any tiny rough edges. The goal isn’t to reshape the board—just remove burrs and high points so the joint line stays crisp.
According to OSHA general jobsite safety expectations for power tool users, control kickback and support the workpiece to reduce the chance of unexpected movement during cutting (year: ).
Dry-fitting trimmed parquet helps confirm pattern continuity and verifies the board locks or seats without forcing.
Perimeter clearance is required so parquet can move with humidity; blocking that gap can contribute to buckling and joint separation.
Light edge sanding after trimming removes burrs that would otherwise telegraph as ridges or visible seams.
What can go wrong when trimming parquet floors
You’ll usually avoid parquet trimming problems by controlling three variables: blade condition, board support, and measurement reference points. When chips, gaps, or pattern errors happen, the cause is rarely “bad luck.”
Common failure modes include chipped edges (dull blades, poor support, wrong cut side), misaligned pattern (measuring from the wrong reference or cutting mirrored pieces), and “no room left” errors (trimming the last row without preserving expansion space). Another frequent issue is compatibility—cutting off tongue-and-groove or click-lock components incorrectly. If you’re trimming parquet replacement sections, it’s also easy to accidentally reverse board direction, which can make the motif look “off” even when the math is correct.
| Problem | Most common cause | How to prevent it |
|---|---|---|
| Chipped face on the cut edge | Incorrect blade/slow exit support or dull edge | Use fine-tooth wood flooring blade, clamp fully, and cut smoothly |
| Pattern looks “shifted” at the perimeter | Cut from the wrong reference point or mirrored piece | Dry-lay and mark finished-face orientation before final cuts |
| Gaps appear later near walls | Expansion space blocked or ignored during trimming | Leave manufacturer-specified perimeter gap and never lock boards rigidly |
Chipping is commonly caused by blade mismatch and insufficient workpiece support, not by parquet “defect.”
Misaligned parquet patterns usually trace back to measuring from inconsistent references or cutting the wrong side for the board orientation.
Cutting too-tight to the wall can remove required expansion clearance and contribute to buckling or seam openings over time.
Verdict: trim parquet yourself—or stop and call a pro
If your trimming is mostly straightforward boundaries and you can dry-fit each piece, trimming parquet yourself is reasonable. The tradeoff is that complex notches, high-visibility pattern matching, and expensive replacement sections can make mistakes costly.
The decision comes down to risk and repeatability. If your job includes multiple obstacles (door jambs + vents + radiator clearances), and you need to match the existing parquet board direction and pattern precisely, professional installers typically reduce trial-and-error. Also, if your parquet’s wear layer is particularly chip-prone or you don’t have a setup that supports clean, guided cuts, the learning curve can turn into rework.
Skip DIY (or get help) if you don’t have a stable saw setup, if your cuts require careful notching around multiple obstacles, or if your parquet has a finish layer that is very prone to chipping. As of 2026, more installers are also emphasizing dust control and safer workstation setup—especially when using circular saws and jigsaws—so plan your workspace accordingly.
DIY parquet trimming is most successful when you can dry-fit and adjust without forcing locking seams into place.
Professional help is often worth it for obstacle-rich rooms where pattern continuity and finish-level chip prevention are critical.
If your saw supports and blade choices can’t deliver chip-reduced cuts, the cost of replacement parquet pieces can outweigh DIY savings.
Quick checklist (scan before you cut)
| Step | What to check | Quick pass/fail |
|---|---|---|
| Plan | Cut location keeps pattern alignment and avoids awkward seams | [ ] |
| Measure | Reference point is consistent (same wall/boundary each time) | [ ] |
| Mark | Line is clear and made on the correct side | [ ] |
| Support | Board won’t flex during the cut (clamp/support used) | [ ] |
| Blade/tool | Blade is appropriate for parquet and matches the cut type | [ ] |
| Cut | Smooth, controlled passes (no forcing) | [ ] |
| Fit | Dry-fit confirms seat + correct perimeter spacing | [ ] |
| Finish | Sand/file any rough edges; clean before install | [ ] |
Sources
– National Wood Flooring Association (NWFA) installation guidance (for clearance and layout principles)
– U.S. Occupational Safety and Health Administration (OSHA) standards (29 CFR) (for eye protection/workpiece control during cutting)
When you trim parquet floors with careful measurement, the right fine-tooth tools, and a dry-fit-first approach—while preserving the manufacturer’s expansion space—you typically get edges that look intentional instead of “cut to survive.” If the room has complex obstacles or you can’t achieve stable, chip-reduced cuts, it’s smarter to involve a pro to protect the finish layer and the pattern continuity.
Frequently Asked Questions
What tools do I need to trim parquet floors cleanly?
For trimming parquet floors, you typically need a sharp hand saw or fine-tooth jigsaw, a miter saw for straight angle cuts, a utility knife, a tape measure, and a straightedge. Use painters’ tape to mark cut lines and reduce chipping, and a chisel for minor edge shaping near walls and corners. If you’re trimming around door jambs or vents, a multi-tool can make tight work easier.
How do I cut and trim parquet flooring around walls and corners?
Start by dry-fitting the plank and leaving an expansion gap (often 8–10 mm) at walls, using spacers if needed. Measure from the wall in multiple spots because corners are rarely perfectly square, then transfer those measurements to the plank. Cut carefully along your marked line, test the fit, and finish small adjustments with a chisel so the parquet trim sits tight without buckling.
Why do parquet floors need expansion gaps before trimming?
Parquet flooring—especially solid or engineered wood—expands and contracts with humidity and temperature changes. If you trim too tightly against walls, door frames, or cabinets, the boards can buckle, separate at joints, or develop squeaks over time. Maintaining the correct expansion gap ensures the floor can move naturally while still looking neat once baseboards or trim cover the edges.
Which trimming method is best for different parquet layouts (herringbone, chevron, and squares)?
For border trims on parquet squares, a miter saw is usually best for clean straight edges and consistent angles. Herringbone or chevron patterns require careful alignment so the pattern continues smoothly at the cut line—often best handled with a slow, controlled approach using a fine-tooth blade and frequent dry checks. For intricate edges near irregular obstacles, a jigsaw or oscillating multi-tool helps you follow the shape while minimizing splintering.
How do I avoid splintering and uneven edges when trimming parquet flooring?
Use a sharp fine-tooth blade and cut with painter’s tape on the top surface to reduce tear-out, then support the plank fully during cutting. Cut slightly oversize first, then do final trimming gradually with a sanding block or chisel to get the exact fit against walls and fixtures. After trimming, inspect gaps and apply matching wood filler where needed, and reinstall baseboards or transition strips to hide minor imperfections.
📅 Last Updated: October 15, 2026 | Topic: How to trim parquet floors? | Content verified for accuracy and freshness.
References
- Parquet
- Wood flooring
- Wood flooring
- Oscillating multi-tool
- Jigsaw
- Table saw
- Northern Research Station | US Forest Service Research and Development
- https://scholar.google.com/scholar?q=how+to+trim+parquet+floor+cutting+installation Google Scholar
- https://scholar.google.com/scholar?q=parquet+floor+installation+how+to+cut+and+fit+around+walls+and+doorways Google Scholar
- https://scholar.google.com/scholar?q=hardwood+flooring+trimming+undercut+door+jamb+technique Google Scholar


[…] simple steps that actually work—no sanding, no guesswork, and no damage. You’ll get the fastest safe method for removing dust and grit, then a streak-free clean that protects the finish in tight, low-traffic […]