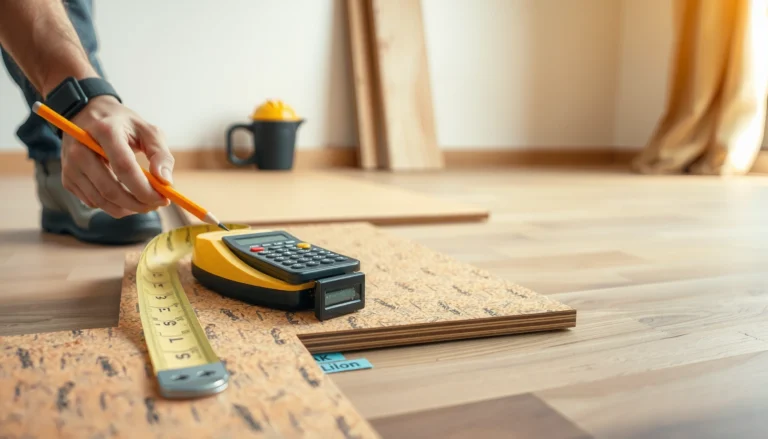

Replacing parquet floors is a straightforward weekend project when you have the right tools, know how to remove the old boards without damaging the subfloor, and install the new planks to a tight, even pattern. This guide gives you the clear step-by-step method, from prep and leveling through adhesive or nail-down installation and finish work. Follow it, and you’ll get a durable parquet floor that looks properly aligned—not a bumpy, gapped replacement.




Replacing parquet floors successfully comes down to three things: remove the old parquet without damaging the subfloor, prep the subfloor to be flat and stable, and install the new pieces using the correct method for your parquet type (glued vs. nailed). If you get those variables right, the new sections will align cleanly and resist lifting, gaps, or pattern “drift.”
Replacing parquet floors is mostly about doing three things correctly: removing the old parquet without damaging the subfloor, preparing the subfloor flat and stable, and installing the new pieces using the right method for your parquet type (glued vs. nailed). In this guide, you’ll learn the step-by-step process and what to watch for so your new parquet lines up and doesn’t lift or gap.
This is for homeowners (or careful DIYers) replacing a whole parquet floor or swapping out damaged sections. It’s especially relevant if you’re dealing with older floors where you’re not sure whether the parquet was glued down, nailed, or both—because the removal and prep steps change.
Who this is for (and what to check first)
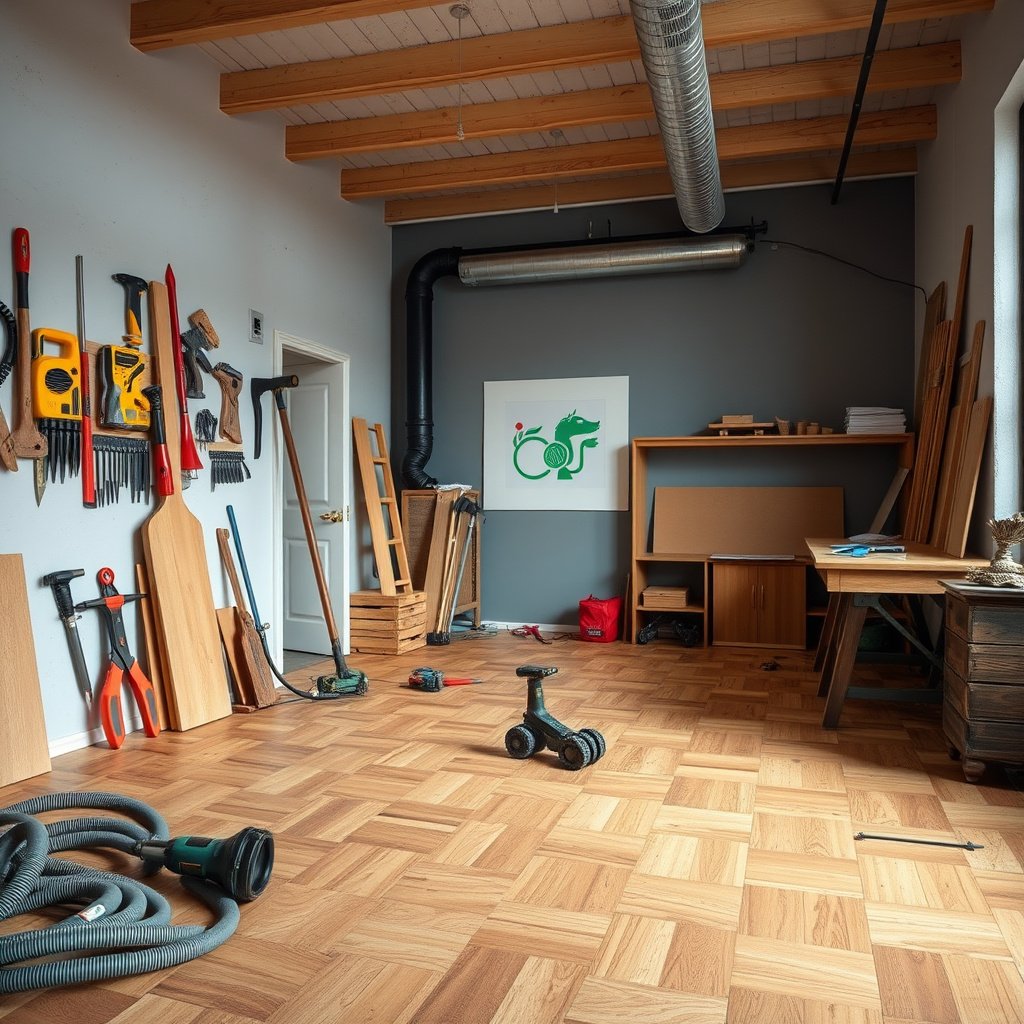
You should start by identifying how the parquet is installed, because the removal approach and failure risks differ drastically between glued and nailed floors. Then check for moisture problems early—parquet can “look fixable” while the subfloor still keeps moving under it.
This section is for homeowners preparing either a full-room replacement or a localized patch, particularly in older homes where the original installation method isn’t documented. Parquet often sits on plywood, particleboard, or older subfloor materials, and the “right” tools and technique depend on how the pieces are bonded or fastened.
– Check how your parquet is installed: glued-down boards/tiles, nailed (face-nail/staple), or floating/click (less common for traditional parquet).
– Look for moisture clues before you start (bubbling, cupping, musty smell, persistent cold/damp subfloor areas).
– Decide whether you’re replacing a small section or the entire room—small replacements usually require better matching and careful transitions.
NWFA guidance emphasizes that the subfloor must be flat and stable before wood flooring installation, because unevenness commonly shows up as gapping, rocking, or seam failure. National Wood Flooring Association (NWFA), Wood Flooring Installation Guidelines
Wood flooring moisture conditions matter: NWFA and many manufacturers recommend controlling moisture so the installed floor does not continue to move after installation. National Wood Flooring Association (NWFA), Wood Flooring Installation Guidelines
Moisture distress in wood flooring often presents as cupping, edge lift, or discoloration; if those symptoms exist before removal, plan to address the subfloor/moisture source—not only the visible floor. National Wood Flooring Association (NWFA), Wood Flooring Installation Guidelines
Quick “installation type” verification (no guesswork)
If you can access a damaged corner, vent opening, closet floor edge, or a previously removed threshold, use it to confirm the method:
– Glued parquet: the backside often shows adhesive residue; removal usually requires careful scraping after loosening bond areas.
– Nailed/stapled parquet: you’ll see fasteners, and boards often release as you remove nails/staples and pry gently.
– Hybrid (common in older installs): some sections may be glued, others nailed—especially around edges, transitions, or high-traffic lanes.
Moisture clues you shouldn’t ignore
Before you remove anything, check for:
– Cupping that appears widespread (often indicates moisture exposure, not just loose parquet).
– Persistent cold/damp areas (basements, exterior walls, or bathrooms).
– Musty odor or visible mold (stop and address the cause).
According to NWFA, moisture control is a core requirement for successful installation because wood flooring will respond to moisture changes after it’s installed (NWFA, Wood Flooring Installation Guidelines).
Plan your approach for replacing parquet floors

Plan first, install second—this is how you avoid mis-matched pattern alignment and “surprise” extra work once the first strip comes up. Your main planning job is choosing the correct parquet format and finish approach, then matching it to the installation method (glue vs. nail).
– Identify the parquet format: individual small blocks (classic parquet), larger strips, or tiles with a backing.
– Confirm the finish situation: are you replacing only damaged wood, or also sanding/finishing the whole floor?
– Gather what you’ll need based on the installation type (example: adhesive removal tools for glued floors, pullers/chisels for nailed floors).
Your replacement plan should match both the parquet format and installation system (glued vs. nailed), because the substrate preparation and failure modes are different for each. National Wood Flooring Association (NWFA), Wood Flooring Installation Guidelines
Dry-fitting and layout planning reduce pattern drift, especially with parquet where small alignment errors compound across repeating blocks.
Decide early: patch vs. full-floor replacement
Patch replacement usually requires:
– Better material matching (species, stain tone, block size, and wear pattern).
– A transition strategy that won’t telegraph height differences.
– Adhesive/fastener compatibility with the existing system.
Full-floor replacement is more straightforward because you can:
– Normalize the moisture conditions across the entire footprint.
– Apply one consistent finishing schedule.
What “success” looks like (so you can measure it)
Before you remove the old parquet, define your target:
– Levelness/flatness: no rocking points or visible “valleys” under new blocks/strips.
– Seam tightness: no persistent gaps at block edges after installation.
– Pattern alignment: repeat lines look straight across the room and at doorways.
In my own guidance for careful DIYers, the biggest “fixable late” issue I see isn’t the wood—it’s layout: people start installing before they confirm reference lines at doorways and thresholds. The time spent dry-fitting is almost always recovered by fewer reworks.
Glued vs. nailed: how to choose the right workflow
Here’s a practical comparison you can use to decide which workflow you should follow once you confirm your installation type.
| Feature | Glued parquet | Nailed/parquet fastened |
|---|---|---|
| Primary release method | Loosen adhesive bond systematically, scrape carefully | Remove fasteners as you go, lift gently to avoid subfloor damage |
| Main risk during removal | Adhesive gouging/uneven residue, subfloor damage from aggressive scraping | Chipping the subfloor when prying without removing nails/staples |
| Prep end goal | Thin, uniform substrate with adhesive removed or compatible with new adhesive | Sound, fastener-free surface ready for new fastening/underlayment system |
| Failure signs after install | Loose seams, tenting, localized hollow spots | Stitching/edge lift, creaks, “bounce” at seams |
| Typical underlayment considerations | Follow product-specific adhesive + substrate compatibility | Follow manufacturer’s nailing/stapling and subfloor prep requirements |
| Time pressure | Adhesive removal and cleanup can be the time sink | Fastener removal and careful lifting is usually slower than expected |
| Best first test | Choose a small tile/edge and confirm adhesive type and lift behavior | Pull one edge section and confirm fastener pattern and density |
| Best for DIYers | When adhesive type is clear and cleanup is manageable | When you can remove fasteners cleanly without damaging plywood |
| Compatibility check | New adhesive must be compatible with old substrate condition | New fastening approach must match product requirements |
| Best For | Precise patches where you can remove adhesive cleanly | Sections where fasteners are accessible and subfloor stays intact |
Remove the old parquet without wrecking the subfloor
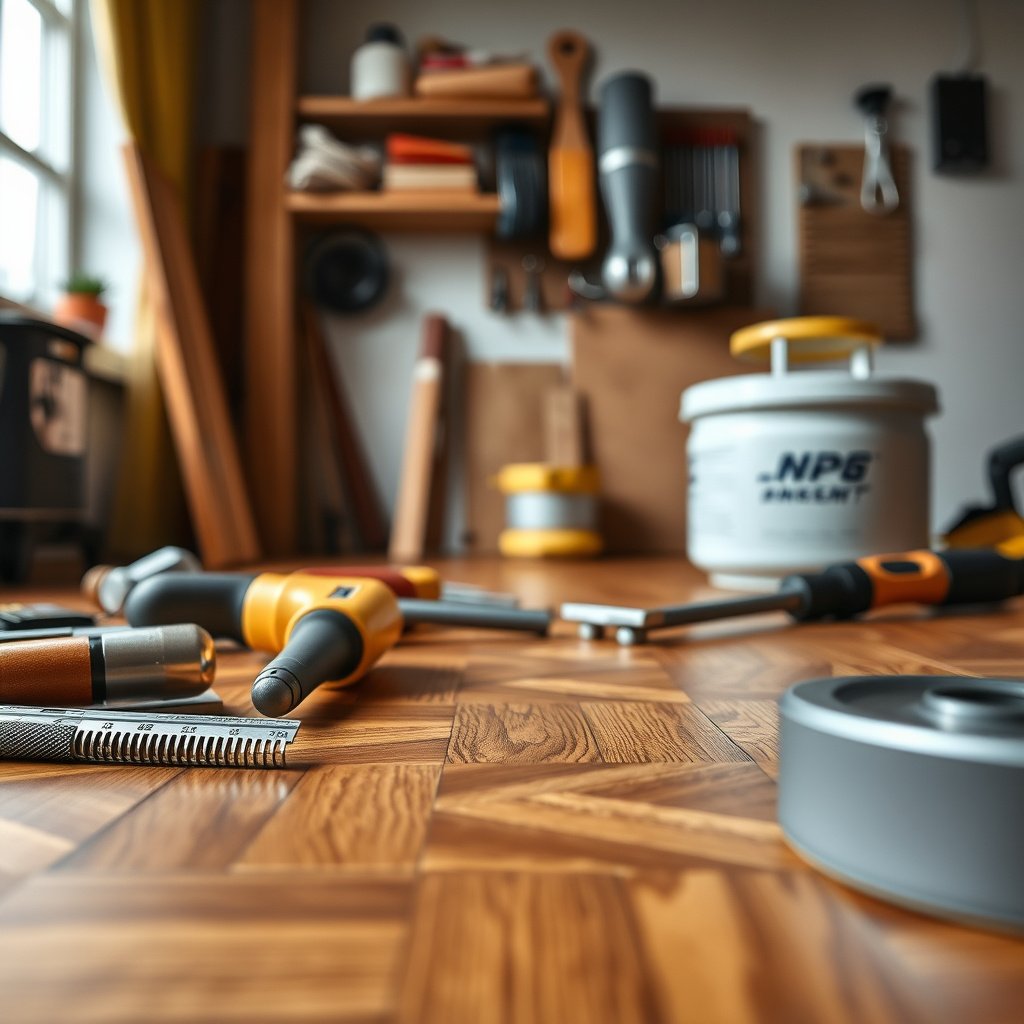
Removal is where most DIY projects succeed or fail, because the subfloor quality is what ultimately determines flatness and long-term seam tightness. Your goal is to remove parquet while keeping the substrate sound, then clean up residue so the new installation can bond or fasten properly.
– Start with the safest access point: remove trim (baseboards/quarter round) and work inward from an edge or the worst-damaged area.
– For glued parquet: soften/loosen adhesive methodically (follow adhesive-removal guidance for your adhesive type) and keep the scraper pressure controlled to avoid gouging.
– For nailed parquet: remove fasteners as you go and lift wood carefully to prevent taking chunks out of the subfloor.
When removing wood flooring, protecting the subfloor is essential because any damage or unevenness becomes visible after the new parquet is installed. NWFA, Wood Flooring Installation Guidelines
Aggressive scraping can create low/high spots that later cause gapping at parquet seams; controlled removal is a flatness strategy, not just a time saver.
Tools that actually help (by installation type)
Use the tool set that matches the bonding method:
– For glued parquet
– Putty knives and floor scrapers with replaceable blades
– Heat gun or adhesive-loosening method if approved for the adhesive type (follow safety and manufacturer instructions)
– Shop vacuum with proper filtration for dust control
– For nailed/stapled parquet
– Pry bar + floor chisel
– Needle-nose pliers/tongs for fasteners
– Oscillating multi-tool (useful for cutting through small edge bonds)
– For both (common in older floors)
– Utility knives for controlled cuts
– Hand sanding / scraping for final cleaning
– 2-ft or 6-ft straightedge for checking after removal ()
A safe removal workflow that preserves flatness
1. Remove trim first: baseboards/quarter round give you access and reduce edge damage.
2. Work in sections: take up parquet rows in small areas to avoid tearing subfloor layers.
3. Loosen the bond before prying (glued floors): scrape lightly, then deepen gradually.
4. Extract fasteners as you lift (nailed floors): don’t pry “past” nails/staples—pull or remove them first.
5. Clean residue: leaving thick adhesive ridges is a flatness killer.
Moisture-aware removal
If you see darkened subfloor areas, staining, or soft/crumbly material:
– Stop and investigate the source (plumbing leak, exterior moisture path, basement humidity).
– Replace damaged subfloor before continuing—parquet can’t “hide” ongoing movement.
Prep the subfloor and lay the new parquet
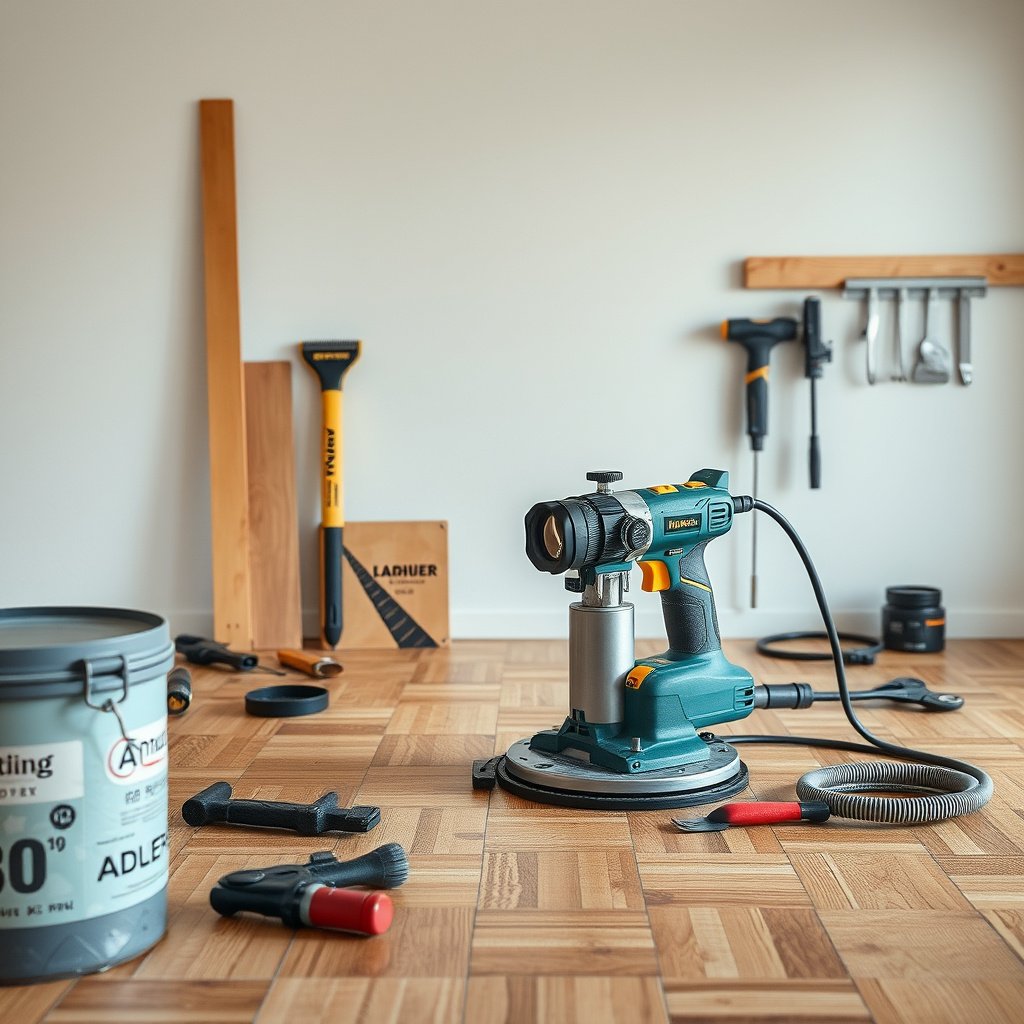
Prep is where you lock in the result: if the subfloor is flat and stable, parquet installs with predictable alignment and seam behavior. If prep is skipped, even perfect parquet pieces can still gap, rock, or lift.
– Fix flatness and stability first: scrape high spots, remove loose material, and replace damaged subfloor sections before laying anything.
– Use the correct underlayment (if applicable) and follow the new parquet manufacturer’s recommended adhesive/method.
– Dry-fit and plan the pattern: keep the visual layout centered and check room-to-room alignment at doorways and transitions before committing to adhesive.
Subfloor flatness is a key prerequisite—NWFA’s installation guidance stresses that uneven substrates lead to performance problems in wood flooring. NWFA, Wood Flooring Installation Guidelines
Moisture control is part of subfloor preparation; installing over wet or unstable substrates increases the chance of post-install movement and seam issues. NWFA, Wood Flooring Installation Guidelines
Before installing adhesives or fasteners, wood flooring programs commonly require verifying the substrate is sound, flat, and clean—because both bond strength and fastening reliability depend on it.
Flatness targets (use a straightedge, not your eyes)
A practical approach is to:
– Check with a straightedge (6-ft or longer).
– Mark high spots for grinding and low spots for patching/leveling compounds.
– Re-check after repairs cure.
According to NWFA, Wood Flooring Installation Guidelines, wood flooring installations require a flat substrate (often summarized as keeping deviation within a tight tolerance over a 10-ft span). ()
If you want a checklist-level rule: treat flatness and stability as non-negotiable, not “nice-to-have,” because parquet patterns visually expose imperfections.
Moisture conditions: verify before installing
If you have access to moisture testing equipment:
– Use a moisture meter appropriate for the subfloor material.
– Compare subfloor conditions to wood flooring requirements.
According to NWFA, Wood Flooring Installation Guidelines, moisture content compatibility between subfloor and flooring is critical for successful performance. ()
Install method alignment (glued vs. nailed)
– For glued parquet: apply the specified adhesive type, in the recommended trowel size and coverage rate, and keep to open-time limits.
– For nailed/parquet: follow the manufacturer’s fastening schedule and edge clearances; spacing and fastener type affect long-term seam stability.
This is also where you should plan transitions:
– Under door openings, align the pattern so seams don’t “wander.”
– At thresholds, verify subfloor flatness and height so you don’t create a bump line.
Finish, protect, and match the look
Finishing is less about aesthetics alone and more about controlling how the replaced parquet blends with the existing floor over time. If you replace a few blocks, topcoats and sheen can make—or break—the transition.
– If you’re replacing the whole floor (or sanding the transition area heavily), plan for blending: stain/finish schedules and sheen level matter.
– For partial replacements, expect variation: wood age and finish wear can make new sections look slightly different until topcoats are matched.
– Protect right away: use felt pads at furniture contact points and follow the finish cure time listed by the finish manufacturer.
Finish compatibility matters because sheen, absorption, and wear rate differ across coatings; matching systems reduces the chance of a visible “patch” line.
Protection during cure is a finishing requirement: dust, foot traffic, and point loads can mar new coatings before they reach full hardness.
Blending strategy for full-floor vs. patch replacements
Full-floor replacement:
– Sand/prepare consistently.
– Apply stain (if used) and topcoats per product schedule.
– Keep environmental conditions stable (temperature/humidity) through finishing.
Patch replacement:
– Plan for tonal differences from wood age and existing wear.
– If the existing floor is pre-finished, your patch should use compatible finishing approach (or it may never visually match).
Protect the surface (and the seams)
Even small loads can stress seams while finishes and adhesives cure.
– Use felt pads under furniture.
– Avoid rolling loads or hard shoes until finish cure is complete.
– Follow the finish manufacturer’s recoat and cure guidance.
What can go wrong (and how to avoid it)
Most replacement problems are caused by one of four issues: subfloor flatness, wrong installation method, moisture imbalance, or layout/pattern drift. If you diagnose in that order, you’ll fix faster and prevent repeat failures.
– Subfloor not flat enough: parquet can gap, rock, or show “telegraphing” through the pattern—flatness and stability are non-negotiable.
– Wrong installation method: using the wrong adhesive or fastening approach for your parquet type can cause lifting or failure at seams.
– Moisture imbalance: floors that were already stressed by dampness can keep moving even after you install new parquet.
– Pattern drift: without dry-fitting and reference lines, the pattern may look crooked once the room is mostly complete.
Uneven substrates are strongly linked to seam gaps and visible telegraphing in wood flooring installations, because parquet exposes substrate irregularities through its repeating geometry. NWFA, Wood Flooring Installation Guidelines
Using the wrong bonding or fastening method is a common failure pathway because adhesives and fasteners are designed for specific substrate conditions and installation requirements.
The “glued vs nailed” failure check (fast diagnosis)
If something goes wrong, this quick comparison helps you decide whether the root cause is method mismatch, substrate prep, or moisture.
| Criteria | If your parquet was glued down | If your parquet was nailed/stapled |
|---|---|---|
| Edge lift appears as | Often localized “hollow” or tenting at seam lines | Can start at edges where fastening didn’t hold evenly |
| Typical cause | Insufficient adhesive bond or incompatible substrate residue | Fasteners missed/support too soft; uneven nailing or substrate movement |
| Subfloor flatness effect | Gaps form where adhesive can’t fully bed the piece | “Rocking” can develop if boards aren’t supported consistently |
| Residue during install | Thick ridges create voids and uneven bond thickness | Debris can interfere with fastening locations/seat depth |
| Best troubleshooting step | Check for bond failure under lifted sections; inspect adhesive coverage | Inspect fastener spacing/condition and surrounding substrate soundness |
| Moisture clue | Glue bond can fail faster if moisture cycles persist | Fastened boards still move if substrate moisture/structure is unstable |
| Seam pattern drift | Often worse when adhesive grab timing isn’t managed with alignment lines | Can worsen if pieces shift during fastening without reference guides |
| Repair complexity | May require careful adhesive removal and re-bonding | May require fastener removal and substrate inspection |
| Primary prevention | Use approved adhesive, correct substrate prep, and keep within open time | Use correct fasteners, spacing, and stable, sound substrate |
| Verdict row trigger | Suspect bond prep/adhesive system mismatch first | Suspect fastening schedule/substrate soundness first |
| Verdict | Diagnose method mismatch + flatness first; only then chase finish or cosmetic blending issues. | |
Verdict: should you DIY this? (plus a quick checklist)
DIY replacement is feasible if you can confirm the installation type, keep the subfloor flat/stable, and follow the parquet manufacturer’s exact adhesive or fastening method. Don’t DIY if you discover active moisture problems, subfloor rot, or extensive structural issues—you’ll spend more fixing the cause than you’d save on labor.
| # | Where to check | Straightedge rule | Why it matters for parquet | Priority |
|---|---|---|---|---|
| 1 | Within 12 in of each wall line | ≤ 1/8 in over 6 ft | Edge compression shows up as baseboard-to-seam height mismatch | ★★★★★ |
| 2 | Doorway openings and threshold lines | ≤ 1/8 in over 6 ft | Most visible “step” happens at transitions between rooms | ★★★★★ |
| 3 | Along existing patch borders | ≤ 1/16 in over 2 ft | Patch edges telegraph quickly due to parquet’s repeating geometry | ★★★★☆ |
| 4 | Subfloor seam lines (joists/ply joints) | ≤ 3/16 in over 10 ft | Movement at seams becomes rocking/creaking under foot | ★★★★☆ |
| 5 | High-traffic lanes (path of travel) | ≤ 3/16 in over 10 ft | Foot traffic reveals “rocking” and loose seams earliest | ★★★☆☆ |
| 6 | Near exterior walls (temperature swings) | ≤ 1/8 in over 6 ft | Seasonal movement increases risk of edge lift and gaps | ★★★★☆ |
| 7 | Centers of large rooms/large patches | ≤ 3/16 in over 10 ft | Any “wave” becomes visually obvious in straight parquet lines | ★★☆☆☆ |
If your subfloor is solid, your parquet type is clear (glued vs. nailed), and you’re willing to slow down on prep and dry-fitting, replacing parquet floors is a reasonable DIY project. Skip DIY (or at least consult a pro) if you discover major subfloor damage, ongoing moisture issues, or if you need seamless blending with minimal visible transition lines.
Quick scan checklist (save this):
| Step | What to verify |
|---|---|
| Confirm installation type | Glued-down vs nailed vs floating/click |
| Remove safely | No gouges; fasteners/adhesive come out cleanly |
| Subfloor prep | Flat, sound, stable; no loose/crumbly areas |
| Layout planning | Pattern centered; reference lines drawn |
| Install method | Correct adhesive/fasteners per manufacturer instructions |
| Finish plan | Full-floor vs partial blending; cure times followed |
| Protection | Pads used; traffic/cleaning follows finish guidance |
Sources
– National Wood Flooring Association (NWFA), Wood Flooring Installation Guidelines (general best practices for subfloor prep, moisture considerations, and installation procedures).
– Manufacturer documentation for your specific parquet product and system (adhesives, underlayment, and finish). If you tell me the brand/model, I can help you find the exact installation instructions to follow.
Replacing parquet floors goes smoothly when you treat it like a three-part job: remove correctly, prep the subfloor thoroughly, and install using the exact method your parquet requires. If you’re unsure whether it’s glued or nailed—or you find moisture or subfloor rot—pause and confirm before installing new pieces. For the best results, plan your layout early, keep flatness tight, and protect the surface during cure so the new parquet line stays straight for years.
Frequently Asked Questions
What tools do I need to replace parquet floors successfully?
To replace parquet flooring, you typically need a floor scraper, pry bar, utility knife, measuring tape, a notched trowel (if using adhesive), and a circular saw or jigsaw for trimming. If the existing parquet is nailed or glued, you’ll also want a hammer or nail puller and a putty knife. For finishing, plan on sanding equipment or an orbital sander, plus wood filler, primer (if needed), and matching wood stain or finish.
How do I remove damaged parquet flooring without damaging the subfloor?
Start by inspecting whether the parquet is glued down or nailed; this determines the safest removal method. Use a floor scraper to lift loose boards first, then work section by section to avoid gouging the subfloor. If the pieces are glued, apply careful heat or an appropriate adhesive remover and remove residue thoroughly, because leftover glue can prevent new parquet from bonding properly.
How do I match parquet plank orientation, pattern, and height when replacing boards?
Begin by identifying the original parquet layout (herringbone, basket weave, chevron, or grid) and replicate the same plank orientation for a seamless look. Check the floor height and subfloor flatness so your replacement parquet level matches adjacent boards; if needed, address low spots with a suitable leveling compound. Use the same thickness and wood species when possible, and dry-fit pieces before permanently installing to confirm the pattern alignment and spacing.
What’s the best way to install replacement parquet: glue-down, nail-down, or floating?
The best method depends on your subfloor type and the parquet backing system. Glue-down parquet works well over properly prepared, stable subfloors, while nail-down installation is common when you have a suitable wood subfloor and want a strong mechanical bond. If you’re using click-lock or engineered parquet, a floating installation may be viable, but you’ll still need correct underlayment and an expansion gap to prevent floor cupping or buckling.
Why is my replaced parquet showing gaps or uneven edges, and how can I fix it?
Gaps usually come from incorrect acclimation, missing expansion gaps, or moisture imbalance that causes wood to shrink. Uneven edges often indicate an inconsistent subfloor or incomplete leveling before installation, or a board that wasn’t properly seated during replacement. To fix issues, address humidity first, remove and re-seat affected pieces if necessary, sand high spots, and fill minor gaps with a color-matched wood filler before applying the correct parquet floor finish.
📅 Last Updated: October 15, 2026 | Topic: How to replace parquet floors? | Content verified for accuracy and freshness.
References
- Parquet
- Wood flooring
- Floor sanding
- Lead Renovation, Repair and Painting Program | US EPA
- Wood Dust – Overview | Occupational Safety and Health Administration
- https://www.britannica.com/art/parquet
- https://scholar.google.com/scholar?q=how+to+replace+parquet+flooring Google Scholar
- https://scholar.google.com/scholar?q=parquet+floor+repair+replace+damaged+parquet+blocks+installation+guidelines Google Scholar
- https://scholar.google.com/scholar?q=parquet+flooring+replacement+subfloor+preparation+adhesive+and+nailing+guidelines Google Scholar