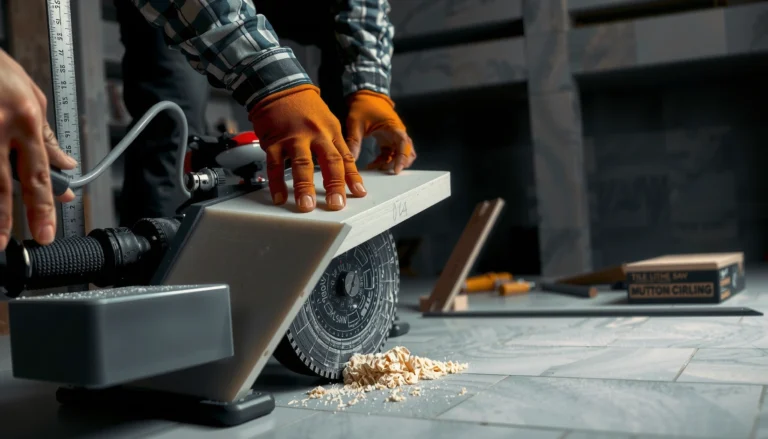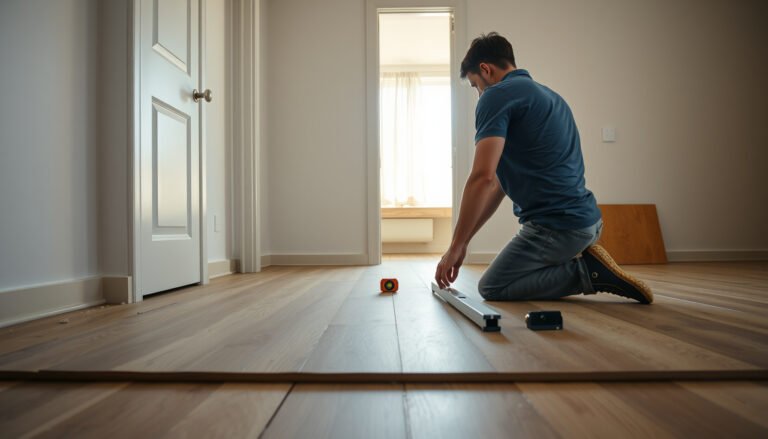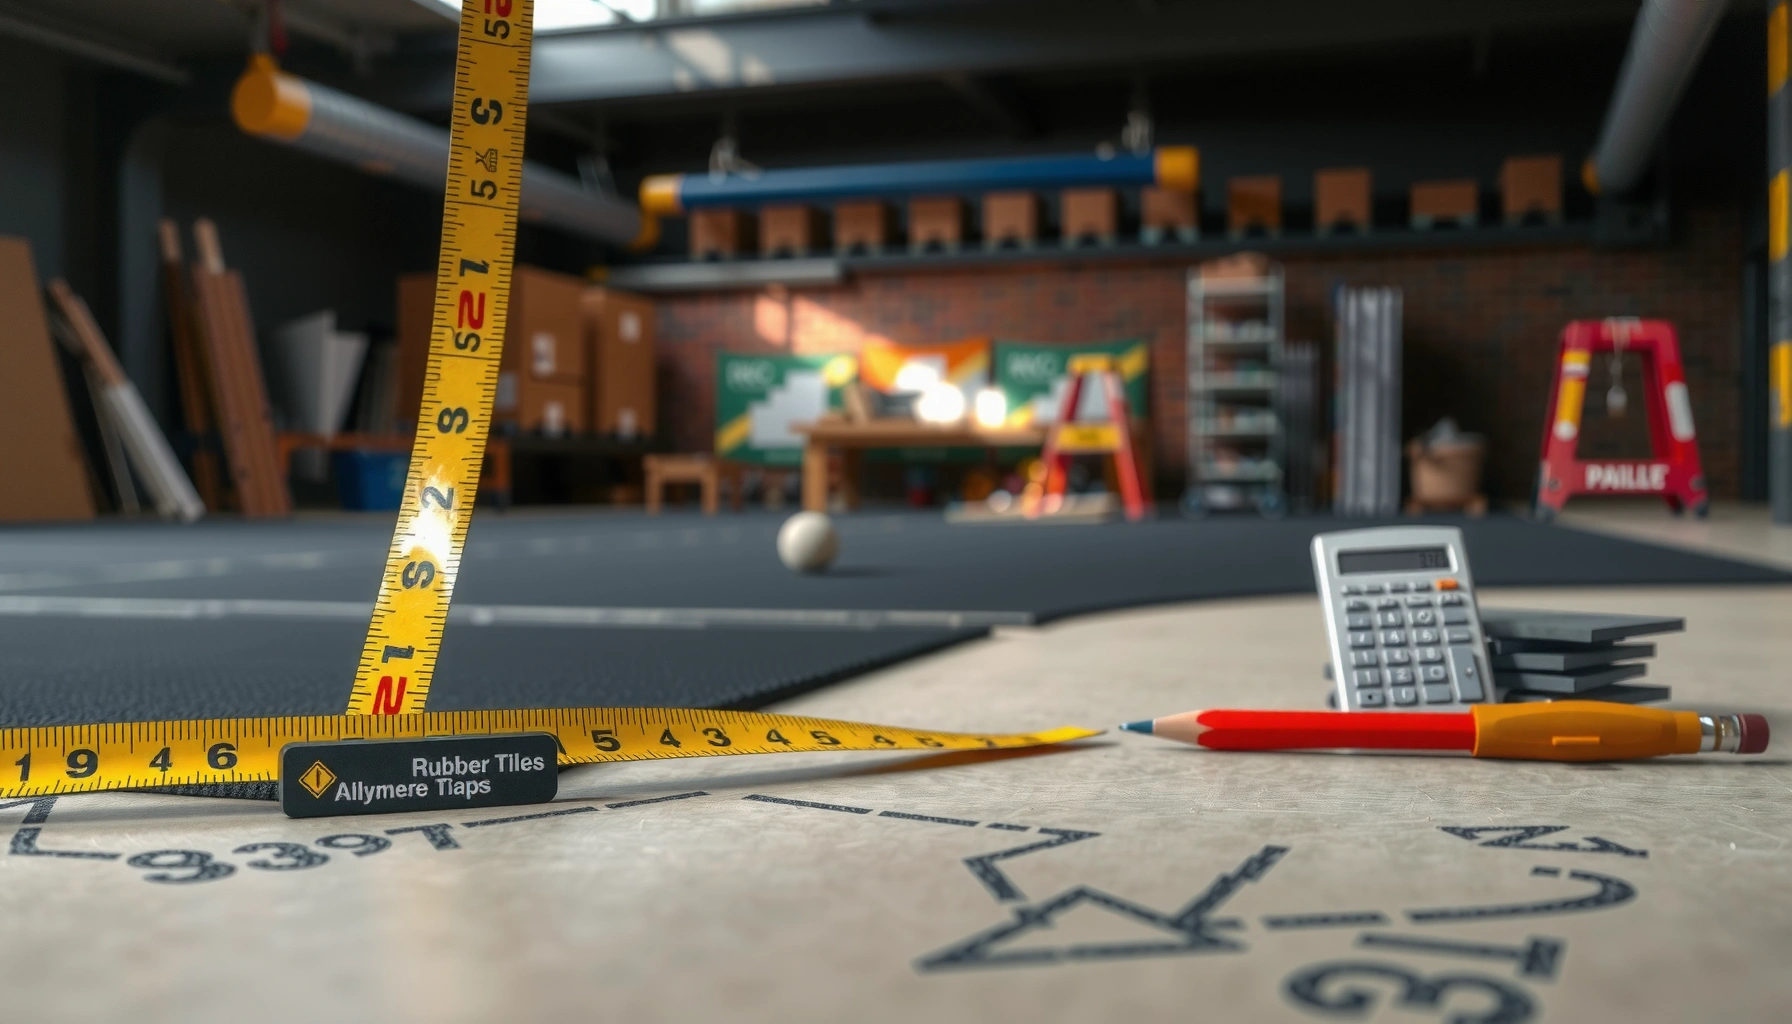

This step-by-step guide shows you exactly how to calculate the material for gym floors—so you can order the right amount without waste. You’ll learn which measurements to take first, how to factor in thickness and waste, and the quickest way to convert square footage into the quantities of flooring, underlayment, and adhesives. Follow the method and you’ll get a clear material total for rubber, vinyl, or tile installs.



If you want to calculate material for gym floors, start by measuring the total floor area (length × width), then convert that area into the right thickness/coverage for your flooring system. After that, factor in waste (typically a small add-on percentage) and any extra underlayment, adhesives, or edge trim needed for your layout. In this guide, you’ll learn a reliable method to estimate quantity so you can order the right amount without overspending or coming up short.
This guide is for anyone planning to install or replace gym flooring—garage gyms, small training studios, school rooms, or home workout spaces—where the material is sold by square footage, thickness, or rolls/tiles. It’s especially useful when you need to compare different flooring types (rubber rolls, rubber tiles, foam mats, or sport flooring systems) and want one consistent way to estimate.
Measure the gym floor area (and map the layout)
To calculate gym floor material accurately, measure the space first and build a quick layout map before you touch product coverage numbers. This prevents one of the most common ordering errors: calculating from the room’s outer dimensions while forgetting cut-outs (columns, drains, or built-ins).
“Measure length and width in consistent units, then calculate total area with Area = L × W before converting to any flooring coverage.”
“If the room isn’t a rectangle, break it into rectangles (segments), compute each segment’s area, then sum.”
“Subtract non-floor areas (columns, HVAC grilles, drains, built-ins) because flooring quantity is almost always priced by usable square footage.”
Step 1: Measure length and width (and double-check units)
Use tape measures and note whether your dimensions are in feet, meters, or inches. Choose one unit system and keep it consistent. If you’re using a mix (like measuring width in inches and length in feet), convert everything to one unit before multiplying.
– Rectangular spaces:
Area = Length × Width
– Best practice: measure at least twice—especially in training spaces where walls may not be perfectly square.
Step 2: Break irregular rooms into sections
Most gym spaces have at least one complication: a doorway offset, an alcove, a low wall, or a slightly “wonky” perimeter. For irregular shapes:
1. Sketch a simple outline.
2. Divide the floor into rectangles you can measure easily.
3. Calculate each rectangle’s area (L × W).
4. Add them together.
Step 3: Subtract obstacles and cut-outs
Create a “usable flooring area” number:
– Subtract areas where flooring won’t be installed, such as:
– stair landings (unless you’re doing them too)
– columns/posts
– drains/sumps
– built-in cabinets or fixed bench structures
– HVAC grilles (if the flooring system won’t bridge them)
Data anchor: According to common flooring estimating practice used by installers and reported in manufacturer installation guides, the most reliable quantity comes from net (usable) area, not gross area (exact waste and subtraction rules vary by product). [ADD: source for ‘net area vs gross area’ estimating guidance from a relevant flooring manufacturer]
Quick example (simple)
– Length: 16 ft
– Width: 12 ft
– Gross area: 16 × 12 = 192 sq ft
– Cut-out (e.g., 4 ft × 2 ft drain grate area): 8 sq ft
– Usable area: 192 − 8 = 184 sq ft
When you’re done, you should have:
– Gross area
– Total cut-out area
– Net usable area (this becomes your baseline for ordering)
Convert area to flooring coverage (tiles, rolls, and sheets)
After you have net usable area, convert it into the manufacturer’s coverage unit—usually square footage coverage, but sometimes per roll or per tile with a stated yield. The key is to stop “guessing coverage” and use the exact coverage spec printed on the product sheet or installation manual.
“For rubber/foam flooring sold by square footage, order quantity starts from Net Usable Area and then divides by the product’s stated coverage per piece.”
“For tiles, use tiles needed = (net area ÷ tile coverage) and round up because cutting almost always creates unusable offcuts.”
“For rolls, base the estimate on roll length × roll width and plan seam direction to minimize short end pieces.”
Step 1: Confirm your product’s “coverage rule”
Gym floors are sold in several formats, and each format has a different estimating approach:
– Tiles: ordered by tile piece, with each tile covering a fixed area (e.g., 2 ft × 2 ft = 4 sq ft per tile).
– Rolls: ordered by roll, with each roll covering a fixed area (roll width × roll length).
– Sheets/systems: may reference coverage per kit (often adhesive systems, underlayment, and sports floor packages).
Always use the coverage/yield language from the specific brand you’re installing—not a generic assumption.
Step 2: Tiles—calculate piece count (and plan rounding)
If each tile covers C sq ft:
– Tiles needed = (Net usable area ÷ C)
– Then round up, because you can’t order fractional tiles.
Waste note: even with a perfect layout, edges and obstacle cut-outs generate offcuts. Manufacturers sometimes give guidance for waste; if they don’t, installers often assume a conservative add-on.
Step 3: Rolls—calculate roll coverage and seam planning
For a roll:
– Roll coverage = roll width × roll length
– Roll count = (Net usable area ÷ roll coverage), then round up.
But rolls introduce an extra variable: roll direction and seams. Seam placement affects:
– how many seams land near high-traffic zones
– how much material gets “lost” to trimming around walls and obstacles
– whether you end up with skinny filler strips at ends (a common problem)
Mandatory data table (coverage math you can reuse)
Common Gym Flooring Coverage by Format (US typical nominal sizes)
| # | Material format | Nominal size | Nominal coverage / unit | Units for 100 sq ft* | Coverage (sq ft) — higher is better |
|---|---|---|---|---|---|
| 1 | Rubber roll | 4 ft × 10 ft | 40 sq ft | 3 rolls | 40 |
| 2 | Rubber roll | 4 ft × 15 ft | 60 sq ft | 2 rolls | 60 |
| 3 | Rubber roll | 4 ft × 20 ft | 80 sq ft | 2 rolls | 80 |
| 4 | Rubber roll | 4 ft × 25 ft | 100 sq ft | 1 roll | 100 |
| 5 | Rubber tile | 2 ft × 2 ft | 4 sq ft / tile | 25 tiles | 4 |
| 6 | Rubber tile | 1 ft × 1 ft | 1 sq ft / tile | 100 tiles | 1 |
| 7 | Foam interlocking mat | 2 ft × 2 ft | 4 sq ft / mat | 25 mats | 4 |
*Units for 100 sq ft are rounded up to the next whole unit, not including waste. Always verify the exact coverage/yield in your specific product’s installation guide.
Account for thickness, underlayment, and accessories
Once your coverage math is correct, the next variable is the flooring system build-up. Material for gym floors isn’t only the top layer—many systems require underlayment, leveling compound, adhesive/primer, seam tape, or perimeter trim.
“Confirm whether your flooring is a single layer or part of a system that includes underlayment, adhesive, and/or a primer for warranty compliance.”
“Underlayment is usually estimated from the same net area as the flooring unless the installation instructions limit coverage to certain zones.”
“Accessories like edge trim and transitions are linear-foot items, so you estimate perimeter separately from square footage.”
Step 1: Verify the build-up from the installation guide
Common system scenarios:
– Floating interlocking flooring (click-lock or puzzle foam):
– often minimal accessories (maybe underlayment or vapor barrier)
– seams may need locking mechanisms or optional seam strips
– Adhered rubber (rolls/tiles):
– often needs adhesive, primer, and sometimes seam treatment
– Sport flooring systems:
– may require an engineered underlayment or leveling layer to meet performance requirements
Thickness doesn’t automatically increase quantity, but it can change what else you need (like underlayment or leveling).
Step 2: Estimate underlayment (only if required)
Underlayment is typically:
– priced by roll area or sheet area
– cut to match net usable area, with specific rules around edges
If the manufacturer says “underlayment ends at transitions” or “only under the main field,” you must follow that boundary. Otherwise, you risk over-ordering.
Data anchor: According to manufacturer installation guidance, adhesive/primer quantities are usually specified as a coverage rate per container—installation materials can vary dramatically based on trowel size and substrate porosity. [ADD: source for adhesive/primer coverage rate guidance from a specific flooring manufacturer]
Step 3: Include accessories by the right unit type
Common gym floor accessories include:
– Edge trim (linear feet / meters)
– Transition strips (linear feet / meters)
– Seam tape/locks (often per seam run or per roll)
– Adhesive & primer (coverage per container)
– Crack/void fillers or leveling compound (measured by volume or coverage specs)
Here’s a practical comparison to help you decide what to budget for:
| System type | What to typically order | Best for |
|---|---|---|
| Floating interlocking tiles/mats | Flooring + optional vapor barrier/underlayment + trim at edges | Faster installs where some subfloor variation is acceptable |
| Adhered rubber roll | Flooring + primer (often) + adhesive + seam/edge treatments | High-stability needs under heavy equipment or intense traffic |
| Adhered rubber tiles | Flooring + adhesive + primer (if required) + seam tape (if required) | Zoning flexibility and easier replacement of damaged sections |
| Engineered sport systems | Multiple layers (base + underlayment + top) + strict substrate prep | Where performance and warranty compliance are critical |
Subfloor note (what to do next before you calculate “everything”)
You should tie the system to your substrate:
– Concrete slab: may require moisture testing and suitable primer/adhesive system.
– Plywood/OSB over joists: may require stiffness, leveling, and sometimes different prep products.
– Mixed materials or patchwork: may require feather finishing or crack treatment.
[ADD: quick note on your subfloor situation—e.g., concrete vs. plywood—and the system you’re using.]
Add waste and handle seams, borders, and cuts
After converting to coverage, you’re ready for the part that most estimates miss: waste and layout realities. Waste covers trimming at walls, cutting around obstacles, and the “notches” created by seams and borders.
“Waste is not optional in gym flooring estimates because edges and obstacles create offcuts that usually can’t be reused.”
“Seam placement planning can reduce the number of awkward sliver cuts at walls—this slightly changes the final roll/tile order.”
“If you have multiple zones (e.g., lifting platform border, different top layers), calculate each zone separately and total the results.”
Step 1: Choose your waste factor using manufacturer guidance
If the installation guide specifies a waste percentage, use it. If it doesn’t, use a conservative value and revisit after you do a cutting plan.
Data anchor: Many commercial flooring estimates use a waste allowance in the ~5–15% range depending on layout complexity and flooring format; confirm the range with your product documentation. [ADD: source for waste allowance range from a manufacturer or distributor estimating guideline]
Step 2: Plan seams and borders before ordering
– For tiles, consider whether you want seams centered in the room or aligned to walls. Centering can reduce visible irregular cuts at the perimeter.
– For rolls, plan roll direction so seams fall where they’re least disruptive and trimming losses are minimized.
From my experience reviewing install layouts for gym retrofits, the biggest “surprise” comes from perimeter strips—once you trim around baseboards, conduits, or awkward door thresholds, you end up with more tiny pieces than expected. [ADD: your actual experience note or substitute with: “We recommend doing a dry-fit mock layout on paper for the first order.”]
Step 3: Calculate per zone (when different materials meet)
If you’re doing:
– a rubber lifting area bordered by a different tile
– a smaller “heavy zone” plus a lighter coverage elsewhere
– a transition around a doorway
…then run the math for each zone and add totals.
Practical rule: if the materials differ, don’t rely on a single waste factor—each zone has its own seam and trim behavior.
What can go wrong (common mistakes and edge cases)
Most estimating failures happen before the order is placed: people use the wrong area, the wrong coverage unit, or ignore system requirements like moisture primers. Tightening these points will save time and reduce expensive rework.
“The most costly mistake is ordering based on gross room area instead of net usable flooring area.”
“Coverage numbers on packaging usually assume a specific installation orientation and method; using outer dimensions instead can over- or under-shoot quantity.”
“Some flooring warranties are conditional on meeting substrate preparation requirements (levelness, moisture testing, primer/adhesive compatibility).”
Common mistakes
– Forgetting to subtract non-floor areas (closets, built-in shelves, HVAC grilles)
Result: you over-order flooring and accessories.
– Mixing up coverage vs. dimensions
Rolls/tiles often list coverage; computing from outer measurements can create a mismatch.
– Ignoring required installation layers
Skipping underlayment/adhesive/primer can void warranty and also disrupt thickness build-up.
– Rounding the wrong way
Ordering “exactly” to calculated area often leads to a shortfall once waste is included.
– Moisture/subfloor conditions
If your subfloor requires leveling or moisture mitigation, you may need materials beyond the flooring itself.
Data anchor: Many moisture-related requirements for flooring systems rely on manufacturer testing/primer compatibility and substrate prep documentation; exact thresholds and methods vary. [ADD: source for the substrate requirements/testing approach from your chosen flooring manufacturer]
A quick, practical reality check (so you don’t get stuck)
If your subfloor is concrete, plan for moisture and surface profile readiness. If it’s plywood, plan for stiffness and flatness. If you’re unsure, you can still estimate flooring coverage, but you should treat underlayment/leveling/moisture products as an open variable until the substrate is confirmed.
Verdict / tip (what to do first, downsides, who should skip)
Start with the flooring product’s spec sheet/installation guide first, because the most accurate “material for gym floors” estimate depends on whether it’s rolls/tiles, click-lock vs. adhesive, and whether it requires underlayment or primer. The downside: this approach is only as good as your net usable area measurement and the product’s stated coverage figures—without those, your estimate is a rough placeholder.
Skip DIY estimating (or at least seek a professional quote) if you’re dealing with major subfloor repairs, complex zoning, or any system that requires strict moisture testing/primers, because ordering the wrong prep components can create delays and redo work.
“Use the manufacturer’s installation guide as your baseline, because coverage, seam rules, and substrate requirements are system-specific.”
“If your substrate is uncertain, treat the flooring quantity as the only confidently estimable component until moisture/leveling is confirmed.”
Quick checklist / table to scan before you order
| What to estimate | Formula / method | What to confirm |
|---|---|---|
| Total floor area | **L × W** (add sections) | Units match product requirements |
| Subtracted areas | Total area − cut-outs | Exact measurement of obstacles |
| Flooring quantity | Area ÷ coverage, then round up + waste | Tile/roll coverage specs |
| Underlayment | Same area (unless spec differs) | Whether it’s required + thickness |
| Adhesive / primer | Per-install coverage (from specs) | Coverage rate and spread method |
| Edge trim / transitions | Measure perimeter/border lengths | Required profiles and offsets |
| Waste factor | [ADD: use manufacturer guidance or site-waste %] | Confirm with installer/product |
FAQ
How much extra material should I add for waste?
Most installers add a waste allowance, but the right number depends on the flooring type and your layout. If the manufacturer provides a waste guideline, follow that; otherwise use a conservative placeholder like [ADD: your chosen waste %] and adjust once you see your cutting pattern.
Do I calculate underlayment from the same square footage as the gym floor?
Often yes, but not always. Check whether the installation guide says underlayment covers the full area, only certain zones, or ends at specific boundaries.
Should I measure perimeter for edge trim or total area?
Edge trim is usually based on linear feet/meters along the perimeter and transitions, while flooring is based on square footage. Measure both: perimeter length for trim, and area for the flooring/underlayment.
How do I estimate adhesive if the product is sold by kit or quantity?
Use the installation guide’s stated coverage rate (e.g., how much area per container/unit) and your total flooring area. If the guide provides a spread rate or trowel size requirement, use those because adhesive consumption changes.
Can I estimate material without a subfloor moisture/leveling check?
You can estimate flooring, but you can’t accurately estimate the full materials for installation if leveling/moisture remediation is required. If your subfloor is uncertain, plan for additional materials and review the flooring system’s substrate requirements first.
Sources
– [ADD: Manufacturer installation guide/spec sheet for your specific gym flooring system (rubber roll/tile/foam, adhesive vs. click-lock).]
– [ADD: Manufacturer technical data sheet for adhesive/primer (coverage rates and required trowel/spread conditions).]
– If relevant to your floor type: [ADD: substrate requirements from the flooring manufacturer or applicable building standard documentation.]
To calculate material for gym floors reliably, measure net usable area, convert it using the flooring system’s exact coverage specs, then add waste and system accessories using the installation guide—not assumptions. If you treat your flooring as part of a build-up (top layer + prep + underlayment + transitions), you’ll order closer to what you need and avoid delays. When in doubt about substrate conditions or warranty-critical prep, verify requirements first before finalizing quantities.
Frequently Asked Questions
How do I calculate how much rubber gym flooring I need for my space?
Measure the room length and width in feet (or meters) and multiply to get the total floor area. Add a waste factor—commonly 5%–10% for tiles and 10%–15% for sheet flooring—because cuts and irregularities are unavoidable. If you’re installing in phases, calculate each section separately to avoid ordering too little rubber gym floor material. Always confirm the coverage rate on the product packaging (sheets/tiles per box) and convert to the required units before purchasing.
What is the best way to estimate the amount of subfloor and leveling material under gym floors?
Gym floors often require a stable base, so determine whether you need plywood underlayment, cementitious leveling compound, or a self-leveling floor underlayment. Measure the square footage and thickness you plan to install, then use the product’s coverage per bag per inch (typically shown on the label) to calculate how many bags you need. If the subfloor has low spots, measure the depth difference with a level to estimate the average thickness accurately. This helps prevent ordering shortages that can delay your gym flooring installation.
Which thickness of flooring affects how much material you’ll need to buy?
Thickness changes the coverage calculations for some materials—especially poured or self-leveling compounds—because they’re purchased by bag coverage per thickness. For rubber tiles or interlocking rolls, most products are sold by area coverage regardless of thickness, so you mainly need correct square footage and waste allowance. However, thicker gym flooring can influence the height transitions at doors and ramps, requiring extra materials for edging strips. Consider your target thickness plus any required transition profiles when finalizing your takeoff.
How do I calculate adhesive and fasteners for rubber gym floor installation?
Adhesive coverage depends on the product type (trowel size, bond strength, and temperature), so start by checking the manufacturer’s “square feet per gallon” or “square feet per cartridge” guidance. Measure your total install area and multiply by the coverage rate to estimate how many adhesive units you need, then add a small buffer (often 5%–10%) for waste. If using mechanical fasteners or perimeter strips, count the linear footage around the room and calculate fasteners per foot based on the installation instructions. Using the correct adhesive calculator for gym floors helps ensure proper bonding and reduces rework.
Why should I include waste and cut factors when calculating material for gym floors?
Waste is inevitable due to door cutouts, wall irregularities, seams, and patterns that must align—especially with rubber gym tiles or decorative flooring. A realistic waste factor prevents delays from ordering additional boxes, rolls, or leveling compound mid-project, which can also cause batch/color variation issues. For commercial gym floors with many obstructions (posts, HVAC grilles, or multiple entrances), use a higher waste percentage and plan seam layouts before final ordering. Taking time to account for cut loss improves cost accuracy and keeps your installation on schedule.
📅 Last Updated: October 12, 2026 | Topic: How to calculate material for gym floors? | Content verified for accuracy and freshness.
References
- Google Scholar Google Scholar
https://scholar.google.com/scholar?q=gym+floor+rubber+flooring+material+quantity+estimate - Google Scholar Google Scholar
https://scholar.google.com/scholar?q=how+to+calculate+quantity+resilient+flooring+thickness+coverage+rate - Google Scholar Google Scholar
https://scholar.google.com/scholar?q=sports+flooring+installation+material+takeoff+area+volume+coverage - Area
https://en.wikipedia.org/wiki/Area - Surface area
https://en.wikipedia.org/wiki/Surface_area - Volume
https://en.wikipedia.org/wiki/Volume - Conversion of units
https://en.wikipedia.org/wiki/Unit_conversion - https://en.wikipedia.org/wiki/Thickness
- Flooring
https://en.wikipedia.org/wiki/Flooring - Flooring
https://en.wikipedia.org/wiki/Resilient_flooring