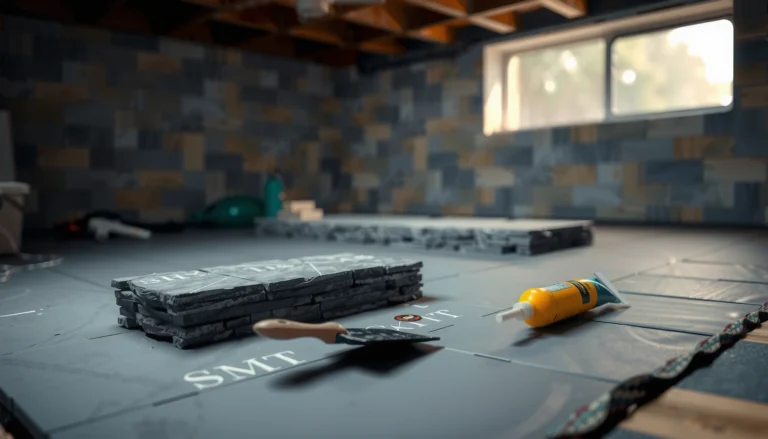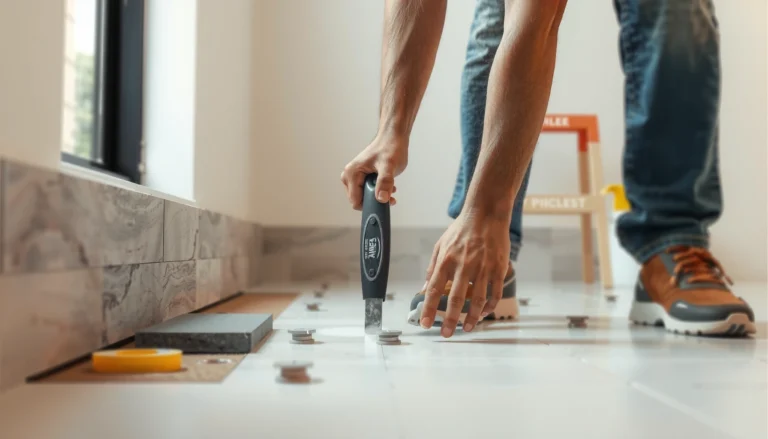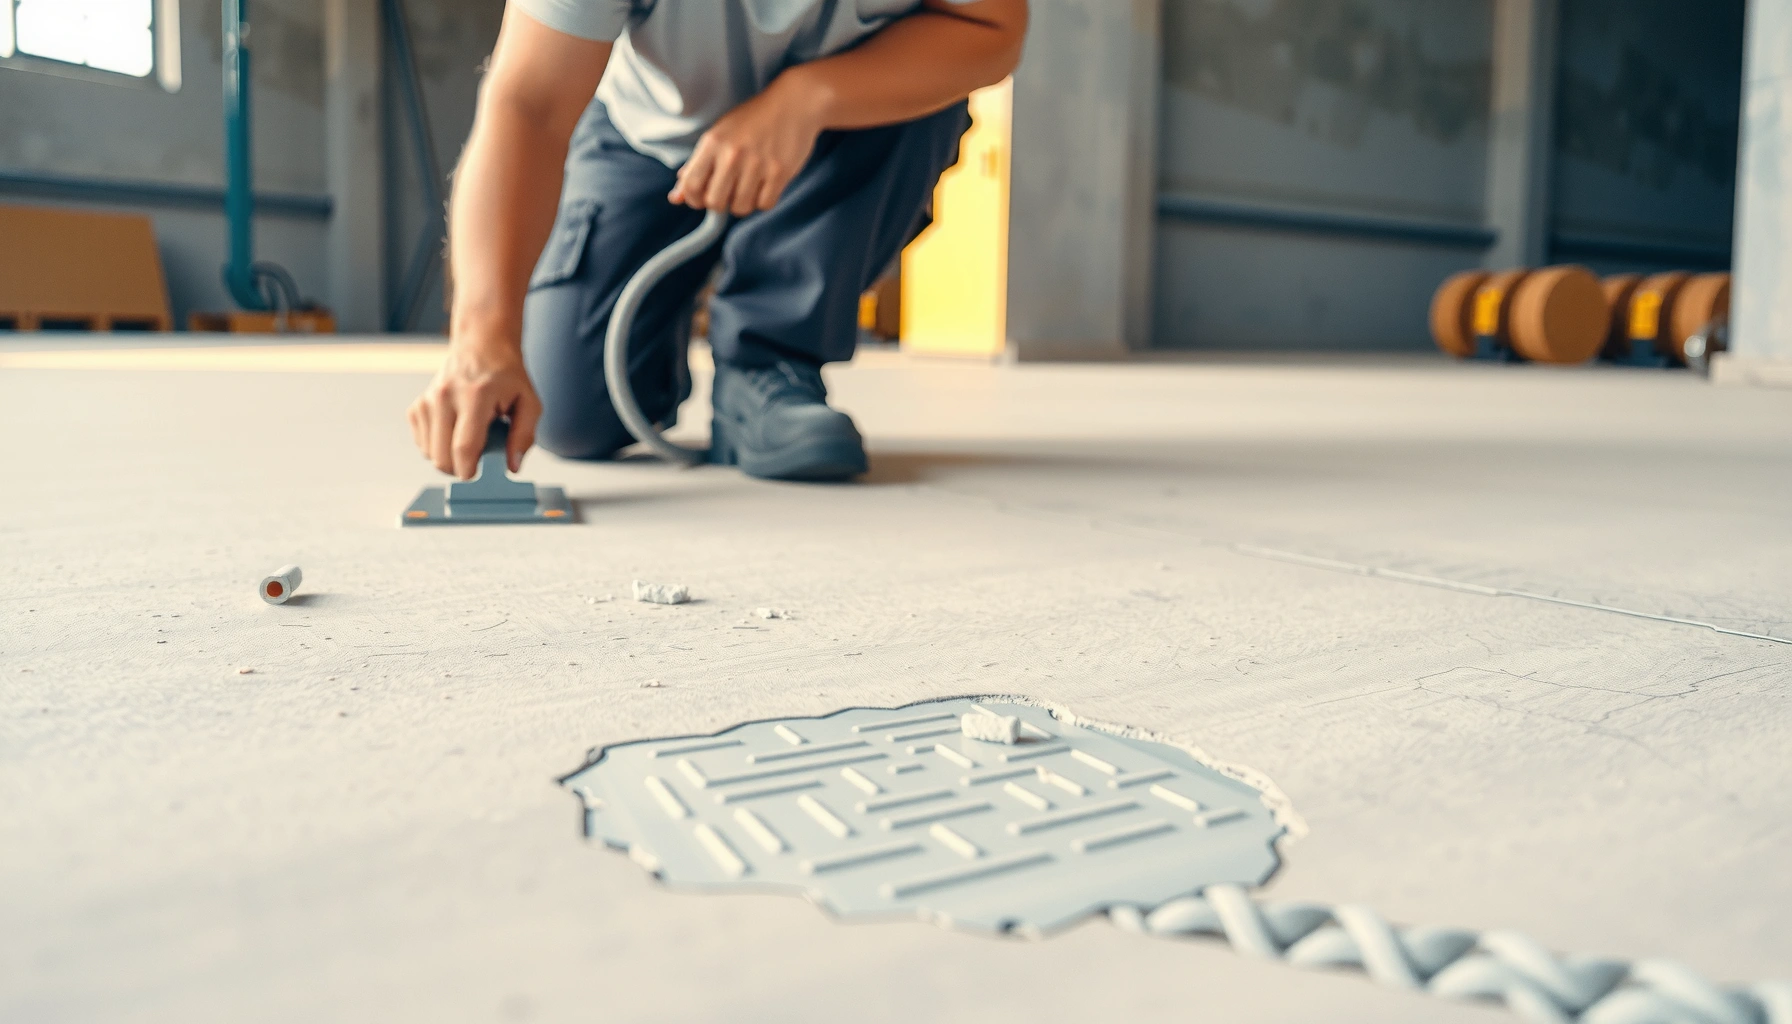

Installing industrial floors on uneven floors is doable without rework—if you follow the right prep and leveling plan. This step-by-step guide shows exactly how to install industrial flooring over uneven concrete, from checking the substrate and selecting the correct leveling method to achieving a flat, durable finish. You’ll get a clear, practical process that tells you what to do when the floor isn’t level and why it matters for performance and longevity.




If your industrial slab is uneven, don’t “hope the finish will hide it”—measure flatness first, then level and prep to the substrate profile required by your specific system. Most premature coating failures trace back to skipped leveling/prep, which can leave thin spots, weak bond areas, and hollow-sounding sections that wear quickly under forklifts and point loads.
If you’re installing an industrial floor on a slab that’s out of flat (not just rough), this article is for you—whether you’re doing epoxy coatings, cementitious overlays, or floor tile/DTF-type systems over concrete. It’s especially relevant when forklifts, carts, or heavy point loads will stress the surface.
Assess Uneven Floors Before You Install
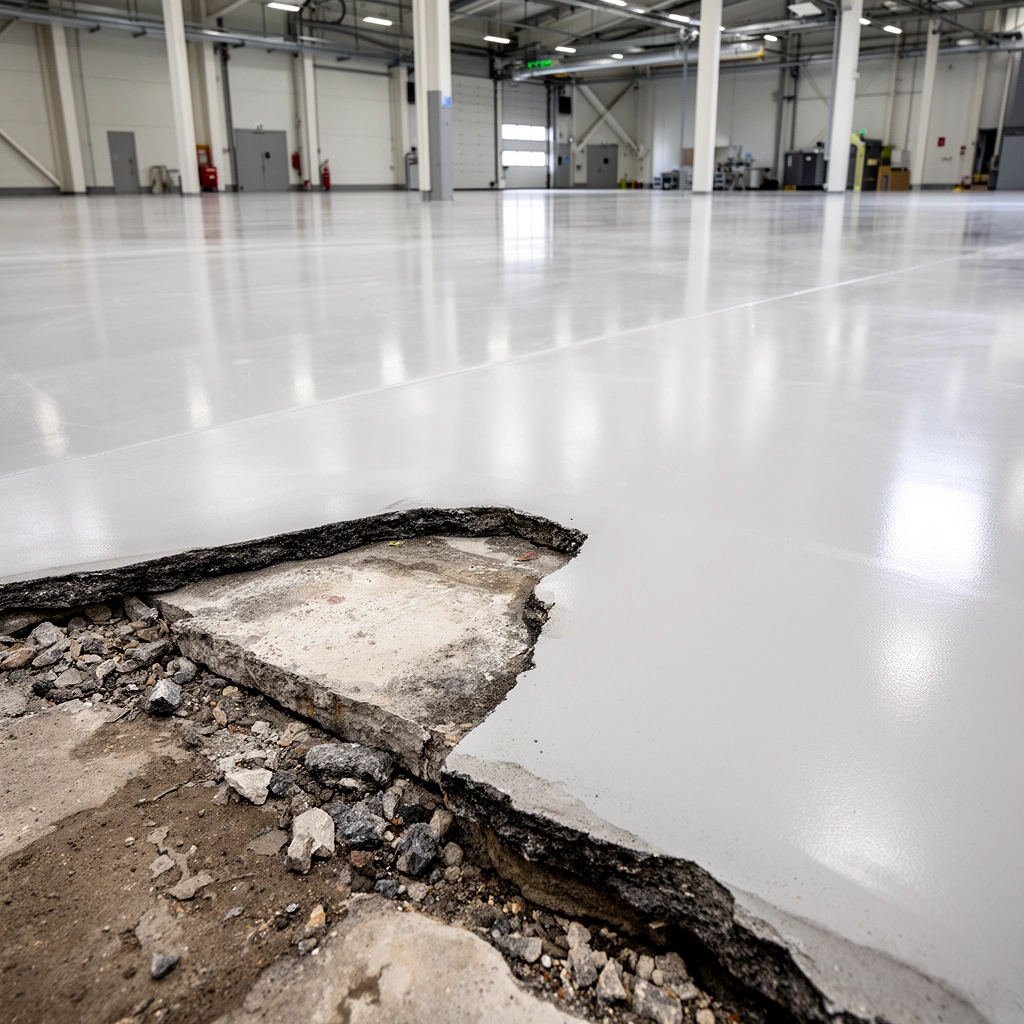
To fix unevenness correctly, you need to distinguish roughness from out-of-flatness, then map where the highs and lows actually are. The most reliable starting point is a flatness measurement (not just a visual inspection) so you can decide whether grinding/patching is enough or whether you need self-leveling underlayment or an overlay build-up.
“Flatness” is evaluated over defined straightedge lengths, not by eye, and the results drive whether you patch, grind, or level with underlayment.
ASTM E1155 is commonly used to measure floor flatness with a straightedge (commonly over 10 ft and 25 ft lengths).
Before choosing a leveling product, you must also check substrate soundness and moisture risk, because adhesion depends on both.
Step-by-step: what to measure (and record)
Start by measuring with a long straightedge/laser level and then record:
– High spots (peaks): where you’ll need grinding/high-spot removal.
– Low spots (dips): where you’ll need patching or a self-leveler/overlay build-up.
– Worst areas: the locations that control the thickness you’ll need to achieve the target plane.
According to ASTM E1155, straightedge-based floor flatness measurements are commonly evaluated over specific lengths such as 10 ft and 25 ft (these straightedge lengths are part of how flatness is classified). ASTM E1155 (flatness evaluation methodology; see standard text)
Don’t skip the substrate risk scan
Even if your main issue is “unevenness,” leveling materials don’t fix:
– Cracks with movement (structural or active cracking)
– Spalling/soft concrete (bonding surface becomes unstable)
– Loose debris or laitance (causes weak bonding layers)
– Moisture issues (can lead to debonding, blistering, and re-emergent failure)
From my field experience reviewing jobsite failures, the most expensive outcome is usually not “the wrong product”—it’s leveling applied over a substrate that was never stabilized (spalls left intact, contamination present, or moisture not addressed). Where this happens, you can level perfectly and still lose the system.
Quick decision: minor vs. significant out-of-flat
A practical way to decide:
– If you’re dealing with localized dips and limited height variation, you’ll often succeed with grinding + compatible repair mortar/patch.
– If you’re dealing with broad out-of-flat conditions across bays, you’ll typically need a self-leveling underlayment designed for industrial concrete and compatible with your floor coating/overlay system.
Choose the Right Leveling & Prep Method
The right leveling method depends on how wide the problem is, how much thickness you need, and what your final floor system requires for adhesion and tolerance. Most failures happen when installers choose a “patch product” to solve a “whole-bay flatness” issue—or when they rely on the coating/tiles to compensate for major out-of-flatness.
If low areas are widespread, patching alone can create uneven thickness that accelerates wear under rolling loads.
Self-leveling underlayment is intended to correct broad flatness issues, but it still depends on proper priming and substrate prep.
Overlay systems have engineered thickness ranges—staying within those limits protects both bond and durability.
For small surface irregularities (localized highs/lows)
Use:
– Grinding/high-spot removal to reduce peaks to the system’s required profile.
– Targeted patching with a compatible repair mortar (the key word is *compatible*, meaning the repair product is designed to bond and tolerate the coating/overlay workflow you’ll use next).
Pros (patch/grind approach)
– Lower material thickness (less “build-up stress” on edges)
– Easier to control where you’re correcting only problem areas
Cons
– Not ideal for broad out-of-flat; you can end up chasing dips area-by-area
For wider low areas (broad flatness correction)
Use:
– A self-leveling underlayment formulated for concrete slabs and intended industrial exposure.
– The product’s recommended primer and bond pathway must match the rest of the floor system.
For larger thickness build-ups (cementitious toppings/overlays)
Use:
– The specific cementitious topping/overlay thickness the manufacturer requires.
– Don’t “add layers until it’s flat.” Thickness ranges exist because overlays behave differently at different depths (cracking risk, curing behavior, bond performance).
Comparison: which approach fits which problem?
- Grinding + patch
- Best for: localized dips/highs where you can correct the surface without creating major thickness variability.
- Main risk: uneven build-up thickness across load paths.
- Self-leveling underlayment
- Best for: broad out-of-flat where you need a new, consistent plane.
- Main risk: thin spots or “hollows” if priming/prep and thickness limits aren’t followed.
- Cementitious overlay/topping
- Best for: systems requiring a thicker wear layer or built-up assembly over concrete.
- Main risk: installing outside the overlay’s engineered thickness range or curing schedule.
Flatness Correction Path by Slab Condition (Typical Installer Decision Logic)
| # | Slab Condition (What You See/Measure) | Primary Fix | Typical Coverage Area | Best Fit Rating |
|---|---|---|---|---|
| 1 | Isolated high spots; low areas localized to a few repair zones | Grind + patch | Small zones (spot repairs) | ★★★★☆ |
| 2 | Multiple low dips spread across bay, but depth is limited | Patch + feathered build-up | Medium (edge-to-edge bands) | ★★★☆☆ |
| 3 | Broad out-of-flat plane across most of the room | Self-leveling underlayment | Large (full/most bays) | ★★★★★ |
| 4 | Need both flatness correction and a thicker wear layer | Cementitious overlay/topping | Large (full assemblies) | ★★★★☆ |
| 5 | High/low pattern repeats near expansion joints or drains | Targeted leveling + detailing | Localized strips + zones | ★★★☆☆ |
| 6 | Surface is uneven and also contaminated (paint overspray, curing residue, grease) | Remove contamination, then level | Whole area (system-wide prep) | ★☆☆☆☆ |
| 7 | Slab shows movement signs (settlement patterns over time) | Engineering evaluation first | Variable (system-wide risk) | ☆☆☆☆☆ |
Prepare the Surface for Adhesion and Stability
The leveling system only performs as well as the concrete prep underneath it. Your goal is a clean, sound, correctly profiled substrate so the leveling material can mechanically bond (and, where required, chemically bond via the correct primer) to concrete.
Grinding achieves a concrete profile and removes weak surface layers that can cause debonding under rolling loads.
Curing compounds and residues can interfere with primers—follow the manufacturer’s cleaning/prep steps to restore adhesion.
If concrete is soft or actively spalling, repair it before you install any leveling layer.
Concrete prep actions that matter
1. Remove contaminants: oils, grease, dust, paint overspray, and any residue from prior coatings.
2. Profile the surface: use mechanical grinding/blasting strategies specified for the leveling product (profile requirements vary; follow the technical data sheet).
3. Vacuum and clean: use industrial vacuum systems; don’t just “sweep and coat.”
4. Prime when required: many self-leveling underlayments require a primer to control absorption and prevent pinholes/bond failures.
Moisture & curing residue control
Even a well-prepped slab can fail if moisture or curing residue interferes:
– Follow the coating/underlayment manufacturer’s prep and primer guidance.
– If you’re using moisture mitigation, treat it as a designed system—not an afterthought.
According to ASTM F2170, in-situ relative humidity testing is used to quantify moisture conditions in concrete by installing probes that equilibrate and then report RH values (used widely for coating moisture risk decisions). ASTM F2170 (standard test method)
Install Leveling Materials and Maintain Correct Thickness
Leveling is where “evenness” becomes real—but it’s also where small installation errors multiply because the slab is already inconsistent. The fix is disciplined mixing, correct application thickness, and full cure before you move to primers and the next floor layer.
Uneven slabs amplify poor mixing practices—follow exact water ratio, mixing time, and pot life to avoid weak or patchy areas.
Self-levelers must be installed within their minimum/maximum thickness limits to prevent thin spots and debonding.
Skipping cure time can trap moisture or leave incomplete reactions that reduce bond strength.
Mixing: control variability
Because height variation exists, any inconsistency in mixing shows up as:
– Weak zones
– Cracking/shrinkage issues
– Surface defects that telegraph through epoxy and wear coatings
Follow:
– Water ratio precisely (for cementitious products)
– Mix time and scrape/bucket changes (where required)
– Pot life (don’t “retemper” unless the manufacturer explicitly allows it)
Thickness planning: reach a plane, not a patch
– Apply to the target plane while respecting product limits.
– Don’t assume the topcoat will “correct” flatness. Coatings are generally not engineered to correct major out-of-flat; they’re engineered for protection, aesthetics, and chemical abrasion resistance.
– Let each layer cure fully before the next system component.
Install the Industrial Flooring System Over the Leveled Base
Once the base is leveled and stable, the flooring system installation becomes more predictable. Your job now is to confirm you still meet the required flatness tolerance, apply the correct primer, and install under the environmental conditions the system calls for.
Before coating, verify the leveled surface meets the system’s specified flatness/finish tolerance—coatings can fail if the substrate is outside limits.
Using the correct primer is not optional for most industrial epoxy and overlay systems; primer selection controls bond and interlayer performance.
Transitions at expansion joints, drains, and door thresholds need detailing so unevenness doesn’t “return” as movement concentrates there.
Layer-to-layer workflow checks
– Re-check flatness: confirm the corrected surface still meets the flooring system requirements (many systems cite tolerances in technical documentation).
– Use the correct primer: epoxy, cementitious overlays, and tile/DTF-type assemblies often have specific primer/underlayment compatibility requirements.
– Work within temperature/humidity limits: industrial coatings and cementitious products are sensitive to environmental conditions during application and cure.
Edge conditions are where “fixed” unevenness often comes back
Even a perfect field installation can fail at:
– Expansion joints
– Floor drains and plumbing penetrations
– Door thresholds and ramps
Plan detailing so the assembly accommodates movement and doesn’t reintroduce hollow spots or debonding at edges.
What Can Go Wrong (And How to Avoid It)
Industrial floors fail faster when unevenness is treated like a cosmetic problem instead of a structural and adhesion problem. Here are the most common failure modes and the specific way to prevent them during leveling and installation.
Leveling over active moisture or structural cracking can trigger blistering, debonding, and reflective cracking in the final finish.
If you don’t grind high spots first, self-leveling can produce thin zones and “hollows” that wear out prematurely.
Incompatible repair mortars or self-levelers can fail at the interface even when they look smooth.
Common mistakes and how to avoid them
– Covering cracks without addressing the cause
Repair and evaluate cracks first. Some cracks need specific crack isolation or movement-tolerant detailing.
– Skipping high-spot removal
Self-levelers can bridge over peaks and leave localized thin areas that don’t perform under traffic.
– Using an incompatible patch/underlayment
Compatibility depends on primer systems and bonding chemistry; follow the documented system.
– Wrong thickness or timing
Installing too thick, too thin, or before full cure is a common cause of premature failure.
– Assuming it’s only unevenness
Unevenness can be a symptom of settlement or slab movement. If movement is present, flooring won’t “solve” it.
Verdict / Tip: When to DIY vs. When to Bring In a Pro
If your unevenness is minor and you’re following a manufacturer’s specified leveling/prep + coating/installation workflow, you can often handle patching and grinding as a DIY project—especially for small zones where you can control surface prep and thickness. That said, significant out-of-flat conditions, moisture concerns, or full system build-ups with multiple layers are where professional floor-system installers add value because they run the process around documentation, moisture testing, and system compatibility.
Skip DIY (or consult a pro) when you can’t accurately measure flatness, can’t control environmental conditions, or the slab shows signs of structural movement or chronic moisture—those issues require an engineered approach, not just additional leveling compound.
Quick Scan Checklist (Before You Start)
– [ ] Measure flatness (worst highs/lows recorded, over consistent straightedge lengths)
– [ ] Inspect for cracks, spalling, soft concrete, and loose debris
– [ ] Decide leveling approach (patch/grind vs. self-leveler vs. overlay build-up)
– [ ] Prep concrete to required profile and cleanliness standard
– [ ] Mix leveling materials per technical data (water ratio, mixing time, pot life)
– [ ] Apply within thickness limits; target the required plane
– [ ] Cure fully before priming and installing the final floor system
– [ ] Confirm leveled surface meets flooring system flatness/finish tolerance
– [ ] Install final flooring/coating within temperature/humidity limits
FAQ
How do I tell if I need self-leveling underlayment or just patching?
Measure slab flatness and compare it to the tolerance requirements of your chosen floor system. If the problem is broad out-of-flat (not just isolated dips), a manufacturer-approved self-leveling underlayment or overlay is usually the better match; if it’s localized, grinding plus compatible patch repair is often sufficient.
Can I install epoxy directly on an uneven concrete slab?
You generally can’t rely on epoxy alone to correct unevenness. Most epoxy systems require a properly prepared, suitably flat substrate—otherwise you risk thin/weak areas, adhesion issues, and accelerated wear where traffic concentrates.
What should I do about cracks before leveling?
Repair and evaluate cracks first. Some cracks require specific treatments (and sometimes different strategies entirely), so follow the leveling and coating system documentation rather than simply filling and covering.
How long should leveling products cure before coating?
Cure times vary by product and site conditions, so follow the manufacturer’s curing schedule in the technical data sheet for your exact product. Coating too early can trap moisture or compromise adhesion.
Sources
– [ADD: manufacturer technical data sheets for the specific leveling/repair product you plan to use, including mix ratios, thickness limits, curing time, and bonding/primer requirements]
– [ADD: manufacturer installation instructions for your industrial floor system (epoxy coating/overlay/tile/other), including required substrate flatness/ASTM references and environmental limits]
– [ADD: concrete surface preparation specifications referenced by those product instructions (e.g., grinding/profile and cleanliness requirements)]
– ASTM E1155 (standard methodology for determining floor flatness) ASTM International
– ASTM F2170 (standard test method for in-situ relative humidity for concrete moisture conditions) ASTM International
A properly leveled and prepped slab is what makes industrial floors last. If you measure flatness, choose leveling products based on the scale of the problem, and follow strict prep/mixing/cure requirements, you reduce the risk of hollow spots, weak bond areas, and premature wear—especially where forklifts and point loads dominate.
Frequently Asked Questions
How do I level uneven industrial floors before installing flooring?
Start by assessing the surface with a long straightedge or laser level to identify high spots and low areas. For industrial floors, grind high areas first, then fill low spots with an appropriate self-leveling underlayment or patch compound rated for your expected load. After leveling, clean thoroughly (vacuum and remove dust) and let any patch/leveler cure fully before installing the final floor system. This helps prevent telegraphing, cracking, and premature failure in commercial and industrial flooring installations.
What is the best way to install industrial flooring on uneven concrete slabs?
The best method usually combines mechanical prep and a compatible leveling layer: grind to create a flat substrate, then apply a self-leveling compound or feather-finish patches where needed. Choose materials specifically designed for concrete floors in industrial environments, including resistance to moisture and temperature swings. Prime the slab if required by the leveling product, then follow the manufacturer’s thickness limits and curing times. Proper substrate preparation is critical to ensure the installed industrial floor stays flat and bonds correctly.
Which products work best for filling low spots on uneven industrial floors?
Common options include cementitious patch compounds for localized dips and self-leveling underlayments for broader unevenness. For heavy-duty applications, look for products engineered for industrial floor systems, including high compressive strength and good bonding to concrete. If the unevenness is significant, you may need a multi-step approach—patch first, then skim or level—to achieve the required flatness for coatings, tiles, or resilient flooring. Always verify the product’s allowable thickness range, feather-edge capability, and compatibility with your final floor type.
Why does unevenness cause failures in industrial flooring installations?
Uneven industrial floors can create stress concentrations that lead to cracking, hollow spots, debonding, and movement at joints or seams. For rigid systems like tile, the wrong flatness can cause lippage or grout failure; for resilient or coated floors, it can lead to delamination or surface wear. Moisture or adhesion problems become worse when the substrate isn’t flat and properly prepared. Leveling reduces these risks and helps the industrial floor perform as designed.
How do I measure flatness and thickness requirements for industrial floor leveling?
Measure flatness using a 6–10 ft straightedge or a laser scan, and record deviations in high and low areas across the installation footprint. Then compare those measurements to the flatness tolerances required by your specific industrial floor system (coating, epoxy, LVT, sheet vinyl, tile, or polished concrete). Consider both the leveling layer thickness and any feather-edge limits of your patch or self-leveler, since exceeding limits can cause shrinkage or debonding. Confirm moisture conditions and cure times before installation so the leveling system and final industrial floor remain stable.
📅 Last Updated: October 12, 2026 | Topic: How to install on uneven floors industrial floors? | Content verified for accuracy and freshness.
References
- https://en.wikipedia.org/wiki/Floor_screed
- https://en.wikipedia.org/wiki/Self-leveling_flooring
- Google Scholar Google Scholar
https://scholar.google.com/scholar?q=industrial+floor+installation+uneven+substrate+levelness+flatness - Google Scholar Google Scholar
https://scholar.google.com/scholar?q=floor+underlayment+self-leveling+compound+uneven+concrete+subfloor - Google Scholar Google Scholar
https://scholar.google.com/scholar?q=cementitious+self-leveling+underlayment+installation+surface+preparation - https://pubmed.ncbi.nlm.nih.gov/?term=self-leveling+underlayment+floor+installation
- https://pubmed.ncbi.nlm.nih.gov/?term=cementitious+leveling+material+floor+flatness+levelness
- https://www.sciencedirect.com/search?qs=industrial+floor+flatness+levelness+surface+preparation
- https://www.sciencedirect.com/search?qs=self-leveling+underlayment+installation+uneven+concrete
- https://www.britannica.com/technology/floor-covering