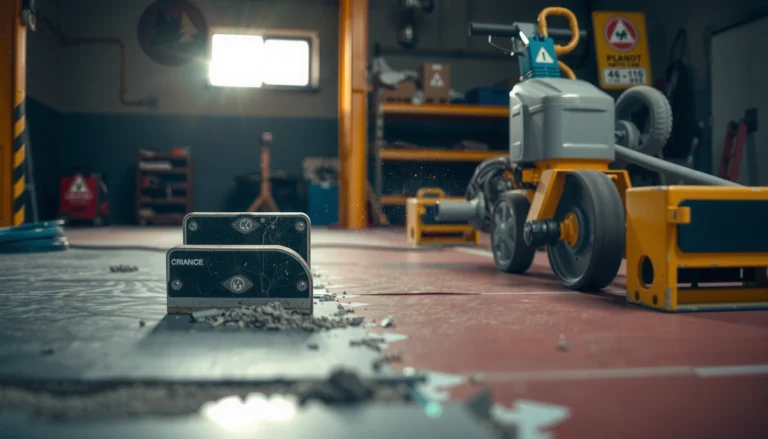
Refinishing industrial floors is a controllable, step-by-step process that you can follow to get a durable, chemical-resistant finish. This guide lays out the exact sequence—from surface prep and crack repair to coating or polishing—so you know what to do at every stage and what results to expect. If you want the fastest path to a floor that holds up under heavy traffic and tough cleaning, start here and follow the steps in order.
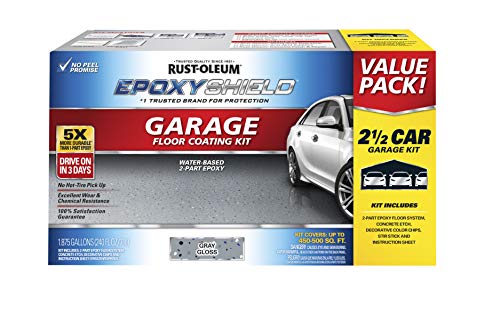

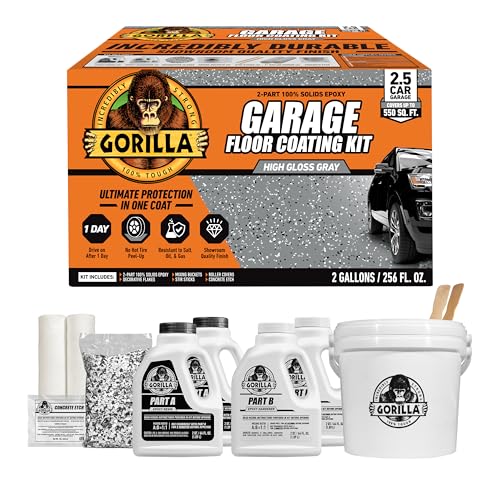

Refinishing industrial floors usually means cleaning and removing the failing surface, then repairing damage, applying the right coating or resurfacing system, and finishing with proper curing and protection. If you match the system to your existing floor type (concrete, epoxy, urethane, etc.) and prepare correctly, you can get a smoother, more durable surface without redoing the whole slab. This guide walks you through the decision points and the practical steps to do it.
If you manage a warehouse, shop, or light industrial space—and your floors are worn, stained, peeling, or too rough for daily traffic—this is for you. It’s also useful if you’re comparing a DIY resurfacing approach versus hiring a contractor, because the prep work is where most outcomes are won or lost.
Assess the floor and choose the refinishing system
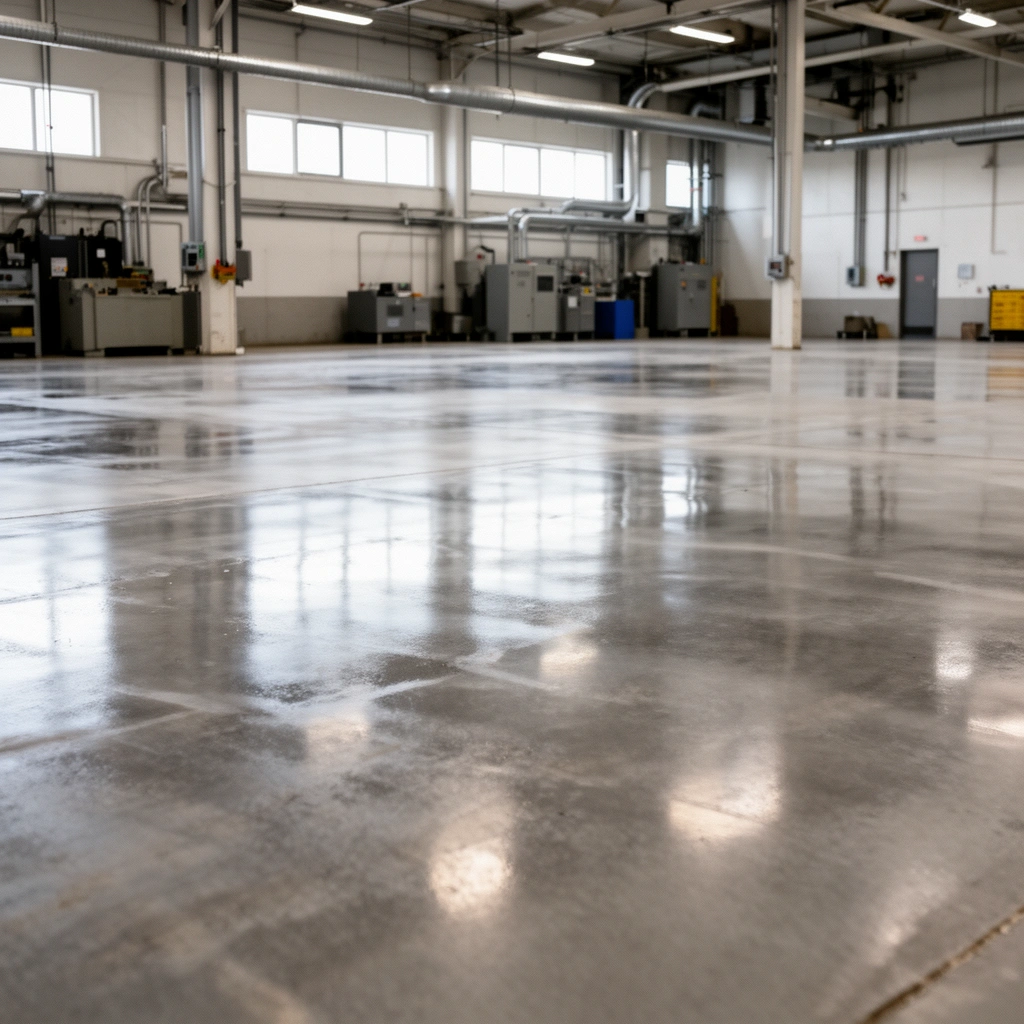
You don’t “pick a coating” first—you confirm what you have, then choose a system that fits both the floor and the stresses it faces. The faster you identify whether the slab is bare concrete, previously coated (epoxy/urethane), or contaminated/unknown, the fewer expensive mistakes you’ll make later.
Before you buy primer or a resurfacer, assess the substrate and the operating environment. In my experience working through multiple job walks, the most common early misstep is assuming that “concrete is concrete.” In reality, existing coatings, laitance (a weak, powdery layer), and moisture conditions can change the correct prep method and the coating chemistry required for adhesion.
According to ICRI’s Concrete Surface Profile (CSP) guidance, surface profiles are categorized on a scale from CSP 1 to CSP 9, which helps align mechanical prep to the coating system.
ASTM F2170 is a standard test method for measuring relative humidity (RH) in concrete, commonly used to understand moisture-related coating risk.
ASTM D4541 is the standard test method for measuring tensile bond strength of coatings to concrete.
What to inspect (and what it changes)
Start with a short, structured walk-through:
– Identify the existing floor material and coating (bare concrete vs. existing epoxy/urethane vs. unknown coatings). If the coating is unknown, plan for mechanical removal to reach a predictable substrate.
– Decide what you need most: chemical resistance, slip reduction, impact durability, or appearance. These requirements directly influence whether you should prioritize urethane/epoxy chemistry, wear surface additives, or aggregate-based anti-slip finishes.
– Match the new system to the floor’s condition and your environment (wet areas, heavy equipment, chemical exposure). For example, floors that see frequent water or chemical wash-down need a system designed for those exposures—not just a “hard topcoat.”
A quick comparison to choose the system direction
Here’s a practical way to think about system selection once you know the base condition:
| Floor/Chemical Reality | What you should prioritize | Typical system direction* |
|---|---|---|
| Bare concrete | Moisture-safe primer + compatible coating | Moisture-tolerant epoxy or urethane system |
| Previously epoxy-coated | Confirm adhesion + avoid “coating over failure” | Often recoat after profiling/removal of loose areas |
| Chemical splash / wash-down | Chemical resistance and full film build | Urethane topcoat or epoxy with chemical-grade protection |
| Wet zones / slip risk | Anti-slip texture matched to traffic | Broadcast aggregate or textured wear layers |
\System direction depends on the specific manufacturer and substrate prep requirements; always follow the label/spec sheet for your chosen product.
Surface prep: the make-or-break step
You rarely “fail” industrial floor coatings because the product is bad—you fail them by preparing the slab incorrectly. Thorough cleaning plus the right mechanical profile (and verification that the substrate is sound) is what creates a bond that survives traffic, chemicals, and thermal swings.
If your goal is a smoother, more durable surface, the prep phase is where you set expectations. Coatings don’t glue to dust, curing compounds, or weak surface laitance—they adhere to clean, properly profiled concrete or firmly bonded existing coating.
Surface contamination (oils, release agents, curing compounds, dust) is a leading cause of coating adhesion loss, and it must be removed before any priming stage.
ICRI’s CSP system is commonly used to define the mechanical profile required for coatings, helping standardize what “good prep” looks like.
ASTM D4259 provides guidance for surface preparation of concrete (including cleaning and mechanical preparation approaches) that affects coating performance.
Step-by-step prep actions that matter
– Thoroughly clean to remove oils, dirt, laitance, curing compounds, and contaminants that block adhesion. This typically means a combination of degreasing, scraping, vacuuming, and (when required) detergent wash followed by full drying.
– Mechanically profile the surface (typically grinding or shot blasting) to create a durable bond. Grinding tends to be more controlled for edges and tight areas; shot blasting is efficient for large areas and consistent profiles.
– Check adhesion and soundness—anything loose usually must be removed before coating. If you can lift it with basic mechanical action, a coating system won’t “lock it in” reliably.
Mandatory: align profile and system expectations
This is where manufacturers are most strict: primer and topcoat instructions often specify the required surface profile or minimum preparation standard. If you don’t hit that requirement, the coating may look fine initially and then fail prematurely—peeling, bubbling, or edge lifting.
Concrete moisture and vapor risk (don’t guess)
Even if the floor looks dry, moisture vapor can migrate through concrete and disrupt coating layers. That’s why many contractors measure:
– Relative humidity (RH) using ASTM F2170
– Moisture testing with other ASTM methods as specified by the product system (product instructions should tell you what they accept)
> [ADD: insert the specific moisture testing method and threshold required by the coating system you’re recommending.]
Repair cracks, spalls, and damaged areas
You repair damaged concrete and failing coating first so the new system stays continuous and level under traffic. If cracks or spalls remain active or edges are poorly feathered, the wear layer can telegraph the defect and eventually break down.
Industrial floors often experience movement at joints and cracks. Your job is to use patch materials and repair details that are compatible with your coating system and traffic conditions.
Feathered patch edges reduce “telegraphing,” which is the visible transfer of underlying repairs through a thin topcoat.
Patch and releveling materials must be compatible with the primer and topcoat chemistry to avoid poor adhesion or differential wear.
Crack/joint strategy should reflect whether the crack is static or actively moving; the wrong detail can cause repeat cracking through coatings.
What to repair (and how to think about it)
– Rework joints and cracks using patch/relining materials compatible with your coating system. Don’t assume a single “patch product” works everywhere—select based on whether the crack is structural, dormant, or moving.
– Address spalling and pitted concrete so the surface cures level and continuous. Spalls create voids; voids create stress points.
– Maintain clean edges and feather repairs to reduce telegraphing and reduce the chance of coating edge breakdown.
Common edge/detail issues that show up later
– Overbuild at patch locations: A thick mound can cure differently and wear faster than the surrounding slab.
– Dirty recesses: If you patch over dust or loose material, the repair bond becomes weak, and the system fails right above it.
– Ignoring joint movement: Some floors need joint treatment that accommodates movement—not just a rigid filler.
Apply primer and topcoat/resurfacer correctly
You get the expected performance only when primer and topcoat are installed to label specs. Correct mixing, correct spreading rate, correct environmental conditions, and consistent film build protect the floor from abrasion, chemicals, and impact.
This section sounds straightforward, but most coating failures trace back to execution details: wrong batch mixing, uneven coverage, or coating applied outside temperature/humidity limits.
Coating manufacturer instructions typically require strict adherence to mixing ratios, pot life (work time after mixing), and application limits such as temperature and humidity.
Applying primer only after profiling and cleaning helps prevent adhesion issues caused by residual contamination or weak surface layers.
Consistent wet film thickness and coverage rate are critical because thin spots tend to be the first areas to show wear or chemical breakdown.
Installation steps that keep the system “on spec”
– Follow mixing and spreading guidance from the coating manufacturer for your primer and resurfacer/topcoat system (including temperature and humidity limits).
– Apply primer only when the substrate is ready (after profiling, cleaning, and any required drying time). This prevents primer adhesion problems caused by “re-contamination.”
– Use the recommended application method (roller/squeegee/trowel) and build the film thickness consistently.
– Stage your work to avoid cold joints and laps. In large warehouses, this usually means planning turns, door transitions, and workable batch sizes before mixing.
Systems often fail at transitions
Transitions—around drains, column bases, expansion joints, or patched areas—tend to receive the most concentrated stress. Pay attention to:
– edges of patches
– changes in texture/porosity
– around embedded items (rails, anchors, drains)
Curing, protection, and re-opening the floor
You must treat curing like a real construction phase, not a “wait until it feels dry” moment. Premature equipment traffic or moisture exposure can cause early wear, pinholes, surface marring, and long-term durability loss.
Different systems have different cure and recoat windows, so you should follow the product sheet for your exact coating. If you’re coordinating with operations, build downtime planning directly around those stated times.
Partial cure can lead to premature wear because coatings continue developing properties after initial set; full cure requirements are system-specific per manufacturer guidance.
During curing, dust and moisture intrusion can contaminate the surface and reduce final adhesion and chemical resistance.
Many coating systems specify both recoat windows and full cure times; missing those windows can trap solvents or weaken intercoat bonding.
Protect the new surface during the cure window
– Allow full cure before moving equipment or allowing foot traffic.
– Protect from dust, moisture intrusion, and contamination. Even small contaminants can affect appearance and performance.
– Plan re-opening based on the product’s stated cure and recoat times: [ADD: manufacturer cure/recoat guidance for the system you’re using].
What can go wrong (and why)
Most industrial floor coating problems come from a predictable short list: poor adhesion, incompatible substrates, moisture/vapor issues, and inadequate repair detailing. If you know the common failure modes, you can inspect for them before the system is fully installed.
Coating failure from skipping profiling or cleaning often appears as peeling or bubbling because the coating never formed the intended mechanical/chemical bond.
Applying a coating over an incompatible or poorly bonded existing layer can cause delamination even if the new topcoat itself is applied correctly.
Moisture vapor transmission through concrete can contribute to blistering and coating breakdown, particularly when RH conditions exceed system limits.
The most common failure causes
– Skipping profiling/contaminant removal → adhesion problems often show up as peeling or bubbling.
– Applying a system to incompatible substrates (e.g., coating over improperly prepared or unknown existing coatings).
– Ignoring moisture vapor conditions in concrete → blistering and breakdown over time.
– Inadequate repairs → cracks that keep moving or poorly feathered patches can show through, crack again, or create weak points.
Pros/cons: DIY resurfacing vs. contracting
| Approach | Pros | Cons / Risks |
|---|---|---|
| DIY | Lower labor cost, better schedule control for small areas | Prep quality variance, moisture/adhesion mistakes, slower application |
| Contractor | Consistent surface profile, testing and documentation, faster system build | Higher cost, relies on contractor’s workmanship; still needs good scope/spec alignment |
Verdict: when to DIY vs. when to hire
DIY refinishing can work if the floor is mostly sound, the surface contamination can be fully removed, and you’re comfortable following the coating system instructions exactly (especially mixing and cure conditions). If the coating is failing over large areas, the moisture condition is unknown, or the floor needs heavy leveling and structural repairs, hiring a pro is often the safer move—because surface prep quality strongly impacts how long the finish lasts.Who should skip a DIY approach: projects with extensive peeling, active hydrostatic/mat moisture concerns, or high-critical operations where downtime risk is unacceptable.
If the existing coating is failing (peeling, widespread cracking, or poor adhesion), the “do it yourself” path often expands into full removal and extensive substrate repair.
Moisture-related coating risks are best managed through testing and system-specific limits rather than visual assessment alone.
Coating warranties (when provided) often require proof of surface preparation and adherence to label application parameters.
Concrete Surface Profile (CSP) Levels (ICRI Scale)
| # | ICRI CSP Level | Typical Visual Texture | Common Fit for | Adhesion “Match” Rating |
|---|---|---|---|---|
| 1 | CSP 1 | Very smooth, slight tool marks | Very thin coatings (only when spec permits) | ★☆☆☆☆ |
| 2 | CSP 2 | Light profile, shallow grooves | Some broadcast systems; spec-dependent | ★★☆☆☆ |
| 3 | CSP 3 | Medium profile, visible texture | Common for many coating systems | ★★★★☆ |
| 4 | CSP 4 | Coarse, deeper profile | Systems needing higher mechanical key | ★★★★★ |
| 5 | CSP 5 | Very coarse, aggressive texture | Thicker overlays; spec-controlled | ★★★★★ |
| 6 | CSP 6 | Extreme profile, deep crevices | Heavy-duty systems with high build needs | ★★★★☆ |
| 7 | CSP 9 | Maximum profile, very rough | Specialty applications; strict spec required | ★★☆☆☆ |
Notes: CSP levels use ICRI’s surface profile concept; exact “best” fit depends on the specific coating and the manufacturer’s stated substrate preparation requirements. This table is meant to help you communicate profile targets, not replace the product spec.
Quick checklist (scan/save)
– Identify existing floor type and whether coatings are present
– Confirm the goal: chemical resistance, slip reduction, smoothness, durability
– Clean thoroughly (remove oils, curing compounds, and residues)
– Mechanically profile the surface for adhesion
– Remove loose/failed coating and repair cracks/spalls with compatible materials
– Apply primer, then the correct resurfacer/topcoat system per instructions
– Control temperature/humidity and follow mix/spread guidance
– Cure fully and protect from contamination before re-opening
FAQ
How do I know what coating system I should use?
Start by figuring out what’s already on the floor (bare concrete vs. epoxy/urethane) and what performance you need (chemicals, abrasion, slip resistance). If the existing layer is unknown, plan for mechanical removal to reach a compatible substrate—or [ADD: source-backed test method like coating compatibility testing if your site uses it].
Can I refinish over an existing epoxy floor?
Sometimes, but only if the surface is properly prepared and the existing coating is still firmly bonded. If you see peeling, widespread cracking, or poor adhesion, removal is usually necessary—follow the new product’s manufacturer requirements. [ADD: manufacturer guidance on bonding to existing coatings.]
What preparation method works best: grinding or shot blasting?
Both can work; the best choice depends on your floor finish, coatings, and equipment access. Use a method that achieves the profile level required by the coating system. [ADD: source/manufacturer spec for required surface profile/SSD conditions.]
How long should I wait before moving forklifts on the new surface?
It depends on the coating/resurfacer system and its specified cure time and re-opening requirements. Use the manufacturer’s stated timelines—[ADD: exact “re-opening / full cure” guidance for the product you’re using]—since “walking” and “forklift-ready” times are often different.
What’s the biggest reason industrial floor coatings fail?
In most cases, it’s inadequate surface prep: contamination left behind, insufficient mechanical profiling, or applying coatings outside the required environmental/cure conditions. Verify you meet the product instructions and substrate readiness requirements.
Sources
– [ADD: manufacturer specification documents for the coating/resurfacing system you plan to use—primer requirements, surface preparation method, mixing/spread rates, cure times, and environmental limits]
– [ADD: manufacturer documentation for any primer/patch material compatibility guidance]
– ICRI (International Concrete Repair Institute) guidance on Concrete Surface Profile (CSP), including the CSP 1–CSP 9 profile concept.
– ASTM International standard methods: ASTM F2170 (in-slab RH), ASTM D4541 (bond strength), and ASTM D4259 (surface preparation of concrete).
A successful industrial floor refinishing project is less about the “perfect coating” and more about hitting the correct substrate conditions: clean, properly profiled, firmly bonded, and repaired to stay continuous under traffic. If you control system selection (based on what’s on the slab and what the floor faces every day) and you follow the product’s prep, application, and cure instructions without shortcuts, you can extend service life and improve performance without replacing the entire slab.
Frequently Asked Questions
What’s the best way to assess industrial floor damage before refinishing?
Start by inspecting for cracks, spalling, peeling coatings, oil staining, moisture issues, and surface wear patterns. Test for moisture vapor emission (for example, with an RH or calcium chloride test) and confirm the existing coating type so you choose the right industrial floor prep method. If there’s severe structural cracking or loose concrete, address those repairs first—refinishing over failing substrate will shorten floor coating life.
How do I properly prepare industrial floors for refinishing and surface coating?
Industrial floor refinishing usually requires aggressive surface prep such as diamond grinding or shot blasting to remove laitance, contaminants, and weak concrete. Then clean thoroughly—vacuuming dust and degreasing as needed—so coatings can bond correctly. If you’re working with an epoxy or polyurethane system, ensure the profile meets the manufacturer’s specifications and repair spalls or cracks using compatible patching materials.
Which cleaning and degreasing method works best for industrial floors before coating?
Use an industrial degreaser designed for concrete and follow up with mechanical cleaning (scrubbing or grinding) to remove residue that can cause coating fisheyes or adhesion failure. For heavy oil and grease, consider a dedicated oil-removal product and rinse protocols recommended by the coating manufacturer. Always allow the floor to dry fully and confirm it’s free of contaminants before applying an industrial floor coating system.
Why does industrial floor coating fail even after refinishing?
Most failures come from insufficient surface preparation, poor moisture control, or coating application outside of temperature and humidity requirements. If the concrete still has active moisture or leftover oils and dust, epoxy or polyurethane coatings can blister, peel, or debond. Skipping crack repairs, using incompatible patch materials, or applying the wrong primer and thickness are also common reasons for premature wear in industrial flooring systems.
How should I choose an industrial floor refinishing system for my facility?
Match the coating or overlay to your use case—chemical resistance for warehouses with cleaning agents, high-traffic durability for manufacturing, or slip resistance for wet areas. Consider the existing substrate, desired finish (matte, sealed, or glossy), and whether you need decorative or easy-clean industrial flooring. Consult the system’s technical data for cure times, abrasion ratings, chemical exposure limits, and whether you need a primer, moisture mitigation layer, or topcoat for long-lasting results.
📅 Last Updated: October 12, 2026 | Topic: How to refinish industrial floors? | Content verified for accuracy and freshness.
References
- Google Scholar Google Scholar
https://scholar.google.com/scholar?q=industrial+floor+refinishing+concrete+surface+preparation - Google Scholar Google Scholar
https://scholar.google.com/scholar?q=epoxy+floor+coating+surface+preparation+grinding+priming+cure+time - Google Scholar Google Scholar
https://scholar.google.com/scholar?q=concrete+floor+polishing+densifier+sealer+best+practices+education - Silica and Worker Health | Silica | CDC
https://www.cdc.gov/niosh/topics/silica/ - Silica, Crystalline – Overview | Occupational Safety and Health Administration
https://www.osha.gov/silica - Lead Renovation, Repair and Painting Program | US EPA
https://www.epa.gov/lead/renovation-repair-and-painting-program - https://www.epa.gov/indoor-air-quality-iaq/volatile-organic-compounds-vocs
- https://www.atsdr.cdc.gov/lead/
- Glass ceiling
https://en.wikipedia.org/wiki/Concrete_floor - https://www.cdc.gov/niosh/pubs.html