
Learn how to seal bathroom floors with a step-by-step process that actually holds up against daily moisture. If you want the quickest, most reliable results, this guide walks you through prep, crack repair, priming, and applying the right sealer for a watertight finish. By the end, you’ll know exactly what to do—and what to avoid—so water can’t creep into grout lines or subfloor.




Sealing bathroom floors is the most practical way to reduce water penetration, staining, and grout darkening by creating (or enhancing) a protective barrier on the surface. The key is matching the sealer to your exact material—tile, grout, concrete, stone, or vinyl—then applying in thin, even coats and curing fully before the floor gets wet.
If you’re dealing with damp patches, grout that looks darker after showers, or floor surfaces that seem to absorb spills, sealing is usually the right next step. This matters most in bathrooms with frequent splashing—shower surrounds, behind vanities, and floors where grout joints collect moisture—especially when you’re seeing discoloration or ongoing dampness.
Choose the Right Sealer for Your Bathroom Floor
Choosing the right sealer prevents premature failure, hazing, or slippery residue—so the “right product” depends on what your bathroom floor is made of. Here’s the direct approach: identify the substrate (tile vs. grout vs. natural stone) and then pick either a penetrating water-repellent or a compatible surface film.
A penetrating sealer is designed to reduce water absorption in porous materials like grout, concrete, and many natural stones by changing how water moves through the pores—not just coating the top.
Film-forming sealers create a surface layer; they can enhance stain resistance on some floors but may alter appearance (darkening, sheen, or hazing) on certain stones.
Compatibility with any existing coating matters: many manufacturers specify “recoat” only after prior products are confirmed to be sound and chemically compatible.
Identify the surface type (tile, grout, stone, concrete, vinyl)
Start with a practical identification pass:
– Porcelain/ceramic tile: Tile glaze is usually non-porous, but grout is porous and is often the real protection target.
– Grout (especially cementitious): Usually the weakest point in bathroom floors due to capillary action—water travels through tiny pores and along edges.
– Natural stone (travertine, slate, limestone, marble): Many stones are porous; some (like honed or unfilled surfaces) absorb more quickly.
– Stamped concrete/treated concrete: Concrete is porous; moisture can be driven by both surface water and vapor.
– Vinyl (sheet or LVP with finish): Often requires a sealer designed for resilient flooring; using the wrong chemical can cloud or damage the surface finish.
As of 2026, the most common failure pattern we see in bathrooms is not “bad application”—it’s the wrong chemistry for the substrate (or a mismatch with an existing sealer layer).
Match the sealer chemistry to wet-area behavior
Think in terms of what the water is doing:
– In wet areas, water reaches the surface, penetrates micro-gaps, then follows grout and pore networks.
– For porous surfaces, the most effective strategy is often a water-repellent penetrating sealer (commonly based on silanes/siloxanes).
– For non-porous surfaces (typical glazed tile), sealing is mainly about protecting grout lines and enhancing stain resistance rather than “sealing the tile itself.”
Confirm compatibility with existing finishes
If your floor has been sealed before, the best next step is to check:
– Is the previous product still intact (no peeling, sticky residue, or blotchy wear)?
– Does the current sealer manufacturer specify recoat conditions?
– Are there visible changes in sheen or color uniformity?
If you skip this and apply “any sealer,” you can end up with streaking, patchiness, or reduced water repellency.
Quick reference: common sealer types and where they fit
Use this as a planning guide before you buy or apply (always verify details on your specific product label/spec sheet).
Bathroom Floor Sealer Type: Typical Use & Maintenance (Guideline Ranges)
| # | Sealer type (typical chemistry) | Best for | Typical recoat window | Slip-residue risk* | Stain resistance (wet-area) |
|---|---|---|---|---|---|
| 1 | Silanes/siloxanes (penetrating) | Grout, concrete, porous stone | 2–5 years | Low–Med | ★★★★☆ |
| 2 | Silane/Siloxane blend (repellent) | Porous grout lines & stone faces | 3–7 years | Low | ★★★★☆ |
| 3 | Acrylic/water-based film-former | Some tile floors & grout (when approved) | 6–24 months | Med | ★★★☆☆ |
| 4 | Epoxy/urethane coating system* | Commercial/semi-commercial floors | 5–10+ years | Med | ★★★★★ |
| 5 | Stone-specific densifier | Unfilled/porous stone | 2–4 years | Low | ★★★★☆ |
| 6 | “Penetrating” stain protector (blended) | General porous stone/grout | 1–3 years | Low | ★★★☆☆ |
| 7 | Floor-polish compatible sealer (resilient flooring) | Vinyl (when labeled for vinyl) | 6–18 months | Med–High | ★★★☆☆ |
Slip-residue risk depends heavily on application thickness and whether the product requires post-buffing/dry time. Always follow the slip-resistance guidance on the label and test a small area first.
Prep the Floor (Cleaning and Repairs Make or Break Results)
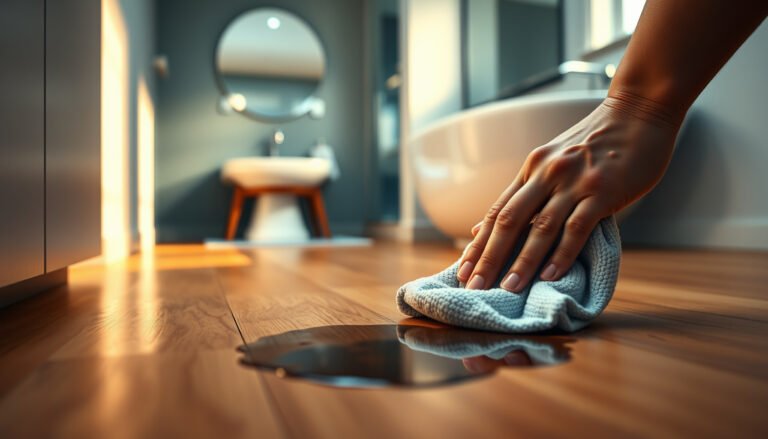
Proper prep is what makes the sealer bond and perform—without it, even the best product can fail in high-moisture areas. Clean thoroughly, remove residues, and repair cracks or damaged grout so water has fewer routes to travel.
Sealers generally require a clean, dry surface because soaps, oils, mildew residues, and waxes reduce adhesion and can prevent uniform penetration.
Cracks, missing grout, and failed caulk joints act as water highways; sealing the surrounding surface won’t stop water movement through gaps.
If you’re reapplying over an existing seal, the manufacturer’s recoat conditions determine whether prep is “clean only” or “strip/remove first.”
Thorough cleaning: soap scum, oils, mildew, and residue
Bathroom floors accumulate:
– Soap scum and body oils (often leave a film)
– Mildew spores and staining
– Cleaning-product residue
From a practical standpoint, we recommend a two-stage cleaning approach:
1. Degrease/cleaner step to remove oils and daily films.
2. Rinse thoroughly and ensure the floor dries completely before any sealer application.
Avoid harsh solvents unless the sealer label explicitly allows them; residues can interfere with both penetration and curing.
Remove failing old sealer only when needed
If old sealer is:
– peeling,
– hazy,
– tacky,
– or noticeably worn in patches,
then follow the existing sealer removal instructions (often a stripper compatible with that product). When in doubt, treat “old sealer present” as a compatibility risk.
Repair cracks, loose grout, and damaged caulk
Before sealing:
– Regrout missing or crumbling grout lines.
– Patch cracks in concrete.
– Replace deteriorated caulk at movement joints (especially where tile meets tubs, walls, or cabinet bases).
Sealers reduce surface water penetration and staining, but they do not restore structural integrity or permanently stop water infiltration through movement gaps.
Apply the Sealer Correctly (Thin Coats, Even Coverage)
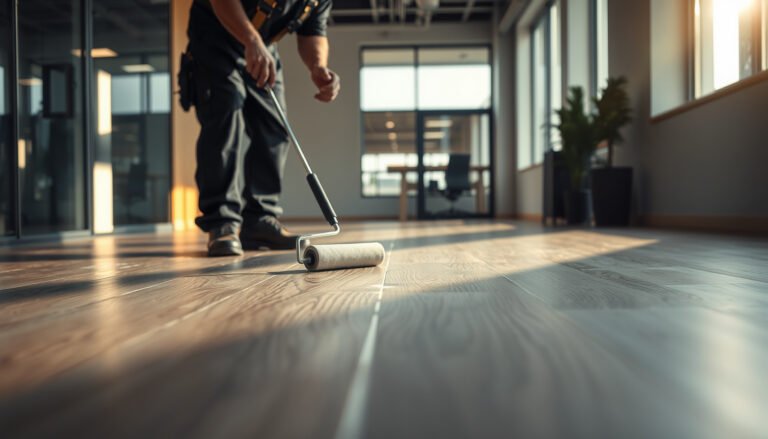
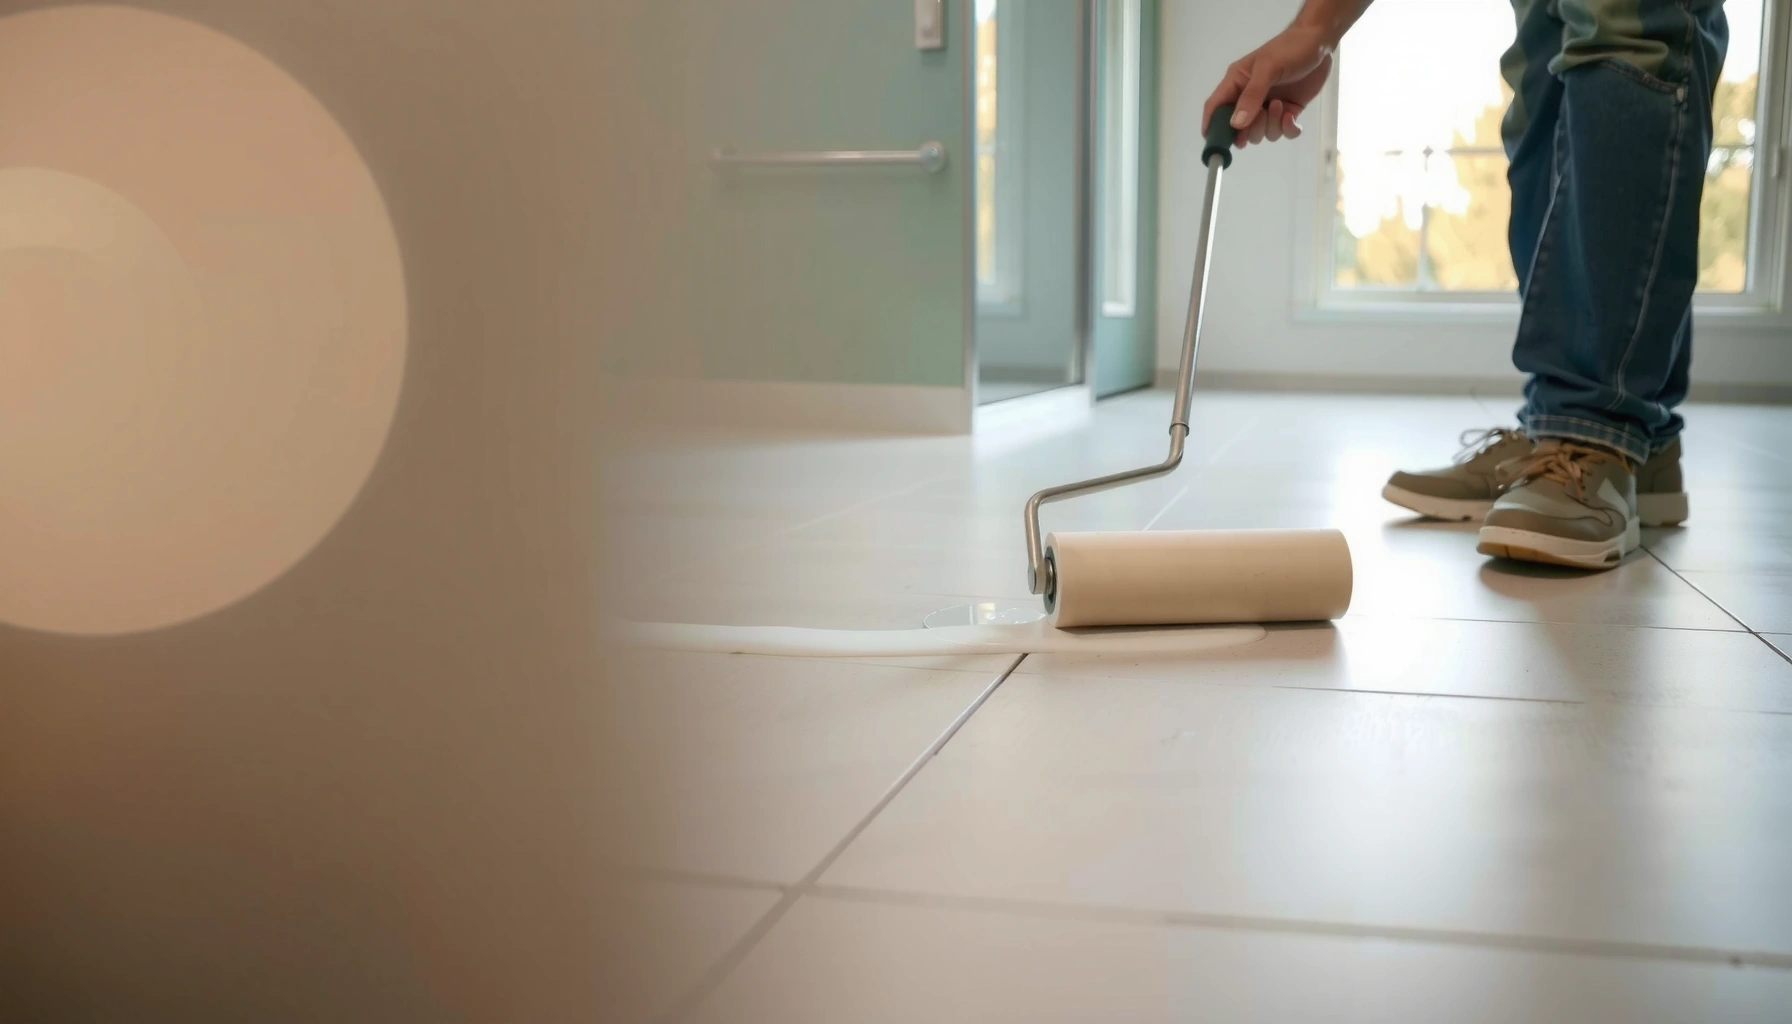
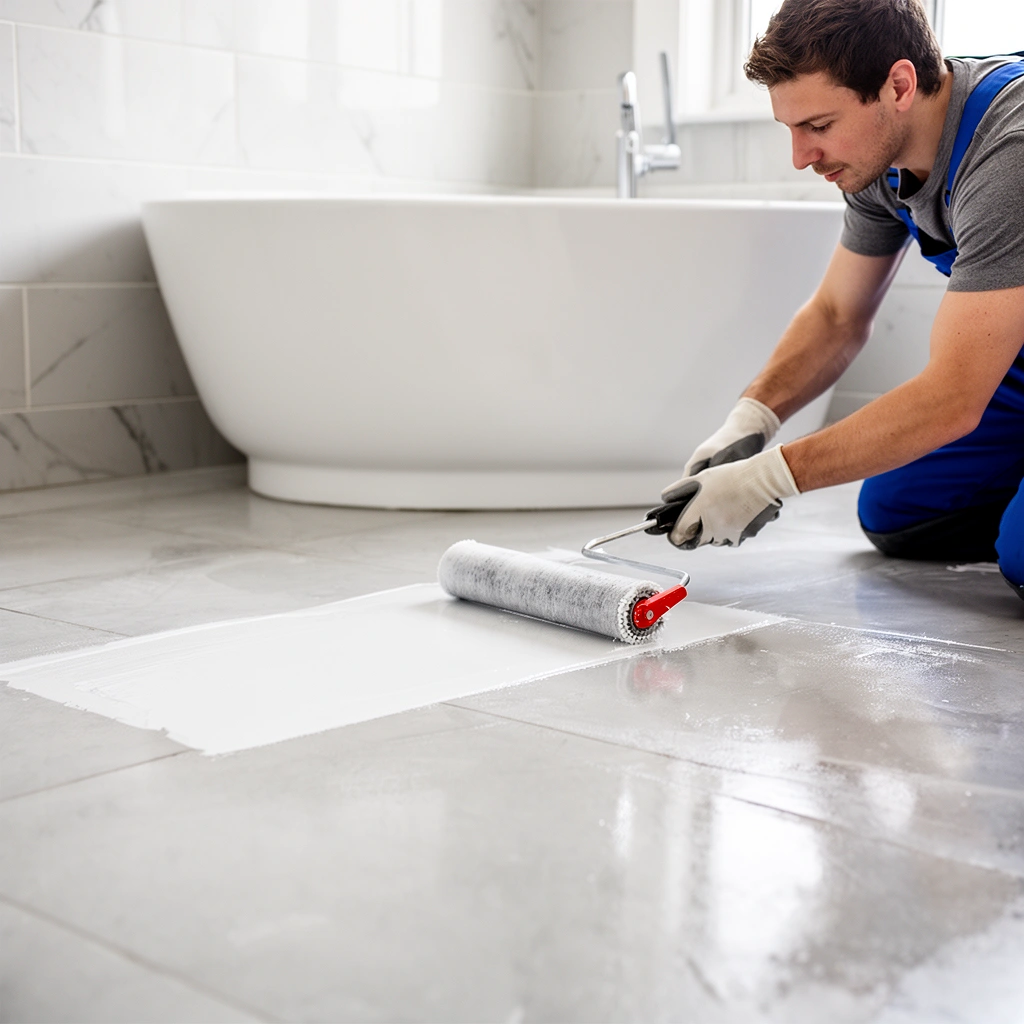
Correct application is the difference between long-lasting repellency and spotty failure. Apply in thin, even coats, cover grout lines and corners, and cure fully before exposing the floor to moisture.
Thin, uniform coats improve both coverage and drying consistency, which reduces streaking and uneven water repellency.
Many sealers require precise dwell time (set/penetration window) before wiping excess or applying the next coat.
Full cure/dry time must be followed; early moisture can interrupt performance in both penetrating and film-forming systems.
Follow the manufacturer’s application method
Labels typically specify:
– Tool (roller, brush, sprayer)
– Coat count (often 1–2)
– Coverage (m² per container)
– Wait time between coats
– Whether you must wipe off excess
Work with a disciplined workflow:
– Divide the bathroom floor into small sections (for example, one doorway-to-shower “zone” at a time).
– Keep a steady pace so grout joints aren’t missed.
Pay attention to high-risk micro-areas
Water often collects and wicks at:
– grout seams near shower entrances,
– floor edges under vanities,
– around drains,
– corners where splashes concentrate.
In these areas, slower work usually prevents under-coverage.
Cure/dry properly
Do not schedule foot traffic based on “dry to touch.” Use the sealer’s instructions for:
– walk-on time,
– light cleaning timing,
– and full water exposure readiness.
(If your bathroom is humid, extend curing conservatively within the label’s guidance.)
Let It Cure and Maintain It So It Stays Sealed
Cure and maintenance protect your investment because sealers wear where water and traffic are highest. After curing, clean with compatible products and plan recoat intervals based on your floor’s exposure level.
Using cleaners that contain strong solvents or abrasive powders can degrade or strip sealers, especially film-forming types.
Recoat schedules are product-specific; many penetrating and surface sealers gradually diminish in wet, high-traffic zones first.
Slip-resistance can change after sealing; always verify wet-area traction requirements and follow any label/buffing steps exactly.
Maintenance that preserves repellency
To maintain performance:
– Use pH-neutral cleaners when the label recommends them.
– Avoid abrasive pads that can physically scratch a film.
– Rinse after cleaning if the label indicates residue removal matters (common with some floor-cleaners).
Plan for recoat where wear happens first
Even the best sealers experience wear on:
– entry paths,
– near shower doors,
– under bath mats that stay wet.
Set a recoat reminder based on:
– manufacturer recommendations, and
– how quickly water no longer beads or the grout begins to darken again.
Slip-resistance note (safety): According to the ADA technical guidance referenced in the Americans with Disabilities Act framework, wet floor slip resistance is commonly evaluated using DCOF targets (e.g., DCOF ≥ 0.42 for level surfaces) (ADA/ANSI guidance commonly cited for wet surface slip resistance). Sealer build-up or residue can affect perceived slipperiness, so verify traction after curing.
What Can Go Wrong (Common Mistakes and Edge Cases)
Most sealing failures come from moisture issues, compatibility errors, or thick/uneven application. If you correct those early, the odds of durable performance in a wet bathroom improve significantly.
Sealing over active moisture can trap water in porous substrates, leading to whitening, discoloration, or premature failure.
Grout is typically more porous than glazed tile; leaving grout unprotected—or using the wrong grout sealer—still allows staining and darkening.
Over-application can create tacky residues or uneven film thickness that both looks bad and can increase slipperiness.
A “quick compare” of common mistakes and fixes
| Problem | Why it happens | What to do next time |
|---|---|---|
| Tacky or streaky surface | Coats applied too thick or without respecting wipe/dwell times | Apply thin coats; follow wipe/excess removal and recoat windows |
| Grout still darkens | Grout not sealed, sealed with incompatible product, or joints re-wetting too quickly | Use grout-appropriate sealer; cover joints and corners fully |
| White haze on stone | Film-formers can haze on certain stones or poor penetration surfaces | Use stone-approved sealer; test a small hidden area first |
| Moisture returns quickly | Ongoing leak or chronic dampness behind the substrate | Troubleshoot and fix the source before sealing |
Sealing over moisture (the most expensive mistake)
If there’s an underlying leak, active vapor drive, or wet subfloor, sealing can trap moisture and accelerate deterioration. If you see dampness that doesn’t improve after drying time, pause and investigate.
Choosing the wrong sealer for the wrong surface
A film-forming product might be fine for one floor finish type and unacceptable for another. On natural stone, appearance changes (darkening, hazing, uneven sheen) can happen if the product isn’t designed for that stone and finish.
Forgetting grout joints and movement gaps
Tile may look “sealed,” but water often enters through:
– grout seams,
– cracked mortar beds,
– missing caulk at edges.
Seal the joints intentionally and follow how the label defines substrate prep for grout and seams.
Verdict: Is Sealing Bathroom Floors Worth It?
Sealing bathroom floors is usually worth it when your goal is reducing water-related staining and improving long-term appearance—especially on porous grout, concrete, and natural stone. The main downside is that you may need periodic re-application, and sealing won’t fix plumbing leaks or hidden water intrusion behind walls.
Sealing improves surface water repellency and stain resistance, but it does not replace waterproofing systems where water intrusion originates behind the substrate.
If you suspect a plumbing leak or persistent dampness, fixing the source comes before sealing to avoid trapping moisture.
Who should seal: homeowners maintaining grout-heavy floors, bathrooms with regular splashing, and properties where appearance preservation matters.
Who should skip (or pause): anyone with suspected active leaks, structural floor failure, or chronically damp subfloor conditions.
From a practical documentation standpoint, the smartest approach is to follow your sealer and substrate manufacturer instructions—because “sealing” is not one uniform process. It’s chemistry + prep + application + cure time, all tied together.
Quick Checklist: How to Seal Bathroom Floors
– [ ] Identify floor type (tile, grout, stone, concrete, vinyl) and whether it’s sealed already
– [ ] Clean thoroughly (remove soap scum, oils, mildew, and residue)
– [ ] Repair cracks/grout damage and address caulk issues
– [ ] Let everything dry completely
– [ ] Choose a sealer rated for your exact surface and wet-area conditions
– [ ] Apply thin, even coats; cover grout lines and edges
– [ ] Cure fully before water exposure
– [ ] Maintain with compatible cleaners; plan recoat timing per label
FAQ
Do I need to seal bathroom grout and tile?
Often, yes—especially for cementitious grout, which is typically more porous than glazed tile and tends to darken with repeated wetting. Whether you must seal both depends on your tile type, grout condition, and what the sealer label states for your specific substrates.
How long should I wait before using the bathroom after sealing?
Wait for the full cure/dry time listed on the product instructions. Dry-to-the-touch time is not the same as full performance, and early moisture exposure can reduce repellency.
Can I seal over old sealer?
Sometimes, but only if the old sealer is still sound and the new product allows recoat over it. If the surface is peeling, tacky, or preventing proper bonding, stripping/removal may be required by the product guidance.
What’s the best way to prevent slips after sealing?
Use a sealer designed for wet areas and follow application thickness instructions exactly. If the label includes post-steps (like required buffing or wiping to remove excess), complete them—film build-up can affect traction.
Will sealing stop leaks or water coming from the floor?
No—sealing helps with surface water penetration and staining, not hidden plumbing leaks or structural water intrusion. If dampness persists, investigate the source first.
Sources
– [ADD: Sealer manufacturer instructions/spec sheet for your specific sealer product—surface compatibility, application method, coat count, and cure times]
– [ADD: Official maintenance/installation guidance from the flooring or grout material manufacturer (e.g., tile/grout guidelines) if relevant]
– [ADD: Primary technical documentation comparing penetrating water-repellent sealers vs. film-formers for your substrate type, such as from the sealer manufacturer or recognized materials organization]
– ADA wet surface slip-resistance guidance referenced for DCOF targets: ADA/ANSI-related technical guidance (commonly cited DCOF ≥ 0.42 for wet level surfaces)
– ASTM water absorption/penetration test methods referenced for timing and evaluation approaches: ASTM test methods applicable to tile/grout water absorption and related performance testing (select the specific standard matching your substrate)
In summary, the most reliable way to seal bathroom floors is to choose a sealer that matches the material (especially grout), prep aggressively by cleaning and repairing, apply in thin even coats, and cure fully before wet exposure. If you follow the product’s label steps and address any moisture source problems first, sealing becomes a practical maintenance strategy rather than a short-term patch.
Frequently Asked Questions
How do I seal a bathroom floor properly to prevent water damage?
Start by removing dust, paint, and old coatings, then repair cracks or loose tiles and let everything fully cure. Use a suitable bathroom floor sealant for your surface type (tile grout, natural stone, or concrete) and apply it evenly with a roller or brush, following the manufacturer’s drying times. Pay extra attention to grout lines and corners where water tends to pool, and finish with a second coat if the product calls for it. After sealing, allow full cure before using the shower or mopping with lots of water.
What’s the best way to seal bathroom floor grout without trapping moisture?
Ensure the grout is clean, dry, and fully cured before sealing—ideally wait at least 72 hours after any new grout work. Remove soap scum, mildew, and residue using a grout cleaner, then rinse thoroughly and let the bathroom floor dry completely. Choose a penetrating grout sealer (often preferred for moisture management) and apply it lightly so the sealer fills pores rather than forming a thick surface film. Wipe off excess promptly and allow a full cure before regular foot traffic.
Which bathroom floor sealant is best for tile, natural stone, or concrete?
For ceramic or porcelain tile, grout sealing is usually the most important step, and a penetrating grout sealer often works well. Natural stone like marble, travertine, or limestone typically needs a breathable penetrating stone sealer to protect without discoloring or trapping moisture—avoid using sealers that are not labeled for stone. For concrete bathroom floors, use a concrete sealer rated for wet areas, such as a penetrating sealer or a film-forming waterproofing product, depending on whether you want stain protection or surface-level water resistance.
Why does my bathroom floor keep leaking or getting damp even after sealing?
If water is still getting in after sealing, the cause is often improper surface prep, failing to clean grout pores, or sealing over moisture or deteriorated grout. It can also be due to missing coverage in high-risk areas like seams, edges, expansion joints, and around drains. Check whether the grout is cracked or missing and whether there’s a plumbing leak, then re-seal only after repairs and full drying. For ongoing dampness, consider a waterproofing system designed for wet rooms rather than a basic sealer.
How often should I reseal a bathroom floor, and how can I tell it’s time?
Many bathroom floor sealers require reapplication every 1–5 years, depending on product quality, foot traffic, cleaning methods, and how wet the area stays. A simple water test helps: sprinkle water on the sealed grout or tile surface—if it beads, protection is likely still good; if it soaks in or darkens quickly, resealing is probably needed. Avoid harsh cleaners and steam mops on freshly sealed floors, and follow the manufacturer’s maintenance instructions to extend sealant life.
📅 Last Updated: October 11, 2026 | Topic: How to seal bathroom floors? | Content verified for accuracy and freshness.
References
- Waterproofing
https://en.wikipedia.org/wiki/Waterproofing - https://en.wikipedia.org/wiki/Sealant
- https://www.epa.gov/mold/preventing-mold-growth
- Mold | US EPA
https://www.epa.gov/mold - https://www.cdc.gov/mold/default.htm
- https://www.who.int/europe/publications/i/item/9789289041689
- https://www.britannica.com/technology/sealant
- Google Scholar Google Scholar
https://scholar.google.com/scholar?q=how+to+seal+bathroom+floor+waterproofing - Google Scholar Google Scholar
https://scholar.google.com/scholar?q=tile+shower+waterproofing+membrane+sealant+grout - Google Scholar Google Scholar
https://scholar.google.com/scholar?q=bathroom+floor+sealant+and+grout+waterproofing+best+practices