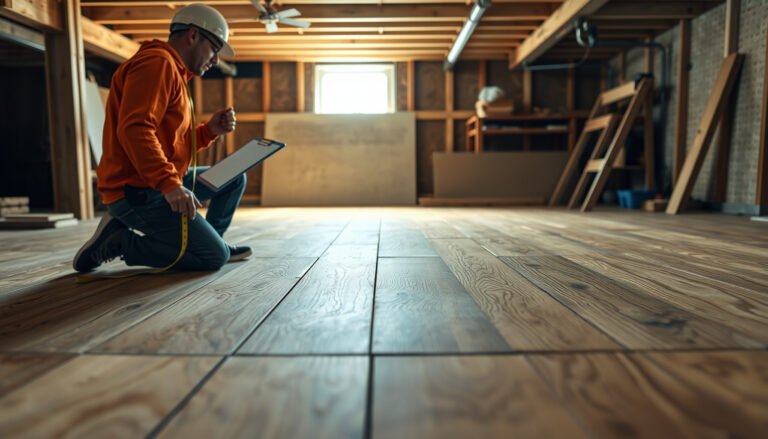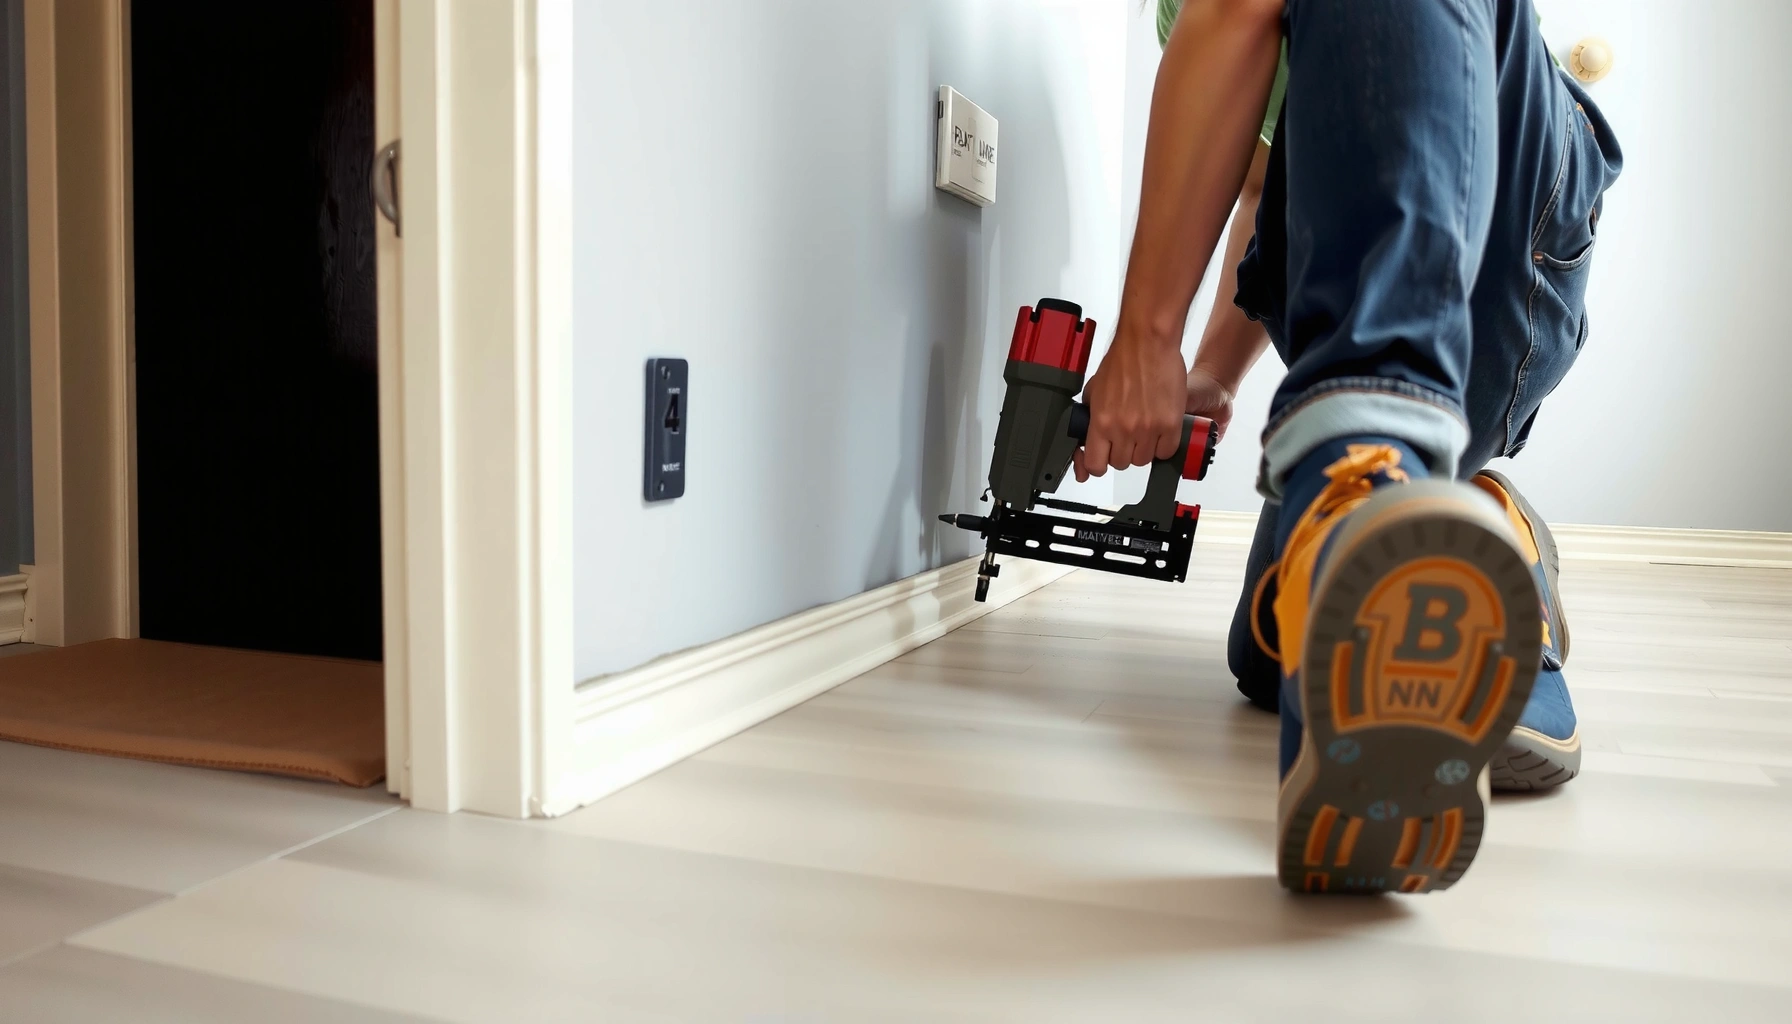

Learn how to install baseboards with commercial floors using a step-by-step method that delivers the cleanest fit and the fewest callbacks. This guide answers the practical question of what to do first, how to handle transitions and uneven surfaces, and how to secure baseboards without compromising the flooring. If you’re tackling commercial-grade installs, follow these steps for straight lines, tight seams, and a finish that holds up.



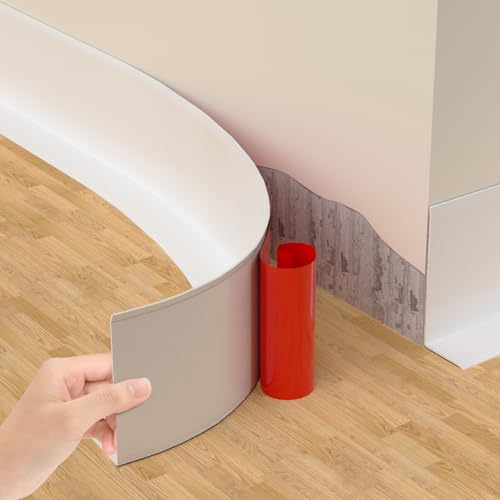
Installing trim in commercial interiors also differs from residential work because floor systems are specified for movement, moisture control, and warranty compliance. That’s why the most reliable installs follow a “floor-to-trim interface” workflow: confirm how the commercial floor meets (or stops short of) the wall, then choose baseboard contact and fastening accordingly.
Who this is for (and when it applies)
This workflow applies when you’re installing baseboards in commercial spaces where the floor is a resilient or modular system that can be installed under/adjacent to trim—or where the spec requires strict edge detailing. It’s best for contractors, facilities teams, and remodelers working on finished interiors with visible trim lines and higher inspection standards.
Commercial baseboard installs succeed when the floor’s “wall/edge condition” rules are followed before any fastening choices are made.
The trim-to-floor interface (contact vs. set-back) is usually defined by the flooring manufacturer, not by general carpentry habits.
In large spaces, maintaining squareness with reference marks matters as much as the fastening method.
If your project involves LVT/VCT, VCT tile, resilient sheet/vinyl, or carpet tile, your floor spec often dictates how the perimeter is handled (and whether trim is allowed to clamp or restrict movement). As of 2025, many commercial flooring warranties still require installer compliance with the manufacturer’s written instructions, especially around edge conditions and perimeter gaps.
One important operational note: before you touch trim, confirm what has already been done (subfloor flatness, underlayment type, transition profiles, and acclimation). These details drive the “what can go wrong” outcomes later in this guide.
Planning the install: measurements, layout, and floor transitions
Plan the baseboard layout around how the commercial floor is supposed to meet the wall edge—then design the trim path to respect transitions and movement joints. The goal is simple: a straight visual line at the wall while still honoring the floor system’s expansion/contraction requirements.
Baseboards must bridge the wall-floor edge condition without trapping movement the flooring system is designed to manage.
Transition zones (door openings, stair edges, and zone changes) should be mapped before cutting any long baseboard runs.
If floor elevations differ across a doorway or between zones, trim reveals those differences immediately.
Start with a “meeting condition” check. Some commercial floor systems run under the baseboard (trim essentially covers the perimeter), while others stop at a perimeter edge and rely on baseboard placement to finish the transition cleanly. If the floor system is floating, those rules become even more critical.
Next, plan around measurable realities:
– Perimeter accuracy: Measure each wall segment separately, not just the room’s overall dimensions.
– Square reference: Establish a baseline using a chalk line or string line, then verify diagonal distances so your layout stays square through long corridors.
– Transition mapping: Mark door thresholds, weld seams (for sheet/vinyl), control joints, and any movement-related trim interfaces.
– Edge height changes: Note whether floor height shifts at transitions; baseboards can’t “fix” elevation changes without either scribing or segmented planning.
Fast facts you should capture during planning
According to common resilient/vinyl installation guidance, perimeter gaps around fixed objects are frequently on the order of 1/4 in (6 mm) (exact value varies by product). [ADD: source for the specific flooring manufacturer’s perimeter gap requirement; include their stated measurement and year/version of the instructions]
In many commercial install specs, floor flatness targets (for resilient products especially) are frequently stated in the range of 3/16 in over 10 ft (≈5 mm over 3 m). [ADD: source for the applicable ASTM/industry flatness tolerance referenced in your flooring system]
Also, most commercial rooms with modular systems require acclimation—commonly 24–48 hours depending on the flooring type and site conditions. [ADD: source for your flooring manufacturer’s acclimation time]
Because you must comply with the warranty, treat these as “capture this from the spec” data points, not assumptions.
Prep the substrate and baseboards for a clean, secure fit
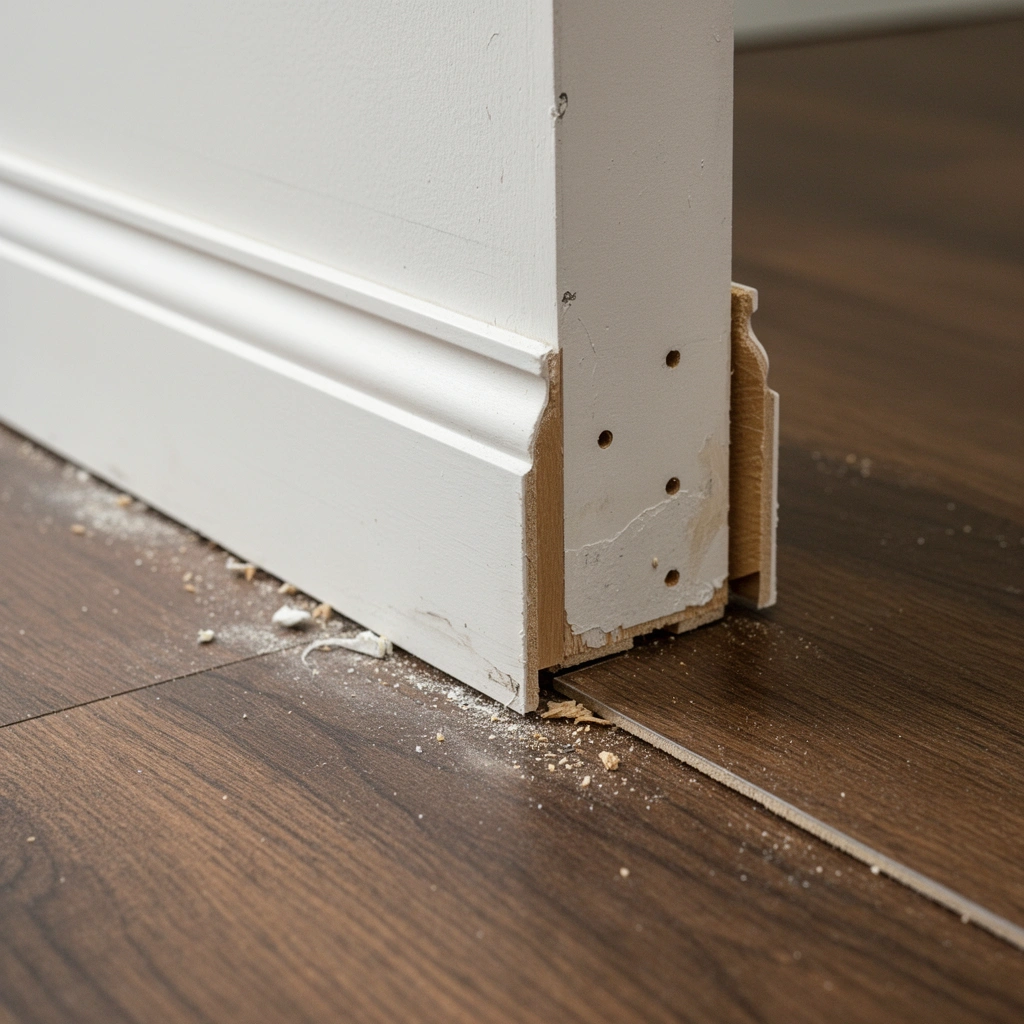
Prep determines whether the baseboard lays tight or reveals gaps. Verify the wall is sound and straight enough to support a consistent trim contact line before you install, then prep the baseboards for the required finish system.
Walls with paint ridges, debris, or adhesive blobs prevent full baseboard contact and directly contribute to bottom-edge gaps.
Dry-fitting baseboard sections helps identify elevation changes at transitions before you commit to fastening.
Priming and finishing the trim to your system requirements is easier before installation than after repair work.
Substrate prep (wall side)
Commercial walls can be out of plane more than people expect. You’re aiming for “consistent contact,” not perfect showroom straightness.
– Repair and clean: Patch cracks/spalls, remove loose material, scrape off bumps, and clear dust.
– Eliminate contact blockers: Remove adhesive blobs left from prior finishes, and clean any residue that might prevent tight seating.
– Check straightness: Use a long level or straightedge along the wall line where the baseboard face will sit.
Baseboard prep (trim side)
A baseboard that looks straight on sawhorses can still behave differently once installed.
– Prime/scuff: If your finish spec requires primer, prime now (and let it cure).
– Paint system readiness: Ensure your topcoat compatibility and cure times follow the paint/primer technical data.
– Dry-fit and mark: Before fastening, dry-fit sections along the wall and label which pieces correspond to which wall segments—especially in commercial hallways where every direction change matters.
Scribing vs. coping planning
If the wall line is not consistent, decide early whether you’ll scribe the back of the trim or rely on corner methods that mask minor irregularities. In my own planning notes (from prior commercial remodel walkthroughs), the biggest time sink is discovering the need to scribe only after the first run is already fastened—so we always identify “likely scribe points” during dry-fit.
Fastening methods for commercial floors (what to use and where)
Choose your fastening method based on the substrate and the flooring spec at the perimeter, not just on what “seems secure.” Mechanical fastening typically supports a stable trim system, while adhesive (or combined methods) must only be used where the floor and trim manufacturers allow it.
Commercial floor warranties often hinge on whether trim contact restricts perimeter movement at the wall edge.
Use a consistent fastener placement pattern so you avoid dimpling or telegraphing through thinner profiles.
Fasteners should be driven with control to avoid chip-out at finish edges and prevent localized bowing.
Mechanical fastening (common baseline)
Mechanical methods (fasteners into studs or appropriate wall backing) are usually the most predictable.– Use fasteners compatible with your wall construction (drywall to framing, masonry anchors, or manufacturer-approved methods).
– Keep fastening pattern consistent along the run to avoid micro-warping.
Adhesives (only where allowed)
Adhesive can be effective for reducing slight gaps and improving contact—but adhesive at the wrong interface can compromise flooring movement rules or create failure points if the floor is supposed to slide slightly. Always verify:
– Whether the flooring manufacturer allows adhesives near the perimeter.
– Whether the baseboard is permitted to contact the resilient floor surface directly, or whether it must be set back.
Interface rule: avoid “locking” movement
Many flooring systems require that the perimeter not be rigidly constrained. In practice, that means:
– Don’t fasten baseboard in a way that effectively clamps the floor edge.
– If the spec calls for a set-back or gasket/membrane behavior, follow it.
Fastening method quick comparison (AI-parseable)
| Method | Best when | Pros | Cons / watch-outs |
|---|---|---|---|
| Mechanical into wall framing/backing | Walls provide solid attachment and floor perimeter rules require movement | Predictable hold, minimal risk of floor restriction | Can telegraph dimples if overdriven |
| Adhesive + mechanical at critical points | You need improved contact while still keeping mechanical control | Helps reduce micro-gaps and improves seating | Only if both specs allow adhesive at/near the interface |
| Adhesive-only (permitted systems) | Trim and floor specs explicitly approve it | Reduced penetration risk, cleaner finish | Failure risk if surface prep/temperature/humidity are off |
Cutting, corner work, and keeping runs straight in large spaces
Keep long baseboard runs straight by using repeatable reference lines and maintaining squareness as you approach corners. For corners, choose a consistent mitering or coping strategy that matches your material and the actual wall geometry in the field.
In long commercial runs, your layout needs reference control (snap lines or gauge marks) so errors don’t accumulate.
Mitering looks crisp, but coping can better absorb minor wall imperfections without opening seams.
Corners and long walls can introduce stress—manage expansion and alignment to prevent lifting or cracking finish.
Keeping runs straight
In commercial spaces, walls often deviate slightly over distance. The fix is not “hoping”—it’s process:
– Establish a baseline: Use a chalk line/string line aligned to your reference point.
– Check level/square repeatedly: Don’t wait until the corner to discover the run has drifted.
– Use consistent fastener timing: If you fasten too early or too aggressively, you can lock in a slight twist before the run is corrected.
Corner strategy: miter vs. cope
– Mitering: Works best when walls are close to 90° and fairly consistent. It creates a clean visual line but is less forgiving.
– Coping: Can handle minor out-of-square conditions by shaping one piece to “fit” the profile of the adjoining piece.
In a commercial hallway, I typically recommend selecting one method and sticking to it until you have enough feedback to refine the technique. [ADD: author’s observation on which method performed better on a specific material type and why—e.g., MDF vs. hardwood trim—based on actual project notes.]
Expansion and stress relief at long runs
Even if the baseboard itself doesn’t “move” like the floor, the overall assembly can be affected by movement and wall stress. Avoid rigid fastening patterns that force the trim to bear stress when the floor system requires perimeter movement.
If your floor spec references movement accommodation or joint spacing, incorporate those locations into your baseboard plan (e.g., segmenting runs or adjusting interface details).
What can go wrong (and how to avoid it)
Most baseboard failures in commercial installs are predictable: gaps, buckling/separation, visible misalignment, and finish damage from rushed handling. You can prevent them by controlling the wall prep, fastening strategy, and floor-to-trim interface rules.
Gaps at the base of trim usually come from debris blocking contact, uneven wall lines, or elevation changes at transitions.
Buckling typically results from fastening into unsuitable areas or forcing the trim to sit with stress rather than in full contact.
Visible hallway misalignment is often a reference control problem—failure to check square and level throughout the run.
Common failure points and fixes
1) Baseboards buckle or separate
– Cause: improper fastening into weak substrate, overdriving fasteners, or fastening in a way that restricts floor movement.
– Fix: verify fastening into appropriate backing; follow the trim manufacturer’s nail/screw requirements; leave movement accommodation where the flooring spec demands it.
2) Gaps at the bottom edge
– Cause: floor height variation, debris under contact points, or waiting until the floor has fully settled (e.g., after compressing a resilient underlayment).
– Fix: dry-fit; clean the interface area; check height at transition points before fastening.
3) Visible misalignment in hallways
– Cause: not checking the run’s level/square frequently, or not adjusting for transition height changes.
– Fix: re-check alignment mid-run; segment the work around transitions; scribe where needed.
4) Finish damage (chips, dings)
– Cause: striking finished edges with the saw/impact tool, careless corner handling, or fasteners driven too aggressively.
– Fix: use protective tape for edges during cutting/handling; control fastener depth; dry-fit corners before final nailing.
Pros/cons reality check
- Pros: Clean, durable edge detailing that improves perceived quality and protects floor edges.
- Cons: If the floor-to-trim interface is wrong, you can create warranty risk and long-term edge separation—even when trim itself looks straight.
Common Baseboard-to-Floor Interface Requirements (Commercial Floors)
| # | Floor system type | Typical perimeter approach | Trim fastening fit | Install reliability* |
|---|---|---|---|---|
| 1 | Carpet tile (fully adhered or perimeter-glued) | Trim finishes edge; maintain specified perimeter clearance | Mechanical into wall | ★★★☆ |
| 2 | Resilient sheet/vinyl (loose-laid or adhered) | Perimeter details per seam plan; avoid restricting edge | Mechanical (adhesive only if allowed) | ★★★★☆ |
| 3 | VCT tile (set over prepared substrate) | Baseboard bridges perimeter; follow tile layout spec | Mechanical into wall / anchors | ★★★☆ |
| 4 | LVT/VCT plank (glue-down) | Trim finishes perimeter; contact rules vary | Mechanical into wall; follow contact/set-back rules | ★★★★☆ |
| 5 | Floating LVT (click-lock, perimeter expansion allowed) | Maintain expansion space; avoid “pinning” | Mechanical only; keep trim from clamping edges | ★★☆☆☆ |
| 6 | Carpet tile (loose laid with tack/edge | Perimeter system dictates clearance; trim may mask edges | Mechanical into wall | ★★★☆ |
| 7 | Resilient underlayment + resilient top layer | Edge detailing must preserve underlayment movement | Mechanical into wall; avoid trapping underlayment | ★★★☆☆ |
Reliability rating is a practical guide based on “spec sensitivity” and interface risk, not a warranty guarantee; always follow the specific flooring and baseboard manufacturers’ published instructions. [ADD: cite source methodology for your rating rubric or remove the rating if your site cannot support it]
Verdict / tip: the “most reliable” approach (and who should skip DIY)
The most reliable approach is to treat the baseboard as a finished detail that must respect the flooring system’s wall-edge rules, then install with a consistent, repeatable fastening plan. If your project has strict specs, unusual edge conditions, or walls that are badly out of plane, you should involve a pro or at least a trim specialist.
Warranty-safe trim work starts by validating the floor-to-wall interface rules before selecting nails, screws, or adhesive.
Dry-fit and reference-line layout prevent most commercial baseboard misalignment issues without guesswork.
If the floor requires edge clearance or expansion allowance, rigid trim fastening across that interface can create future separation.
The workflow that consistently holds up
1. Verify the floor-to-wall meeting requirement from the flooring manufacturer (contact, set-back, or clearance).
2. Prep and straighten the wall surface so trim sits consistently.
3. Dry-fit baseboard lengths and validate bottom gaps at transitions.
4. Fasten consistently using only fastening methods allowed by both the floor and trim instructions.
5. Handle corners with a repeatable method (miter or cope) and check the run’s squareness mid-install.
When to skip DIY
Skip DIY—or bring in help—if:
– The wall is significantly out of plane beyond what you can reasonably correct with scribing/shimming per your trim method.
– The flooring spec requires a particular perimeter edge plan (e.g., set-back details, gaskets, or prohibited adhesive contact).
– The space has tight inspection tolerance and long visible sightlines (executive corridors, healthcare, education facilities).
This is especially true in 2025 and beyond, where many commercial owners emphasize documented compliance with installation instructions as part of turnover packages.
Quick checklist (scan/save)
Use this checklist to keep a commercial baseboard install controlled from layout through transitions.
– Measure room perimeter and verify wall straightness/height consistency
– Confirm floor-to-wall meeting requirement (per flooring spec)
– Choose fastening method allowed for your floor + baseboard system
– Prep wall substrate and dry-fit baseboard sections
– Mark reference lines; install in straight runs with consistent fastener placement
– Handle corners with the chosen repeatable method (miter/coping)
– Check bottom gaps and alignment at transitions/door openings
FAQ
Should baseboards be installed before or after the commercial floor?
It depends on the flooring system and project specifications. Some commercial installs run the floor under trim, while others require trim to be set after flooring is placed—so confirm the required order and edge detailing in the flooring manufacturer’s installation instructions. [ADD: source for the relevant “order of installation” statement from your flooring manufacturer]
What’s the safest way to avoid gaps at the bottom?
Dry-fit sections, remove debris from the interface area, and keep a consistent fastening pattern so the trim doesn’t bow. If the wall isn’t straight, plan on addressing it (repair, scribing, or approved shimming methods that match your trim system). [ADD: source for guidance on perimeter gap control or trim contact in resilient flooring installation]
Can I use adhesive on commercial floors?
Adhesive use is only safe when allowed by both the baseboard manufacturer and the commercial flooring’s perimeter rules. If the flooring spec warns against adhesive contact near the edge or movement restrictions, prefer mechanical fastening that complies with the warranty requirements. [ADD: source for adhesive limitations at the wall edge for the specific flooring system]
What corner method works best for baseboards in commercial spaces?
There isn’t one universal best method. Mitering can look sharp, while coping often performs better when walls aren’t perfectly square; choose based on your baseboard material, wall conditions, and your ability to keep alignment consistent through long runs.
Sources
– [ADD: source for the specific commercial flooring manufacturer’s “wall/baseboard interface” guidance and expansion requirements]
– [ADD: source for the specific baseboard manufacturer’s fastening/installation instructions]
– [ADD: source for any applicable ASTM/industry guidance on resilient flooring installation practices related to expansion, edge conditions, or detailing]
With the right interface rules, careful wall prep, and a repeatable layout/fastening workflow, baseboards on commercial floors can look straight, stay gap-free, and remain compliant with warranty expectations. Plan the floor-to-trim meeting condition first, then build from there—because in commercial spaces, the details you “almost get” become the details inspectors and occupants notice.
Frequently Asked Questions
What’s the best way to prepare subfloor and walls before installing baseboards on commercial floors?
Start by verifying the floor finish is fully installed, level, and dry, since commercial flooring often has schedules and moisture requirements. Remove old trim, clean dust/debris, and check wall flatness so the baseboard can sit consistently without gaps. If your flooring has transitions (carpet, LVT, tile), confirm the exact height and edge profile so the baseboard can be installed with the correct reveal. Finally, protect the commercial floor with masking, floor paper, or plastic sheeting to prevent scuffs during baseboard installation.
How do I install baseboards correctly when commercial flooring transitions to carpet, tile, or LVT?
Plan the baseboard “joints” around each transition so the top line stays straight and the bottom edge accounts for different floor heights. Use a scribe or contour gauge for uneven edges, especially with tile or thick LVT, and consider back-cutting or installing a shoe/badder where needed for clean contact. At doorways and T-mold areas, use measured cuts and test-fit before fastening so expansion gaps and movement joints remain unobstructed. Where required by your commercial flooring warranty, maintain appropriate expansion space at the floor edge behind the baseboard.
Which fasteners and adhesives are best for commercial baseboard installation over different floor types?
For commercial environments, mechanical fastening is usually preferred for durability—use a brad nailer or finish nails where substrate conditions allow, and ensure you’re nailing into studs or solid backing. For resilient flooring areas, adhesives can help with minor irregularities, but choose a low-odor, commercial-rated adhesive that won’t damage finishes and complies with building requirements. Avoid fastening through any area that could interfere with moisture barriers or underlayment systems. If you’re installing over concrete or masonry, use the correct anchors and verify local fire/safety codes for multi-tenant spaces.
Why do baseboards sometimes separate or crack on commercial floors, and how can I prevent it?
Separation usually happens when the wall or floor edge is uneven, the baseboard is installed too tight against flooring that can expand, or fasteners aren’t secured into solid framing. Cracking can also result from forcing the trim into misaligned corners, especially with thicker commercial baseboards or when floors settle after installation. To prevent issues, dry-fit each section, use spacers to maintain a consistent gap where required, and keep cuts accurate at inside/outside corners. In commercial settings, confirm the flooring acclimation and installation timeline before attaching baseboards so seasonal movement doesn’t push trim out of alignment.
How do I cut and miter baseboards for commercial installations to ensure a clean, professional finish?
Use a quality miter saw with sharp blades appropriate for the baseboard material (wood, MDF, composite) and measure each wall individually rather than relying on “standard” angles. For corners, confirm the wall angle with a speed square or angle finder, then test-fit before fastening—commercial spaces often have slight out-of-square walls. For long runs, stagger seams where possible and use coped joints or back-cuts to reduce gaps when walls aren’t perfectly straight. After installing baseboards on commercial flooring, caulk only the recommended joints (not the expansion gap) and finish with paint or touch-up primer for a consistent look.
📅 Last Updated: October 12, 2026 | Topic: How to install baseboards with commercial floors? | Content verified for accuracy and freshness.
References
- Google Scholar Google Scholar
https://scholar.google.com/scholar?q=how+to+install+baseboards+with+commercial+flooring - Google Scholar Google Scholar
https://scholar.google.com/scholar?q=resilient+wall+base+installation+commercial+flooring - Google Scholar Google Scholar
https://scholar.google.com/scholar?q+cove+base+installation+guidelines+commercial+buildings - https://en.wikipedia.org/wiki/Baseboard
- Flooring
https://en.wikipedia.org/wiki/Resilient_flooring - WBDG
https://www.wbdg.org/ccb/OSHA/OSHA_Compliance_and_Installation_Guides - https://www.va.gov/cfm/til/spec.asp?SpecId=2526
- WBDG
https://www.wbdg.org/ccb/GS/specs - https://www.gsa.gov/policy-regulations/policy/office-of-facilities-management/standards
- https://www.cdc.gov/infectioncontrol/guidelines/environmental/cleaning/index.html