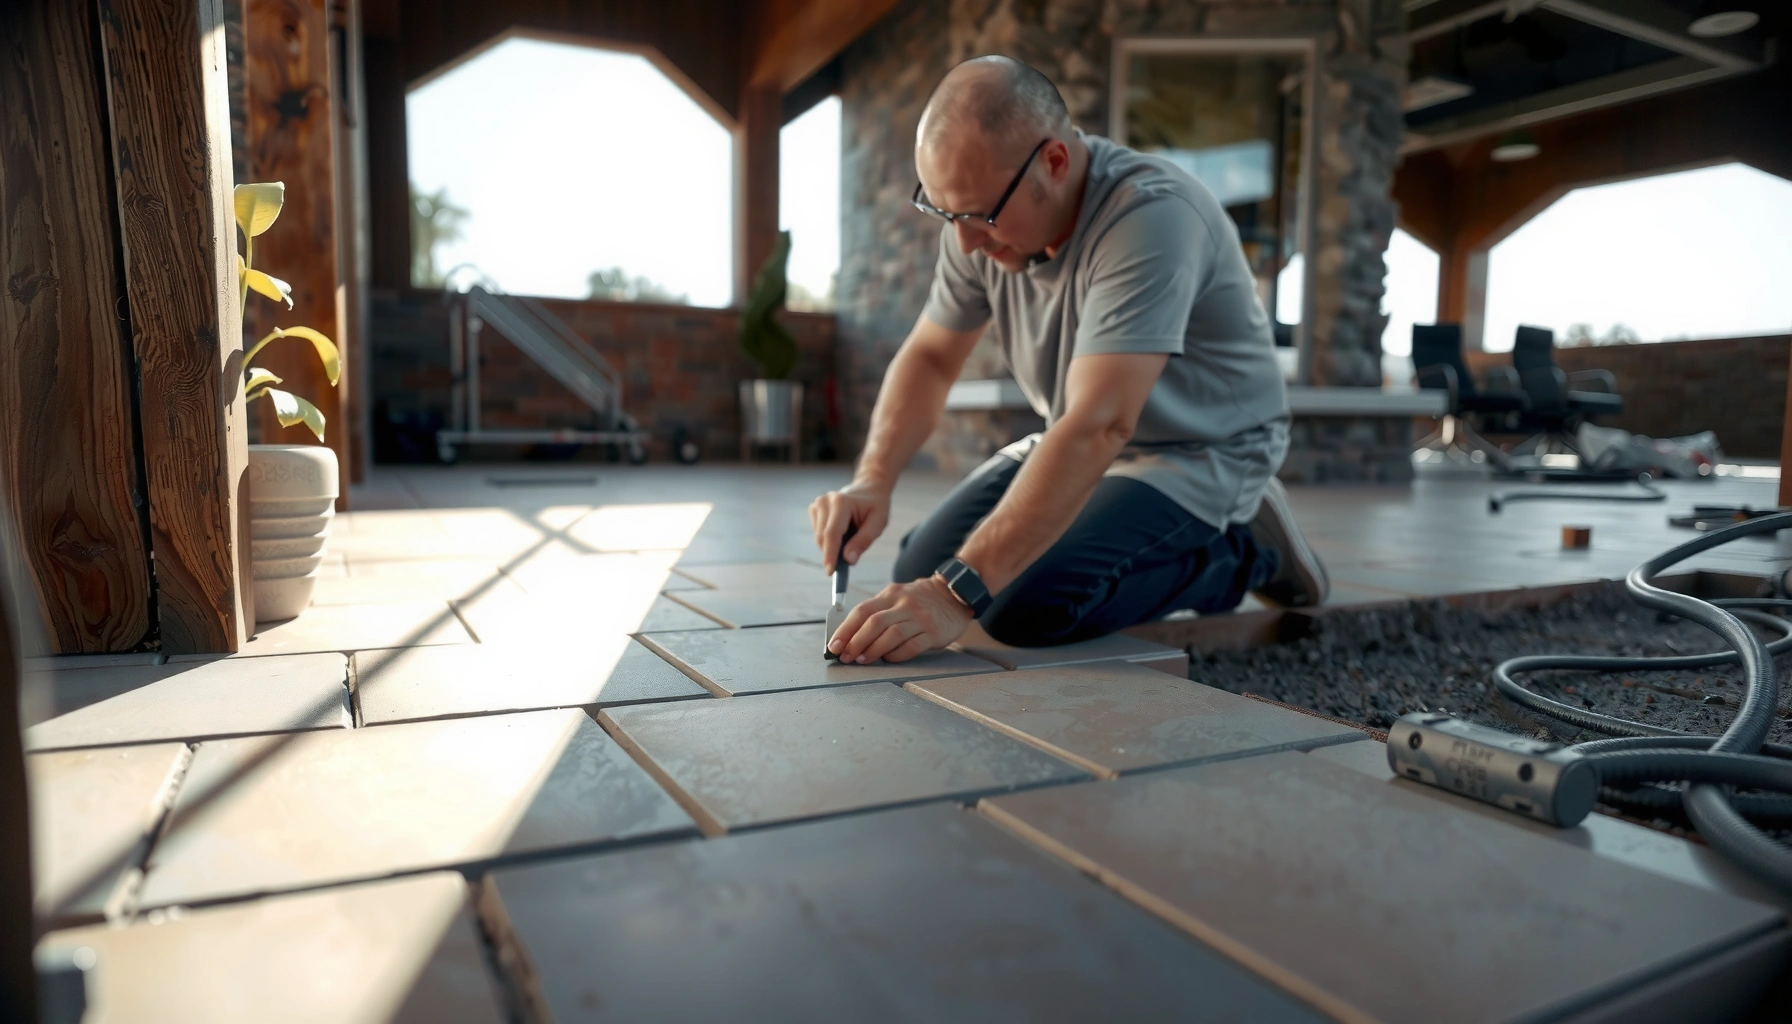
Want to install patio floors over existing flooring without tearing everything out? If your current surface is solid, level, and well-bonded, this method can be the fastest, cleanest route to a durable patio. Follow the right prep, underlayment, and fastening steps to avoid rocking planks, trapped moisture, and premature failure.
If you’re installing patio floors over existing flooring, only proceed when the surface is solid, level (within reasonable tolerances), and properly prepared for bonding or for a designed overlay. The fastest path to a durable patio upgrade is: confirm the substrate type, verify drainage slope, remove anything that blocks adhesion (like coatings), repair damage, and use an exterior-rated installation system that matches both the old floor and the new finish—without trapping moisture.
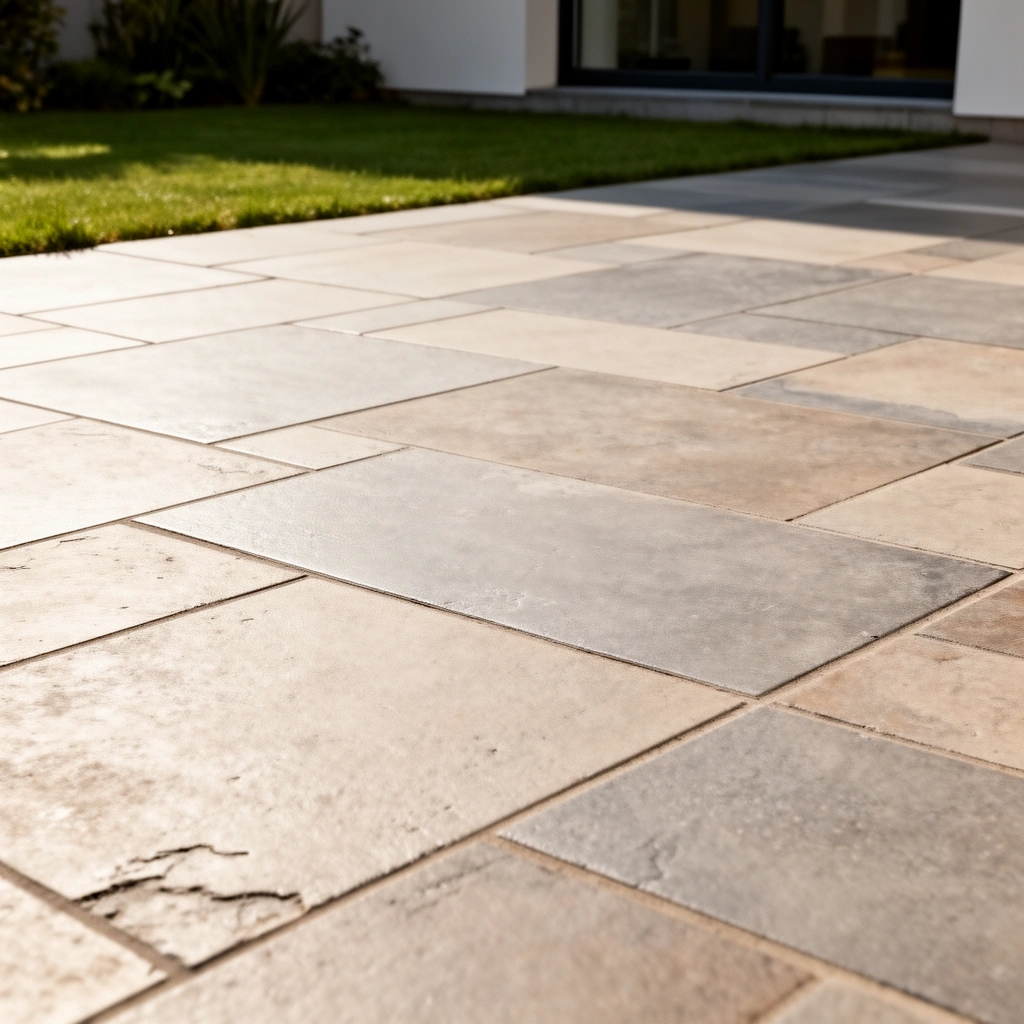
If your older patio slab, tile, pavers, or coated surface is mostly intact but looks worn, uneven, or dated, this approach can save you days of demolition. As of 2025, more patio systems are marketed specifically for “over” applications, but the details matter: exterior failures almost always trace back to moisture management, bond compatibility, or correcting out-of-plane surfaces before installation.
Check the existing patio floor (before you buy anything)
You can’t pick an installation method until you know exactly what the patio is made of and how stable it really is. The goal of this step is to determine whether your new patio surface can bond directly, sit on a properly prepared bed, or needs partial removal to prevent early failure.
Before spending on tile, pavers, panels, mortar, or primers, inspect the existing patio as if you’re diagnosing the foundation—not just the finish. In my experience working through patio repairs (and troubleshooting callbacks), the “hidden variable” is rarely the visible wear—it’s whether the substrate is solid and whether water can migrate safely out of the assembly.
“Exterior tile and stone failures over existing slabs are commonly linked to moisture movement and inadequate surface preparation,” according to tile/masonry installation guidance from the tile industry’s technical references. [ADD: TCNA or similar industry technical reference]
“A properly sloped exterior surface helps prevent ponding, which increases risk of freeze/thaw damage and trapped moisture behind finishes.” [ADD: building science reference or regional code commentary]
“Tile and paver installation systems require substrates that are firm, clean, and correctly profiled for the specified mortar or leveling method.” [ADD: manufacturer specification for exterior bonding/over-install]
– Surface integrity: look for loose tiles, hollow sounding areas, crumbling edges, spalling concrete, lifting paver blocks, or areas with powdery residue.
– Moisture indicators: recurring efflorescence (white salts), dark staining that returns quickly, or algae growth that suggests persistent surface moisture.
– Drainage slope: patios should drain so water doesn’t pool at joints, edges, and penetrations (like drains or door thresholds).
Even if the patio “feels” flat, “close enough” can still create failures:
– High spots telegraph through many bonded systems and increase lippage (uneven edges).
– Low spots can trap water and promote grout staining, freeze/thaw stress, or hollow areas under thin-set.
A common exterior design target is about 1/4 inch per foot (≈2%) slope toward drainage, though local requirements can vary. According to common building and drainage guidance, this slope helps prevent ponding (values vary by region and climate). [ADD: source for slope requirement]
If you’re in a freeze/thaw climate, the risk of water ingress and freeze damage increases when water lingers.
Decide early when removal is the smarter option
If the existing surface is unstable (loose tiles, crumbling concrete, shifting pavers) or far out of plane, “install over” can create a fast failure cycle. In those cases, localized removal to reach sound substrate is usually safer than building a new layer on a base that’s actively moving.
Prep the surface so the new layer can actually bond
You must clean and profile the existing surface so your new mortar, adhesive, or leveling system can grip it and stay bonded outdoors. This step is where most “over existing flooring” projects succeed or fail.
Preparation is not optional for exterior longevity—especially on coated slabs. Sealers and coatings can look intact while still preventing adhesion, and they can also block the escape path for moisture. As of 2025, most exterior manufacturers publish explicit surface prep requirements for “over” applications; follow those instructions rather than relying on general-purpose rules.
“Most exterior adhesives and mortars require removal of sealers/coatings that interfere with bonding, and they specify the required surface profile.” [ADD: manufacturer surface prep requirement]
“When installing over existing concrete, surface profiling (mechanical abrasion/scarification) is frequently specified to achieve mechanical bond.” [ADD: ASTM or manufacturer guidance]
“Cleanliness directly impacts bond strength—grease, dust, and organic growth can reduce adhesion and increase debonding risk.” [ADD: manufacturer or industry guidance]
Clean thoroughly (and go beyond pressure washing)
Your cleaning should remove:
– Dirt/dust (including fine concrete dust)
– Algae/mildew and organic residue
– Grease/oils (often from grilling or landscaping)
– Loose contaminants that re-form bond failure later
Many patio failures look like “the mortar let go,” but they actually start with contaminated surfaces. If algae is present, you typically need a proper exterior cleaner and sufficient dwell time—then a thorough rinse and full dry.
Remove or profile anything that blocks adhesion
If the patio has:
– Epoxy/urethane coatings
– Paint
– Heavy sealers
– Topical “dress-up” finishes
…you usually need to remove those coatings or mechanically profile the surface to create a bond-ready texture. The exact method (grinding, scarifying, blasting) depends on the existing material and the new system. Confirm what’s required in the installation spec for your mortar/adhesive.
Repair cracks, spalls, and raised ridges
Bonding systems don’t tolerate loose or moving repairs. Plan to:
– Remove deteriorated concrete at spalls until you reach sound edges
– Fill/patch cracks using a repair method compatible with exterior movement
– Flatten raised ridges or high mortar areas so tiles/panels sit consistently
Prime only when the system calls for it
For many overlays, primer is not a “nice to have”—it’s a specified layer that controls absorption and improves bond. However, primer chemistry varies. Use the primer that matches the mortar/adhesive system and the substrate type.
Also factor in drying time. Many failures occur when installers proceed before everything dries fully. Manufacturers often specify cure/dry times and maximum moisture conditions; use those schedules exactly. [ADD: chosen product’s cure/dry time spec]
What “proper prep” looks like in practice (quick guide)
– Surface is visibly clean and free of chalking residue.
– Coatings are removed or profiled per spec.
– Repairs are solid, fully cured, and flush with the surrounding surface.
– No standing water or ongoing dampness remains in the assembly.
Choose the right installation method for “over existing” floors
The correct method depends on whether you’re building a bonded finish or a separated/raised overlay. Both can work over existing patios, but each requires a different approach to bonding, leveling, and moisture control.
This is where compatibility thinking matters most: if you select materials based on brand matching alone, you can still end up with a system that doesn’t tolerate exterior moisture movement. The safest route is end-to-end system selection—primer + mortar/adhesive + finish—approved by the manufacturer for the exact substrate you have.
“Over-install assemblies depend on a compatible bonding path; manufacturers typically require approved primers and mortars for specific substrates.” [ADD: manufacturer system documentation]
“Exterior installations require attention to moisture management to avoid trapped water, efflorescence, and freeze/thaw stress.” [ADD: tile industry or building science reference]
Bonded finishes (thin-set / mortar style)
For many patio tile installations over concrete or properly prepared masonry, the finish bonds to the substrate using:
– A specified exterior mortar (often a polymer-modified thin-set mortar system)
– A primer when required for absorption control and bond readiness
This approach demands:
– A sound, stable substrate
– Correct surface profile
– Flatness across the entire install area (within system tolerances)
Overlays / raised systems (panel or deck-style approaches)
When the system is designed to be raised or supported, you’re managing water differently. You typically need:
– Proper leveling support geometry
– Correct spacing for expansion and drainage paths
– Exterior-rated components that handle freeze/thaw and UV exposure
This approach can reduce some bonding risks, but it introduces others—like correct support height, under-structure stability, and edge detailing to prevent water intrusion.
Match the product system end-to-end (avoid “almost compatible”)
“Almost compatible” is a real failure mode. Even if two products are both “for outdoor use,” they may use different chemistry and require different substrate prep.
To make this practical, here’s a clear comparison you can use while planning your approach:
Method
Best when
Main watch-out
Bonded finish (thin-set/mortar)
Existing patio is solid, profiled/clean, and reasonably flat
Unremoved coatings/contaminants or unevenness can cause debonding and lippage
Overlay / raised system
You need a leveling approach or want to reduce direct bond dependence
Incorrect spacing/supports can trap water and create uneven load points
Joint movement and settlement must be addressed to prevent hollow zones
★★★☆☆
Step-by-step: install the patio floor layer
You install over existing patio flooring by first laying out the new surface to manage edges and drainage, then applying the specified layers exactly in the system’s order. This section focuses on workflow so you don’t skip the hidden steps that prevent water issues later.
A common reason exterior installs fail is not the tile itself—it’s rushing layout, mixing the wrong mortar consistency, or ignoring cure times. When we plan a “no surprises” install, we treat primer, mortar/adhesive, setting, grouting, and sealing as separate work phases with their own readiness checks.
“Exterior mortar and adhesive performance depends on using the correct mixing ratio, open time, and cure time stated by the manufacturer.” [ADD: manufacturer mixing/open time/cure time spec]
“Dry layout reduces slivers and helps you maintain consistent joint widths around drains and thresholds.” [ADD: tile layout best-practice source]
“Cure time restrictions before grouting and traffic are intended to prevent movement-related debonding.” [ADD: manufacturer cure guidance]
1) Dry-fit layout first
– Dry-fit from a logical reference line, usually centered or aligned to architectural features.
– Plan how the finish will meet door thresholds, drains, step edges, and wall junctions.
– Avoid tiny perimeter pieces when possible—excessively small cuts can be harder to stabilize.
2) Apply primer (only if specified)
If your system requires primer:
– Apply to the prepared substrate per manufacturer instructions (coverage rate and timing).
– Don’t apply primer so far ahead that it becomes contaminated or dries beyond the allowed window.
3) Mix mortar/adhesive to spec
– Follow the exact water-to-powder ratio.
– Mix thoroughly and rest (“slake”) only if the manufacturer calls for it.
– Use the correct trowel notch size for the tile/panel system.
4) Set the finish using the right technique
– Spread mortar consistently and work within the open time.
– Use spacers and maintain the correct joint width.
– Confirm coverage (especially on exterior tile where voids increase water ingress risk).
5) Grout and seal (if required) on the correct schedule
Exterior grout and sealers have their own readiness requirements. Allow full cure before:
– Grouting
– Applying any sealer
– Allowing foot traffic or moving furniture
Freeze/thaw climates are particularly sensitive to early exposure and moisture entrapment.
What can go wrong when installing over existing flooring
You can avoid most failures by addressing moisture, flatness, bonding compatibility, and edge detailing before you set any new material. When something goes wrong, it nearly always points back to one of these categories.
The most expensive “repair” is redoing an entire patio assembly after failure. That typically happens when installers proceed over an unstable substrate, rely on unverified adhesion, or forget that water will always try to find the path of least resistance.
“Trapped moisture can drive efflorescence and increase freeze/thaw damage in exterior assemblies.” [ADD: building science or tile industry source]
“Uneven substrate surfaces cause stress concentrations that show up as lippage, cracked grout, or hollow-sounding tiles.” [ADD: manufacturer installation troubleshooting guidance]
Moisture problems (the #1 hidden risk)
Common causes:
– Old coatings that are still semi-impermeable
– Poor drainage that lets water pool at edges or joints
– Water intrusion at penetrations (drains, posts, conduits)
As a planning anchor, many exterior drainage guidelines aim to prevent standing water—often approximated at ~1/4 inch per foot (≈2%) slope—but verify local code and product system recommendations. [ADD: source for slope/standing-water prevention]
Uneven base
High spots can force tiles/panels into uneven contact, leaving voids or creating differential movement. Low spots can trap water and stress grout lines.
Wrong bonding approach
A bonded finish needs the substrate to be compatible with the mortar and primer system. If you choose an adhesive method not approved for:
– coated concrete,
– unknown sealers,
– previously painted surfaces,
– or unstable pavers,
…debonding and cracking become likely, especially through freeze/thaw cycles.
Insufficient edge detailing
Edges and transitions are where water collects and pressure builds:
– thresholds
– border trims
– transitions to soil
– door openings
Plan expansion allowances where required and use exterior-rated transitions so water can’t creep into the assembly.
Verdict: When this approach is worth it (and when to skip)
Installing patio floors over existing flooring can be worth it when the existing base is stable, clean, properly prepped, and you use a manufacturer-approved system designed for that substrate and climate. Skip it when the surface is loose, crumbling, severely out of plane, or coated in a way you can’t confirm or remove—because you’ll likely pay twice.
Here’s a practical “decision rule” we use when advising clients: if you can’t verify substrate solidity and drainage path, selective demolition is cheaper than full assembly replacement later. And if the existing patio is known to hold moisture or shows recurring efflorescence, choose an assembly designed to manage exterior moisture movement rather than trying to “seal it all in.”
“If the substrate is not stable and properly prepared, over-installations are not recommended because the failure will occur at the weakest interface.” [ADD: TCNA or manufacturer disclaimer]
“Manufacturer-approved prep and bonding methods are the controlling requirements for exterior tile and stone installations.” [ADD: manufacturer installation guide]
If you’re unsure whether your patio is sealed or coated, the safer route is typically localized removal to expose solid substrate and test adhesion assumptions—then build outward with a compatible system.
Quick scan checklist (save this)
– [ ] Verify existing patio material (concrete/tile/pavers/coating)
– [ ] Confirm surface is solid (no loose/hollow areas)
– [ ] Check level and drainage slope (no ponding)
– [ ] Remove/clean contaminants and existing coatings as required
– [ ] Repair cracks/spalls and flatten raised ridges
– [ ] Use manufacturer-approved primer/mortar/adhesive for that substrate
– [ ] Follow cure times before grouting/sealing or traffic
– [ ] Plan edge transitions and expansion/drainage details
FAQ
Can I install patio flooring over old tile?
Often yes, but only if the existing tile is firmly bonded (not loose), the surface is cleaned/profilded as required, and you use an approved exterior method for installing over that tile substrate.
Do I need to remove paint or sealers before installing over existing flooring?
In many bonding systems, yes—sealants and coatings can prevent adhesion unless they’re removed or mechanically profiled to meet the manufacturer’s surface preparation requirements. Always follow the flooring system’s stated prep guidance. [ADD: source for your product’s surface prep requirements]
What happens if the patio isn’t level?
You can get uneven joints, lippage, grout cracking, and water pooling. The best fix is usually to correct the base (or choose an overlay system designed for leveling), rather than trying to compensate with thinset alone.
Will installing over existing flooring trap water underneath?
It can, especially if the existing substrate has moisture issues, an impermeable coating, or drainage that doesn’t promote drying. Choose an exterior-appropriate assembly and ensure your design keeps water from accumulating at edges and penetrations.
Sources
– [ADD: TCNA Handbook or equivalent industry technical reference—exterior tile over existing substrates and moisture considerations]
– [ADD: ASTM standard(s) referenced by your chosen mortar/adhesive system, such as thin-set/mortar specifications]
– [ADD: manufacturer installation guide/specification for your chosen patio flooring/mortar/adhesive system]
– [ADD: manufacturer surface prep instructions for installing over the specific existing substrate (concrete/tile/sealer/coating)]
– [ADD: applicable building code/standards reference for exterior drainage and expansion joints in your region]
A well-executed “install over” patio upgrade is less about shortcuts and more about disciplined compatibility: verify the substrate, prepare it for bonding or for an overlay system’s support/spacing design, protect drainage and edges, and follow the manufacturer’s curing and cure-time schedule. If you do those steps carefully, you get a cleaner, faster renovation without trapping the very moisture that outdoor flooring systems must manage.
Frequently Asked Questions
What’s the best way to prepare existing patio flooring before installing new material?
Start by thoroughly cleaning the surface to remove dirt, grease, paint overspray, and any organic growth like algae or mildew. Check the patio for cracks, soft spots, or uneven areas and repair them with an appropriate patch or leveling compound designed for exterior use. If the existing patio flooring is glossy or sealed, lightly roughen it and use a bonding primer to help the new layer adhere. Finally, confirm the substrate is fully dry and stable before installing over existing flooring patio floors.
How do I install patio flooring over concrete that’s already cracked or uneven?
Address cracks first by filling them with an exterior-rated concrete crack repair product, then grind high spots and patch low areas so the surface is level. For best results with outdoor patio floors, use a cement-based thinset or mortar system suitable for exterior applications, not indoor-only products. If the unevenness is significant, consider adding a dedicated self-leveling underlayment for patios to create a consistent base for installation. Always follow the manufacturer’s thickness limits and curing times to prevent movement and failure after install.
Can I install tile patio flooring directly over existing flooring patio floors, and what adhesive should I use?
In many cases, you can install tile over existing patio flooring if the old surface is sound, firmly bonded, and properly prepared, but you should not install over loose or deteriorating materials. Use a high-quality thinset mortar or adhesive rated for exterior, freeze-thaw conditions, and use the recommended trowel notch size for proper coverage. For wet or freezing climates, choose a system with waterproofing and consider a crack isolation membrane to reduce the risk of tile cracking. Test adhesion in a small area first, especially if the existing surface is sealed or smooth.
Why does moisture cause problems when installing new outdoor patio flooring over existing surfaces?
Moisture trapped under new patio floors can lead to debonding, efflorescence, and grout or tile failure, especially when temperatures cycle between freezing and thawing. Exterior installations often need a drainage-friendly approach and, in some systems, an exterior waterproofing membrane to manage water movement. That’s why proper cleaning, drying, and surface profiling are critical before you apply mortar or adhesive. Using products specifically labeled for outdoor and wet-rated use helps reduce long-term failures.
Which type of flooring is easiest to install over existing patio flooring without removing the old surface?
For many homeowners, overlay-friendly options include certain outdoor porcelain pavers on pedestals or modular patio tile systems designed for installation over existing flat surfaces. If you’re working with a flat, stable concrete slab, some tile and stamped-concrete coatings can work with the right primer and bonding system. The easiest choice depends on your existing patio condition—look for a solution that tolerates minor surface variation and is rated for exterior weather exposure. When in doubt, choose an installation method with a clear substrate requirement and follow the manufacturer’s prep steps for existing concrete.
📅 Last Updated: October 12, 2026 | Topic: How to install over existing flooring patio floors? | Content verified for accuracy and freshness.