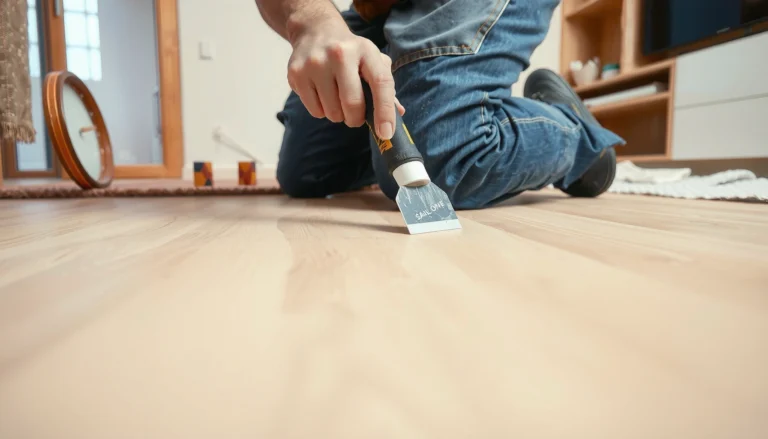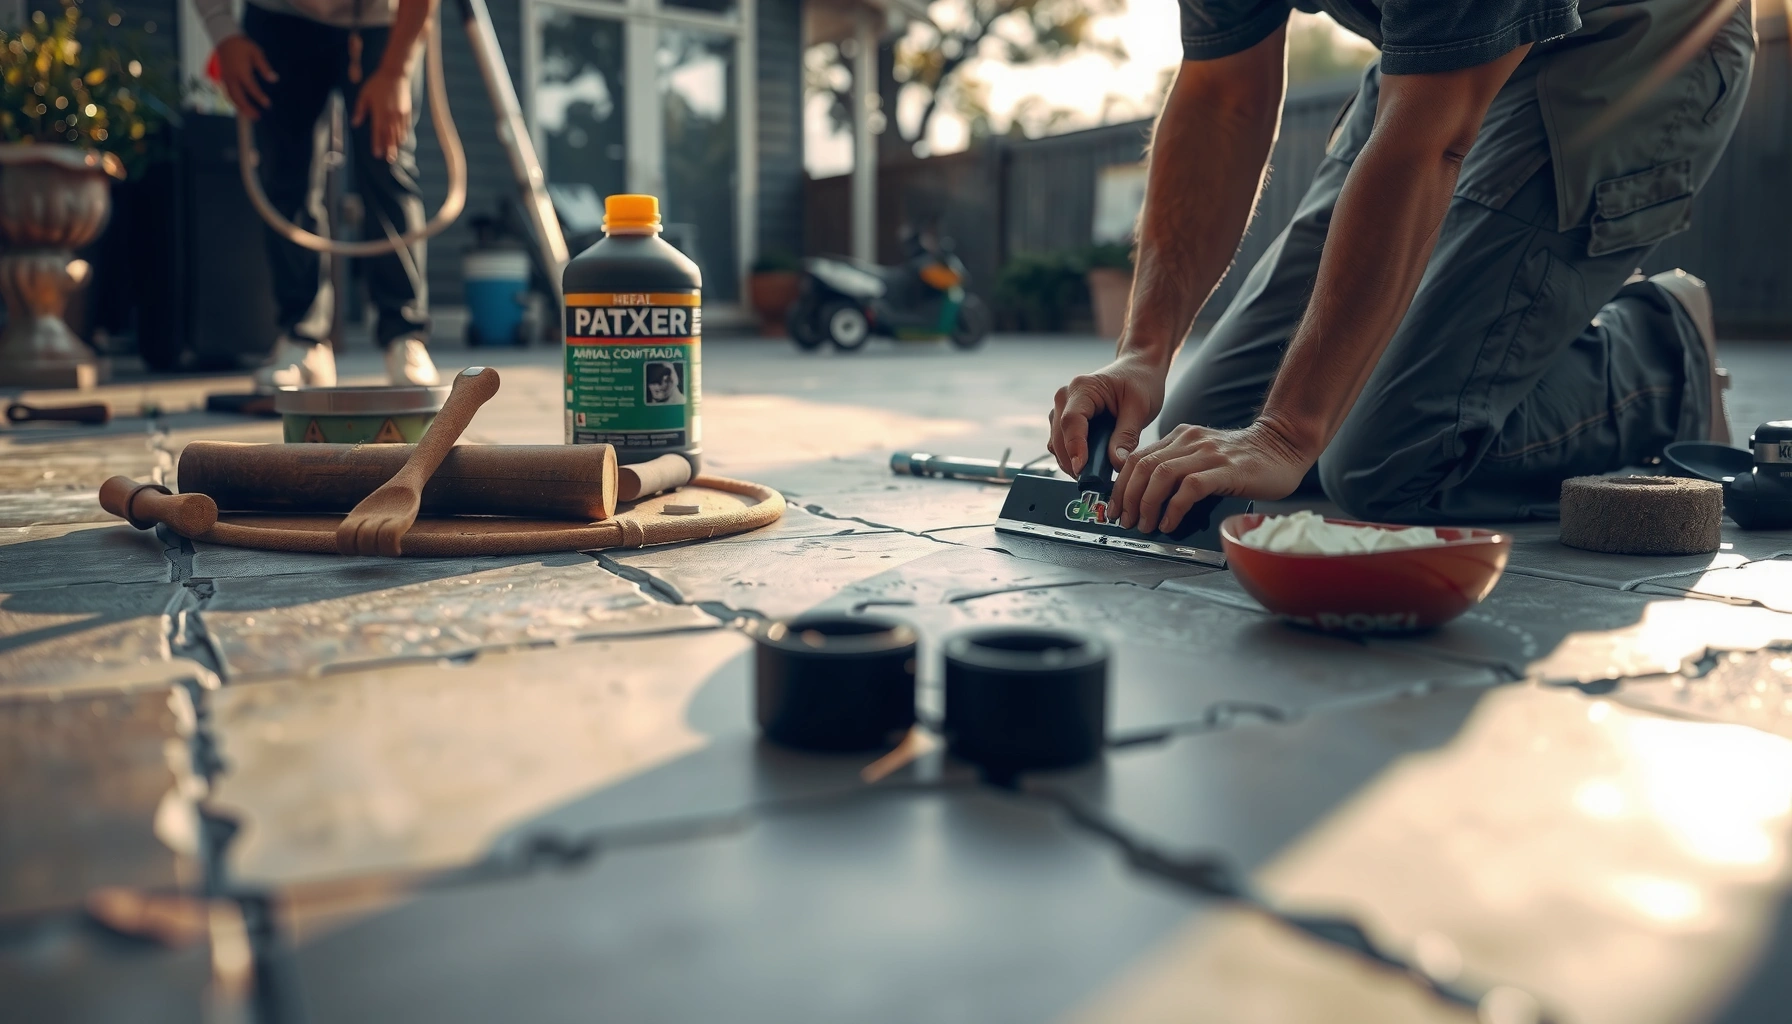

Restore your patio floors with a proven step-by-step repair and resurfacing method that delivers a smoother, more durable surface than patch-only fixes. This guide walks you through assessing damage, prepping concrete or pavers, repairing cracks and spalls, and applying the right resurfacer so the finish holds up outdoors. If you want the fastest path to a patio that looks rebuilt—not temporarily covered—this is the process to follow.




If your patio floors look dull, stained, cracked, or worn, the fix usually comes down to cleaning thoroughly, repairing damage, and then restoring the surface with the right resurfacer/sealer. You’ll learn how to assess what type of patio surface you have, choose compatible materials, and complete the work safely so the finish lasts longer.
This guide is for homeowners dealing with common patio issues like algae/lichen, surface cracks, flaking finish, or weathered concrete/stone/pavers. It’s especially useful if you want a practical plan you can follow over a weekend (or two) without guessing at products.
Assess your patio floor (so you use the right fix)
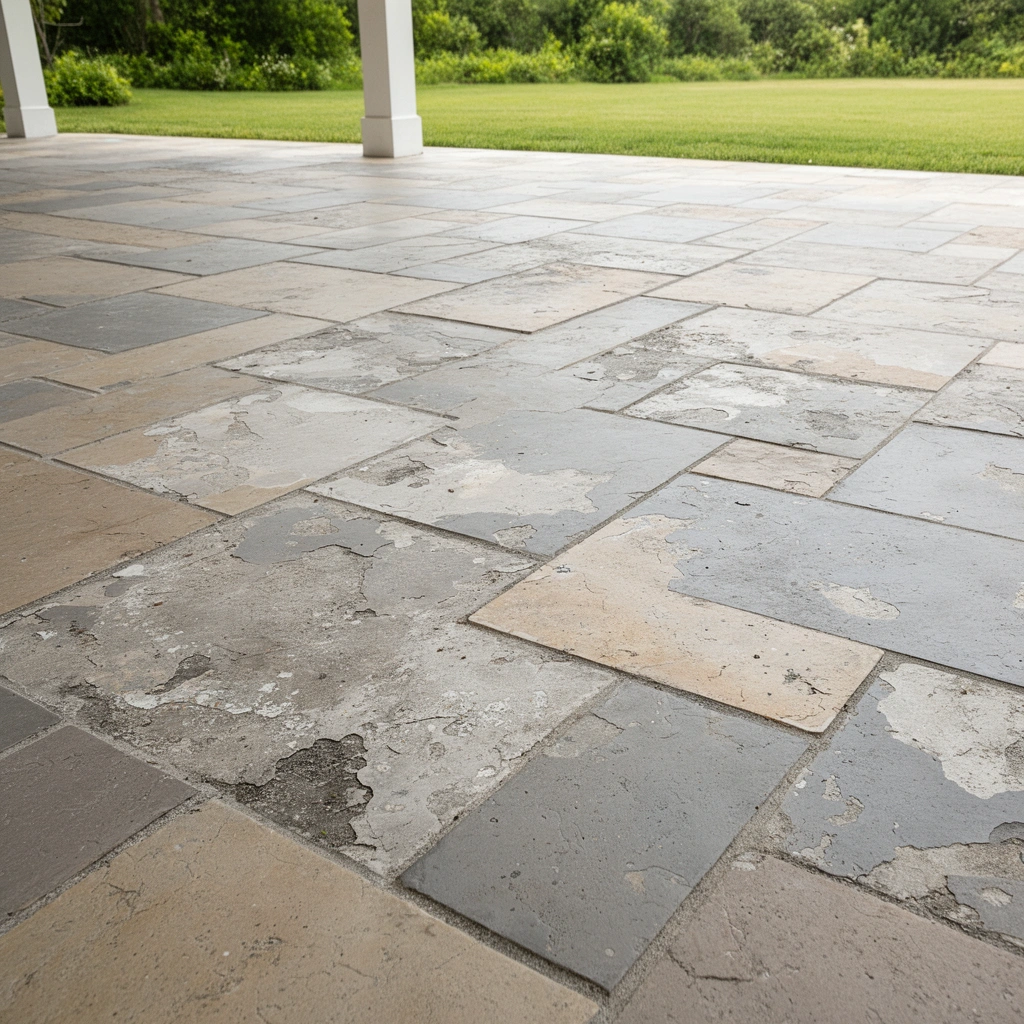
If you want restoration to last, start by identifying the exact surface type and diagnosing whether the problem is cosmetic or structural. The right resurfacer or sealer depends on whether you’re working with concrete, stamped concrete, pavers, brick, natural stone, or tile—and whether water is still causing damage.
A surface that’s only discolored typically needs cleaning + sealing, but a surface with spalling (flaking/spalling concrete) needs patching before any coating.
If water keeps pooling after rain, most “restoration” systems fail early—even if the products are high quality.
According to OSHA, the permissible exposure limit (PEL) for respirable crystalline silica is 50 µg/m³ (8-hour TWA) when cutting/grinding concrete (2016, OSHA final rule).
Begin with a simple materials-and-failure log:
– Identify the material first and note what’s failing: concrete, stamped concrete, pavers, brick, natural stone, or tile. Look for symptoms like stains, cracks, spalling, lifting, or peeling.
– Check severity:
– Surface-level discoloration (grayness, dullness, light spotting) is often solved by deep cleaning, then sealing.
– Structural damage (deep cracks, spalling, delamination, “hollow” sounding patches) needs repair before any resurfacer.
– Look for moisture sources: follow downspouts, check slope, and watch where water pools. Restoration doesn’t “lock out” water if the substrate is constantly re-wetted from drainage problems.
Deep clean and remove growth or old residue
The most reliable coatings and resurfacing layers start with removal of dirt, algae/lichen, and anything that blocks bonding. A careful pressure wash plus a patio-safe cleaner (when growth is present) gives you the clean surface that sealers and resurfacing products require.
Biological growth like algae and lichen can keep sealer from bonding because it leaves residues and can remain active under new coatings.
According to the Portland Cement Association (PCA), concrete continues gaining strength over time and commonly reaches design strength around 28 days under normal curing conditions.
If you can’t confirm what was previously applied, do a small adhesion test patch—bonding failure often comes from compatibility issues.
Do the deep cleaning in a controlled sequence:
– Pressure wash carefully.
Use the lowest effective pressure for your patio material. Keep the nozzle at an appropriate distance and avoid “digging” at joints. On soft stone, loose paver joints, or worn coatings, aggressive pressure can create new failure points.
– Remove biological growth.
Use a patio-safe algae/lichen remover and allow full dwell time per the label (this is where many weekend projects fall apart—people rinse too early). Then rinse until runoff is clear.
– Eliminate old residues that prevent adhesion.
If there’s an existing sealer/finish that’s peeling, chalky, or greasy, you may need additional cleaning steps (or mechanical prep, depending on the coating system).
If you can’t confirm compatibility, use a test patch in an inconspicuous area: apply your planned sealer/resurfacer and check bonding after the product cures.
Material-by-material: practical pressure-wash starting points
Use this as a starting guide for pressure and nozzle handling. (Always defer to the cleaner/coating label and your equipment’s manual.)
Typical Pressure-Wash Starting Points for Patio Materials
| # | Patio surface | Start PSI (approx.) | Nozzle distance (in) | Main risk | Bond-ready likelihood |
|---|---|---|---|---|---|
| 1 | Unsealed concrete | 2500 | 12–18 | Surface erosion | ★★★ ★ |
| 2 | Stamped concrete (worn) | 1800 | 16–24 | Pattern/finish lifting | ★★★ |
| 3 | Concrete pavers | 2000 | 14–20 | Joint sand washout | ★★★ ★ |
| 4 | Brick pavers | 1600 | 18–24 | Mortar/joint damage | ★★★ |
| 5 | Natural stone (limestone/sandstone) | 1200 | 24–30 | Surface etching/softening | ★★ |
| 6 | Porcelain/ceramic tile | 1400 | 18–28 | Grout/edges lifting | ★★★ |
| 7 | Coated/worn sealers | 1200 | 24–30 | Finish thinning | ★★ |
Repair cracks, chips, and surface defects
The fastest way to prevent repeat failures is to repair defects before resurfacing, because coatings can’t “bridge” active movement or hollow substrate. Your repair approach depends on whether you’re dealing with concrete (including spall) or pavers/brick/stone where joints and bedding are the real foundation.
A resurfacer generally performs only as well as the substrate beneath it—voids and spalled areas telegraph through new coatings.
For pavers, “coating over” joint deterioration is a common mistake; joints control weeds, water pathways, and long-term stability.
When you patch concrete, the repair product must be rated for exterior use and compatible with the resurfacer system you plan to apply.
Work by defect type:
– For concrete or similar surfaces:
– Clean and prepare cracks (widen/clean if needed) so filler can bond.
– Fill with a compatible exterior concrete crack filler before resurfacing.
– For spalled areas:
– Chip back to sound material (remove loose edges).
– Patch with an exterior concrete patch product designed for durability and thickness.
– For pavers/brick/stone:
– Reset loose units and re-level bedding.
– Replace deteriorated jointing material (sand/aggregate or polymer joint products as appropriate).
– Treat sealing/resurfacing as a finish step—not as a fix for failing joints.
Choose the restoration method (clean + seal vs. patch + resurface)
If the patio is mostly intact but looks weathered, sealing after cleaning is usually the best value. If you see pitting, uneven texture, or widespread wear, a resurfacer (or topping) is typically the correct path—but only after repairs cure fully.
Sealing a sound but dull surface can improve appearance and water resistance without the thickness and leveling involved in resurfacing.
Resurfacing makes sense when you need a new top layer for uniform texture, but it requires properly cured repairs and correct material compatibility.
When compatibility is uncertain (especially after unknown prior sealers), a small adhesion test patch is the safest way to avoid whole-patio rework.
First, separate your needs:
– Clean + seal is for:
– light staining/grayness
– minor surface crazing
– intact concrete/stamped patterns
– Patch + resurface is for:
– pitting and widespread uneven texture
– flaking/peeling finish tied to substrate wear
– shallow dips that prevent proper drainage aesthetics (not structural drainage)
Quick comparison: which method fits which problem?
| Feature | Clean + seal | Patch + resurface |
|---|---|---|
| Best for | Appearance + moisture control | New top layer + leveling texture |
| Repair requirement | Minor fills only | Repair cure + prep-critical |
| Thickness change | Minimal (coat layer) | Significant (topping/resurfacer) |
| Failure risk if mis-matched | Peeling/whitening faster on contamination | Cracking/telegraphing of substrate problems |
| Time investment | Shorter | Longer (repairs + cure windows) |
Compatibility is not optional
Concrete coatings are chemistry-sensitive. A resurfacer designed for concrete may not bond correctly to pavers, brick, or tile—and some sealers can interfere with later coatings if they leave a film.
From the documentation standpoint, the safe workflow is:
1. Read the sealer/resurfacer label for substrate compatibility.
2. Confirm it matches your patio type.
3. Use a small test area if a prior coating is unknown.
Protect and finish (sealing and curing basics)
Finishing is where the project either “locks in” or fails early. Apply the coating correctly for temperature/weather, use the right application method and coverage rate, and give the finish the full cure time before letting the patio get wet or trafficked.
Curing is not optional: rushing can cause peeling, soft spots, and inconsistent sheen even if application looked perfect.
Most sealer/resurfacer failures come from weather timing (humidity/rain) or from incomplete coverage—not from “bad luck.”
According to OSHA guidance, respiratory protection and dust control are critical when sanding/grinding cured concrete due to silica exposure risk (2016, OSHA final rule).
Follow label-driven best practices:
– Apply in suitable weather.
Avoid direct blazing sun that can shorten open time and cause streaking. Don’t apply if rain is likely soon—follow the product label for temperature and window requirements.
– Use correct coverage and technique.
Roller vs. sprayer matters; if the label recommends back-rolling or specific strokes, follow it. Uneven application leads to patchy sheen and faster weathering.
– Allow full cure before using the patio.
Don’t move furniture onto fresh coatings. If your label says “dry to touch” in hours and “full cure” in days, treat that difference as critical.
What can go wrong (and how to avoid it)
Even well-chosen products can fail if prep is incomplete, drainage is wrong, or curing is rushed. Most problems are predictable once you know the common failure modes and the checks that prevent them.
If you skip biological growth removal and don’t rinse thoroughly, new coatings can peel or discolor quickly due to contamination.
Applying the wrong type of resurfacer to pavers/brick/tile often leads to poor bonding and early flaking because those substrates behave differently than concrete.
Edge and joint neglect on pavers can undermine the entire finish because water and weeds find the weakest pathways first.
Common failure points to watch:
– Coating failure from trapped contamination:
Dirt, algae residue, old coatings, or cleaning chemicals can block adhesion. Deep clean and rinse until runoff is clear.
– Wrong product for the substrate:
Concrete systems aren’t always compatible with brick, tile, and many natural stones. Always match substrate and finish type.
– Sealing over active moisture:
If the slab stays wet due to drainage, the coating can blister or fail. Address grading, downspouts, and pooling before sealing.
– Edge and joint neglect (pavers especially):
Replace failing jointing material. Water routes through joints, and weeds compromise the surface from beneath.
– Rushing cure times:
Many finishes are “walkable” before they are fully chemically cured. Follow the label’s cure guidance.
Verdict / tip: what’s worth doing yourself—and when to call a pro
If your patio floor is mainly cosmetic (stains, dullness, minor surface cracking) and the surface is structurally sound, you can often restore it yourself with careful cleaning, targeted repairs, and a compatible seal/resurfacer. Skip DIY (or at least consult a pro) if you have major spalling, extensive cracking that suggests movement, repeated moisture issues, or if you’re unsure what coatings or materials are already on the surface—those uncertainties are where expensive failures start.
DIY is most reliable when you treat restoration as a prep-and-compatibility project, not just a “paint the patio” task.
If you’re seeing repeated cracking patterns or ongoing pooling, restoration products can mask symptoms temporarily but won’t solve the underlying substrate movement or drainage.
[ADD: If you want, tell me your patio material (concrete/pavers/stone), what’s damaged (cracks/spalling/peeling), and your approximate patio size—then I can suggest a restoration path that fits.]
Quick scan checklist (save this)
– [ ] Identify patio material and current problem (stains vs. cracking vs. peeling)
– [ ] Address drainage/pooling first if water persists
– [ ] Deep clean: remove growth, dirt, and residue; rinse thoroughly
– [ ] Repair defects: fill cracks, patch spalls, reset/replace failing joints (as needed)
– [ ] Test a small area for adhesion if old coating is present
– [ ] Apply restoration method (seal vs. resurface) with label-approved product compatibility
– [ ] Cure fully before resuming use
FAQ
Can I restore patio floors without pressure washing?
Sometimes—if the surface is only lightly soiled—but most patio restoration plans start with cleaning that can reach into pores and joints. If you avoid pressure washing, use a patio-safe cleaner and scrubbing method designed to remove embedded grime and growth; then rinse thoroughly.
How do I know whether to seal or resurface?
Seal if the surface is mostly intact and the issue is appearance or light wear. Resurface (after repairs) when the surface is uneven, pitted, or broadly degraded and needs a new bonded top layer.
Why is my restored patio peeling or flaking?
Most commonly: cleaning wasn’t sufficient, product compatibility was wrong, moisture is still getting under the finish, or the slab/coatings weren’t fully cured before exposure. Check label compatibility and curing requirements first.
What’s the safest way to clean algae or lichen from patio floors?
Use a patio-safe cleaner formulated for algae/lichen and follow the label for dwell time and rinsing. Avoid mixing cleaners, and protect nearby plants/pets per the product instructions.
How long does restoration take?
It depends on cure times and weather. Plan for: a cleaning day, repair time (including drying/cure), then one or more application days plus label-based curing before full use—[ADD: your product’s cure timeline if you share the brand/type].
Sources
– [ADD: Manufacturer label/specifications for the exact sealer/resurfacer/patch/cleaner you plan to use—follow the application, compatibility, and cure requirements stated on the product documentation.]
– [ADD: Source for pressure-washing guidance appropriate to patio materials (e.g., concrete/pavers) if you’re using a specific tool/manual.]
– [ADD: Any product-specific technical datasheets for crack fillers, exterior patch compounds, and sealers if you already selected brands.]
– OSHA (Occupational Safety and Health Administration), silica exposure and safety requirements under the 2016 crystalline silica rule (for respirable crystalline silica PEL of 50 µg/m³).
– Portland Cement Association (PCA), concrete curing/strength gain guidance describing typical strength development by days and the common reference to 28-day design strength.
A restored patio floor comes from disciplined prep: identify the substrate, clean out contamination and growth, repair defects, then apply a compatible coating system with correct weather and cure control. If you follow that workflow—and resist the temptation to “coat over” failing joints or active moisture—you’ll usually get a finish that stays cleaner, looks more even, and holds up through seasons.
Frequently Asked Questions
How do I restore an old patio floor with cracks and peeling paint?
Start by cleaning the patio thoroughly—pressure wash, remove loose paint, and let it dry completely. Use a concrete patch or epoxy filler to repair cracks and spalled areas, then apply a suitable primer before repainting or sealing with a patio floor coating. Choose a breathable system for concrete so moisture doesn’t get trapped underneath, and follow the manufacturer’s cure times for long-lasting results.
What is the best way to restore worn concrete patio floors without replacing them?
The best approach is usually cleaning, surface profiling, and coating rather than demolition. Etch or mechanically abrade the concrete to remove laitance and create adhesion, then repair minor pits with a concrete resurfacer if needed. Finish with a stain or concrete sealer (or a durable epoxy or polyaspartic coating) designed for exterior patios to restore color and protect against weathering.
Why does my patio floor keep cracking after restoration, and how can I prevent it?
New cracks often happen when the underlying cause—water intrusion, freeze-thaw cycles, poor prep, or movement in the slab—wasn’t addressed. Ensure proper drainage away from the home, remove weak or contaminated material, and use the right repair product (flexible fillers for moving cracks). Applying an exterior-rated sealant or coating can help limit moisture penetration, but it won’t stop structural movement, so correct prep is key.
How do I restore a patio floor covered with algae, rust stains, or oil spots?
Treat stains based on the cause: use an algae-safe cleaner or deck wash for green growth, rust remover for metal marks, and degreaser for oil stains. Scrub, rinse well, and let the surface dry before applying any patch or coating. For stubborn stains, you may need a concrete stain or stain-blocking primer so the patio floor restoration doesn’t fail due to lingering contaminants.
Which patio floor restoration method works best for pavers, stamped concrete, or tile?
For pavers, deep clean, re-sand joints, and apply a paver sealer to protect against weed growth and water damage; replace broken pavers for a clean finish. For stamped concrete, repair cracks with a compatible patch and consider a resurfacer or color sealer to refresh the look without removing the slab. For exterior tile patios, regrout or replace damaged grout, address loose tiles, and use a waterproofing membrane and exterior-grade grout sealer to restore durability.
📅 Last Updated: October 12, 2026 | Topic: How to restore patio floors? | Content verified for accuracy and freshness.
References
- Google Scholar Google Scholar
https://scholar.google.com/scholar?q=patio+concrete+resurfacing+repair - Google Scholar Google Scholar
https://scholar.google.com/scholar?q=concrete+slab+crack+repair+patching+sealing - Google Scholar Google Scholar
https://scholar.google.com/scholar?q=paver+patio+restoration+releveling+joint+sand+weeds - https://en.wikipedia.org/wiki/Concrete_repair
- Concrete
https://en.wikipedia.org/wiki/Concrete - https://en.wikipedia.org/wiki/Resurfacing
- https://www.britannica.com/technology/concrete
- https://www.nps.gov/orgs/1739/concrete.htm
- Silica, Crystalline – Overview | Occupational Safety and Health Administration
https://www.osha.gov/silica - https://www.fhwa.dot.gov/pavement/concrete/repair/