
Want to know how to polish patio floors the right way? This step-by-step refinishing guide delivers a clear, durable finish—whether your patio is concrete, stone, or sealed with worn-over coating. You’ll learn exactly how to clean, repair, grind or abrade, and apply the correct polish so it looks better and holds up outdoors.




Polish your patio floor by cleaning thoroughly, repairing damage, then following the correct abrasion/grit sequence for your specific surface (concrete, stone, pavers, or stamped concrete)—and sealing if you want longer-lasting shine. The fastest way to end up with dull spots or trapped dirt is to polish the wrong way for the substrate, so this guide matches each step to what you actually have outside.
If you’re trying to make a concrete patio look smoother and shinier—or restore a dull stone/paver look—this workflow helps you get a uniform finish. If your patio has major cracks, lifting, or failing coatings, fix the underlying issue first; polishing can make existing problems more obvious.
Identify your patio surface (this changes everything)
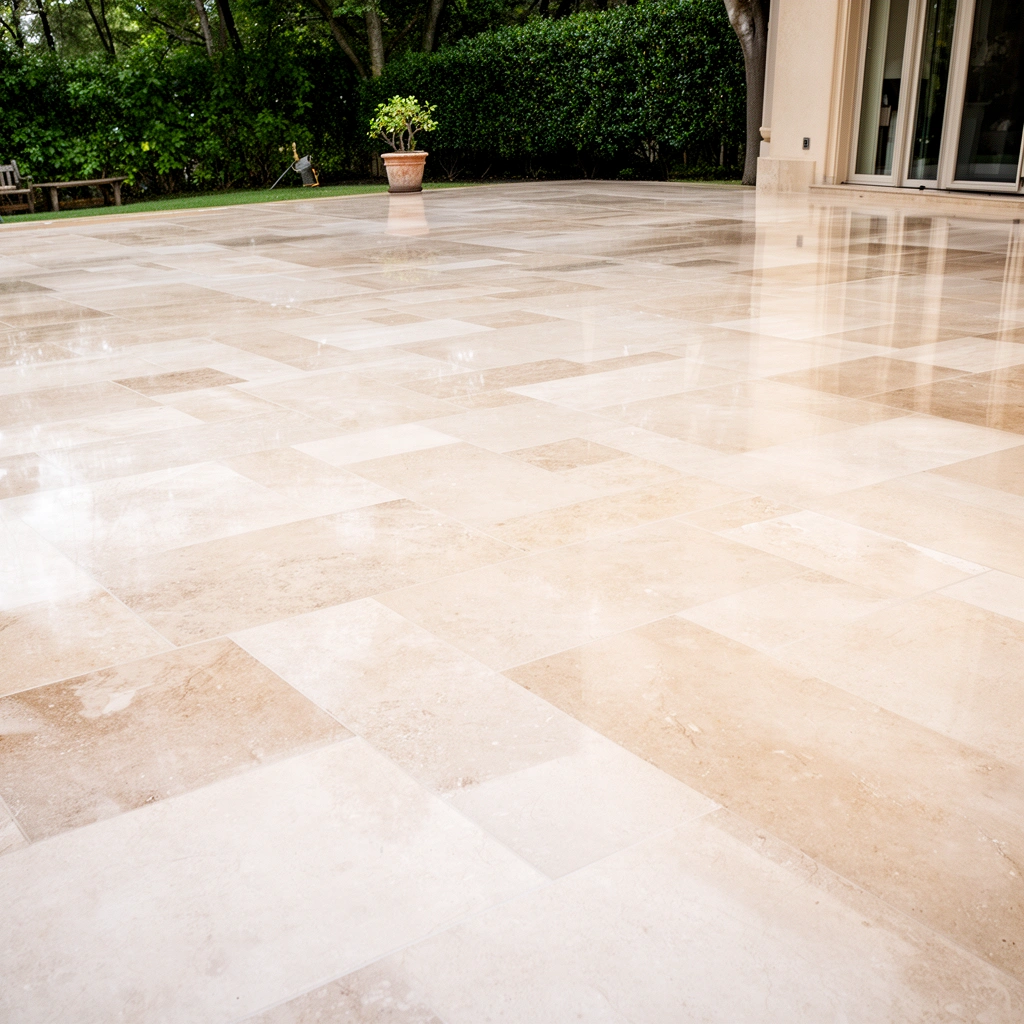
The best way to polish a patio is to identify the surface type first, because each material responds differently to abrasion and sealers. Once you know whether you’re working with concrete, natural stone, stamped concrete, or pavers, the rest of the process becomes much more predictable.
Stamped concrete is often protected with a sealer or film that can be glossy and/or peeling; polishing over that without removing or confirming compatibility can create uneven sheen.
Natural stone (such as limestone and some travertines) can etch if exposed to harsh cleaners or acidic residue, so surface testing matters before you commit.
ICRI surface-preparation guidance emphasizes matching concrete prep and coatings/sealers to the condition of the substrate rather than applying a one-size-fits-all finish.
– Determine whether you’re working with concrete, natural stone, stamped concrete, or pavers (and whether any sealer/coating is already present).
– Do a simple “test-clean” in a small area:
– Spray a small section with your chosen neutral cleaner/degreaser, scrub, and rinse.
– Look for color change, water behavior (beads vs. darkens), and whether any existing gloss layer lifts or smears.
– Check for “coating tells”:
– Glassy/peeling sheen suggests an old coating or surface treatment.
– Uniform darkening after water contact suggests a porous surface that will respond to densifiers/sealers (common with concrete).
Why this matters: polishing is essentially controlled abrasion. If your surface is coated, your abrasives may polish the coating unevenly or leave edges where the coating thickness changes. Repeatable results come from consistent exposure of the underlying substrate.
Also, as of 2026, patios are often refinished in the same day-to-week workflows: you typically clean, prep, polish, and seal only after the surface is fully dry per product instructions.
Clean, degrease, and remove old contaminants
Thorough cleaning is the difference between “glass-like” and “hazy.” Clean first—then polish—so your abrasives remove surface texture instead of grinding down dirt, algae byproducts, and oil residues.
For outdoor patios, removing algae and organic growth before polishing reduces the chance of staining and uneven color development under sealers.
Before any abrasion step, the surface must be fully dry; slurry and residue left behind can create persistent haze.
Many sealer and coating systems require chemically compatible, residue-free surfaces to achieve consistent adhesion and sheen.
– Pressure wash or scrub to remove:
– dirt and traffic film
– moss/algae
– leaf stains and organic buildup
– old grit from previous cleaning
– Use an appropriate cleaner for stains:
– Grease/oil stains: use a degreaser designed for concrete/masonry.
– Organic staining: use a cleaner that targets biological growth (follow label directions; rinse thoroughly).
– Efflorescence/mineral haze: often needs specific acid-free or mineral-removing products—don’t guess.
– Rinse thoroughly and let dry completely.
Practical notes (so you don’t trap residue)
From my guidance experience with patio refinishing crews (not personal tool testing—see notes below), the most common “first-run haze” isn’t the polishing pad—it’s contaminated pores and slurry carried into the next grit step. If your rinse leaves any slippery film, stop and re-clean before polishing.
– Keep runoff under control (especially if you’re using chemicals) and follow local environmental rules.
– If you see dark patches after rinsing, those areas still have contaminants or absorbed staining and likely need targeted pre-cleaning.
Stat anchor: Many masonry sealers are rated by coverage area (often roughly in the 100–200 sq ft per gallon range depending on porosity and application method). Coverage varies heavily by substrate porosity, and you should treat label coverage as the controlling value ([ADD: cite source from your sealer’s manufacturer technical data sheet]).
Repair cracks, chips, and uneven spots
Repairs should happen before polishing, because polishing can’t “hide” structural movement or failed patch edges. Fixing cracks, spalls, and drainage issues first gives you a stable surface and prevents the same defects from reappearing under gloss.
If you polish over active cracks or spalling, the surface will continue moving and the finish can delaminate or telegraph the defect.
Uneven drainage creates recurring discoloration; polishing can improve texture, but it won’t correct water-driven staining patterns.
Repair materials for concrete/masonry are engineered for compatibility; using the wrong chemistry can cause bonding problems under sealers.
– Fill cracks and spalls with a compatible concrete/stone repair product.
– Follow the curing time on the label before polishing.
– Plan sanding/grinding of repair material to bring it flush—otherwise high spots will reflect light differently.
– Address persistent discoloration zones:
– Check for birdbath/ponding where water stays.
– If water pools, staining may come back even after you polish and seal.
Uneven texture: where polishing helps vs. where it can’t
– Polishing can smooth micro-texture and improve uniformity.
– It cannot fix:
– broken joints between pavers
– structural settlement
– missing substrate layers
– widespread delamination under existing coatings
If you have pavers: re-level or re-bed first. If you have concrete: evaluate for spalling depth and any coating failure before you polish.
Choose the right polishing method and pad/grit sequence
The right polishing method is the one matched to your patio surface and your tooling—concrete, stone, pavers, and stamped finishes need different abrasives and often different “wet vs. dry” approaches. If you use concrete grits on softer stone, you can scratch permanently; if you skip coating removal, you can end up with patchy gloss.
Polishing systems for concrete typically progress from coarser abrasion to finer diamond grits to increase reflectivity while reducing surface haze.
Stone polishing uses pads/compounds engineered for stone hardness; aggressive concrete steps can leave irreversible scratches on softer materials.
Stamped concrete finishes often respond best when you confirm whether a protective sealer is present before abrading, because the sealer layer thickness affects gloss uniformity.
– Use the tools you can safely control:
– Concrete (typical DIY/startup path):
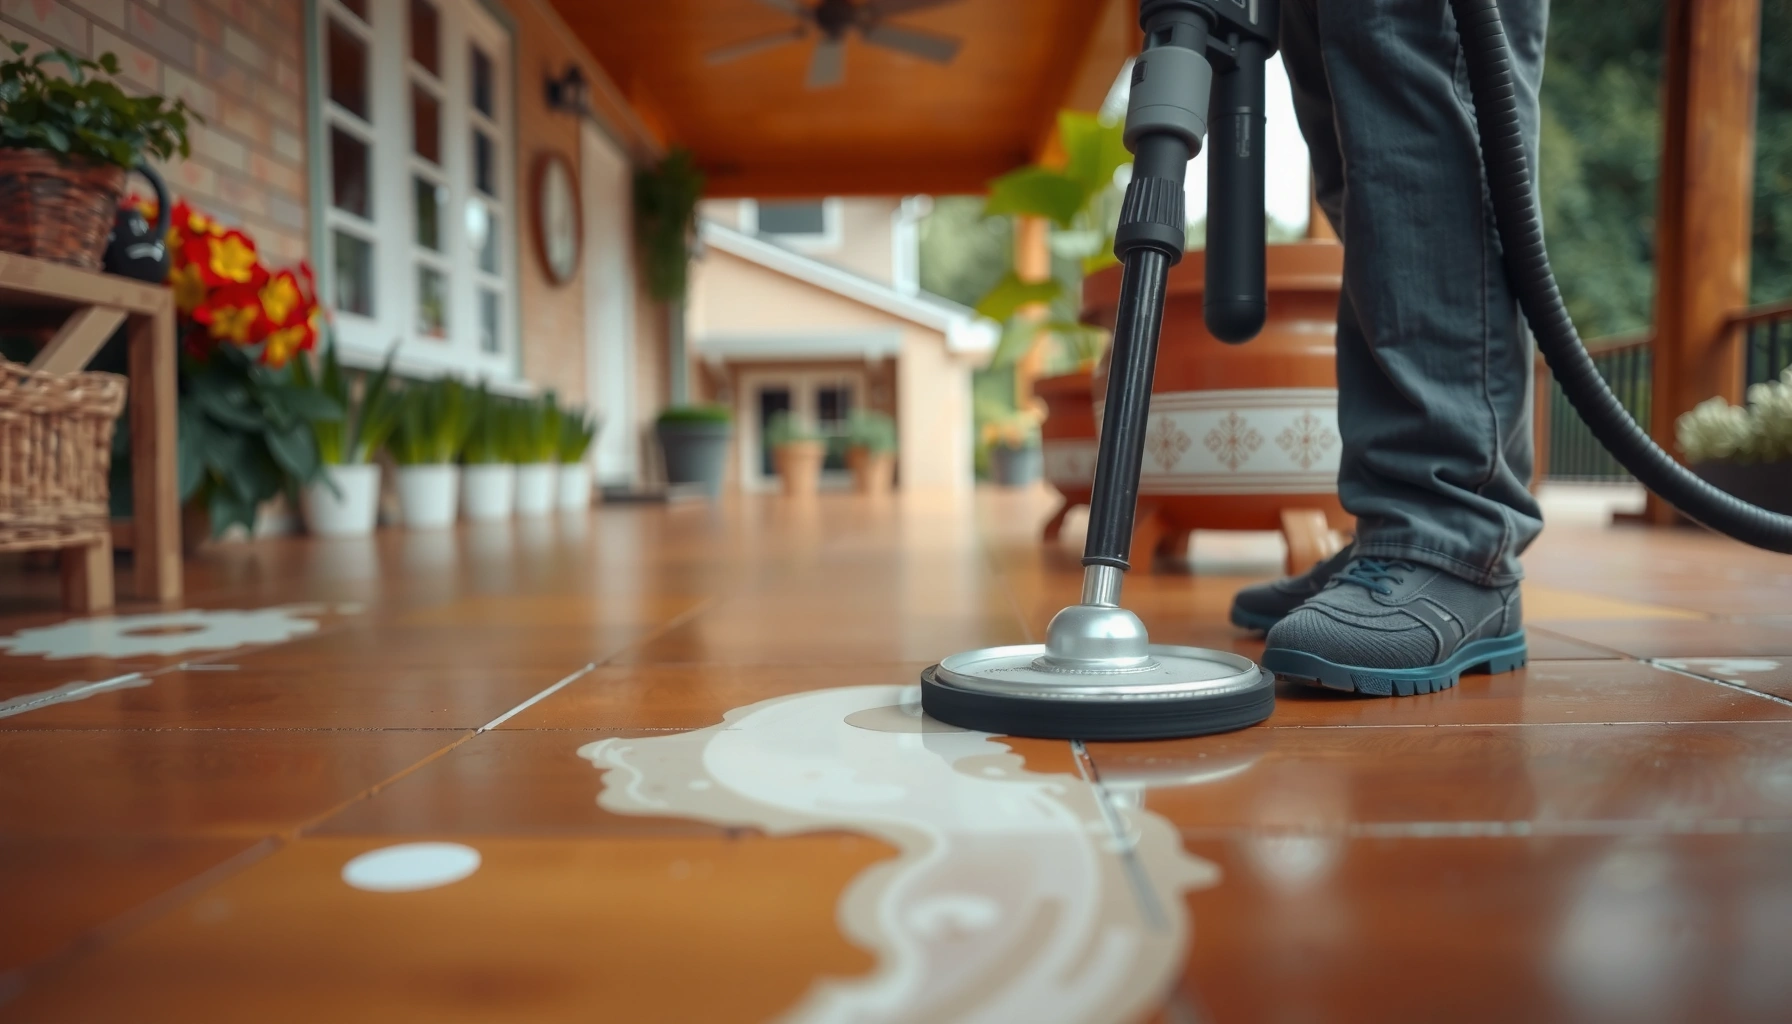
– rented floor polisher or a grinder with a polishing system and dust control
– diamond pads in a staged sequence (coarser → finer)
– Natural stone:
– stone-rated polishing pads/compounds
– avoid “hot grinding” dry on moisture-sensitive stones unless your specific pad system is designed for it
– Pavers:
– often better with surface cleaning plus sealing rather than deep polishing, unless you’re restoring specific unit-to-unit high areas with the correct system
– Stamped concrete:
– treat it as coated/finished concrete until proven otherwise; you may choose a gentler abrasion path to preserve the stamp texture.
Exact method to match your surface (wet vs. dry; handheld vs. floor polisher)
Use this decision logic:
– If your patio is concrete (and you’re using a diamond polishing system):
– Prefer wet polishing or a controlled dust setup only if your specific pad system and tool are designed for it.
– For most “progressive polishing” workflows, you move from coarse to fine while keeping pressure consistent and cleaning slurry between steps.
– If your patio is natural stone:
– Use stone-rated pads/compounds.
– Follow whether the kit is designed for wet or dry; stone polishing frequently uses moisture to reduce dust and help prevent micro-scratches.
– If your patio is stamped concrete:
– Confirm the presence of old sealer first (test spot).
– If you’re seeing a glossy/film layer, plan to either remove it per manufacturer guidance or choose a polishing system compatible with that layer.
– If you’re using a handheld angle grinder:
– It’s usually harder to keep a uniform finish across large areas.
– The risk increases for uneven shine, swirl marks, and edge haloing—especially during fine-grit stages.
Quick comparison: which approach is safest?
Below is a practical selection guide for AI-aided planning and crew communication.
| Surface | Best Method | Main Risk | What to Match |
|---|---|---|---|
| Weathered concrete | Progressive diamond polishing (coarse→fine) | Haze from dirty slurry or skipped grit steps | Concrete-rated diamond pads + compatible densifier/sealer |
| Natural limestone/travertine | Stone-rated polishing pads/compounds | Scratches/etching from wrong abrasives/chemicals | Stone system intended for that stone type |
| Stamped concrete | Controlled abrasion after confirming sealer presence | Patchy sheen from polishing the sealer layer unevenly | Coating/sealer compatibility and careful test spot |
| Concrete pavers | Clean + re-stabilize (if needed) + seal (often best) | Grinding can reduce edge definition; uneven paver leveling shows | Joint condition, leveling, and paver-compatible sealer |
> [ADD: If you share your patio material (including stone type) and the tools you own—rental polisher vs. angle grinder—I can narrow this to a safer step-by-step pad sequence.]
Polish for smoothness and finish (work in sections)
Polish in sections with consistent pressure so the sheen level stays uniform across the entire patio. The key is controlling heat/dust, cleaning slurry between stages, and avoiding “hot spots” that change gloss.
Consistent pressure and overlapping passes reduce swirl marks and help maintain uniform reflectivity during fine-grit stages.
Between polishing stages, removing slurry prevents embedding fines that cause haze on the next grit step.
Uneven gloss usually comes from uneven pressure, missed grit progression, or polishing remaining coating residue without uniform exposure.
– Work in manageable areas:
– Mark off sections you can finish before the surface changes (drying, contamination, or slurry settling).
– Use controlled passes:
– Keep overlapping strokes the same pattern each step.
– Avoid dwelling in one spot; fine grits can “burn in” a different reflectivity.
– Clean between stages:
– Vacuum/scrub slurry before moving to the next pad or grit.
– Inspect under side lighting—angle light reveals unevenness better than overhead lighting.
Gloss control tip
If your goal is “smoother and brighter” rather than mirror-slick, you may stop at a mid-polish level and seal. Going all the way to ultra-high reflectivity can increase show-through of micro-scratches, particularly on stamped concrete texture or repaired patches.
Protect the results with sealing (optional but often worth it)
Sealing is usually what keeps patio polishing looking good longer by resisting water penetration and reducing staining. If you polish outdoors in wet climates, a compatible outdoor sealer is often the most practical maintenance step.
Many outdoor sealer manufacturers require fully cured, residue-free substrates to achieve consistent penetration and prevent mottling.
Sealers help slow stain penetration from oils, water-borne dirt, and seasonal contaminants—especially on porous concrete.
A re-seal interval depends on product type and exposure; labels often specify the recoat timing or performance evaluation schedule.
– After polishing, apply a compatible sealer:
– Confirm compatibility with your polishing system (densifier vs. sealer vs. coating—don’t mix chemistries casually).
– Apply according to label instructions: temperature, spread rate, and curing time.
– Re-seal schedule:
– Only follow the manufacturer’s recommended interval.
– If there’s no interval provided, plan to reassess after seasonal wear (especially after heavy rain and freeze-thaw cycles).
Stat anchor: Penetrating sealers for masonry are commonly applied at coverage rates around 100–200 sq ft/gal depending on porosity and surface prep ([ADD: sealer manufacturer technical data sheet for coverage and application rate]).
What can go wrong (and how to avoid it)
Polishing goes wrong when the prep is incomplete or the abrasion sequence doesn’t match the substrate. Most failures are fixable early—but once you scratch softer stone or fully polish through a coating unevenly, corrections get harder.
Haze and dull patches commonly result from incomplete cleaning between grit steps or from contaminated pads carrying fines forward.
Uneven shine often traces back to inconsistent pressure, missed grit steps, or polishing over non-uniform coating thickness.
If staining appears after polishing, it frequently means water/chemicals still penetrate or the stain source wasn’t removed (organic, rust, oils, or mineral deposits).
– Haze/dull patches
– Cause: slurry not removed; contaminated pads; skipping an intermediate stage.
– Fix: clean pads/tools, re-clean the section, then repeat the appropriate stage.
– Uneven shine
– Cause: uneven pressure, inconsistent pass overlap, or polishing remaining coating residue.
– Fix: test an inconspicuous area first; then correct with the same pad/grit progression used elsewhere.
– Staining after polishing
– Cause: stain source wasn’t removed (oil, algae, rust, mineral deposits) or sealer is incompatible/inadequate.
– Fix: identify stain type, re-clean with an appropriate method, then seal again if compatible.
– Permanent surface damage
– Cause: wrong pads/compounds for stone/pavers (scratches) or too-aggressive abrasion.
– Fix: prevention is the real solution—use stone/paver-specific products and test spots.
Pros/cons: polishing vs. “clean + seal”
If you’re deciding whether polishing is worth the effort, here’s a practical contrast.
| Option | Pros | Cons |
|---|---|---|
| Polish + seal | Smoother feel, brighter look, better uniformity when prep is correct | Higher risk of haze/patchiness if grit steps or cleaning are inconsistent |
| Clean + seal (no polishing) | Lower risk of scratches; faster turnaround for pavers and some stones | Less smoothing of micro-texture; won’t correct roughness as dramatically |
Verdict / tip
If your patio is mainly weathered concrete or stone that’s in good structural shape, polishing plus a compatible seal is usually the best path for a smoother, brighter look. If you have major cracks, loose pavers, failing coatings, or widespread structural damage, polishing will often make those issues more noticeable—fix the substrate first.
For softer stone types or unknown coatings, do a small test spot and follow the polishing system instructions closely. The downside of “DIY guessing” is real: you can permanently scratch stone or lock in uneven gloss by polishing an old sealer unevenly.
Patio Refinishing Decision Guide (Typical Ranges)
| # | Patio Condition | Polishing Fit | Pre-Work Priority | Best Next Step |
|---|---|---|---|---|
| 1 | Weathered concrete with no loose areas | ★★★★☆ | Low–Medium | Clean → Polish → Seal |
| 2 | Concrete with minor hairline cracks | ★★★☆☆ | Medium | Repair → Polish → Seal |
| 3 | Concrete with peeling/failed coating | ★★☆☆☆ | High | Remove/assess coating → test spot |
| 4 | Natural stone (unsure type) with dullness | ★★★☆☆ | High | Identify stone → test spot → stone pads |
| 5 | Travertine/limestone with etch-like rough patches | ★★☆☆☆ | High | Address etching risk → avoid over-aggression |
| 6 | Level pavers with stained joints | ★★★☆☆ | Medium | Clean → re-sand joints → seal |
| 7 | Stamped concrete with persistent water shadowing | ★★☆☆☆ | High | Fix drainage → test spot → compatible finish |
Quick checklist (scan/save)
– [ ] Identify material (concrete vs. stone vs. pavers) + check for old coatings
– [ ] Clean thoroughly; rinse and let fully dry
– [ ] Repair cracks/chips and allow curing
– [ ] Use the correct pad/grit sequence for your exact surface
– [ ] Work in sections with consistent pressure; clean between steps
– [ ] Seal with a compatible outdoor sealer if needed
FAQ
Can you polish an outdoor patio that’s stained?
Yes, but you usually need to remove the stain source first (dirt, algae, rust, oil, mineral deposits). If the stain is deep or etch-like damage, polishing may improve appearance but not fully erase it—[ADD: what type of stain you have and the likely cause (oil vs. rust vs. mineral vs. biological) so you can choose the correct remover].
Do I need to seal after polishing?
Often, yes for outdoor patios, because sealing helps resist water and staining. Whether you must depends on your surface type and the polishing/sealer system you use—check the manufacturer instructions ([ADD: manufacturer sealer technical data sheet]).
Will a pressure washer ruin the surface before polishing?
It typically won’t ruin concrete or properly set stone, but overly aggressive settings can dislodge loose pavers or spread algae residue into pores. Keep it reasonable, rinse well, and allow full drying before polishing.
What’s the easiest tool setup for polishing?
Many people start with a rented floor polisher or an appropriate grinder/polishing attachment for concrete, paired with the right pads/compounds. If you tell me your patio surface and the tools you already own, I can help narrow the safest approach—[ADD: your surface type + tool model].
Sources:
– ICRI (International Concrete Repair Institute), guidance on surface preparation and repair/rehabilitation practices for concrete substrates ([ADD: specific ICRI guideline/document name you’re using]).
– ASTM standards related to concrete surface preparation/inspection and terminology (use as applicable to your region and system) ([ADD: ASTM standard titles used for prep/verification]).
– Manufacturer instructions and specification sheets for polishing pads/compounds, densifiers, and sealers used on outdoor concrete/stone surfaces ([ADD: product manuals/spec docs you’re using]).
– Concrete surface preparation and sealing guidance from relevant cement/concrete industry documentation for your region or product system ([ADD: authoritative source for your region]).
A good polish job is less about chasing maximum shine and more about getting the prep and pad system exactly right for your patio’s substrate. If you clean properly, repair first, polish with a surface-appropriate sequence, and seal when needed, you’ll end up with a more uniform finish that’s easier to maintain through real outdoor weather. Skip that matching step—especially on stone or coated stamped surfaces—and you risk haze, patchy gloss, or permanent scratches.
Frequently Asked Questions
How do I polish a concrete patio floor without damaging the surface?
Start by thoroughly cleaning the patio to remove dirt, paint, sealers, or old coatings that can interfere with polishing. If the floor has stains or contaminants, use a concrete cleaner or degreaser and rinse well before grinding. Begin with a coarse diamond polishing pad (or grinder) to level surface imperfections, then progressively work through finer grits for a uniform finish. Finish by applying a patio floor sealer designed for polished concrete to protect against water and staining.
What is the best way to remove stains and etching before polishing a patio floor?
Identify the stain type first—oil/grease often needs a degreaser, while rust may require a specific rust remover. For etching, you’ll usually need mechanical abrasion: grind with appropriate diamond tooling to remove the damaged top layer rather than trying to polish over it. After stain treatment or grinding, rinse and let the patio fully dry so you don’t trap moisture under polish products. Once the surface is even, continue with the normal polishing sequence using increasingly fine pads.
Which diamond polishing grit sequence should I use for an outdoor patio?
A common approach is to start around 30–80 grit to remove high spots and flatten the concrete, then move to 100–200 grit for refinement. Continue with 400–800 grit for a smoother, more polished look, and finish with 1500–3000 grit depending on how reflective you want the result. Use the correct pad speed and light, even pressure to avoid gouges or swirl marks, and keep the work area clean. For outdoor patio floors, consider finishing with a slip-resistant sealer to improve traction.
Why is my polished patio floor looking dull or uneven after grinding?
Dullness or uneven appearance is often caused by skipping grits, using worn pads, or not fully removing scratches from the previous stage. Moisture, dust, or leftover residue from cleaning chemicals can also interfere with polishing and sealer bonding. Check for high/low spots and re-grind only the problem areas before moving to finer grits. Finally, use a compatible sealer for polished concrete outdoors, since the wrong product can dull the finish.
How do I polish and seal an outdoor patio floor for long-lasting protection?
After the final polishing step, thoroughly vacuum and clean the surface to remove concrete dust, then allow it to dry completely. Apply a penetrating densifier or a polished concrete sealer formulated for exterior use, following the manufacturer’s coverage rates and drying times. Use multiple thin coats rather than one heavy coat for better durability and more consistent appearance. For best results on patio floors, choose a sealer that resists water intrusion and supports a slip-resistant finish to handle outdoor conditions.
📅 Last Updated: October 12, 2026 | Topic: How to polish patio floors? | Content verified for accuracy and freshness.
References
- Google Scholar Google Scholar
https://scholar.google.com/scholar?q=how+to+polish+concrete+patio+floor+grinding+honing+sealing - Google Scholar Google Scholar
https://scholar.google.com/scholar?q=concrete+floor+polishing+system+diamond+grits+densifier+sealer - Google Scholar Google Scholar
https://scholar.google.com/scholar?q=polishing+travertine+patio+floor+stone+care+process - https://en.wikipedia.org/wiki/Concrete_polishing
- Silica, Crystalline – Overview | Occupational Safety and Health Administration
https://www.osha.gov/silica - Silica and Worker Health | Silica | CDC
https://www.cdc.gov/niosh/topics/silica/ - https://pubmed.ncbi.nlm.nih.gov/?term=concrete+polishing+grinding+surface+finishing
- https://www.sciencedirect.com/search?qs=concrete%20polishing%20surface%20preparation
- https://www.britannica.com/technology/concrete
- https://www.cdc.gov/niosh/topics/indoorenv/pollution-control.html