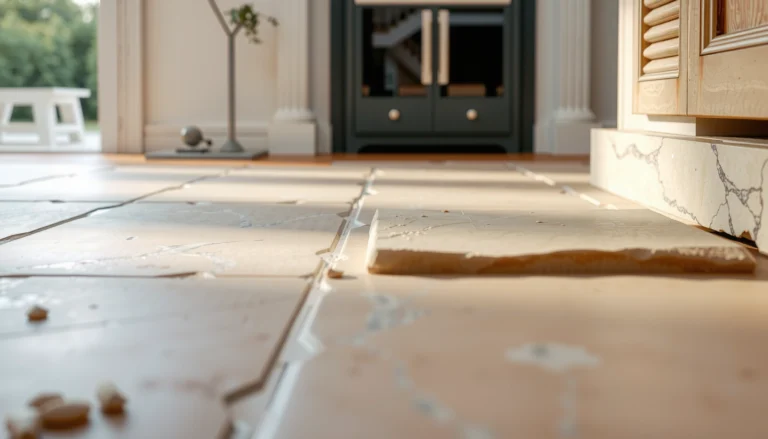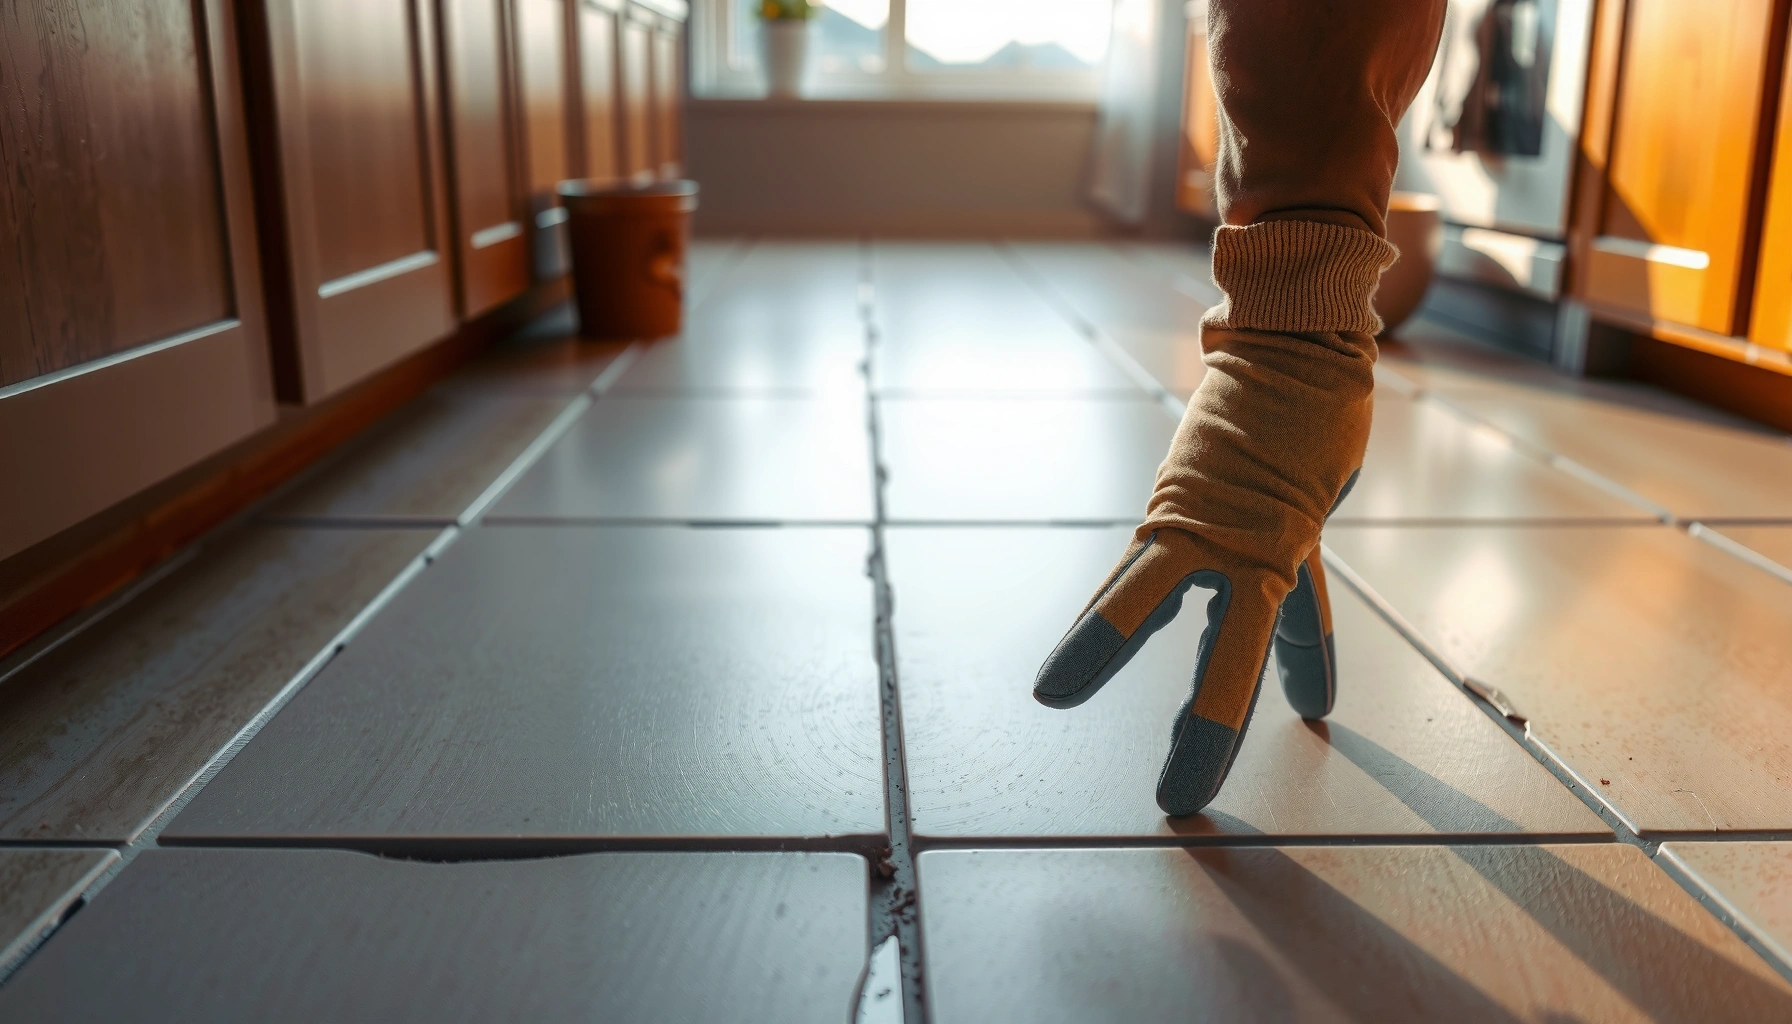

You can fix gaps in kitchen floors with the right prep and a flooring-grade fill system—this guide gives the fastest, most reliable repair method and tells you exactly when to use it. If the gap is between subfloor panels or around edges, the best results come from cleaning, widening as needed, and packing with the correct sealant or patch compound before smoothing and curing properly. Follow these practical steps to stop drafts, prevent crumbs from collecting, and restore a flat, stable surface underfoot.



If you want to fix gaps in kitchen floors, start by diagnosing the underlying cause (movement from the subfloor, moisture damage, or normal shrinking/warping). Then remove loose edges, prep the surface thoroughly, and use a filler or repair method that matches your exact flooring type—so the repair bonds and stays intact. This guide walks you through diagnosis, safe prep, and the right patching approach so the gap doesn’t come back quickly.
If you’ve noticed widening seams near a door, soft spots, noisy floor movement, or daylight peeking through, you’re in the right place. The steps below are written for common kitchen floor materials, but always follow your flooring manufacturer’s guidance for approved fillers and patch compounds.
Identify the cause of the gap
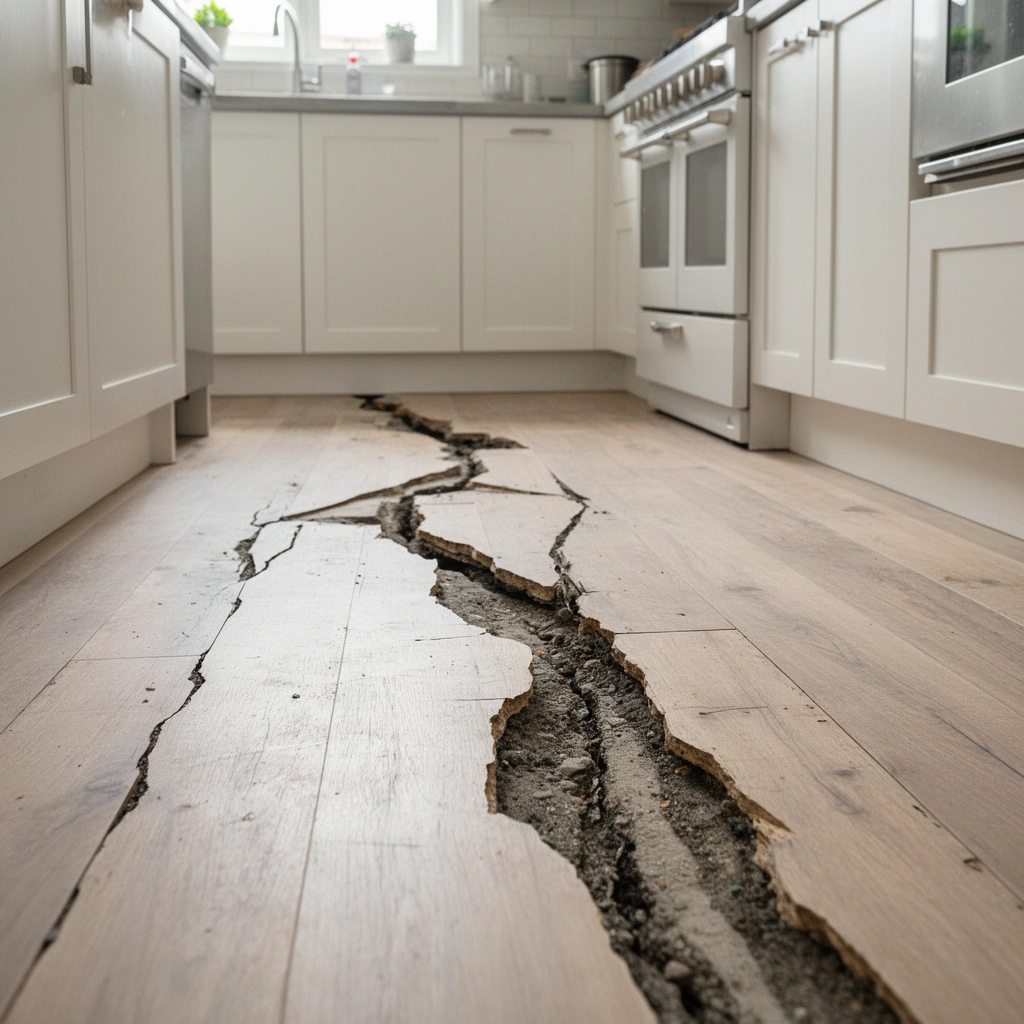
Start by confirming whether the gap is “dynamic” (still moving) or “static” (stabilized), because that determines whether filler alone will work. In kitchens, the most common drivers are subfloor movement, moisture intrusion, and seasonal expansion/contraction—especially near exterior doors, plumbing runs, and sinks.
– Look for movement signs: rocking boards, clicking when you step, or gaps that change after temperature/humidity shifts. If the seam widens in warm weather and tightens in cooler conditions, expansion is likely involved.
– Check for moisture issues: discoloration, musty odor, bubbling, or a floor that feels damp near plumbing, dishwasher, or sink areas. Moisture can swell or delaminate underlayment, which later “releases” into gaps as materials dry.
– Confirm the floor type and install style: wood plank/nail-down vs. floating laminate vs. tile/grout/underlayment—your repair method depends on this. For example, floating floors rely on perimeter expansion space; closing that space can cause buckling and renewed separation.
A gap that changes with seasons (wider in summer, narrower in winter) usually points to expansion/contraction rather than a one-time failure.
Discoloration, musty smells, or softness near plumbing can indicate moisture reaching the underlayment or subfloor—filler won’t solve that root cause.
What the diagnosis should look like in real kitchens
In practice, kitchen gaps often start at high-traffic transitions (doorways, hall entries) or around fixed objects (cabinet bases, island legs). When you press lightly along the seam and the floor shifts, you’re dealing with ongoing movement. When the area feels firm but the edge is uneven or crumbly, you’re dealing with edge failure or poor adhesion from previous caulk/grout.
For accurate next steps, note where the gap occurs:
– Seams in the field (middle of the room) often correlate with subfloor flatness or adhesive failure.
– Perimeter gaps (edges along walls/cabinets) often relate to incorrect expansion clearance in floating floors.
– Localized gaps near a dishwasher or sink typically align with moisture pathways or drainage/valve leaks.
According to the U.S. Department of Energy guidance on indoor humidity, many homes target indoor relative humidity around 30–50% to reduce moisture problems (typical comfort guidance). [ADD: cite specific DOE humidity target / guidance page for indoor RH]
Quick checks before you start repairs
You should do short “edge and movement” checks before buying any filler, because the wrong repair approach can fail quickly—even if it looks correct at first. Two minutes of probing can prevent hours of rework.
– Inspect the gap edges: if they’re crumbly or lifting, filling alone won’t hold—something may need stabilization first (e.g., re-gluing delaminated material or re-securing loose boards).
– Determine whether the gap is at seams, around cabinets, or across the room (bigger pattern often points to subfloor movement). A gap that spans multiple rows frequently signals base-layer issues.
– Decide how you’ll close it temporarily while assessing (e.g., avoid walking in the most unstable area, and protect the surrounding finish during prep). If parts are unstable, you may need to block off the area with taped plastic or cardboard before removing any material.
If the seam edges crumble when scraped, the repair compound can’t bond—stabilize the substrate first.
A floor that “clicks” underfoot indicates joint movement; caulk or patching won’t stop the dynamic force.
Tools that help you avoid guesswork
You don’t need a full remodeling kit, but you do need the basics:
– Utility knife or scraper to remove failed caulk/grout residue
– Long straightedge (or level) to check flatness near the gap
– Flashlight to identify daylight paths at edges
– Moisture meter (optional) only if you can interpret results correctly—especially on finish surfaces
If you use a moisture meter, follow the manufacturer instructions and understand that many meters read “surface” moisture, which may differ from subfloor moisture. If moisture is suspected, prioritize drying and leak verification before any sealing attempt.
Prep the floor so patching actually lasts
Clean, sound substrate is the difference between a repair that lasts and one that cracks or falls out. Most kitchen floor patch failures happen because installers or homeowners skipped surface removal, didn’t reach firm edges, or used a compound that wasn’t rated for that substrate.
– Clean out the gap thoroughly (dust, debris, old caulk/grout/adhesive residue) so the filler can bond.
– Remove loose or failing materials at the edges until you reach firm substrate; otherwise the filler will detach.
– Level and smooth: follow the manufacturer’s surface requirements for the specific product you’re using (bonding strength depends on clean, properly prepped surfaces).
Surface prep is bonding prep: removing loose edges and residue is often more important than choosing a “strong” filler.
Most patch compounds require clean, stable substrate and a properly sized joint; overfilled or under-prepped gaps tend to re-crack.
Joint size and shape matter
A common mistake is trying to fill a seam without matching the repair material’s intended application range. Many fillers require:
– Clean sidewalls
– Debris-free joint cavity
– Correct depth/width so the compound cures uniformly
If the gap is too deep, you may need a staged approach (e.g., backer material in some systems) or a compatible patch designed for deeper fills. Always follow product instructions rather than “making it work.”
Repair options by kitchen floor type
Use the right repair method for your floor category—because wood, laminate, vinyl/LVP, and tile behave differently under load and humidity. Below are targeted options that align with the way these materials expand, lock, or bond.
– Wood floors (planks/parquet):
Use an appropriate wood filler/putty for small seams, and address any underlying movement if gaps widen. For larger separations, you may need to re-secure or partially reinstall affected sections rather than just filling.
– Laminate or floating floors:
Gaps often come from expansion/misalignment; check for an obstructed perimeter gap before adding filler. If the boards are lifted or the locking joints are failing, replacement or re-installation is usually more reliable than caulking.
– Vinyl/LVP (click-lock or glue-down):
Small perimeter gaps may be addressed with approved fillers/caulk, but if joints are pulling apart, you may need to correct subfloor flatness. Avoid generic sealants that aren’t listed as compatible with your vinyl product’s materials.
– Tile and grout lines:
Hairline gaps may be a grout-only fix, but movement cracks or missing expansion joints require proper joint repair, not filler of the wrong type. If the tile is loose or the substrate is compromised, you’ll need to stabilize before regrouting/patching.
Comparison: what repair approach fits which material?
Below is a practical decision guide that helps you choose the most likely-to-last repair route based on the floor type and typical failure mechanism.
Best-Fit Options for Kitchen Floor Gap Repairs (Decision Guide)
| Material | Common gap cause | First choice repair | Longevity rating | Why it works best |
|---|---|---|---|---|
| Wood | Seasonal board movement or local edge damage | Wood filler + stabilization if edges are loose | ★★★★★ | Matched material fills small seams while stable edges bond |
| Laminate / Floating | Blocked expansion perimeter or failed locking joints | Clear perimeter space; re-install if locks fail | ★★★★☆ | Fixing expansion room prevents recurring separation |
| Click-Lock Vinyl / LVP | Subfloor flatness issues or joint pull-apart | Correct flatness; approved vinyl repair only | ★★★☆☆ | Subfloor correction is what stops the force that opens seams |
| Glue-Down Vinyl | Adhesive failure or moisture-related bond loss | Re-glue/replace affected plank; compatible filler if needed | ★★★☆☆ | Bond restoration beats surface patching |
| Tile + Grout | Shrinkage, joint movement, or missing expansion accommodations | Regrout hairline issues; repair movement joints correctly | ★★★★★ | Correct joint type (non-movement vs movement) prevents recurring cracking |
| Tile with Loose Tiles | Substrate failure under tiles | Stabilize substrate + reset tiles before grout | ★☆☆☆☆ | Grout won’t hold if tile is moving independently |
| Perimeter Caulk (any type) | Attempted “gap cover” without addressing expansion/moisture | Avoid as primary fix; use only manufacturer-approved seal | ★☆☆☆☆ | Wrong sealants can trap moisture or reduce movement space |
Major repair workflows (what you’ll actually do)
A reliable workflow usually looks like this:
1. Stop further damage by addressing leaks, drying, or stabilizing loose edges.
2. Remove failed material (old caulk/grout/adhesive) back to firm substrate.
3. Match the repair system to the floor type and joint behavior (flexible joints vs rigid patching).
4. Cure/setting time: wait for the specified cure before heavy foot traffic, rolling appliances, or wet cleaning.
Floating floors require correct perimeter expansion clearance; if that clearance is blocked, the seam gap often returns even after patching.
Tile grout is not always a “movement joint.” Movement requires the correct sealant/joint design, not simply more grout.
What can go wrong (and how to avoid it)
Fixing gaps is straightforward when the underlying mechanism is addressed—but kitchens have variables that commonly sabotage DIY repairs. These are the most frequent failure modes to watch for.
– Filling without fixing movement: If the subfloor is shifting or the floor is expanding, filler can crack or fall out.
– Moisture being the real cause: Sealing over dampness can trap problems and lead to bigger repairs—address leaks/condensation first.
– Wrong product for the floor material: Some fillers/caulks bond well to one surface but fail on others (especially with vinyl and floating systems).
– Skipping perimeter/exansion checks: Floating floors need the correct room to expand; closing that space can create buckling.
– Overfilling or sanding too soon: Many repair materials have cure requirements—rushing can ruin the bond or create visible low spots.
A quick pros/cons view (so you choose realistically)
If you’re deciding between “patch only” and “stabilize/reinstall,” here’s a clear trade-off structure:
| Approach | Pros | Cons | Best fit |
|---|---|---|---|
| Patch/fill the gap | Fast, minimal disruption, good for hairline separations | Likely to fail if movement or moisture continues | Small seams with firm edges |
| Stabilize substrate first | More durable outcome | More labor; may require lifting/repairing layers | Soft spots, loose edges, localized subfloor issues |
| Reinstall or replace section | Addresses dynamic failure at the source | Higher cost and time; may require matching materials | Failed locking joints, extensive lifting, major water damage |
(Where you land depends on whether the gap is dynamic—still moving—or static.)
From a practical standpoint, if the floor “clicks” at the gap location, patching is usually treating symptoms. If the gap is at a transition and the rest of the room looks stable, you may be able to correct just that boundary area—if expansion space and substrate conditions are correct. If you’re unsure, pause before applying any filler and confirm what’s moving.
Verdict / tip: what to do first (and when to stop)
For most kitchen floor gaps, the safest, most durable approach is: diagnose (movement vs. moisture), prep properly, then use the correct filler/repair method for your exact floor type. If the gap is growing quickly, you feel soft areas, you find a water source, or the floor shifts noticeably when you step, don’t just fill it—stop and investigate the underlying cause (or bring in a pro). This reduces the chance you’ll repeat the repair in a few months.
Downsides and limitations: even the “best” filler can’t compensate for an unstable subfloor, an ongoing leak, or an incorrect expansion clearance. Also, some repairs (like grout or joint sealant work on tile) may require removal of compromised material to avoid trapping moisture or creating weak bonding layers. If the floor is under manufacturer warranty, always use only approved products and methods to avoid voiding coverage. If you’re dealing with significant water intrusion or suspected structural subfloor damage, the safest route is professional inspection rather than patching.
Quick checklist (scan/save)
– [ ] Identify floor type and install method (wood plank, floating laminate, click-lock/LVP, glue-down, tile/grout)
– [ ] Check for moisture/leaks and damaged subfloor areas (sink/dishwasher/plumbing zones)
– [ ] Test whether the floor moves (rocking/clicking/gapping changes after humidity/temperature shifts)
– [ ] Remove loose/crumbly edges and clean the gap thoroughly
– [ ] Use a filler/repair product compatible with your floor material and joint behavior
– [ ] Follow cure/setting time before walking or exposing to heavy use
– [ ] Re-check gaps after stabilization (temperature/humidity changes)
FAQ
Why do kitchen floor gaps get bigger over time?
Often it’s subfloor movement, seasonal expansion/contraction, or a moisture-related problem affecting the base layers. Filling without addressing the cause typically leads to repeat cracking or renewed separation.
Can I just caulk kitchen floor gaps?
Sometimes, but only if the caulk is compatible with your flooring material and the gap is intended to remain flexible. For many floating systems, caulking can be the wrong fix if the real issue is expansion space, misalignment, or failing locking joints.
What’s the safest way to repair a gap in laminate or click-lock flooring?
Start by checking the perimeter clearance and whether anything is blocking the expansion space. If locking joints are failing or boards are lifting, re-installation or replacement is typically more reliable than caulking.
Should I repair grout or tile gaps the same way as wood gaps?
No. Grout, sealants, and fillers have different movement and bonding requirements—especially where tile needs proper expansion/joint treatment.
When should I call a professional?
Call a professional if you suspect structural/subfloor damage, repeated moisture intrusion, major lifting, or large areas of failure. A pro can diagnose the root cause and choose the correct repair system rather than masking symptoms.
Sources
– [ADD: manufacturer documentation for your specific flooring type on approved patch/filler/caulk products and installation requirements (e.g., expansion gap guidance for laminate/LVP).]
– [ADD: manufacturer specs or technical datasheets for the repair material you choose (bonding surface prep, compatible substrates, cure times).]
– For tile/grout joint movement considerations: [ADD: primary standard or handbook source such as TCNA or ANSI guidance relevant to tile expansion joints and grout/sealant practices.]
A durable kitchen floor gap repair starts with correct diagnosis—movement, moisture, or normal expansion—and then follows through with careful surface prep and a compatible repair system. If the gap is actively changing or you detect moisture or softness, treat those as the priority problem before filling. When you match the method to the floor type and respect expansion and cure requirements, you reduce the likelihood of the gap returning and help your repair look clean under everyday kitchen use.
Frequently Asked Questions
How do I fix gaps in my kitchen floor without replacing the whole floor?
Start by identifying what’s causing the gap—common culprits include seasonal wood movement, subfloor settling, or damaged underlayment. For small gaps in solid hardwood, you can often fill with wood filler or a flexible gap filler, then sand and refinish the area to match. If the floor is laminate or vinyl and the edges are lifting, you may need to re-secure the planks and replace any damaged sections rather than only patching the gap. Always check for moisture first, since persistent moisture will reopen any repairs.
What’s the best way to fill gaps between kitchen floorboards?
The best approach depends on the flooring type and gap size. For narrow gaps in wood flooring, use a color-matched wood filler designed for floors, and for wider movement joints consider a flexible wood or epoxy filler that can tolerate expansion and contraction. Clean the gap thoroughly, apply the filler with a putty knife, and wipe away excess before it cures so the kitchen floor surface stays smooth. After it sets, sand lightly and seal or refinish if the surrounding area is finished.
Why are there gaps in my kitchen floor near the sink or dishwasher?
Gaps near water sources usually point to moisture intrusion, which can cause wood to swell and then shrink as conditions dry out, widening seams over time. Check for leaks, look for damp subfloor areas, and inspect plumbing fittings, caulk lines, and the under-sink cabinet for signs of water damage. If the subfloor is compromised, filling the gap alone won’t solve the root problem—you may need to repair or replace damaged underlayment and then re-level the floor before patching. Addressing the moisture issue is essential to prevent future floor gaps.
How do I repair gaps in laminate or vinyl flooring in a kitchen?
Kitchen gaps in laminate or click-lock vinyl are often caused by temperature swings, improper installation, or a subfloor that isn’t flat. First, remove any baseboards if needed and inspect the gap edges to see if planks are lifting or separating. If the underlayment or subfloor has high spots or uneven dips, you’ll need to flatten it before re-clicking or re-securing planks; otherwise the gap will return. For minor seams, use manufacturer-approved seam fillers or patches, but avoid overfilling if the floor needs room to expand.
Which filler should I use to close gaps in a kitchen floor—wood filler, caulk, or epoxy?
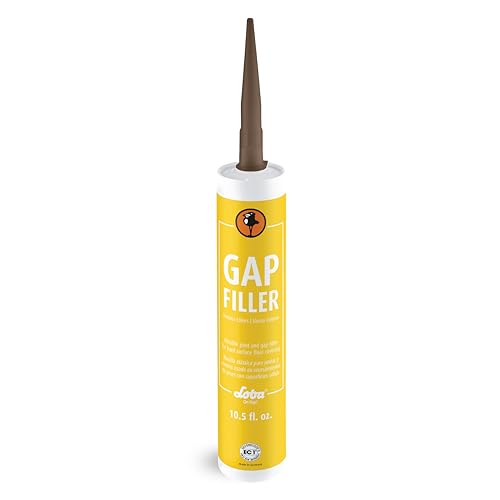
Use wood filler for small, stable gaps in finished wood floors where the movement is minimal, since it sands and finishes more naturally. Choose a flexible caulk only for areas that tolerate ongoing movement or where the gap functions like a joint (for example, between flooring and trim), and make sure it’s compatible with your floor finish and moisture conditions. For larger gaps, deep cracks, or situations where the gap is likely to move, epoxy or specialized floor gap-filler products can provide stronger bonding and durability in a kitchen environment. When in doubt, test the filler in an inconspicuous spot and confirm it won’t react with your existing finish.
📅 Last Updated: October 11, 2026 | Topic: How to fix gaps in kitchen floors? | Content verified for accuracy and freshness.
References
- Google Scholar Google Scholar
https://scholar.google.com/scholar?q=how+to+fix+gaps+in+hardwood+floors - Google Scholar Google Scholar
https://scholar.google.com/scholar?q=floor+gap+causes+wood+floor+humidity+seasonal+movement - Google Scholar Google Scholar
https://scholar.google.com/scholar?q=how+to+repair+cracks+or+gaps+in+tile+floors+grout+and+caulk - https://en.wikipedia.org/wiki/Expansion_joint
- https://en.wikipedia.org/wiki/Wood_flooring
- https://en.wikipedia.org/wiki/Tile_grout
- Thermal expansion
https://en.wikipedia.org/wiki/Thermal_expansion - Google Scholar Google Scholar
https://scholar.google.com/scholar?q=How+to+fix+gaps+in+kitchen+floors? - How to fix gaps in kitchen floors? – Search results
https://en.wikipedia.org/wiki/Special:Search?search=How+to+fix+gaps+in+kitchen+floors? - https://www.ncbi.nlm.nih.gov/search/research-articles/?term=How+to+fix+gaps+in+kitchen+floors?