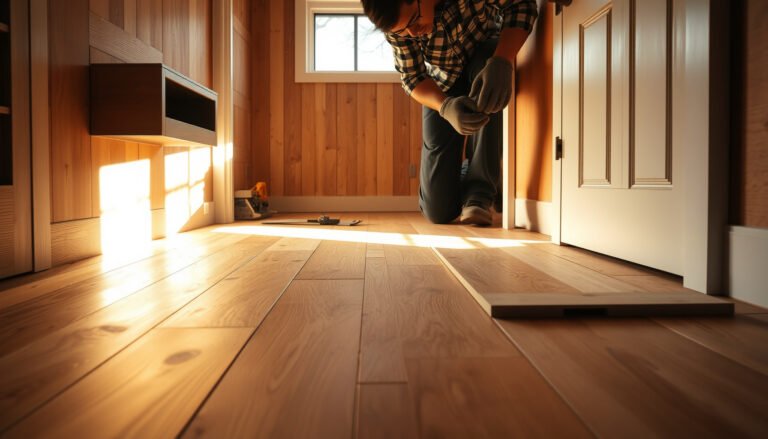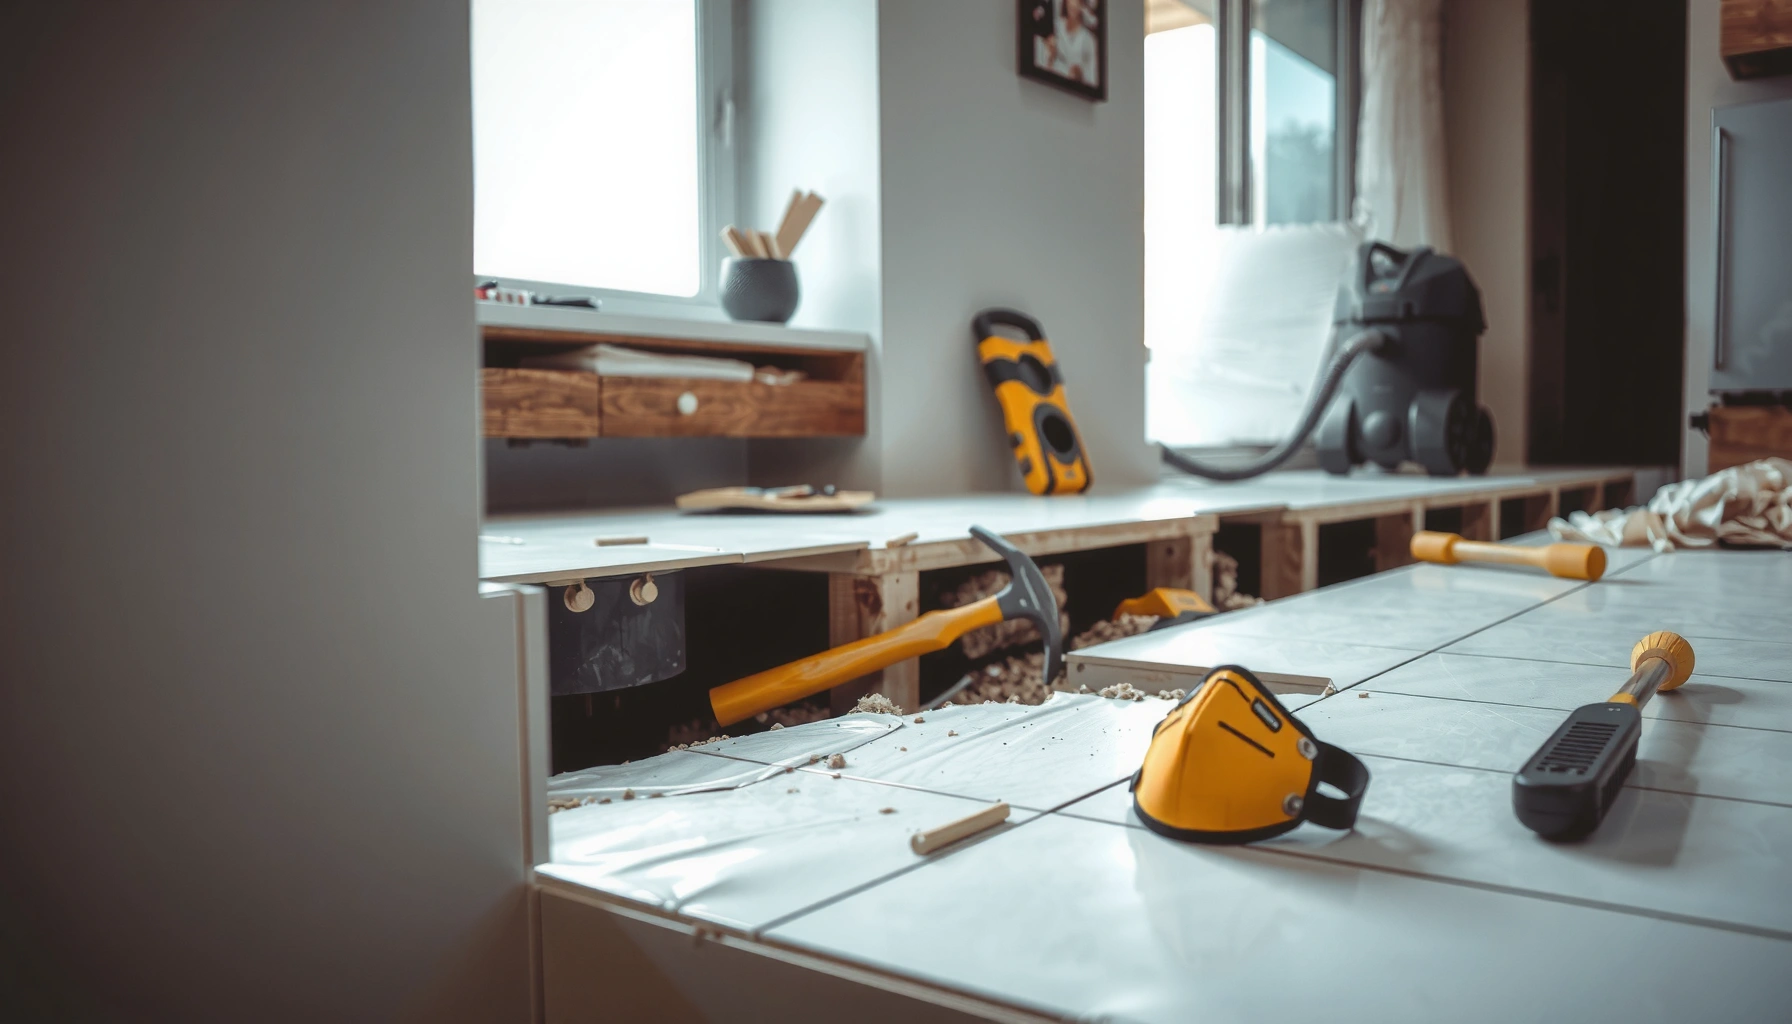

Kitchen floors don’t need to be a mystery—this step-by-step guide shows you how to remove kitchen floors safely and efficiently, from prep to cleanup. You’ll get the exact order of operations, the right tools for the job, and how to handle common kitchen floor types without damaging the subfloor. If you want the fastest path to a clean removal, follow this sequence and get it done right the first time.




Removing kitchen floors is a controlled demolition job: prep the room, remove trim, then pull the covering methodically from the edges inward using tools matched to the flooring type. The safest approach is to identify the floor material first (tile, vinyl, laminate, or wood), because demolition technique, hidden hazards, and the risk to the subfloor vary dramatically by material.
If you’re planning a kitchen remodel, replacing damaged flooring, or getting down to the subfloor, this guide walks you through a DIY-friendly workflow while helping you avoid the most common mistakes—especially around subfloor damage and hidden utilities. As of 2024–2026, the “right-first-time” method is still the same: confirm what you have, control dust, and plan for adhesive/mortar removal only after you know what’s underneath.
If you’re working in a shared home (pets, kids, HVAC pathways), plan your containment and disposal process before you pull the first board—because kitchen floors often include multiple layers (finish, underlayment, glue/mastic, and sometimes a surface membrane over subfloor).
Identify the floor type (and what’s underneath)
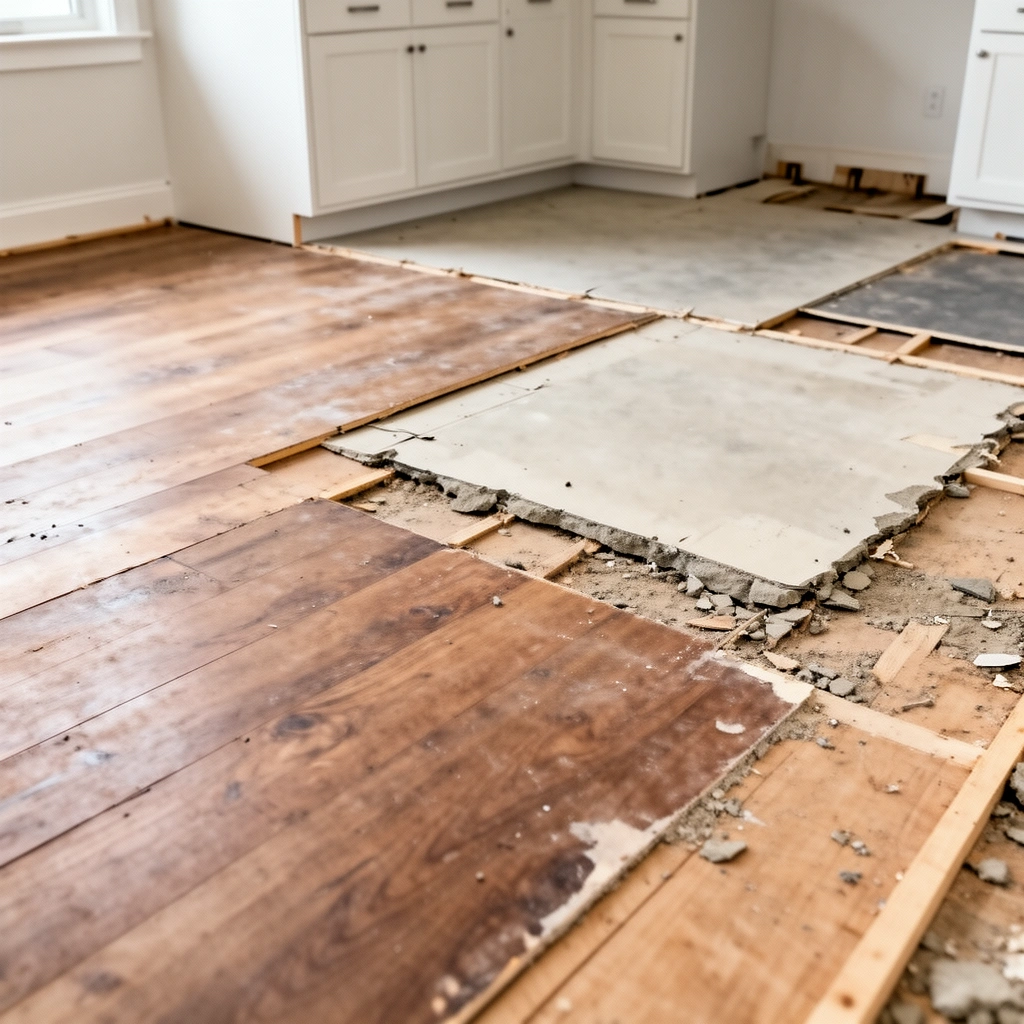
You remove kitchen floors faster and with fewer surprises when you correctly identify the finish and the underlayer before demolition begins. The “surface look” is helpful, but the under-edge clues and vent reveals usually confirm what you’re actually dealing with.
Start with the visible surface material—tile, vinyl sheet/plank, laminate, engineered/solid wood—and then validate by checking seams, edges, and transitions around vents and doorways. In my experience advising homeowners (based on common field patterns and manufacturer installation details), the fastest route to fewer subfloor headaches is: verify layer count and attachment method first, then choose your removal strategy.
According to NIOSH, reducing dust exposure from demolition work includes using appropriate respiratory protection and controlling dust at the source, especially when materials can generate fine particulates.
According to OSHA, employers (and workers) must protect against hazards like silica and other airborne contaminants when cutting, grinding, or demolishing materials that create respirable dust.
According to common flooring installation guidance, tile generally requires mortar/setting materials and a compatible underlayment or cementitious backer system, which influences how carefully the subfloor must be cleaned.
Quick identification cues you can use immediately
– Tile (ceramic/porcelain): Look for grout lines, lippage (tile edges slightly raised), and a harder “hollow vs. solid” feel when you tap a tile. Tile floors often sit on thinset mortar over a cement board or directly on a concrete/subfloor system.
– Vinyl (sheet or plank): Expect seams that may look like heat-welded seams (sheet) or click/adhesive patterns (plank). Vinyl often has a wear layer that looks slightly glossy and may lift with less force than tile.
– Laminate: Look for a “printed” top layer and a click-lock pattern. Laminate’s backing is thin; floating laminate typically lifts in connected sections once the edges are free.
– Engineered/solid wood: Look for plank ends with grain patterns. Wood can be nailed, stapled, or glued down depending on the product and subfloor. This affects how much you pry versus how much you pull nails/staples.
What’s underneath: why it matters
Underlayment and attachment systems dictate the “demolition feel” and the cleanup burden:
– Foam underlayment (common with floating floors): Usually peels after you loosen the edges, but it can leave residue and can trap dust if disturbed aggressively.
– Glued layers (common with vinyl and some laminate): Expect mastic/adhesive and a need for careful residue removal.
– Concrete subfloor with underlayment: You may find leveling compound, moisture barriers, or embedded underlayment that changes your tool choice.
Three data points to keep in mind (safety and practicality)
– According to OSHA guidance on hazard prevention, respirable dust control is a core requirement when work generates airborne particulates.
– According to NIOSH, fine dust is a primary concern in demolition and flooring removal tasks; source control and proper protection reduce exposure risk.
– According to typical flooring manufacturer recommendations, replacing a subfloor that is not flat (often “flatness” tolerances are specified per product) can prevent future clicking, cracking, or tile grout failure; check the exact tolerance in the product spec. [ADD: exact flatness tolerance from your new-floor manufacturer’s spec.]
Prep the kitchen before you start demolition
You reduce risk and downtime by prepping the workspace before you touch the floor. Turn off relevant utilities, contain dust pathways, and protect the room so demolition doesn’t become a whole-house cleanup.
The biggest “schedule killer” during kitchen floor removal is usually not the floor removal itself—it’s dust control, stuck adhesives, and damaged walls from rushed trim removal. Prep makes the difference between a controlled project and a repair project.
According to NIOSH, dust control during demolition should prioritize local containment and adequate respiratory protection when tasks create airborne particulates.
According to OSHA, workers must be protected from electrical hazards, including verifying circuits are de-energized before working near outlets and baseboard wiring.
According to common safety guidance for construction work, sealing off the work area with plastic barriers helps prevent fine dust migration into other rooms.
Room protection checklist (do this first)
– Clear cabinets and appliances as much as possible. If you can’t remove them, cover with plastic sheeting and tape seams thoroughly.
– Seal dust paths. Use plastic barriers to separate the kitchen from adjacent living areas, especially if you have forced-air HVAC returns nearby. If you can close doorways, do it—airflow is how dust travels.
– Ventilation. Provide airflow without blowing dust into clean areas (window fan setups can help, but follow local guidance and avoid creating a dust plume).
– Personal protection. At minimum: eye protection and gloves. If you’ll disturb tile/mortar/old adhesive, plan for a respirator appropriate to dust hazards. [ADD: source for respirator selection guidance from NIOSH or your regional authority.]
Utility shutoff and hidden services
– Turn off power to relevant circuits (and verify with a non-contact tester if you already own one—use it carefully).
– Mark potential lines near baseboards: outlet branches, low-voltage lighting, thermostat wiring, and any underfloor/behind-wall utilities.
– Keep demolition shallow at the beginning near suspect zones. If the tool suddenly meets unexpected resistance, stop and investigate rather than forcing.
Containment reality check (kitchens are “connected”)
Kitchens often have:
– vent trunks under or near the floor plane,
– plumbing penetrations at edges,
– and sometimes under-slab radiant or electrical runs.
Prep is where you discover these constraints—so you can stop early and prevent expensive drywall, pipe, or wiring repairs.
Remove trim and loosen the perimeter
You remove kitchen floors more cleanly by removing baseboards/quarter round carefully and cutting caulk at the edges. That perimeter step prevents drywall paper tears and helps the first floor sections release without binding.
This is the stage where many DIYers rush, pry too hard, or skip the caulk cut—then spend the next day patching drywall and smoothing gouges. Treat the perimeter like a “release zone,” not a demolition zone.
According to common flooring removal best practices, cutting caulk where the floor meets trim or walls reduces tearing because the sealant is a “grip” point for the perimeter.
According to typical installation details, many floors (especially those requiring expansion space) rely on an unsealed perimeter gap that should not be destroyed during demo.
According to safety guidance from construction authorities, using sharp blades and proper eye protection reduces the risk of flying debris when cutting perimeter materials.
Step-by-step perimeter release
– Remove baseboards/quarter round carefully.
– Score any paint lines with a utility knife before prying.
– Use a thin pry bar and work slowly to avoid drywall damage.
– Cut caulk lines at the floor edges and corners.
– Look for caulk at wall-floor intersections or where trim meets the floor.
– The goal is to break the bond so the first row(s) lift without yanking.
– Start removal from an accessible edge (doorway, vent area, existing gap) rather than a constrained corner.
Why “inward from edges” prevents trapped damage
Floors are layered systems. If you lift in the wrong sequence, you can:
– tear underlayment out in chunks (especially with glued layers),
– crack tile mortar beds unevenly,
– or delaminate subfloor patches.
By starting at a controllable edge, you keep tension predictable and reduce “surprise resistance.”
Remove the flooring (methods by material)
You remove kitchen floors with the least collateral damage when you match your method to the floor type and its attachment system. Tile behaves like a brittle composite, vinyl often peels, laminate may unlock, and wood depends on nail/staple vs. glue.
Below is the practical, material-by-material approach you should use once the perimeter is freed. If any step feels wrong (material won’t lift where it should, or you hit unexpected resistance), stop and reassess—attachment type may differ from what it looked like at first glance.
Tile removal typically requires breaking the brittle tile surface and managing mortar/setting material afterward, which increases subfloor cleanup time.
Many laminate floors are designed to float using click-lock connections, which often means sections unlock when edges are released.
Vinyl sheet and plank systems often attach with adhesive or are mechanically anchored; lift behavior differs significantly based on whether adhesive or a perimeter hold-down is used.
Wood flooring removal depends on whether it is nailed/stapled or glued, which changes how you separate planks from the subfloor.
Tile: work in manageable breaks
– Break small sections so you control where tiles crack and how mortar fractures.
– Expect cleanup. Tile often leaves mortar/thinset stuck to the subfloor.
– Tool mindset: prioritize controlled removal. Aggressive prying in one spot can chip subfloor edges or loosen patches.
Vinyl (sheet/plank): lift corners, pull slowly
– Start from a corner after loosening the perimeter.
– Lift gradually rather than snapping upward—especially if the vinyl is glued down.
– Plan adhesive residue removal as a separate step. Gouging the subfloor during residue removal is a common failure mode.
Laminate/wood: floating vs. glued changes everything
– Floating laminate: Many click-lock assemblies release if you lift at the correct angle after the perimeter is freed.
– Glued laminate sections: Treat like a glued floor—expect more residue scraping and more subfloor risk.
– Wood:
– If nailed/stapled, removal often involves prying carefully while extracting fasteners.
– If glued, you may need to remove planks with less leverage to avoid subfloor tears.
Pros/cons: choose the right demolition approach
| Flooring type | Fastest expected removal mode | Main risk during demo | Typical cleanup burden |
|---|---|---|---|
| Tile | Break small sections | Subfloor chipping; mortar removal | High (thinset/mortar) |
| Vinyl (sheet) | Peel slowly from a corner | Subfloor gouging while removing adhesive | Medium to high |
| Vinyl (plank) | Lift planks if loose; peel if glued | Tearing underlayment; residue | Medium |
| Laminate (floating) | Unlock row-by-row | Breaking click-lock connections | Low to medium |
| Laminate (glued) | Cut/segment then pry | Subfloor damage from residue removal | Medium to high |
| Engineered/solid wood | Pull nails/staples or separate glued planks | Subfloor tears; fastener damage | Medium |
📊 DATA: Flooring removal friction and cleanup workload (kitchen demo planning, typical labor ranges)
Typical Kitchen Floor Removal Complexity (DIY planning, by material)
| # | Material type | Avg. “demo friction” (1–10) | Cleanup workload (1–10) | DIY difficulty | Safety focus |
|---|---|---|---|---|---|
| 1 | Floating laminate (click-lock) | 4 | 3 | ★ ★ ★ ★ ☆ | Dust control |
| 2 | Laminate (glued-down sections) | 6 | 6 | ★ ★ ★ ☆ ☆ | Adhesive residue dust |
| 3 | Vinyl plank (peelable attachment) | 5 | 5 | ★ ★ ★ ★ ☆ | Blade control |
| 4 | Vinyl sheet (full mastic bond) | 7 | 7 | ★ ★ ★ ☆ ☆ | Residue handling |
| 5 | Ceramic tile (mortar bed) | 8 | 9 | ★ ★ ☆ ☆ ☆ | Respirable dust & impact control |
| 6 | Tile over cement board | 8 | 8 | ★ ★ ☆ ☆ ☆ | Dust containment |
| 7 | Engineered/solid wood (glued) | 7 | 7 | ★ ★ ★ ☆ ☆ | Moisture & residue risk |
Note: The friction/cleanup ratings are planning heuristics, not guarantees—actual results depend on subfloor condition, adhesive type, and how many layers are present.
Deal with underlayment, glue residue, and subfloor condition
You succeed at kitchen floor replacement by getting the subfloor flat, sound, and compatible with the new flooring system. That usually means removing underlayment, scraping residue, and repairing any soft or damaged areas before installation.
After the finish is removed, the “real job” begins: underlayment removal and residue cleanup. If you skip this, the new floor can fail early—floating floors can squeak or separate, and tile can crack if the surface isn’t properly prepared.
Flooring manufacturers typically require a clean, flat substrate; residual adhesive, lumps, and uneven spots can cause failures depending on the floor system.
According to OSHA and NIOSH, scraping and grinding can create airborne dust, so residue work should be paired with containment and appropriate respiratory protection.
As standard subfloor preparation practice, you should inspect for soft spots, delamination, or moisture damage and correct these conditions before installing new flooring.
Remove leftover underlayment/backing
– Rigid foam or padding: Pull it out if it’s loose and compatible with the intended new system. If it’s glued, plan careful removal.
– Over concrete: Check whether the existing layer is a moisture barrier, leveling compound, or incompatible underlayment.
Scrape adhesive residue safely and effectively
– Start mechanical. Use scrapers, floor razor blades, and sanding suited to the subfloor type.
– Avoid gouging. The goal is surface smoothing, not carving channels.
– Use chemicals only when compatible. Some adhesives respond to solvents, but compatibility with the new flooring adhesive system matters. [ADD: source for chemical compatibility guidance from your adhesive/new-floor manufacturer.]
Inspect subfloor condition like you’re diagnosing a system
Look for:
– soft spots (water damage or rot),
– lifting layers (delamination),
– fastener damage (for wood subfloors),
– moisture issues (especially near plumbing or exterior walls).
If the subfloor is uneven, you may need flattening:
– scraping high spots,
– filling low areas with an approved patch,
– or using an approved self-leveling underlayment. [ADD: specific underlayment guidance based on the new flooring you plan to install.]
What can go wrong (and how to avoid it)
You prevent most kitchen floor removal problems by controlling your demolition sequence and treating subfloor prep as a required phase—not an afterthought. The most expensive failures tend to be hidden: moisture, unevenness, and residual adhesive thickness.
Below are common failure modes and how to avoid them with practical decision points during the demo.
Chipping subfloor damage increases when tools are leveraged repeatedly in one spot; controlled, smaller-section removal reduces cumulative harm.
Dust migration is common during flooring demolition, so sealed plastic containment and targeted cleanup are standard methods to limit spread into other rooms.
Unexpected resistance during removal can indicate a different attachment method (nails, staples, or a second underlayer), so stopping and investigating prevents accidental damage to utilities.
Common mistakes and fixes
1) Aggressive demolition that chips the subfloor
– Fix: work in smaller sections and avoid continuous prying in one area.
– Watch for: cracked tile that suddenly releases—this can suddenly shift load to the subfloor.
2) Spreading dust through the home
– Fix: containment barriers + vacuum filtration (use equipment rated/compatible with dust control practices). [ADD: source for vacuum filtration expectations for your region/standards.]
3) Hidden problems under the floor
– Fix: measure flatness before installing the replacement flooring and verify moisture condition. Residual adhesive buildup also affects bonding and leveling.
4) Damaging plumbing or electrical
– Fix: keep demolition shallow near walls and penetrations. If you hit unexpected resistance, stop—don’t “force through.”
A quick comparison of “stop vs. continue” signals
| What you notice | Likely cause | Best action |
|---|---|---|
| Material doesn’t lift where it should | Glued-down layer or cement board | Stop and reassess layers/attachment |
| Tool suddenly meets hard barrier | Screed, patch, tile mortar thick spot | Switch approach (cut/segment) |
| Subfloor feels soft or punky | Moisture damage | Pause and repair before installing new floor |
| Excessive dust during scraping | Dry adhesive/mortar residue | Increase containment and adjust method |
Verdict: when DIY makes sense (and when it doesn’t)
DIY removing kitchen floors is a good fit when you can identify the floor type, contain dust, and expect adhesive/mortar cleanup—especially for tile-free or laminate-vs-vinyl scenarios. You should avoid or get professional help if there’s a risk of regulated hazardous materials, widespread subfloor rot, or if you can’t properly contain and dispose of demolition debris.
When DIY often works well
– You have vinyl that peels or floating laminate that unlocks.
– Damage is localized (a small section replacement rather than whole-room reconstruction).
– You can isolate the kitchen area and manage dust.
When to stop and get help
– Your home is old and layers may include regulated materials (commonly adhesives/backing in some older flooring assemblies). [ADD: source for when/why asbestos testing is recommended based on your region.]
– You uncover broad subfloor delamination or moisture intrusion that requires structural repair.
– The project involves large areas without appropriate dust containment or disposal support.
If you’re unsure what’s underneath, use inspection steps first (edges, vents, transitions). Decide based on what you find, not on assumptions.
Quick checklist before you start
– [ ] Identify flooring type (tile/vinyl/laminate/wood) and underlayment/glue presence
– [ ] Clear appliances/cabinets or protect them with sealed plastic
– [ ] Remove baseboards/trim and cut caulk at edges
– [ ] Use the right removal approach for that material
– [ ] Clean/remove underlayment and flatten the subfloor
– [ ] Confirm subfloor condition before installing new flooring
– [ ] Plan dust control and disposal
FAQ
What’s the easiest kitchen floor to remove?
Vinyl (especially when it’s not fully bonded with heavy mortar or cement board) and floating laminate are often the easiest, because they usually lift in larger sections. Tile is typically the most labor-intensive due to brittle breaking and mortar/subfloor cleanup.
Can I remove the floor without damaging the subfloor?
You can reduce the risk by working from the edges inward, removing smaller sections, and stopping when the material resists unexpectedly. With tile on mortar or floors heavily bonded with mastic, some level of subfloor repair is common, especially if the subfloor is older or already compromised.
How do I handle old adhesive residue?
Start with mechanical scraping and sanding matched to the subfloor type, then assess whether any residue thickness or texture interferes with your new flooring’s required installation surface. If chemical methods are considered, use only products and methods that are compatible with your new floor and underlayment system.
Do I need to test for hazardous materials?
If your home is older and the floor layers could include regulated adhesives, backing, or other materials, testing is the safest route. [ADD: source for when/why asbestos testing is recommended based on your region.]
What should I do if the floor is uneven after removal?
Scrape down high spots and fill low areas using an approved patch/leveler compatible with your new flooring system. You may need self-leveling underlayment depending on the floor finish requirements. [ADD: specific underlayment guidance based on the new flooring you plan to install.]
Conclusion
Removing kitchen floors is manageable when you treat it like a layered construction problem: confirm the floor type and underlayers, prep the room for dust and utility safety, remove trim and release the perimeter cleanly, then use demolition methods matched to tile, vinyl, laminate, or wood. The last—and most important—step is subfloor readiness: remove underlayment and residue, repair damage, and ensure the surface is properly flat for the new install. If you’re dealing with unknown older materials or widespread subfloor issues, don’t force the DIY route—pause early and get the right testing or professional help so your remodel doesn’t start with hidden damage.
Sources
– [ADD: manufacturer or official installation/removal guidance for your exact flooring type: tile/mastic, vinyl sheet/plank, laminate, or wood.]
– [ADD: occupational safety guidance on dust control and respirators from a relevant government/standards body for your region (e.g., OSHA/NIOSH).]
– [ADD: official guidance for asbestos or hazardous-material awareness and testing requirements in your region.]
Frequently Asked Questions
What’s the best way to remove kitchen flooring without damaging the subfloor?
Start by identifying the flooring type (vinyl, tile, laminate, hardwood, or laminate over concrete) because each requires a different removal approach. For safety and to protect the subfloor, loosen perimeter transitions first, remove fasteners carefully, and use a scraper or flat pry bar instead of aggressive chiseling. If you find adhesive residue after lifting the top layer, use a floor scraper with gentle heat or a manufacturer-approved remover to avoid gouging the subfloor. Always wear eye protection and a dust mask, since kitchen floor removal often creates fine particulates.
How do you remove vinyl kitchen flooring and underlayment safely?
Begin by cutting the vinyl into manageable sections (strips or squares) and peel them up slowly to reduce tearing. If the vinyl is sheet flooring, use a utility knife to score seams, then lift and pull while cutting stubborn areas with a scraper. For glue-down vinyl, remove remaining adhesive using a floor scraper and, if needed, a vinyl adhesive remover designed for subfloor compatibility. Finish by cleaning thoroughly so the new flooring adhesive or underlayment bonds correctly.
How do you remove kitchen tile flooring without cracking the surrounding area?
Use the right tools—typically a grout saw or oscillating tool for grout lines, plus a chisel and hammer for lifting tiles. Start at an edge or an existing weak spot and work in small sections, removing tile pieces gradually rather than prying up large areas at once. Protect adjacent surfaces with painter’s tape and cardboard, and consider using a heat gun for thinset that doesn’t break cleanly. After tile removal, clean off mortar using a floor scraper and dust vacuum to prepare the subfloor for leveling or new flooring.
Why is floor leveling important after removing kitchen floors?
After you remove old flooring, the subfloor is often uneven due to adhesive ridges, leftover thinset, or damaged spots. New kitchen flooring—especially laminate, vinyl plank, or engineered wood—requires a smooth, stable base to prevent gaps, squeaks, and premature wear. Use a straightedge to check for high and low spots, then level with an appropriate patch or self-leveling compound for your subfloor material. Proper leveling helps your kitchen renovation look professional and last longer.
Which tools and materials do you need to remove kitchen floors effectively?
Most floor removal projects require a utility knife, pry bar/flat bar, floor scraper, hammer, and a dust vacuum (ideally with HEPA filtration). For tile or stubborn adhesives, an oscillating multi-tool and chisel or carbide scraper can save time and reduce damage. You’ll also want safety gear—gloves, eye protection, and a respirator—plus drop cloths and painter’s tape to protect cabinets and walls. If you’re dealing with glue-down vinyl or thick adhesive, include a remover and cleaning supplies so you can prep the subfloor for new installation.
📅 Last Updated: October 11, 2026 | Topic: How to remove kitchen floors? | Content verified for accuracy and freshness.
References
- Asbestos | US EPA
https://www.epa.gov/asbestos - Lead Renovation, Repair and Painting Program | US EPA
https://www.epa.gov/lead/renovation-repair-and-painting-program - Asbestos – Overview | Occupational Safety and Health Administration
https://www.osha.gov/asbestos - https://www.cdc.gov/niosh/topics/asbestos/
- https://www.niehs.nih.gov/health/topics/agents/asbestos/index.cfm
- About Childhood Lead Poisoning Prevention | Childhood Lead Poisoning Prevention | CDC
https://www.cdc.gov/lead/ - Flooring
https://en.wikipedia.org/wiki/Flooring - Google Scholar Google Scholar
https://scholar.google.com/scholar?q=how+to+remove+vinyl+flooring+asbestos+lead+safety - Google Scholar Google Scholar
https://scholar.google.com/scholar?q=remove+floor+tile+how+to+remove+subfloor+safety+guidelines - Google Scholar Google Scholar
https://scholar.google.com/scholar?q=best+practices+for+floor+removal+construction+demolition+dust+control