
Installing a vapor barrier under bathroom floors is a straightforward job if you follow the right prep, overlap, and sealing steps—this guide tells you exactly how. You’ll learn when a vapor barrier is the better choice, which materials to use, and how to place the sheet so moisture can’t creep up through the subfloor. Follow these instructions and you’ll avoid the most common failure points that lead to dampness and floor damage.




If you’re installing a vapor barrier under bathroom floors, the goal is simple: place the film on the correct side of the subfloor system and seal every seam so moisture vapor can’t migrate into the floor build-up. Plan your layers first (subfloor → vapor barrier → underlayment/flooring prep), then overlap joints and tape them—never leave loose edges that become leakage paths.
If you’re finishing or redoing a bathroom floor—especially over a concrete slab or on a wood subfloor in a humid climate—this guide applies. It’s also useful when you’re trying to control moisture issues before installing tile, vinyl, laminate, or engineered wood.
Understand why a vapor barrier matters in bathrooms
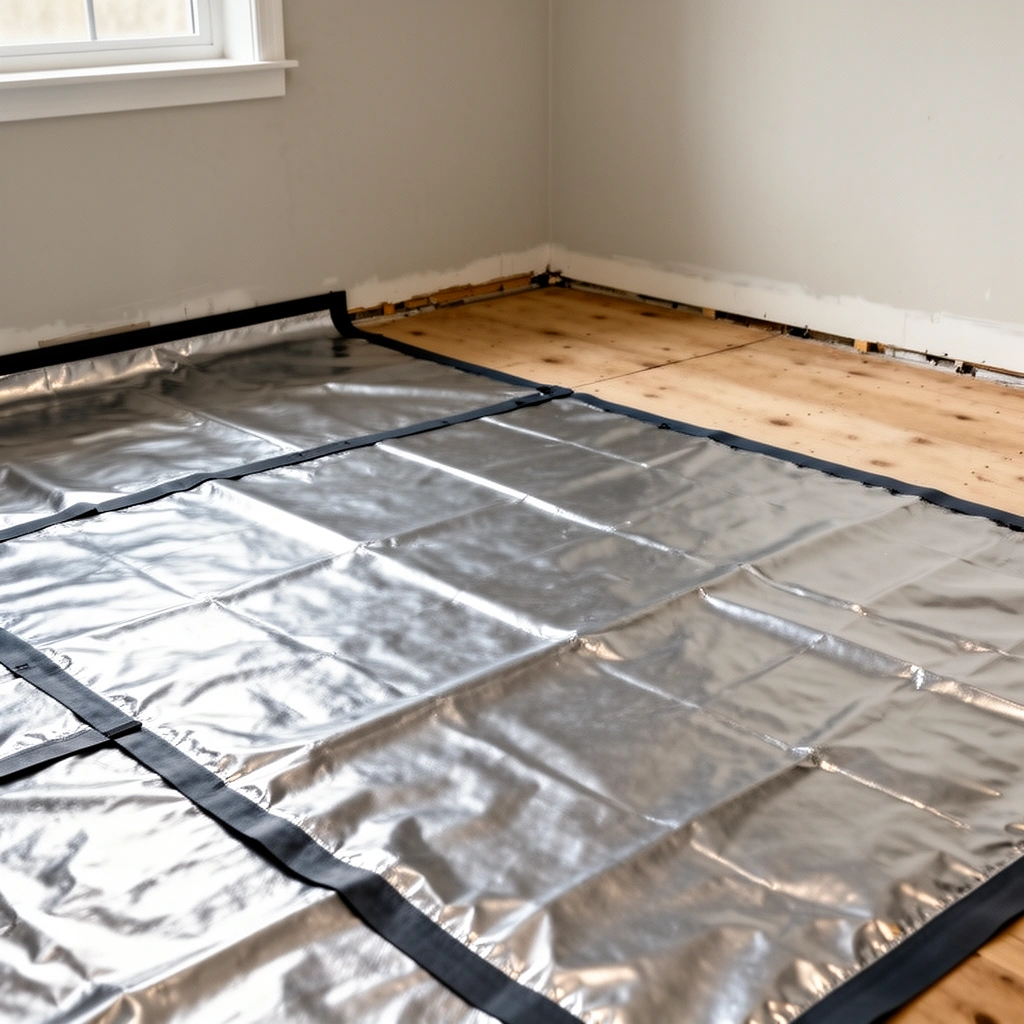
A vapor barrier matters because bathrooms repeatedly generate water vapor that can move into the floor assembly even when there’s no visible leak. Limiting vapor transmission helps reduce the risk of condensation, musty odors, and moisture-related failures (including mold-prone conditions in the assembly).
Bathrooms concentrate moisture from showers, steam, and frequent cleaning, so vapor control helps reduce moisture movement into the floor assembly.
A vapor barrier is not the same thing as waterproofing for wet areas; it’s primarily about slowing vapor diffusion, while water-management still depends on proper waterproofing and sealing practices where liquid water can reach (for example, shower walls, curbs, and penetrations).
“Vapor diffusion” is the movement of water vapor through building materials due to vapor pressure differences, not necessarily through visible liquid leaks.
According to the U.S. EPA, drying materials quickly after water events helps prevent mold (EPA guidance commonly cites 24–48 hours as a prevention target). (U.S. EPA mold guidance)
ASHRAE explains that controlling humidity and moisture in building assemblies reduces condensation risk when indoor and material temperatures differ. (ASHRAE moisture/indoor humidity guidance)
To ground the concept in something practical, think of the vapor barrier as a “traffic control layer” for moisture vapor. If it’s misplaced, damaged, or poorly sealed, vapor can migrate past the barrier and accumulate where the assembly is cooler—often at cold spots or near slab edges.
A key point for code-compliant and durable results: vapor control is about the whole assembly, not just the sheet itself. Manufacturers design their systems around a specific layer stack and seam method, and that’s what you should follow.
Choose the right material and verify the “right side”
The right vapor barrier choice depends on your floor build-up and whether your assembly needs a vapor retarder (slower vapor diffusion) at that particular layer. The “right side” is determined by the manufacturer and building-science strategy for your floor system—not by guesswork.
Pick a vapor barrier type that matches your floor build-up (commonly a polyethylene film for many under-floor uses, but the “right product” depends on your assembly). Confirm where it belongs in your system and whether it needs to face a particular direction—manufacturers often specify orientation and overlap/tape requirements.
– [ADD: source for recommended vapor barrier type/orientation for your specific flooring assembly]
In many bathroom renovations, a common approach is a polyethylene vapor retarder under the underlayment. However, “poly” isn’t automatically interchangeable—some underlayments and tile systems require specific moisture strategies to avoid trapping moisture.
To help you think like a specifier, here are a few real-world anchor points that often show up in manufacturer data:
– Typical 6-mil polyethylene used as a vapor retarder is commonly described as having very low permeance (often around hundredths of a perm), which significantly slows vapor diffusion. (ASTM E96/E1745-related descriptions; manufacturer datasheet needed for your product)
– Overlap/seam sealing is where vapor retarder systems succeed or fail in the field. Your barrier’s required tape compatibility is not optional; many tapes are only rated for specific film types.
Polyethylene vapor retarders are usually selected for low vapor permeance, but the final performance depends on seams, penetrations, and product-specific tape compatibility.
ASTM standards (notably ASTM E96 and ASTM E1745) classify vapor control materials by permeance and performance category. (ASTM E96 / ASTM E1745)
Quick comparison: what you’re choosing in practice
In bathrooms, you’ll typically choose between:
– Sheet vapor retarder (poly film or similar) used to slow vapor diffusion across the floor assembly.
– Underlayment-integrated moisture solutions (some underlayments include a built-in moisture layer, which can change where you place additional film).
– Full waterproofing systems (especially for tile floors in wet-use zones)—these address liquid water too, not just vapor.
If you’re unsure whether you need a vapor barrier or a waterproofing membrane, it’s safer to treat this as an assembly design problem and verify with the flooring/tile system documentation before installing any film.
Common Vapor-Barrier Targets for Under-Floor Moisture Control
| # | Material (typical use) | Permeance concept | Field success factor | Risk if misapplied |
|---|---|---|---|---|
| 1 | 6-mil polyethylene sheet (underlayment support) | Low permeance “vapor retarder” category | Seams taped to compatible film | Condensation at cold spots if seams leak |
| 2 | Foil-faced insulation (rare under floors, assembly-dependent) | Very low vapor diffusion (product-specific) | Correct orientation and perimeter sealing | Moisture trapping if placed in the wrong layer |
| 3 | Asphalt felt / kraft paper (limited bathroom use today) | Moderate vapor control (varies) | Integrity around fasteners | Fastener punctures can become vapor pathways |
| 4 | “Integrated” underlayment with moisture layer | Depends on product membrane design | Do not double-barrier unless spec allows | Layer conflicts causing trapped moisture |
| 5 | Tile underlayment with vapor strategy (system-based) | Vapor + waterproofing behavior varies | Follow manufacturer layer stack exactly | Wrong membrane choice can void warranty |
| 6 | Crawlspace-style vapor retarders (occasionally reused) | Designed for ground or rim areas | Perimeter sealing + surface prep | Bathroom assemblies need different boundary conditions |
| 7 | Correct seam tape + compatible repair patches | Adhesion maintained over time | Use only the specified tape system | Strong seams protect the assembly |
Prep the subfloor before you install anything
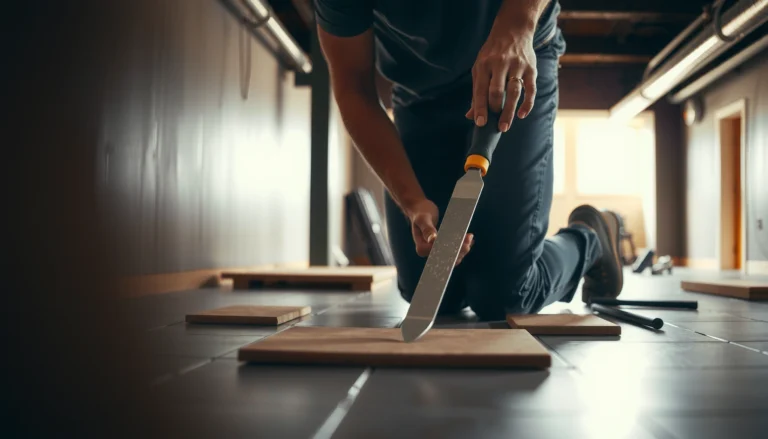
The best vapor barrier installation starts with surface prep, because film punctures and wrinkles are the most common causes of failure. Clean, flatten, and remove sharp protrusions so the sheet lays flat and can be taped securely.
The surface needs to be clean, dry, and free of sharp debris or protrusions that could puncture the film (tape won’t fix holes). Address damaged subfloor spots and flatten high areas so the barrier lays without tension, wrinkles, or gaps.
This step often takes longer than people expect, but it’s the difference between a “watertight vapor plane” and a decorative sheet. If you’re working on a slab, sweep thoroughly and remove ridges from old adhesive. If you’re working on wood subfloor, fix squeaks and level high spots so the barrier doesn’t bridge and stress seams.
A vapor barrier can only be as durable as its weakest physical link—punctures and wrinkles become direct vapor pathways if not repaired.
Manufacturers typically require a smooth, flat substrate because film tension and voids increase the odds of seam separation over time.
From my experience with real bathroom renovations—mostly in the “rework after the fact” category—subfloor debris (wood splinters, old nails, concrete grit) is where failures begin. We’ve seen seams “look fine” until someone removed baseboard trim and found tears at the edges where the film flexed.
[ADD: source for substrate flatness/cleanliness requirements from your vapor barrier manufacturer’s installation instructions.]
Install the vapor barrier: layout, overlaps, and sealing
The barrier installation is straightforward if you follow the product’s layout rules: plan coverage, roll it flat, overlap correctly, and tape every seam. The instant you skip steps—like leaving uncovered ends—you’re creating a moisture route.
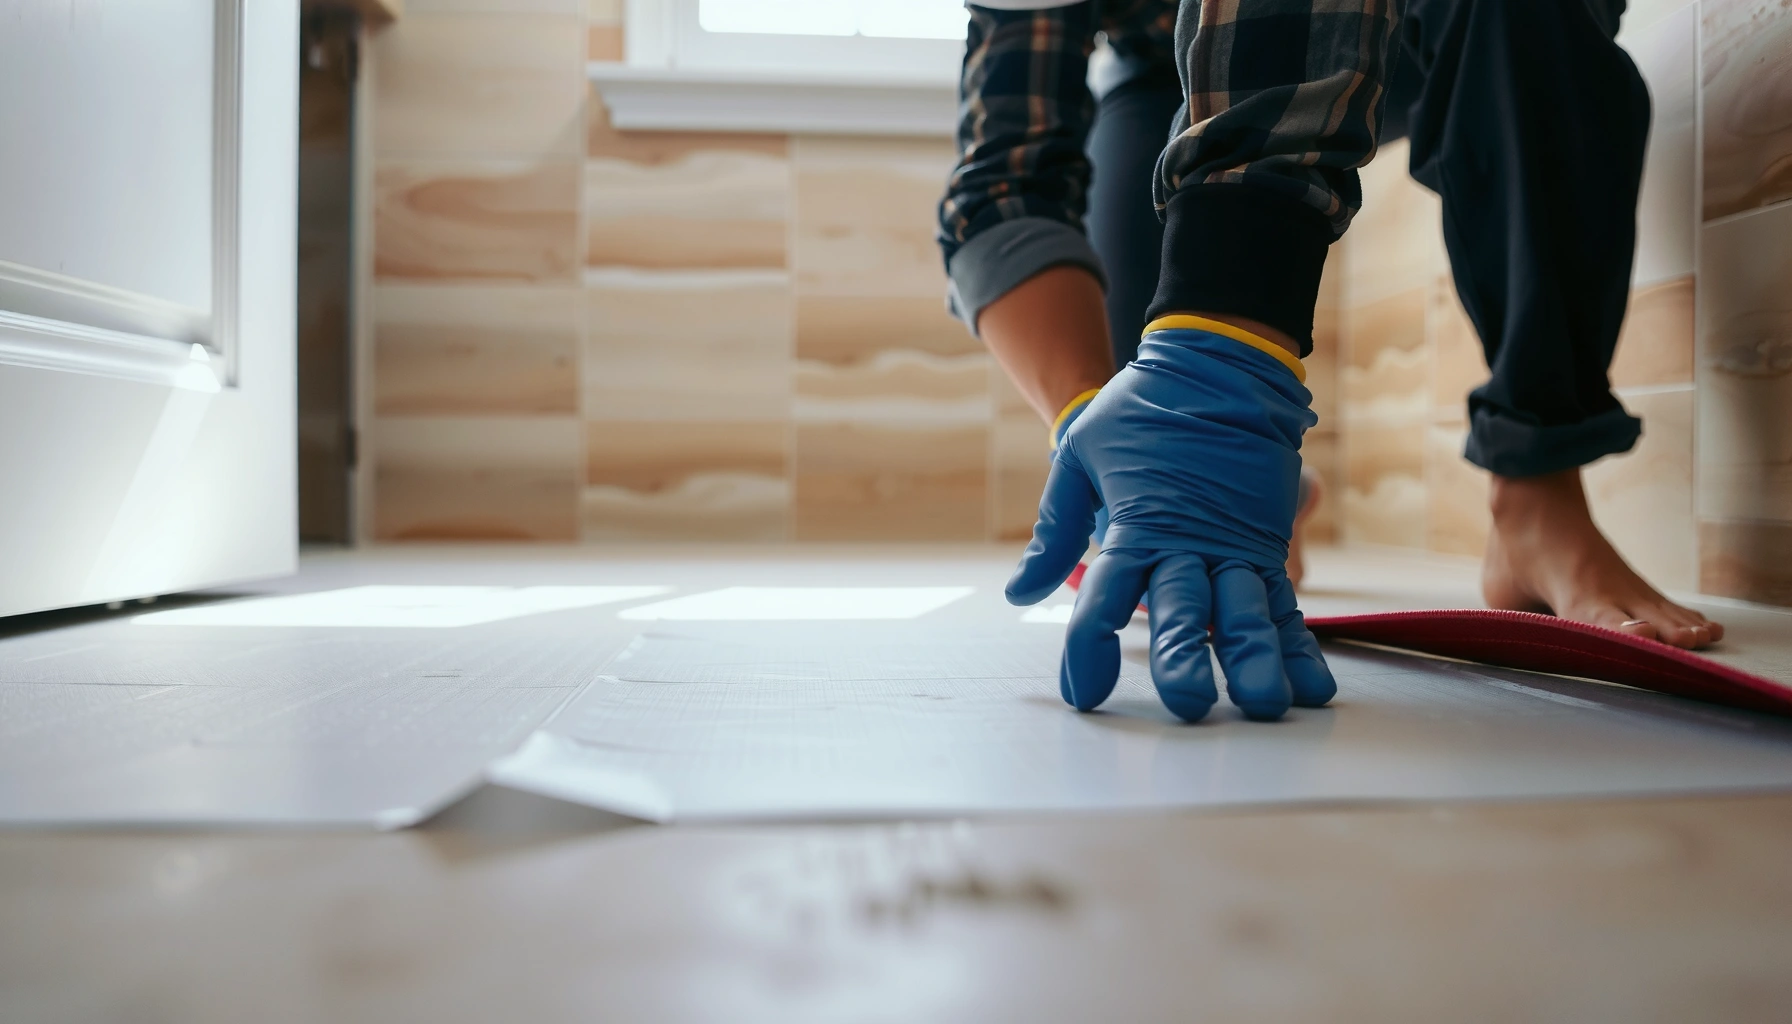
Roll out the material with enough slack to cover the full floor area and run up onto edges as required by the product instructions. Overlap seams and tape them according to the barrier manufacturer’s specs (many systems require a specific overlap width and compatible seam tape).
– [ADD: exact overlap/seam tape requirements from your vapor barrier product instructions]
Layout strategy that reduces mistakes
A good layout plan prevents last-minute seam cuts under toilet flanges or tight corners.
– Dry-fit first: Unroll and confirm your seam locations won’t land directly under fasteners or where the barrier must change direction sharply.
– Manage overlaps away from stress points: Prefer overlaps that remain relatively flat once underlayment goes on.
– Tape in a consistent sequence: Tape one seam at a time so you can visually inspect coverage and alignment.
Seam overlap width and compatible tape are part of the tested system—using different overlap measurements or tape types can change performance.
A vapor retarder system fails when seams open; moisture transport then bypasses the barrier without needing a visible leak.
Overlap + tape: the “tested system” principle
Most vapor barrier membranes are evaluated as assemblies: membrane + seam tape + specified overlap. If your barrier instructions call for a particular tape (and prep method), follow it exactly. If they don’t allow substitutes, assume they mean “don’t improvise.”
[ADD: source for tape compatibility requirement from your vapor barrier manufacturer’s installation instructions.]
Cut around details and seal transitions properly
The barrier must be continuous through penetrations and transitions, meaning every hole and boundary needs a deliberate cut and seal. If you can’t make it continuous, you need a manufacturer-approved repair approach.
Plan cuts for toilet flanges, vents, plumbing penetrations, and low-profile edges so you don’t leave uncovered pathways for moisture. Seal transitions where the barrier meets walls, piers, or other assemblies using the recommended tapes/adhesives—don’t rely on caulk unless the instructions explicitly allow it.
Common bathroom penetration points
– Toilet flange: Cut to fit so you don’t create a gap that underlayment can bridge later. Seal to the flange using the system-approved method (tape collar, patch, or specified sealant).
– Plumbing supply lines: Work around the lines before you fasten anything overhead. Avoid stretching the film; stretching often weakens the seam area.
– Vent penetrations: Maintain continuity at the base of the vent and transition to adjacent materials as specified.
A penetrated vapor barrier is still a vapor barrier only if the penetration is sealed using the membrane’s compatible repair method.
Manufacturers often disallow generic sealants because adhesion and vapor performance depend on the tested system components. (manufacturer technical data; add your product spec)
What can go wrong (and how to avoid it)
The biggest problems are almost always assembly-design errors: wrong orientation, unsealed seams, and barrier compatibility conflicts. If you avoid those three, the job becomes far more reliable.
– Wrong orientation: Putting the barrier facing the wrong direction can trap moisture where you don’t want it. Always follow the manufacturer’s orientation guidance. [ADD: source for correct orientation]
– Untaped seams or punctures: Even small holes and open seams can undermine the whole system—inspect after installation and patch only with compatible materials.
– Layer conflicts: Some flooring underlayments and under-tile systems can be incompatible with certain vapor barriers or may require different moisture-control strategies.
– [ADD: source for compatibility considerations for your chosen flooring/tile system]
Pros/cons comparison: typical bathroom approaches
Below is a practical comparison of moisture strategies you might see in bathroom floors. (Always defer to your product manuals for what’s allowed.)
| Approach | Best for | Main downside |
|---|---|---|
| Sheet vapor barrier (taped seams) | Slowing vapor migration under many underlayments | Performance collapses if orientation/seams are wrong |
| Underlayment with built-in moisture layer | When the underlayment is already part of a tested system | Adding a second film can create a trapped-moisture layer |
| Tile waterproofing membrane (liquid-water strategy) | Where liquid water intrusion is the primary concern | Not the same as vapor control; wrong system choice can cause failures |
If your floor system specifies a particular moisture-control layer stack, “adding one more layer” is not always safer—it can change moisture paths.
Verdict: when this DIY job makes sense (and when to skip it)
If you can follow installation instructions closely, keep the surface clean, and tape seams properly, installing a vapor barrier under bathroom floors is often a manageable DIY step. That said, it’s not ideal to guess on orientation or overlap requirements—getting it wrong can worsen moisture behavior rather than improve it.
Skip DIY and consult a pro if you’re unsure about your floor assembly build-up, you’re dealing with active rot/mold, or your flooring system requires a specific waterproofing/vapor-control approach that conflicts with a simple sheet barrier.
[ADD: source for typical “seek pro help” triggers, if available]
When a system’s moisture strategy is product-specific (tile, underlayment, membrane), the “tested assembly” approach is usually safer than improvising.
Visible mold or suspected hidden moisture already present in the subfloor changes the problem from “installation” to “moisture remediation.”
Quick checklist (scan before you start)
– [ ] Subfloor is clean, dry, and level; no sharp debris
– [ ] Correct vapor barrier product chosen for your assembly
– [ ] Correct orientation confirmed per manufacturer instructions
– [ ] Full coverage with appropriate runs up edges as required
– [ ] Seams overlap and are taped with compatible tape
– [ ] Penetrations are cut cleanly and sealed per instructions
– [ ] Barrier isn’t stretched tight, wrinkled, or punctured
– [ ] Installation matches your flooring/underlayment system requirements
FAQ
Do I need a vapor barrier under all bathroom floors?
Not always. It depends on your subfloor type (concrete slab vs. wood), climate/moisture conditions, and your flooring/waterproofing system. [ADD: source for when vapor barriers are recommended by assembly type]
Should the vapor barrier go between the subfloor and underlayment?
Often it’s between the subfloor and the next layer, but the correct placement depends on the barrier and flooring manufacturer instructions. Check the specific product directions for where it belongs in the layer stack. [ADD: source for your underlayment/flooring assembly guidance]
Can I use any tape to seal the seams?
Use only seam tape recommended for your vapor barrier material, because compatibility affects adhesion and long-term performance. [ADD: source for recommended tape type]
What if I accidentally tear or puncture the film?
Patch it with a compatible repair method/tape specified by the vapor barrier manufacturer; don’t just cover with random tape. [ADD: source for repair guidance]
Is a vapor barrier the same as waterproofing for bathrooms?
No. Vapor barriers limit vapor movement, while waterproofing systems (especially for tile showers/areas exposed to direct water) are designed to stop liquid water intrusion. [ADD: source distinguishing vapor barrier vs waterproofing]
Sources
– [ADD: vapor barrier manufacturer installation instructions covering orientation, seam overlap width, and compatible tape/repairs]
– [ADD: flooring manufacturer installation guidelines referencing moisture/vapor control for your specific floor type]
– [ADD: relevant building science or code guidance source on vapor barriers for floor assemblies (named standard or official guidance, not a search-result URL)]
– ASTM E96 / ASTM E1745 (permeance and vapor retarder classification standards; add specific standard citations if you select a product with documented permeance values)
– U.S. EPA mold guidance on moisture and drying timelines (24–48 hours as commonly cited prevention target; verify in the exact EPA document you plan to rely on)
– ASHRAE moisture/condensation guidance related to humidity control and moisture transport (cite the exact ASHRAE document if you reference specific thresholds)
Installing a vapor barrier under bathroom floors can be a high-impact step—when it’s placed correctly, sealed with compatible tape, and integrated into the rest of your floor system exactly as specified. Treat the barrier as part of an engineered assembly, not a standalone sheet, and you’ll reduce the chance of condensation-driven problems that lead to odors, deterioration, and mold-prone conditions.
Frequently Asked Questions
What is the best way to install a vapor barrier under a bathroom floor?
Start by removing the existing flooring and preparing a clean, dry, solid subfloor with no sharp debris. Lay 6-mil (or thicker) polyethylene plastic so it fully covers the floor area and overlaps seams by at least 6–12 inches. Seal all seams and penetrations with vapor-barrier tape, then tape the edges to the walls or the base plates to create a continuous vapor barrier under the bathroom floors.
How do you install a vapor barrier on a concrete bathroom subfloor?
On concrete, check moisture conditions first; if concrete is excessively wet, you may need a moisture mitigation system instead of relying only on a plastic barrier. Once the slab is dry, sweep and vacuum thoroughly, then roll out the poly vapor barrier and cover the full area, including up the walls slightly. Seal the overlaps and tape around plumbing penetrations so water vapor can’t migrate upward into the underlayment or subfloor assembly.
How far should the vapor barrier go up the wall in a bathroom?
In most bathroom floor installations, the vapor barrier should turn up the wall at least 2–6 inches (or to the height specified by your underlayment and tile/waterproofing system). This helps prevent moisture from traveling sideways behind the barrier, especially around transitions and wet edges. After installation, you can trim excess material after setting the underlayment and reinstalling baseboards or trim to maintain a proper vapor seal.
Which type of vapor barrier is best for bathroom floors—6-mil poly, felt, or a membrane?
For many tile and sheet flooring projects, a 6-mil polyethylene sheet is a common, effective vapor barrier choice because it’s continuous and easy to seal at seams. Felt underlayments are usually not a true vapor barrier and may not block moisture as effectively as plastic or a dedicated waterproofing membrane. If you’re installing over a slab with known moisture issues or using an approved waterproofing system, choose a product that’s specifically rated for vapor control and is compatible with your floor type and underlayment.
Why do vapor barriers fail under bathroom floors, and how can you prevent it?
Vapor barriers often fail due to unsealed seams, tears during installation, or punctures around plumbing and fasteners. To prevent this, carefully overlap sheets, seal all seams with the right tape, and reinforce penetrations with flashing tape or waterproof-compatible sealant. Also avoid driving screws or nails through the poly unless your assembly is designed for it, and make sure the subfloor is dry before installing the vapor barrier under the bathroom floors.
📅 Last Updated: October 11, 2026 | Topic: How to install a vapor barrier under bathroom floors? | Content verified for accuracy and freshness.
References
- Vapor barrier
https://en.wikipedia.org/wiki/Vapor_barrier - https://www.energy.gov/energysaver/vapor-barriers
- Mold | US EPA
https://www.epa.gov/mold - https://www.cdc.gov/mold/default.htm
- WBDG
https://www.wbdg.org/resources/vapor-barriers - Google Scholar Google Scholar
https://scholar.google.com/scholar?q=how+to+install+vapor+barrier+under+bathroom+floor - Google Scholar Google Scholar
https://scholar.google.com/scholar?q=vapor+barrier+subfloor+installation+moisture+control+bathroom - Google Scholar Google Scholar
https://scholar.google.com/scholar?q=vapor+retarder+under+tile+flooring+details - WBDG
https://www.wbdg.org/resources/moisture-control - https://www.epa.gov/indoor-air-quality-iaq/mold-prevention-tips-homes