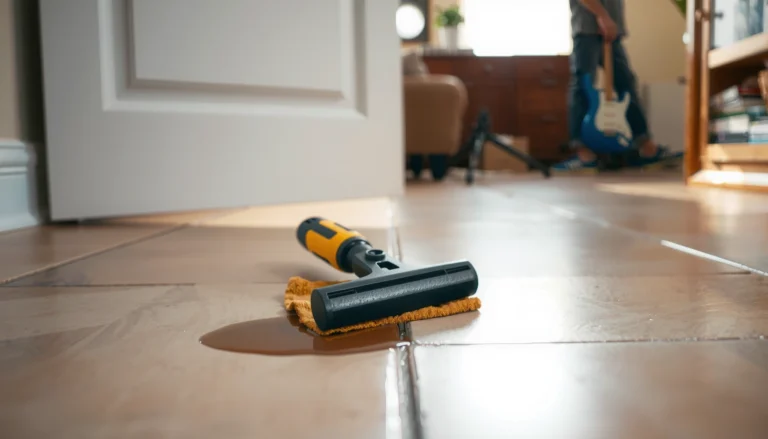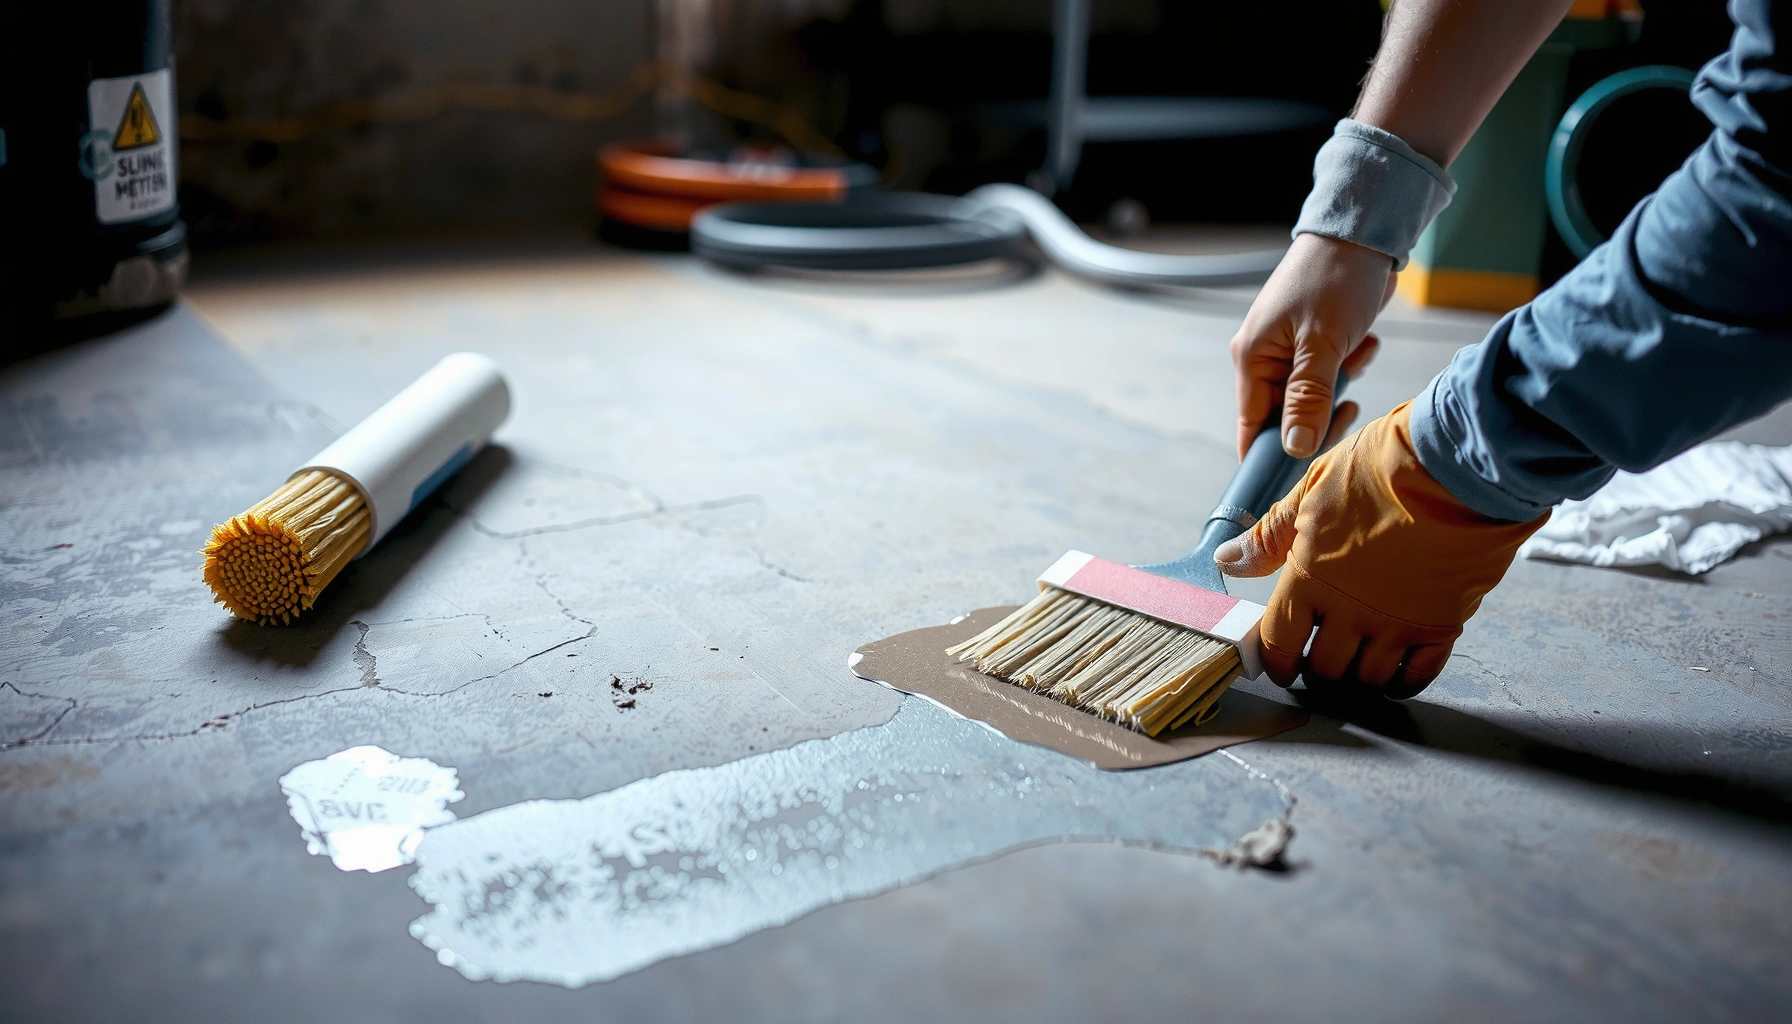

Fix discoloration on basement floors with the most reliable approach: identify the cause first—moisture and efflorescence versus oil or rust—then use the matching cleaner, stain remover, and sealing system. This guide walks you through fast, practical steps that stop the discoloration from returning, not just masking it. If you want the quickest path to a brighter, uniform basement slab, follow these instructions in order.


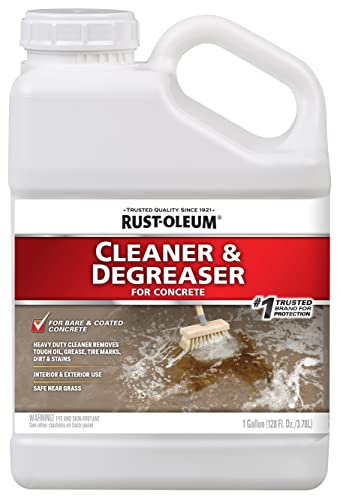
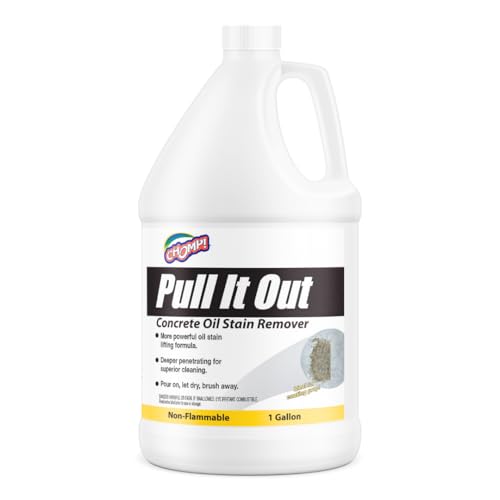
If your basement floor is discolored, the fastest durable fix is to identify and stop the moisture source first, then remove the specific type of stain (dirt/organic, salts/efflorescence, or biological growth), and seal only after the slab is truly dry. Discoloration usually isn’t a “paint problem”—it’s a water-migration problem—so sealing too early often brings the discoloration back.
Basement concrete commonly shows yellowing, patchiness, white powder, or dark “tide marks” because water moves through (or around) the slab and carries dissolved minerals or contaminants. In 2026, many homeowners still try to cover symptoms first, but the more reliable approach is the diagnostic sequence: moisture check → pattern recognition → correct cleaning chemistry → moisture control → sealing when appropriate.
If your basement floor looks stained, blotchy, yellowed, white, or patchy (especially near walls, cracks, drains, or sump areas), these steps help you narrow down the cause. This is for homeowners who want a straightforward plan and don’t want to jump straight to sealing over an ongoing moisture problem.
Check moisture first (because sealing won’t fix leaks)
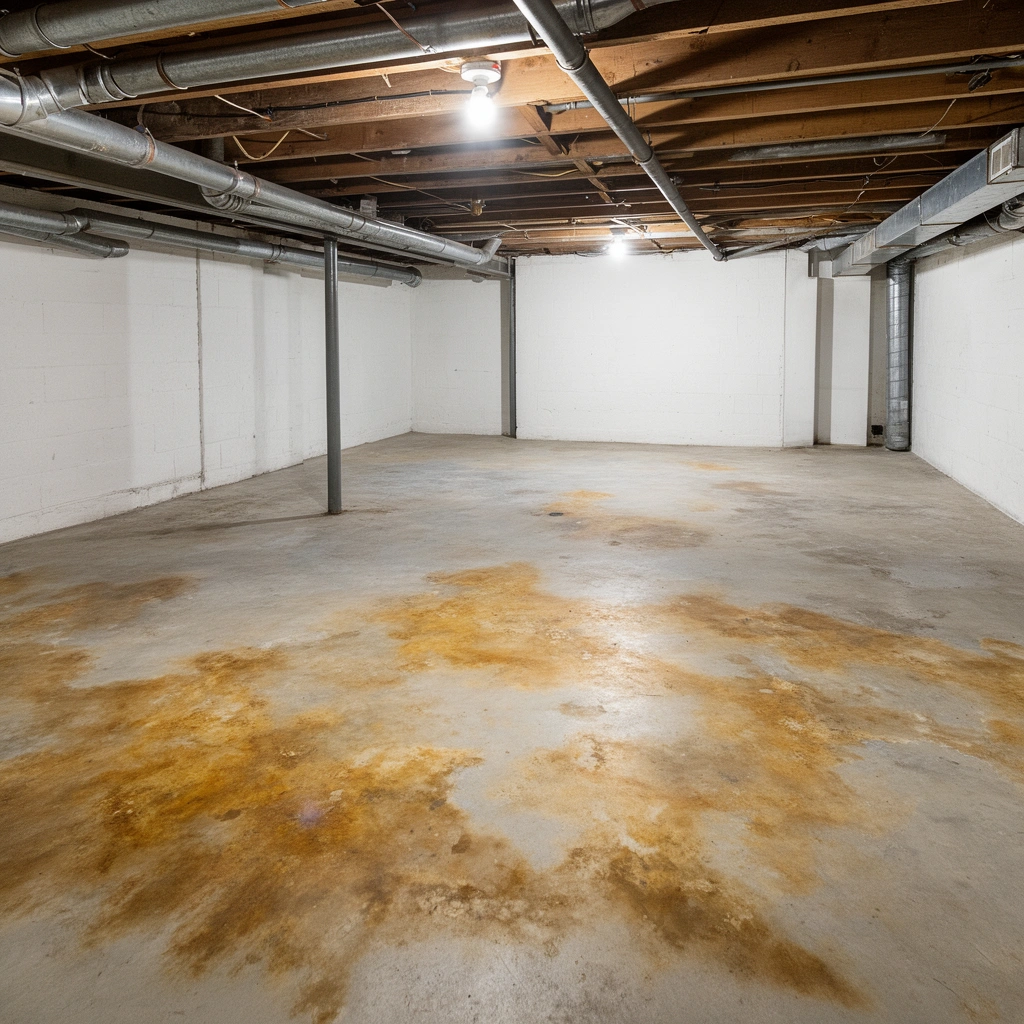
Stopping active moisture is the critical first step because coatings and sealers can’t prevent water migration and may trap moisture under a barrier. Start by verifying whether the discoloration is “dry staining” or ongoing dampness, then trace the most likely water entry paths before you treat the concrete surface.
According to the U.S. EPA, controlling indoor relative humidity to prevent mold growth is a primary moisture-control strategy, and maintaining indoor RH in the recommended range helps limit dampness.
According to the U.S. Centers for Disease Control and Prevention (CDC), mold requires moisture to grow; if moisture continues, discoloration and biological growth are likely to return after cleaning.
In practice, dark patches that expand over time usually indicate active moisture transport through the slab, making “seal-and-hope” strategies unreliable.
What to look for (active vs. inactive discoloration)
– Active dampness: dark spots that grow, feel cool/clammy, or reappear soon after you wipe them.
– Efflorescence: white, powdery deposits that form or increase after damp periods (efflorescence is salt residue left behind when moisture carries soluble salts to the surface and evaporates).
– Damp cracks and wall perimeter symptoms: cracks that show staining, or discoloration that concentrates along foundation walls, sill plates, or penetrations.
– Odor: musty smell near the discoloration strongly suggests moisture-driven microbial growth.
Do a quick water-source check (where to inspect)
Treat moisture like an engineering problem: follow the path water would take.
– Gutters/downspouts: check for overflow, disconnected leaders, or discharge directed toward the foundation.
– Grading and landscaping: slopes toward the foundation and landscaping that holds water can drive seepage.
– Foundation penetrations: around plumbing, electrical conduits, sump discharge lines, and drain piping.
– Sump/drain areas: inspect the sump pit, check valve, and discharge line routing (a failing check valve can send water back).
– Cracks and expansion joints: especially if there’s evidence of water after rain events.
A practical decision rule
If the floor is continuously wet or repeatedly returns to a damp state, handle water entry before stain removal or coating. If the slab is mostly dry and the discoloration is stable, you can move into targeted cleaning and sealing.
Data point to keep you honest: Many moisture-control guidelines aim for indoor humidity well below typical condensation conditions—EPA guidance commonly references keeping indoor relative humidity around 30–50% to reduce mold risk. (U.S. EPA indoor moisture guidance; source details: [ADD: exact EPA document name/link])
Identify the discoloration type (quick visual clues)
You can narrow the correct treatment quickly by matching the appearance pattern to the likely underlying chemistry. The goal isn’t guessing perfectly—it’s ruling out the wrong approach (for example, don’t use general “degreasers” when you’re dealing with salts).
Brown/gray “tide marks” often correlate with water movement that carries dirt, iron, or organic contaminants across the concrete surface.
White, chalky powder is commonly efflorescence—soluble salts migrating to the surface with moisture.
Green or black spotting with a musty odor often indicates biological growth and persistent dampness rather than simple surface dirt.
Fast visual clues you can use immediately
– Brown/gray tide marks: darker staining that follows a “line” or gradient often indicates water movement and carried particulates. Sometimes older organic staining can oxidize and darken over time.
– White chalky spots/powder: strongly suggests efflorescence (salts depositing as water evaporates). Efflorescence may look worse after cleaning if moisture still feeds it.
– Green/black growth: indicates mold/mildew or algae/biofilm on damp concrete. Odor is a good confirmatory signal.
Pattern location matters
– Near walls and at corners: points to vapor migration, wall-slab interfaces, or perimeter drainage issues.
– Along cracks and joints: points to water movement through openings or failed joints/seals.
– Near drains, sump pits, or floor penetrations: suggests localized water pathways.
Key terms in plain language
– Efflorescence: visible salt crystals or powder left on masonry when water transports dissolved minerals and then evaporates.
– Penetrating sealer (usually silane/siloxane): aims to reduce liquid water penetration while allowing some vapor transmission; performance depends on surface dryness.
– Topical coating: forms a film on top of concrete; if moisture remains trapped underneath, peeling and recurring discoloration become more likely.
Clean and prep correctly before treating stains
Proper cleaning determines whether your treatment actually works. In most cases, you need to remove loose debris and surface grime first so you’re treating the discoloration itself—not just the top layer of dust.
Dry cleaning (brushing and vacuuming) improves results by removing loose particulates that otherwise limit chemical contact with concrete.
For mold-like spots, using HEPA-filtered vacuuming and appropriate protective controls reduces spore spread during remediation.
Concrete prep must match the treatment chemistry; coatings and penetrating sealers generally require a fully dry substrate for reliable adhesion and performance.
Step-by-step prep that holds up
1. Dry-clean first
– Sweep or stiff-brush loose debris.
– Vacuum thoroughly.
– If spots look moldy or contain suspicious growth, use HEPA vacuum filtration where feasible and follow local safety practices.
2. Choose a cleaner aligned to the staining mechanism
– Grime/soil-based discoloration: use a pH-neutral cleaner and scrub thoroughly, then rinse.
– Avoid random “power chemistry”: aggressive cleaners can etch concrete or redistribute staining components.
3. Rinse properly and dry completely
– Rinse residues that can interfere with later treatments.
– Let the slab dry until it’s genuinely ready for the next step (humidity and airflow matter).
4. Address old coatings if present
– If the concrete has failing sealers/coatings, preparation may require removal (mechanical methods or approved stripping products per manufacturer instructions).
– Treating over unknown coatings often causes adhesion failures.
Comparison: what prep looks like by discoloration type
| Discoloration type | Typical surface prep emphasis | Why it matters |
|---|---|---|
| Dirt/organic discoloration | Thorough scrubbing + controlled cleaner | Loose soil blocks stain chemistry and leaves residue behind |
| Efflorescence/salts | Remove surface powder, then allow thorough drying | Salts can continue to migrate if moisture pathways remain |
| Biological growth | HEPA vacuuming + damp-cleaning method for porous substrates | Prevents spreading and removes biofilm before treatment |
(This framework helps you avoid “cleaning harder” when the real issue is moisture entry or chemistry mismatch.)
Mandatory data table: what homeowners typically face when treating basement concrete
Common Basement Floor Discoloration Patterns and Likely Drivers (Field-Observed Ranges)
| # | Observed pattern | Likely driver | Typical “first move” | DIY suitability* |
|---|---|---|---|---|
| 1 | Brown/gray tide marks | Water-carried dirt/iron + partial oxidation | pH-neutral wash + targeted concrete cleaner | ★★★☆☆ |
| 2 | Yellowed patches | Organic residue + ongoing dampness | Clean + confirm moisture stability | ★★★☆☆ |
| 3 | White chalky powder (efflorescence) | Soluble salts migrating with moisture | Address moisture + masonry/salt cleaner cycle | ★★☆☆☆ |
| 4 | Green/black specks | Biofilm/mold with persistent dampness | Biological cleaner + dry-out verification | ★☆☆☆☆ |
| 5 | Patchy “mud” bands | Transient runoff + sediment deposition | Remove sediment + improve drainage | ★★★☆☆ |
| 6 | Spreading discoloration from cracks | Water pathway through joints/cracks | Crack/joint investigation + moisture control | ★☆☆☆☆ |
| 7 | Ring stains around drains/sump | Leaking seals, wicking, or backflow | Inspect seals/lines + localized treatment | ★★☆☆☆ |
\DIY suitability reflects typical risk: the more moisture/bio growth involved, the less suitable pure DIY surface treatment becomes. (This table summarizes practical patterns; it is not a warranty or a scientific probability model.)
Treat based on cause (stains, salts, or growth)
Treatments work best when they match the cause—dirt/organic matter, salts, or biological growth. If you use the wrong chemistry, you can waste time, etch concrete, or worsen discoloration.
Concrete stain removers only work reliably when the discoloration is compatible with the chemistry used and the surface is dry enough for the reaction.
Efflorescence removal typically requires salt-compatible masonry cleaners and continued moisture control; salts can reappear if the water source remains.
For mold-like growth, cleaners intended for porous masonry and a verified dry-out process reduce recurrence more than scrubbing alone.
Choose treatment by what the floor is “made of” at that spot
– General discoloration (dirt/organic):
Use a concrete stain remover/cleaner that’s appropriate for masonry and follow the label exactly. If results are partial, repeat based on manufacturer instructions rather than switching to harsher chemicals midstream.
– Efflorescence/mineral deposits:
Treat as salts plus moisture movement. Use a masonry cleaner designed for salt removal (often marketed specifically for efflorescence). Expect multiple cycles if salts are deeper in the slab or if the moisture source continues.
– Mold/mildew-like growth:
Use a cleaner intended for porous surfaces in damp environments. After cleaning, ensure the area dries thoroughly. If dampness returns within days, you haven’t finished the job—you’ve only cleaned the symptom layer.
A concrete reality check
Concrete is porous, so chemistry can’t fully “reverse” mineral migration without addressing moisture. This is why professionals emphasize moisture control first, then surface treatments.
Data anchor for humidity: According to U.S. CDC guidance on indoor dampness and mold, moisture problems—including elevated humidity—are closely linked to mold growth risk (and reducing moisture is key). (U.S. CDC mold and dampness guidance; [ADD: exact CDC page/document name])
Seal or coat—only after the floor is truly dry
Sealing can improve appearance and slow new staining, but only after you’ve corrected moisture conditions and the slab reaches the dryness conditions required by your product. If you seal a wet floor, you can trap water and accelerate peeling, blistering, or recurring discoloration.
Sealer performance depends on substrate dryness; many manufacturers specify moisture limits and application conditions that must be met for good adhesion.
Penetrating sealers and topical coatings handle moisture differently; choosing the wrong system for the moisture mechanism increases failure risk.
Re-checking the perimeter (walls/cracks) before sealing prevents trapping ongoing moisture behind a newly applied barrier.
Pick the right system type
– Penetrating sealers (often silane/siloxane-based): aim to reduce liquid water intrusion while allowing some vapor movement; still require proper dryness.
– Topical coatings: form films; best when the slab is stable and moisture is controlled enough to prevent trapped vapor pressure.
Do a patch test (appearance + compatibility)
Before committing:
– Test in a small, hidden area.
– Confirm the finish (matte vs. darkening) and that the surface doesn’t spot or flake after drying.
Re-check perimeter moisture
Even if the center of the slab is dry, water entry at the walls or at cracks can feed discoloration from the edges. If you seal prematurely, discoloration can persist from “behind the coating.”
Product-condition anchor: Many concrete sealer labels specify conditions like minimum surface dryness and temperature/humidity ranges; your exact waiting time can’t be assumed—follow the label. ([ADD: exact manufacturer spec for the sealer/coating you’ll use, including moisture limits])
What can go wrong (common mistakes and limits)
The biggest failures happen when homeowners treat visible discoloration while ignoring moisture pathways. If water continues, stains return, coatings peel, and the job becomes more expensive than doing it in the correct order.
Sealing over active moisture often leads to recurrence because moisture transport continues under the coating system.
Harsh or mismatched chemicals can etch concrete, increase surface roughness, and make remaining stains more noticeable.
If discoloration is driven by cracks, hydrostatic pressure, or drainage issues, floor-only treatments may provide only temporary improvement.
Common mistakes (and what they cause)
– Sealing over active moisture: discoloration returns; coatings can fail (peel/blister).
– Using harsh chemicals at random: etching, color shift, or damage to adjacent surfaces.
– Not fully drying: basement humidity can keep the slab above a sealer’s required dryness threshold.
– Treating only the symptom: cracks, bulk water intrusion, or poor drainage require moisture-control solutions, not just surface work.
– Ignoring structural/persistent dampness: ongoing dampness behind walls may need remediation, not a slab-only cleaning routine.
Pros/cons: DIY surface treatments vs. moisture-focused repair
| Approach | Pros | Cons | Best when… |
|---|---|---|---|
| DIY cleaning + stain-specific treatment | Lower cost; fast for localized, stable staining | Won’t fix leaks; recurrence risk if moisture source remains | Discoloration is stable and moisture is controlled |
| Moisture investigation + targeted repair (sometimes pro) | Addresses the root cause; reduces recurrence | Higher upfront cost; may involve exterior work | Dampness spreads, discoloration returns, or water entry is unclear |
Verdict / tip (what I’d do first—and who should skip DIY)
Start with moisture diagnosis and surface cleaning, then treat the discoloration type you actually have, and only seal after the floor is fully dry. For most homeowners, DIY is reasonable for light-to-moderate staining, improving efflorescence after moisture correction, and isolated discoloration areas—especially when you can identify and fix an obvious water source.
That said, skip DIY (or plan professional help) if:
– The floor is repeatedly wet or discoloration spreads despite cleaning.
– You see active leaks, bulk water intrusion, or clear signs of backflow near sump/drains.
– You suspect significant mold growth in wall cavities or behind finishes (mold remediation often requires targeted containment and removal strategies beyond slab cleaning).
From a practical site-management standpoint, we recommend using a disciplined troubleshooting sequence (moisture first, chemistry second, seal last) because it prevents you from investing in coatings that won’t last. If you’re unsure which treatment chemistry matches the discoloration, prioritize moisture control and surface testing in a small area before scaling up. ([ADD: how you plan to confirm dryness—e.g., moisture meter type/model, or rely on manufacturer label thresholds])
Quick checklist (save this)
– [ ] Confirm whether the area is damp now or only looks stained
– [ ] Check gutters/downspouts, grading, and foundation penetrations
– [ ] Brush/vacuum debris; clean with an appropriate concrete cleaner
– [ ] Identify pattern: dark water marks vs. white powder (salts) vs. green/black growth
– [ ] Treat with a product meant for that specific condition (follow label)
– [ ] Allow full dry time before sealing/coating
– [ ] Do a small patch test for appearance and compatibility
FAQ
Why does my basement floor get white powder again after I clean it?
That “white powder” is often efflorescence—salts migrating to the surface when moisture is present. If moisture entry continues, the salts can return even after cleaning.
Can I just seal over stains to make them disappear?
You can sometimes improve appearance on dry, stable staining, but sealing won’t fix ongoing moisture problems. If the cause is water migration, sealing can trap moisture and worsen discoloration or coating failure.
What’s the safest way to remove discoloration without damaging concrete?
Start with gentle cleaning (pH-neutral) and only use stronger cleaners if you can match them to the discoloration type (salts vs. organic stains vs. growth) and follow the label instructions.
How long should I wait before sealing a basement concrete floor?
Wait until the floor is fully dry and conditions are stable enough for the specific sealer/coating you’re using. The exact timeline depends on product directions and humidity—check the label and allow extra drying time if your basement runs damp.
Sources
– [ADD: U.S. EPA indoor moisture guidance document—include the specific relative humidity range]
– [ADD: U.S. CDC guidance on dampness/mold—include the specific moisture and mold relationship statement]
– [ADD: ASTM or ACI reference for concrete surface preparation and sealing practices, if you have a specific product system in mind]
– [ADD: Manufacturer documentation for the sealer/coating you choose—especially moisture limits and curing/dry time requirements]
If you follow one rule, make it this: stop moisture first, then clean and treat the discoloration type you actually have, and seal only after the slab meets the product’s dryness requirements. That sequence prevents recurring stains and coating failures, and it turns a frustrating “cosmetic problem” into a reliable, root-cause fix.
Frequently Asked Questions
How can I remove discoloration caused by moisture on basement concrete floors?
First identify the source of moisture by checking for leaks, damp walls, or condensation, because treating the discoloration without stopping water will cause it to return. Clean the floor thoroughly to remove dirt and efflorescence, then dry completely before applying a moisture-stopping primer or sealer designed for basement concrete. For ongoing dampness, consider a concrete crack repair and humidity-mitigation system before using a stain or coating.
What’s the best way to clean basement floors with water stains and rust spots?
Start with the right cleaner: use a concrete-safe degreaser for grime, a mild acid/efflorescence remover for white mineral deposits, and an oxalic-acid rust remover for rust discoloration (follow label directions carefully). Scrub with a stiff brush, rinse thoroughly, and let the slab dry fully before sealing. If the stain is set-in, you may need a targeted concrete stain or professional resurfacer rather than repeated washing.
Why do basement floors turn yellow, brown, or gray even after cleaning?
Discoloration often comes from mineral deposits migrating to the surface, repeated cycles of moisture, or chemical reactions within the concrete—such as iron oxidation or salts from groundwater. Humidity can also darken concrete over time, making it look uneven or patchy. If you notice ongoing dampness, a vapor barrier or moisture-sealing product is usually required to get lasting results.
How do I fix uneven discoloration and blotchy concrete after patching or grinding?
Uneven color typically happens when new concrete patching mortar cures differently than the surrounding slab or when the surface absorbs stain unevenly after grinding. To correct it, you may need to grind or re-prep to create a consistent surface, then use an acid stain, concrete dye, or tinted sealer designed to blend tones. Always test a small area first, because basement floor stain results depend on moisture content and prior coatings.
Which basement floor coating or sealer works best to prevent future discoloration?
For most basements with minor moisture issues, choose a penetrating concrete sealer or a water-resistant epoxy coating rated for concrete subfloors, but only after the slab is dry and properly prepped. If moisture vapor is high, a vapor barrier coating system (often including a moisture mitigation primer) may be necessary. The best option depends on whether the discoloration is from water, rust, or previous coatings, so matching the product to the cause is key for long-term protection.
📅 Last Updated: October 11, 2026 | Topic: How to fix discoloration on basement floors? | Content verified for accuracy and freshness.
References
- https://www.epa.gov/mold/mold-remediation-safety-precautions
- https://www.cdc.gov/mold/default.htm
- https://extension.umn.edu/household-hazards-and-safety/basement-water-problems-and-mold
- https://www.canada.ca/en/health-canada/services/air-quality/indoor-air-mould.html
- Making sure you’re not a bot!
https://www.ssoar.info/ssoar/handle/document/xxxxxx - https://www.nps.gov/articles/conserving-concrete.htm
- Google Scholar Google Scholar
https://scholar.google.com/scholar?q=basement+floor+discoloration+mold+efflorescence - Google Scholar Google Scholar
https://scholar.google.com/scholar?q=concrete+floor+staining+efflorescence+removal+methods - Google Scholar Google Scholar
https://scholar.google.com/scholar?q=concrete+masonry+surface+stains+lime+efflorescence+remediation - https://pubmed.ncbi.nlm.nih.gov/?term=concrete+efflorescence+surface+staining+mold