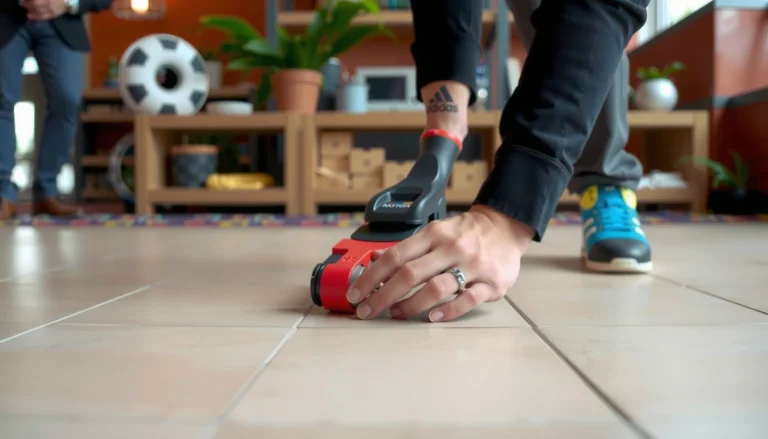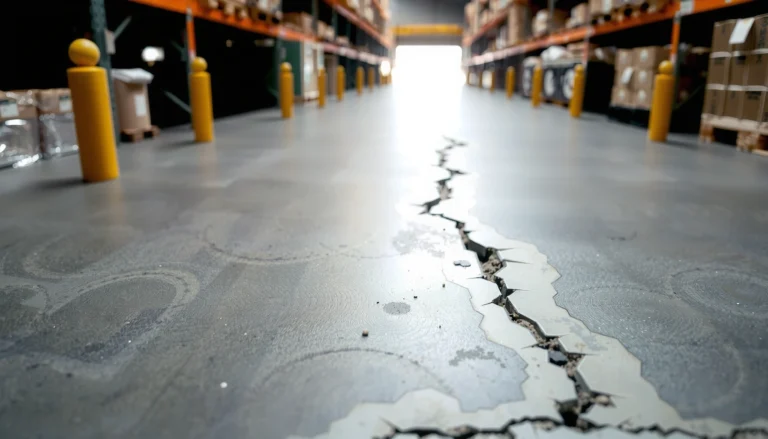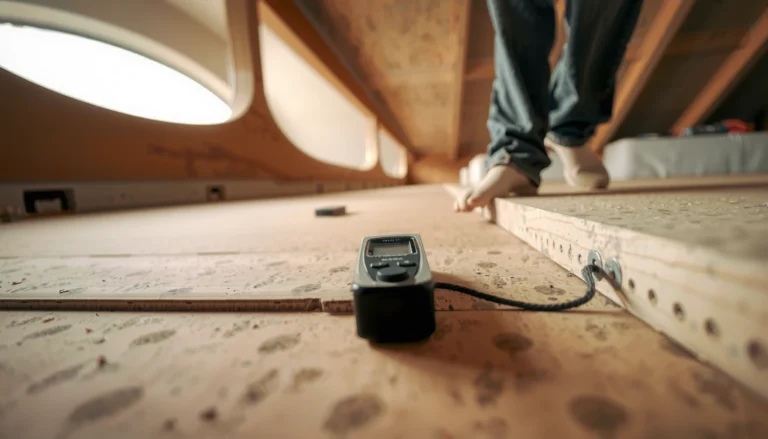

Fix lifting on basement floors with a clear, step-by-step repair plan that targets the most common causes and restores a flat, stable surface. You’ll learn how to diagnose whether the issue is moisture-related, foundation movement, or poor subfloor prep, then follow the right sequence for leveling, patching, and sealing. By the end, you’ll know exactly what to do—and what to avoid—before the problem comes back.
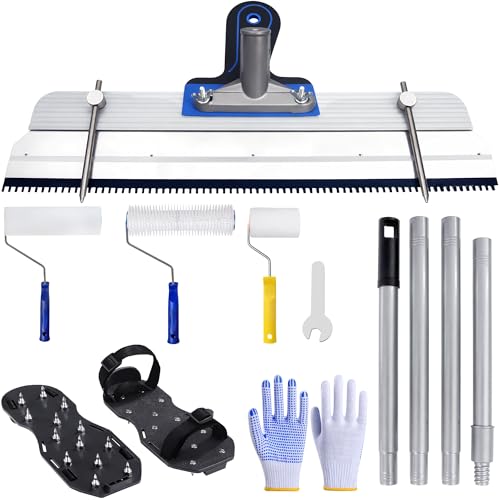


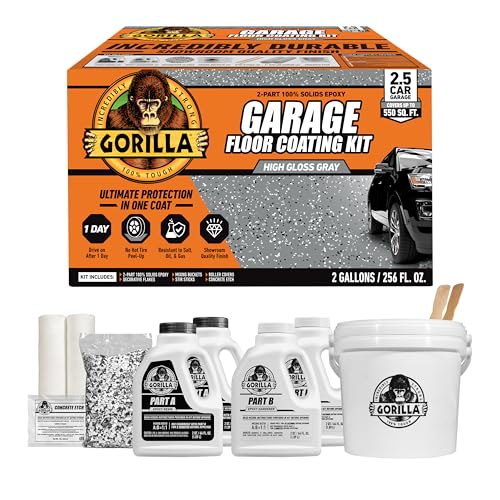
If your basement floor is lifting, stop using the area immediately and fix the underlying moisture or substrate failure first—the “re-lay only” approach fails most often. In most basements, lifted vinyl, laminate, tile, or even concrete coatings trace back to water intrusion or high humidity, loose/failed underlayment or adhesive, and/or a slab that’s not flat enough for the flooring system.
Basement floor lifting is common after plumbing leaks, foundation seepage, seasonal humidity spikes, or ventilation changes. This guide helps you diagnose the likely cause, then repair the affected layer correctly so the lifting doesn’t return. If you’re deciding between a DIY repair and hiring a flooring or water-mitigation pro, you’ll also get clear decision points based on what you can safely inspect and verify.
Check what kind of basement floor lifting you have
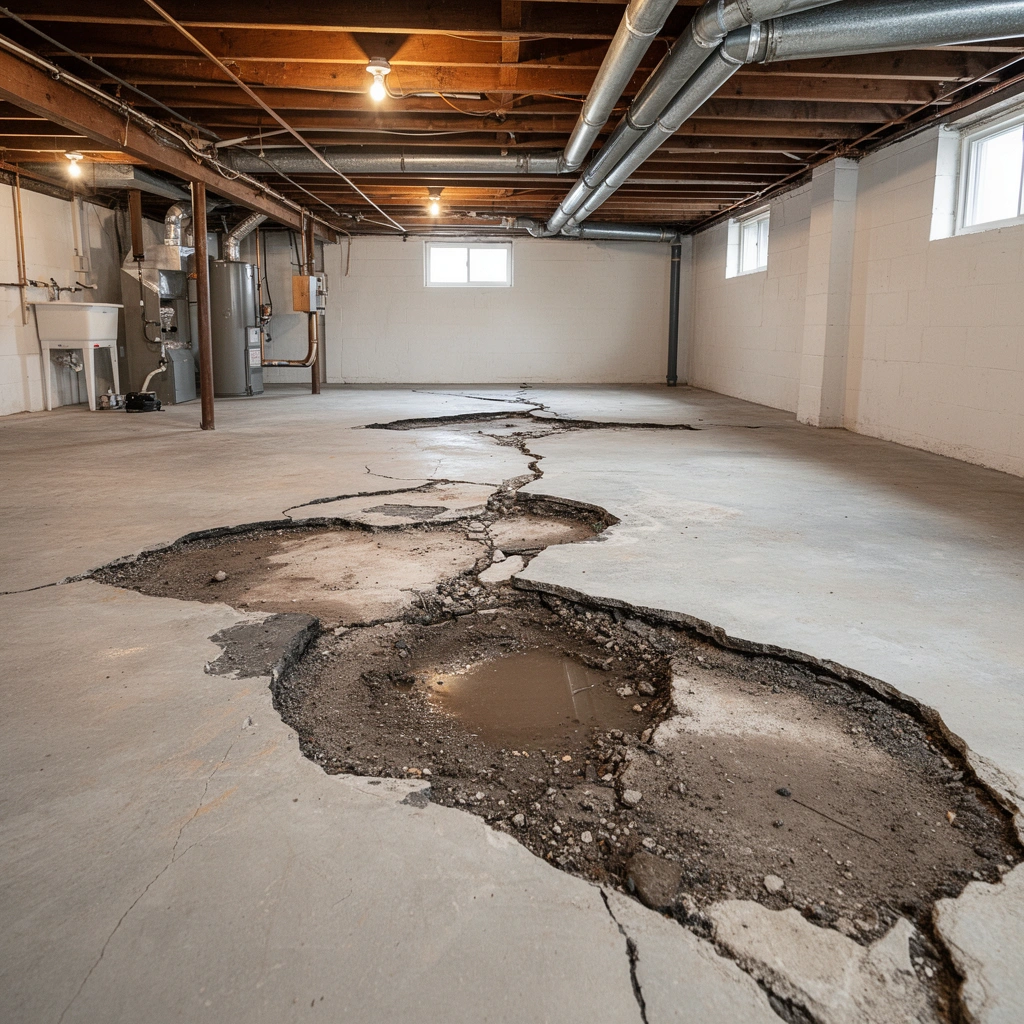
Most lifting problems fall into three buckets: moisture-driven failure, bond failure (loose subfloor/adhesive), or flatness/installation-related movement. Your first job is to identify the pattern and floor type so you can select the right repair method and compatible materials.
Bubbling, soft spots, and “re-lifting after humidity rises” typically point to moisture affecting the adhesive bond—not just a loose plank or tile.
Hollow-sounding areas usually indicate an underlayment or adhesive layer has separated from the slab, creating a void where the flooring flexes.
Cracks or consistent seam openings often reflect movement and expansion/installation allowances, especially when the floor system is trapped over an unflat substrate.
Look for symptoms (what you’ll see)
– Bubbling or blistering: Often moisture vapor or liquid water interferes with the adhesive film or flooring backing.
– Curling edges / “upturned” corners: The lifted surface often reacts like it’s “trying to flatten,” which can happen when moisture changes the adhesive or underlayment condition.
– Gaps between planks or tiles: Movement plus incomplete bonding, wrong underlayment, or slab irregularities can create visible separation.
– Hollow-sounding spots: Pressing down with a hand or foot (carefully, with PPE and without stepping where it’s unsafe) can reveal delamination—useful evidence for “bond failure.”
– “Springy” areas: If the top layer feels flexible while the surrounding floor is stable, the layer below is likely compromised.
Note the pattern (how widespread it is)
Basement floor lifting that’s isolated can be a localized adhesive spot, a small leak, or a patchable subfloor issue. Basement floor lifting that’s widespread often signals system-level moisture (hydrostatic pressure, damp concrete, recurring humidity) or a substrate that can’t support the chosen flooring system.
From a troubleshooting standpoint, treat pattern like a probability tool:
– Single room / one wall area → investigate localized water entry (corner dampness, plumbing penetrations, rim-joist issues).
– Multiple zones / recurring seasons → investigate whole-basement humidity control and slab moisture.
Identify the floor type (repair steps depend on it)
Different basement floor materials fail differently:
– Concrete coatings (paint/epoxy/sealer) can blister when moisture pressure builds under the coating.
– Vinyl plank/sheet (including click-lock LVP) can lift when the adhesive underlayment bond fails or the subfloor isn’t flat.
– Laminate is particularly sensitive to moisture and flatness; it can buckle, gap, or lift along seams.
– Tile depends on the mortar bed, thinset bond, and substrate stability; failed bedding can lead to tenting or hollow sounds.
Find and fix the moisture or water source first
You usually can’t “glue lifting away” if moisture remains in the slab, the subfloor, or the walls. The safest path is to stop the water entry and reduce humidity before removing any loose sections—otherwise basement floor lifting often returns even after a clean re-install.
Moisture in concrete and subfloor layers can weaken flooring adhesives and underlayments, making re-bonding unreliable.
Basement humidity and ventilation changes can trigger repeated flooring failures without any new visible leak.
If the water pathway is left in place, basement floor lifting is likely to reappear after the temporary “repair season” ends.
Inspect for obvious causes (start local)
Focus on the highest-leak-likelihood points:
– Damp walls near corners, around window wells, or at exterior penetrations
– Sweating pipes (cold supply lines, condensate on fittings)
– Failed caulk around penetrations (where plumbing, vents, or sump discharge pass through)
– Active leaks (drips, seepage trails, water staining that grows after rain or after heavy use)
– Foundation or slab perimeter dampness (often a sign of water migration)
If you find an active leak, fix that first. If you find no obvious leak, don’t assume “dry.” Basements can remain moisture-laden without visible pooling.
Check humidity and ventilation (especially if seasonal)
For basement floor lifting that started after humidity increases, consider these practical checks:
– Relative humidity (RH) inside the basement (a hygrometer is helpful)
– Dehumidifier operation (capacity, drainage, location, maintenance)
– Airflow around the slab (closed-off zones, blocked vents)
– Seasonal cycling (summer humidity spikes and winter indoor drier conditions)
> According to guidance referenced by many flooring manufacturers and adhesive technical documents, flooring failures often correlate with elevated moisture vapor pressure or RH in the substrate. [ADD: cite specific flooring/adhesive manufacturer moisture/RH guidance] ([ADD: year])
Address moisture pathways before re-installing anything
Moisture remediation can include sealing penetrations, improving drainage outside, correcting grading/downspouts, fixing plumbing, running/maintaining a dehumidifier, or addressing hydrostatic pressure. The key is timing: do not proceed with basement floor lifting repairs until the substrate can meet the flooring system’s moisture requirements.
> Some adhesive and underlayment systems specify allowable substrate moisture testing methods (for example, ASTM in-situ probes or lab-based measures). [ADD: cite ASTM standard used by flooring/adhesive spec] ([ADD: year])
Determine whether you need a patch or full re-lay
Most localized basement floor lifting can be repaired by cutting out only the affected area—if the moisture is corrected and the substrate can be prepared properly. Basement floor lifting that’s widespread, repeating, or hides additional failures usually requires a broader re-lay/underlayment correction to avoid “half-fixes.”
A small patch can work when the failed area is clearly localized and the surrounding slab/subfloor is confirmed dry, clean, and flat.
When basement floor lifting repeats across seasons or expands over time, hidden moisture or underlayment failure is often the real driver.
Layered flooring systems (underlayment + flooring + adhesive) are more likely to trap moisture and amplify lifting if any layer is installed over an unstable substrate.
Patch the lifted section (best when it’s truly localized)
Choose patching if:
– Lifting is confined to one small area
– You can remove lifted material and confirm the remaining substrate is dry, firmly bonded, and flat
– You can match the original floor type or compatible replacement pieces
Consider a full re-lay (best when failure is systemic)
Choose a broader re-lay if:
– Lifting covers multiple rooms or multiple zones
– Hollow/bubbling sounds appear across large areas when you walk carefully
– The failure returned after previous spot repairs
– You see moisture staining or chronically damp concrete/subfloor edges
Patch-vs-full decision (quick comparison table)
| Factor | Patch (localized) | Full re-lay (system-level) |
|---|---|---|
| Lifting pattern | Small, contained area | Multiple areas or growing coverage |
| Moisture evidence | No recurring dampness | Active leak or persistent elevated RH/moisture |
| Subfloor flatness | Can be corrected locally | Needs broader correction/underlayment change |
| Flooring type sensitivity | More forgiving formats | Often stricter (laminate/click-lock + moisture) |
| Cost/effort | Lower, but riskier if moisture isn’t fully resolved | Higher upfront, reduces repeat failures |
| Expected longevity | Good when only one layer failed | Better when fixing full moisture/flatness conditions |
Repair the lifted section correctly (the common workflow)
Most successful basement floor lifting repairs follow the same workflow: remove loose material, prep a flat/dry substrate, then reinstall with compatible products and proper cure time. If you skip prep—especially cleaning and flatness—you end up with another delamination cycle.
Removing only firmly bonded material reduces the risk that the new section fails at the edge where the old bond is still weak.
Most flooring failures repeat when the substrate remains unclean, uneven, or still contains moisture.
Following the flooring manufacturer’s installation and cure-time requirements is one of the strongest predictors of lasting adhesion and stability.
Step 1: Remove loose material safely
– Pull back any areas that aren’t firmly bonded (often edges lift first).
– Scrape adhesive residue gently so you don’t gouge concrete or destroy remaining sound underlayment.
– Vacuum thoroughly—dust and residue can act like a bond breaker.
Practical safety note: if you suspect mold from moisture-driven lifting, stop and remediate appropriately before continuing.
Step 2: Level and prep the substrate
Basement floor lifting is frequently exacerbated by small high/low spots:
– Fill low areas with a compatible patch/leveler.
– Address high ridges (grinding/sanding only if permitted by the flooring system spec).
– Verify cleanliness and dryness before adhesive/underlayment.
> Many leveling/patch products specify minimum thickness and recoat times; follow the technical data sheet for acceptable application ranges. [ADD: cite patch/leveler manufacturer TDS] ([ADD: year])
Step 3: Reinstall using compatible products
This is where most repairs succeed—or fail:
– Use the manufacturer-approved adhesive, patch, underlayment, or vapor mitigation system for your floor type.
– Respect cure time before foot traffic or loads.
– Use correct fastening (if the system requires it) and correct seam spacing.
To make this more concrete, consider typical moisture-testing and acceptance frameworks used in flooring specifications:
– Some systems require substrate measurements to stay below a defined RH or moisture vapor emission threshold. [ADD: cite moisture limits from flooring/adhesive spec] ([ADD: year])
– Many use standardized testing methods such as ASTM in-situ probe approaches for RH in concrete. [ADD: cite ASTM method name] ([ADD: year])
Mandatory quick reference: moisture-related failure modes (so you don’t guess)
Typical Basement Floor Lifting Signals by Flooring System (Field Pattern Summary)
| # | Flooring system | Common lifting signs | Most likely root cause | Repair confidence (with moisture fixed) |
|---|---|---|---|---|
| 1 | Click-lock vinyl plank (LVP) | Curling edges, gaps, slight “hollow” feel | Bond failure or underlayment flatness issue | ★★★★☆ |
| 2 | Adhered vinyl sheet | Blisters/bubbling, loose seams | Moisture vapor pressure breaking adhesive | ★★★☆☆ |
| 3 | Laminate (floating) | Edge lifting, seam separation, soft “spring” | Moisture intrusion and/or poor flatness | ★★★☆☆ |
| 4 | Porcelain/ceramic tile | Hollow sounds, tenting, cracked grout lines | Thinset/mortar bond failure or movement | ★★★☆☆ |
| 5 | Concrete epoxy/paint coating | Blisters, peeling sheets, dull mottling | Moisture vapor pressure behind coating | ★★☆☆☆ |
| 6 | Raised underlayment panels (spot-problem) | Uneven “steps,” local rocking, seam gapping | Panel adhesion failure or trapped moisture | ★★★☆☆ |
| 7 | Sheet vinyl (adhered) | Wrinkling, edge lift at seams | Adhesive contamination or moisture migration | ★★★☆☆ |
Notes on interpretation: this table summarizes common field patterns; it is not a substitute for manufacturer moisture limits and substrate prep requirements. Always verify specs for your exact product model.
What can go wrong (common mistakes and edge cases)
Most DIY repairs fail for one of three reasons: moisture wasn’t fully corrected, the substrate wasn’t prepped to the right standard (flat/clean/dry), or incompatible materials were used. If any of those are true, basement floor lifting is likely to return—often at the boundary between old and new work.
If moisture remains in concrete, new adhesive and underlayment can fail quickly even if the visible lift looks “fixed.”
Incompatible adhesive or underlayment chemistry can prevent bonding to concrete, patch materials, or existing coatings.
Flatness matters: even small unevenness can cause recurring lifting in click-lock and thin flooring systems.
Common mistakes to avoid
– Skipping moisture remediation: re-bonding over a damp slab is a repeat-failure setup.
– Using the wrong patch/adhesive: some products won’t bond to the substrate profile you have or require specific surface primers.
– Ignoring flatness: “close enough” still leaves stress points where seams fail.
– Not respecting cure time: walking or loading too soon can break the bond before it forms properly.
– Assuming all bubbling is “just a bad adhesive batch”: moisture pressure is frequently the real trigger.
Edge cases that change the plan
– Flooring installed over a trapped moisture layer (old underlayment, poorly sealed coatings, or plastic sheeting in the wrong system) may require a deeper tear-out.
– Concrete coatings often blister due to vapor pressure; these repairs can require mechanical removal and a compatible moisture mitigation approach.
– Expansion/seasonal movement: basements with RH swings can open seams if the original install didn’t follow expansion guidance.
Verdict: what to do next (and when to stop DIY)
DIY can work when basement floor lifting is small, the area is confirmed dry, and you can prep and reinstall according to the flooring manufacturer’s system requirements. Stop DIY and shift to moisture remediation (or a pro assessment) if lifting is widespread, you see active water entry, or the slab/subfloor is chronically damp.
If you cannot confirm the area is dry enough for the chosen adhesive or flooring system, pausing the repair is the safer decision.
Widespread basement floor lifting is often a sign of system-level moisture or flatness problems that spot patching can’t reliably solve.
[ADD: basement-specific tip based on your floor type—example placeholder]
– If you have vinyl plank (LVP), rely on the flooring manufacturer’s reinstallation/bonding guidance for your exact product (glued vs click-lock) and only use an approved adhesive/repair method for that backing.
– If you have tile, consider whether the mortar bed or thinset coverage is compromised; hollow-sounding tile typically requires more than just re-setting one or two tiles.
When to call a pro (good reasons):
– You suspect ongoing water intrusion through the slab or foundation walls.
– You can’t achieve the required flatness or dryness for the flooring system.
– You suspect mold/microbial growth due to moisture.
– Lifting is extensive, repeated, or covers multiple connected areas.
Quick scan checklist (save this)
– [ ] Identify floor type (vinyl/laminate/tile/concrete coating) and lifting pattern
– [ ] Confirm whether moisture/leaks are present now
– [ ] Check humidity/ventilation and stop new water entry
– [ ] Remove only what’s loose; scrape clean and assess substrate condition
– [ ] Level/repair substrate before reinstalling
– [ ] Use compatible adhesive/patch/underlayment per manufacturer guidance
– [ ] Allow full cure time before walking or loading the area
FAQ
Why does basement floor lifting keep coming back after I fix a section?
Most recurring basement floor lifting happens when moisture remains in the slab/subfloor or when the previous repair didn’t fully restore flatness and bond-ready surface conditions.
Can I just glue down the lifted part instead of removing it?
Sometimes, but it depends on the flooring type and how much of the underlying bond failed. If the substrate is still contaminated or damp, gluing typically won’t hold. Follow the flooring/adhesive manufacturer instructions for your exact floor system: [ADD: exact manufacturer guidance for your floor type].
Is lifting from moisture different from lifting from poor installation?
Yes. Moisture-related issues often show bubbling, soft spots, or repeated failure after humidity rises. Installation-related issues more often show consistent seam openings, hollow areas along specific edges, or lifting that tracks installation details rather than seasonal humidity.
What’s the safest first step if I’m not sure what’s causing it?
Start by diagnosing moisture/water intrusion and assessing substrate condition. If safe to do so, removing a small test section after you address obvious water risks can reveal whether underlayment/adhesive layers are compromised.
When should I call a pro?
Call a pro if you suspect active water intrusion, extensive lifting across a large area, structural/substrate damage, or if the substrate can’t be made properly flat and dry for the flooring system you plan to install.
Sources
– [ADD: manufacturer instructions/specs for your specific flooring type and approved adhesives/patches—provide the brand/model from your product label or manual.]
– [ADD: primary source for moisture/humidity guidance relevant to basement slab/flooring installation—typically from flooring manufacturers’ installation instructions or adhesive manufacturer technical data sheets.]
– [ADD: primary source for concrete moisture testing requirements (if applicable) from either a flooring manufacturer or adhesive/moisture testing standards body.]
– [ADD: ASTM/other standard(s) used by your flooring/adhesive spec, including the exact test method name and document year.]
Basement floor lifting is fixable, but only when the repair targets the real cause—most often moisture and bond failure—not just the visible lifted edges. If you stop water entry, prep a flat/dry substrate, and reinstall with compatible materials and correct cure times, you’ll dramatically reduce the chance that the problem returns during the next humidity swing.
Frequently Asked Questions
What causes lifting or buckling on basement floors?
Lifting on basement floors is often caused by moisture problems, soil movement, or poor concrete curing and finishing. Hydrostatic pressure from groundwater can push slab edges upward, while freezing/thawing cycles and expansive soils can also heave concrete. In some cases, inadequate subfloor compaction or missing control joints leads to cracking and unevenness that can appear as lifting.
How can I fix lifting on a concrete basement floor safely?
Start by identifying the root cause—check for water intrusion, high humidity, damp spots, or cracks that suggest slab movement. If moisture is present, address drainage, gutters, sump pumps, vapor barriers, or sealing before any concrete repair, or the lifting will return. For smaller raised areas, you may grind high spots and level with a concrete patch or self-leveling underlayment; for larger heaving, the safer approach is to remove the affected section and re-pour with proper prep and reinforcement.
How do I tell whether I should grind the slab or re-pour it?
If the lifting is minor (small ridges/peaks) and there’s no ongoing movement, grinding and leveling can be a cost-effective option. However, if you see wide cracks, shifting sections, or the slab continues to move during normal seasonal changes, grinding alone won’t solve the problem. A professional can evaluate slab flatness, measure elevation changes, and inspect for moisture or subbase issues to determine whether a targeted repair or full section replacement is best.
Which basement floor repair methods work best for uneven slabs?
The best method depends on slab flatness and the cause of the lifting. Common solutions include grinding raised areas, using a cementitious patch for localized high spots, or installing a self-leveling concrete underlayment for broader low areas once moisture is controlled. When lifting is structural—such as edge heaving or movement tied to hydrostatic pressure—repairs may require slab removal, drainage improvements, and re-pouring with proper subgrade preparation.
Why does my basement floor lift after I already patched or sealed it?
If lifting returns after repair, it usually means the underlying moisture or pressure issue wasn’t corrected. Sealers and patches can trap water beneath the surface, increasing pressure and causing the slab to continue heaving. Fix the basement floor lifting at the source—improve drainage, manage groundwater, add a vapor barrier where appropriate, and correct any failure in the subbase—then perform concrete leveling or re-pouring to prevent recurrence.
📅 Last Updated: October 11, 2026 | Topic: How to fix lifting on basement floors? | Content verified for accuracy and freshness.
References
- Frost heaving
https://en.wikipedia.org/wiki/Frost_heaving - https://en.wikipedia.org/wiki/Slab_foundation
- https://en.wikipedia.org/wiki/Foundation_settlement
- Hydrostatic pressure
https://en.wikipedia.org/wiki/Hydrostatic_pressure - https://en.wikipedia.org/wiki/Heave_(engineering
- https://en.wikipedia.org/wiki/Foundation_(engineering
- https://en.wikipedia.org/wiki/Basement
- Google Scholar Google Scholar
https://scholar.google.com/scholar?q=basement+floor+slab+heaving+moisture+hydrostatic+pressure+repair - Google Scholar Google Scholar
https://scholar.google.com/scholar?q=raised+concrete+slab+foundation+lifting+causes+and+repair - Google Scholar Google Scholar
https://scholar.google.com/scholar?q=frost+heave+concrete+slab+repair+drainage+insulation+basement