
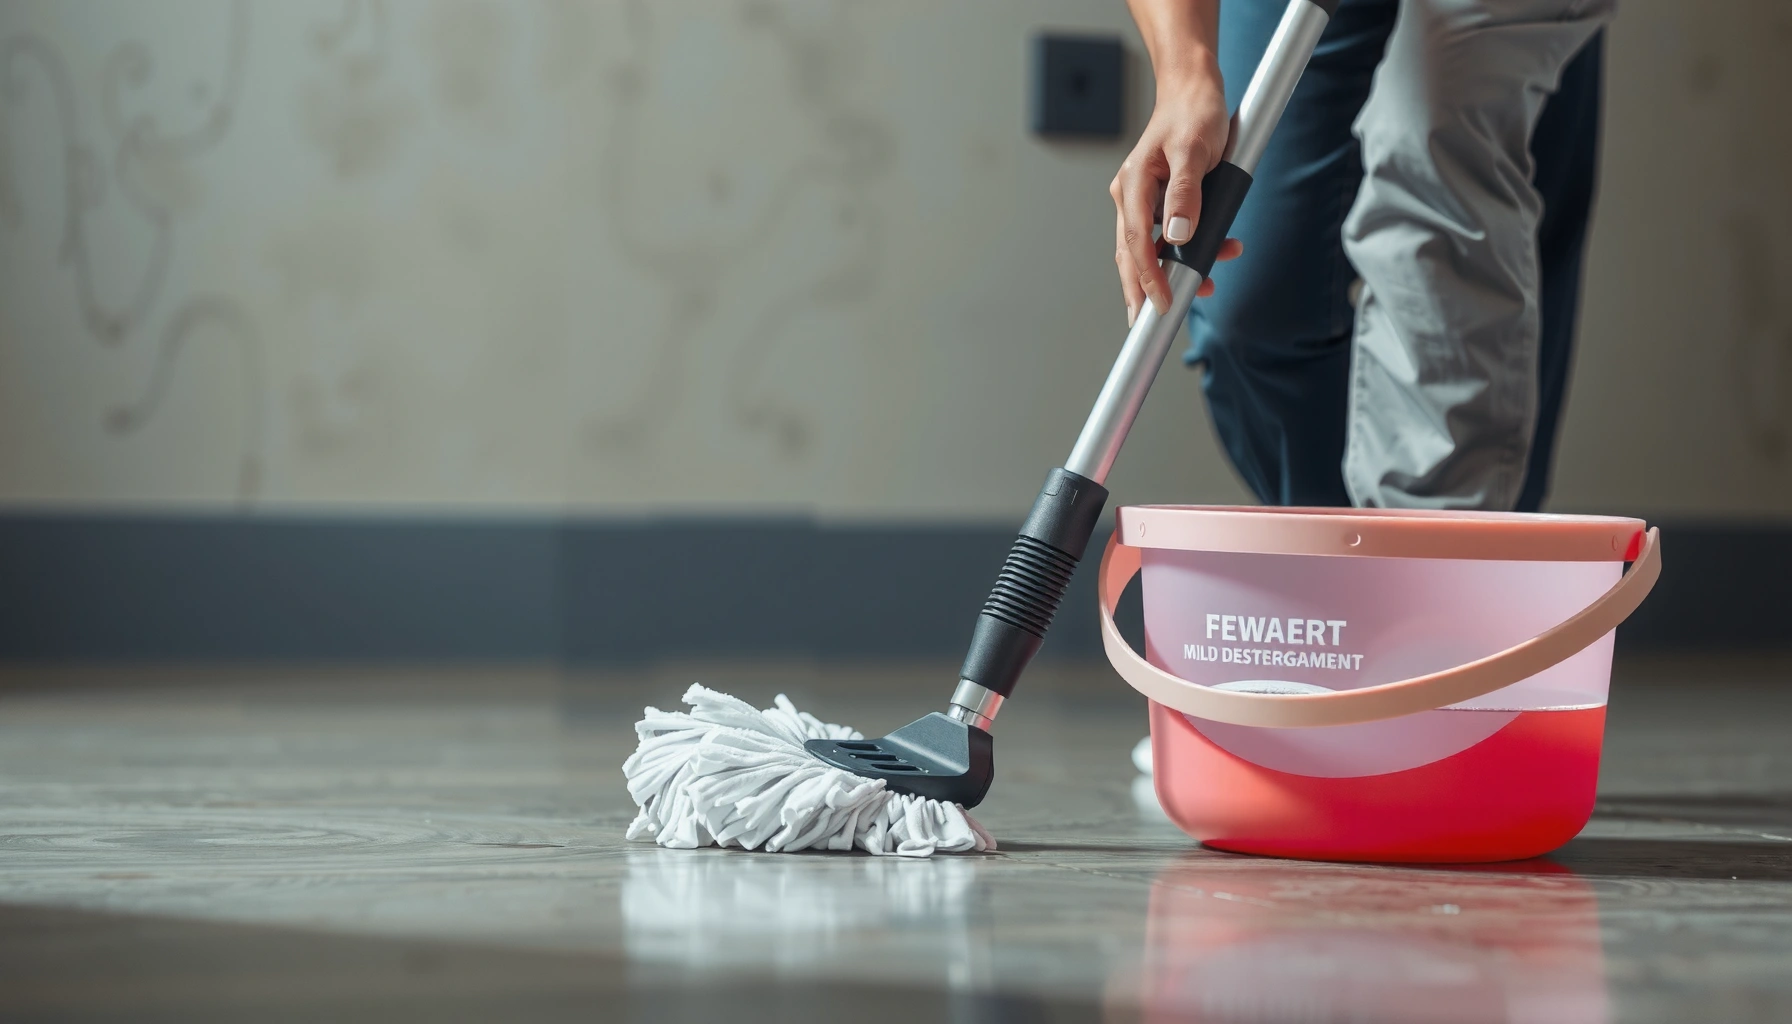

Want to mop basement floors the right way? This step-by-step guide tells you exactly how to clean and finish basement floors safely, from prep and choosing the right mop to mopping technique and drying for streak-free results. If you want the quickest route to a visibly cleaner, better-smelling basement, follow these instructions in order.



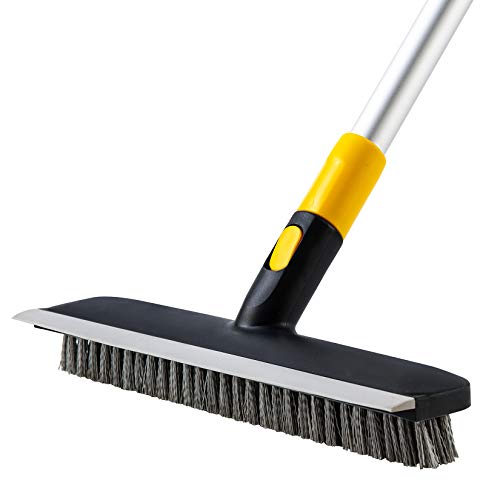
Mop your basement floors by prepping first (remove grit and dust), using a cleaner matched to your floor type at the label’s dilution, and finishing with a rinse or dry pass as needed to avoid lingering moisture. The key is controlling water volume—basements dry slowly—so you don’t leave behind streaks, residue, or damp, musty conditions.
This guide is for homeowners (and renters) who want a practical, low-drama way to clean basement concrete, tile, or sealed floors without creating water damage. It’s especially helpful if your basement feels damp, has tracked-in debris, or needs more than a quick sweep to get back to a clean, dry finish.
Prep the basement floor before mopping
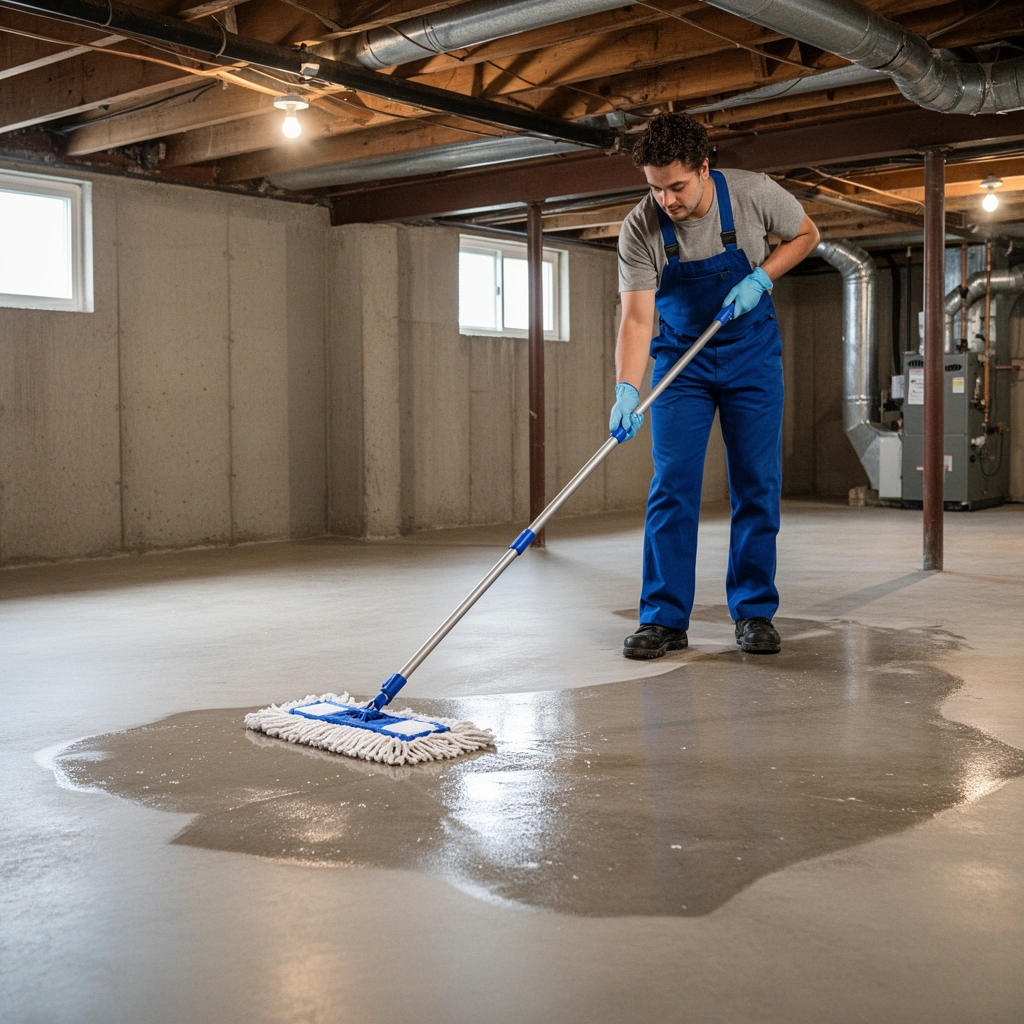
Mopping works best when you start with clean, grit-free surface conditions, because grit behaves like sandpaper and spreads mess as you clean. If you remove dust and debris first, the mop solution can actually do the cleaning instead of grinding grime into the floor.
According to the U.S. Environmental Protection Agency (EPA), careful product use and avoiding unsafe chemical combinations are essential when cleaning (including reading labels before mixing or applying cleaners).
According to the U.S. Centers for Disease Control and Prevention (CDC), mold growth is associated with moisture and humidity, which means damp floors can become a secondary “problem area” if you over-wet.
According to ASHRAE guidance, maintaining indoor relative humidity in a healthy range reduces the likelihood of moisture-related issues, which matters after mopping because basements dry slower.
From my experience with common basement maintenance routines, the “worst” mopping outcomes usually happen when grit wasn’t removed first and the mop re-deposits dirty water across the entire floor.
What “prep” actually includes (and why it matters)
1. Sweep or vacuum first. Basements often collect tracked-in soil, dust, and fine grit. Even if your floor looks “dusty” rather than dirty, that dust can scratch sealed coatings and make damp gray haze.
2. Clear your path. Move small items, buckets, and storage bins so you can mop in straight sections without stepping on cleaned areas. If you can, wipe or dust nearby baseboards—mopping often loosens grime that falls from edges.
3. Check for sticky spots and debris pockets. Look along corners, around floor vents, and near doorways—sticky residue can repel mop water and cause streaking if you only rely on general mopping.
A quick “spot-first” approach before you mop
If you see sticky marks (paint overspray, scuff residue, grease spots, or dried mud), treat them before the full pass:
– Spot-clean with the same cleaner category intended for your floor type.
– Let it sit for the label’s dwell time if the product specifies one.
– Only then move to a full sectional mop.
Choose the right cleaner and dilution
The best basement mopping outcome comes from using the right cleaner category for your floor surface and diluting it exactly as the label directs. Basements are typically cooler and more humid, so the wrong chemical—or too-strong a mix—can leave residue, dull finishes, or create sticky streaks.
According to EPA guidance, you should follow cleaner label directions and avoid mixing chemicals unless the label explicitly allows it.
According to most flooring care documentation, using a cleaner with the wrong pH (too acidic or too alkaline) can damage coatings or dull finishes over time.
According to CDC moisture guidance, controlling dampness helps prevent biological growth; over-wetting during mopping can increase dwell time on the floor.
Match the cleaner to the surface (not just the dirt)
Use the cleaner type that aligns with your floor:
– Sealed concrete (painted/epoxy/sealed): Choose a neutral or pH-balanced floor cleaner labeled for sealed concrete or hard floors.
– Tile floors (especially glazed porcelain/ceramic): Use a hard-surface cleaner that’s safe for tile and grout; many work best when you don’t saturate grout lines.
– Unsealed/porous concrete: Be cautious—many cleaners can soak in or react with minerals. In many cases, the safest path is following the concrete manufacturer’s guidance or using a concrete-specific cleaner designed for porosity.
– Natural stone (if present): Use a cleaner specifically rated for stone; stone surfaces can be sensitive to acidity.
Dilution rules that prevent residue and streaking
– Follow the label’s dilution rate exactly. “Stronger” doesn’t mean “cleaner” on floors—it often means more film.
– Never mix chemicals by accident. Avoid common hazards like combining bleach with other cleaners (especially ammonia-containing products).
– Don’t “improvise” with pH. If your floor has coatings or finishes, pH assumptions often lead to dullness and residue.
Cleaner selection at a glance (pros/cons)
| Cleaner type | Best for | Main risk to avoid |
|---|---|---|
| Neutral/pH-balanced floor cleaner | Sealed concrete, glazed tile, most finished hard floors | Using too much concentration can still leave residue |
| Degreaser (alkaline/stronger) | Grease spots, tracked-in automotive grime (use only if label allows) | May dull coatings if overused or left too long |
| Stone-safe cleaner | Natural stone surfaces | Using general floor cleaners can etch or haze some stones |
| Concrete-specific cleaner | Heavily soiled porous concrete (when designed for that surface) | Not all products rinse the same—follow rinse guidance |
Moisture reality: why humidity matters right after mopping
Basements often run cooler and more humid, which slows drying. According to the U.S. CDC, keeping indoor relative humidity below about 60% helps reduce conditions that support mold growth. CDC (moisture/mold prevention guidance)
According to ASHRAE indoor humidity recommendations, many buildings target ranges roughly around 30–50% RH for comfort and moisture control. ASHRAE (humidity control guidance)
And per EPA cleaning best practices, label-following is critical—because incorrect chemical use and over-wetting can turn “clean” into “damp.” EPA
Indoor Relative Humidity Levels & Basement Dampness Risk
| # | Relative Humidity (RH) | Drying After Mopping | Moisture/Mold Support Risk | Practical mopping outcome |
|---|---|---|---|---|
| 1 | 20–30% RH | Fast | Low | Usually dries quickly; minimal musty risk |
| 2 | 31–40% RH | Moderate-fast | Low | Great for mopping with minimal rinse/extra drying |
| 3 | 41–50% RH | Moderate | Moderate-low | Drying may take longer; still generally safe |
| 4 | 51–59% RH | Moderate-slow | Moderate | Consider a careful dry pass to avoid lingering dampness |
| 5 | 60–69% RH | Slow | Higher | Higher chance of musty smell if water remains |
| 6 | 70–79% RH | Very slow | Very high | Skip “wet mopping” approaches—use minimal-water methods |
| 7 | 80%+ RH | Extreme | Severe | Investigate humidity sources first; mopping won’t “fix” moisture |
Mop using the best technique (and the right amount of water)
Use a wrung-out mop and work in small sections so the floor stays clean without becoming saturated. In most basements, the “win” isn’t just cleaner—it’s controlling water so the floor dries on your timeline, not after the smell starts.
According to EPA guidance on cleaning products, label instructions define safe use; that includes proper dilution and application methods for the intended surface.
CDC moisture guidance emphasizes that preventing persistent dampness matters, because moisture drives mold and odor problems.
In practical floor-care workflows, changing mop water during cleaning reduces redepositing dirty water, which helps prevent streaking.
When basements run cool, drying slows; controlling applied moisture is therefore part of “cleaning,” not just finishing.
The step-by-step mopping process
1. Set up your bucket and solution. Mix cleaner using the exact dilution on the product label.
2. Dip → wring thoroughly → mop. The wringing step is what prevents pooling. If you can see water collecting along seams or edges, you’re applying too much.
3. Work in sections. Do a manageable area (for example, one doorway-to-doorway run, or a rectangle you can finish before the solution dries).
4. Use overlapping strokes. Overlap slightly to keep coverage consistent and avoid streak lines.
5. Change solution when it gets dirty. Dirty mop water acts like a stain spreader—re-depositing grime rather than removing it.
6. Rinse or dry pass based on the product instructions. Some cleaners require a rinse to prevent residue. If the label says rinse, follow it—especially on sealed floors that can show streaks.
Technique matters for streaks and residue
– Don’t “chase” streaks immediately. If you overwork an area while it’s wet, you can smear residue across the surface.
– Let it reset, then do a targeted pass with a cleaner-dilution correction or a quick rinse/dry step (only if your floor type and label guidance allow it).
– Mind the grout and seams on tile. Too much water in grout lines increases drying time and can lead to dullness or odor.
Common mopping workflow (what it should feel like)
– The mop should glide with enough wetness to clean, not enough that you can see run-off or pooling.
– Edges and low spots should never “hold” water longer than a few minutes.
– If your basement has slow drainage or cracks, avoid flooding around those zones.
Tackle stubborn spots the safe way
Stubborn basement stains need targeted pre-treatment, not a stronger mop mix. When you pre-treat correctly, you remove localized soil without turning the whole floor into a residue-prone wet blanket.
According to EPA and product-label guidance, follow label dwell times and application directions to reduce the risk of surface damage or residue.
CDC moisture guidance ties persistent dampness to biological growth; spot-cleaning reduces the amount of extra water needed compared to repeated whole-floor mopping.
For hard floors, light agitation with a non-abrasive pad is generally safer than metal or harsh scrapers, which can harm coatings and finishes.
Using a label-approved cleaner on the specific stain type (mud, scuffs, grease) improves results compared with generic “floor concentrate” guessing.
How to handle common basement stains
– Mud and dried soil: Pre-treat with a cleaner appropriate for your floor type. For dried mud, start by loosening with a damp cloth before mopping.
– Scuffs and heel marks: Use the cleaner at label dilution, then lightly agitate with a soft brush or mop pad.
– Grease or automotive grime: If you’re using a degreaser, verify it’s safe for your finish/coating and keep dwell time within label guidance.
– Food/organic spots: Use the safest cleaner category for your floor surface; avoid aggressive mixing of sanitizers with other products.
Agitation that doesn’t damage finishes
– Use a soft brush or microfiber mop pad.
– Avoid abrasive tools on coated or sensitive floors.
– Let spot treatments dwell only for the time listed on the product label, then continue with your normal mopping plan.
Dry and protect to prevent damp odors or residue
Drying is not optional in many basements—it’s the step that protects your investment. Once you’ve cleaned, remove excess moisture (and any remaining cleaner) so the floor doesn’t stay damp long enough to smell or support unwanted growth.
According to CDC moisture guidance, controlling humidity and preventing dampness reduces the risk of mold and musty odors.
ASHRAE humidity guidance supports maintaining indoor relative humidity in a safer comfort/moisture range (commonly around 30–50% RH) to limit damp conditions.
For basements, increasing air movement helps drying by reducing the time floors remain wet, which is a practical moisture-control measure after mopping.
Practical drying steps that work in real homes
1. Dry after mopping. Use a clean dry mop head, towel, or approved floor-drying method—especially if your basement feels cool or humid.
2. Increase airflow. Run a fan, ensure HVAC airflow (if appropriate), and open vents when it’s safe. Air movement is one of the fastest ways to reduce drying time.
3. Watch for residue. If you see film or streaks, reduce cleaner strength next time (still within label guidance) and do a rinse/dry pass where the product instructs.
Protect the floor from the next re-soiling event
– Add a door mat to reduce tracked-in grit.
– If you have repeated dampness, address sources (leaks, seepage, poor grading) because cleaning cannot compensate for ongoing moisture intrusion.
What can go wrong (and how to avoid it)
Basement mopping problems usually come from over-wetting, wrong cleaner chemistry, and skipping the rinse/dry step. Fix the root cause and you avoid the cycle of “cleaning that leaves the basement feeling damp again.”
CDC emphasizes that moisture control is fundamental; cleaning steps can’t replace addressing leaks, standing water, or chronic dampness sources.
EPA guidance stresses following labels and avoiding chemical mixing to reduce hazards and unexpected reactions.
In floor-care practice, mopping over grit can scratch surfaces and permanently embed particles, which later shows up as persistent dullness.
When basements don’t dry quickly, cleaner residue can remain longer and increase the chance of sticky streaks or odor.
– Flooding or pooling water: Basements dry slowly. Use a wrung-out mop, smaller sections, and avoid saturating seams and cracks.
– Using the wrong cleaner: Some cleaners can dull finishes or react badly with coatings. Stick to products explicitly safe for your floor type.
– Skipping a rinse when one is recommended: This often causes sticky residue and streaking—especially on sealed concrete and glossy tile.
– Mopping over grit: Sweep/vacuum first to prevent grinding dirt into the surface.
– Chemical mixing mistakes: Never combine cleaners unless the label explicitly allows it (and if you’re unsure, don’t mix).
Verdict: a practical approach that works—if you match the cleaner to the floor
Mopping basement floors is straightforward when you prepare correctly, use a floor-appropriate cleaner at the correct dilution, and avoid over-wetting. The downside is that basements often dry slowly, so if your basement runs cool/humid or you’re cleaning porous/unsealed surfaces, plan extra drying steps and follow any rinse requirements closely.
If you suspect moisture intrusion—active leaks, seepage, or persistent damp spots—address that source first. Otherwise, mopping is a temporary fix and may even worsen dampness because you’re adding water to a problem area.
[ADD: author/editor note about your specific basement floor type (e.g., sealed concrete vs. unsealed) and whether it’s sealed, plus any brand/type you use—only if you can confirm.]
Quick checklist (save this)
– [ ] Sweep/vacuum thoroughly (especially corners and entry paths)
– [ ] Identify floor type (sealed concrete, tile, coated surface, etc.)
– [ ] Mix cleaner at label dilution only
– [ ] Mop in sections with a well-wrung mop (no pooling)
– [ ] Change solution when it turns dirty
– [ ] Spot-treat stains before full mopping
– [ ] Rinse/dry if the label or your floor type requires it
FAQ
Can I mop a concrete basement floor?
Yes—if it’s sealed or finished appropriately. Use a cleaner intended for concrete/sealed hard floors and follow label dilution and rinse guidance. If your concrete is unsealed and porous, you’ll need surface-specific care guidance to avoid deep absorption or damage—[ADD: source/clarification for unsealed concrete care].
What’s the best way to stop basement floors from staying damp after mopping?
Use less water (wring out the mop), work in smaller sections, and increase airflow to speed drying. If the floor still stays damp, check humidity levels and investigate leaks or moisture sources—cleaning won’t remove ongoing water intrusion.
Should I use bleach to mop a basement?
Only if the product label specifically calls for it and it’s safe for your floor type. Don’t mix bleach with other cleaners, and don’t assume it’s appropriate for sealed floors or coated surfaces. [ADD: source for bleach compatibility with flooring types if available.]
How often should I mop my basement?
A practical cadence is “as needed” based on foot traffic, tracked-in debris, and visible residue. For basements with regular tracking or spills, mopping more often helps prevent buildup—while low-traffic basements typically need less frequent cleaning.
Sources
– EPA (Environmental Protection Agency) — cleaner label guidance and safe use/chemical mixing precautions (follow label directions; avoid unsafe combinations).
– CDC (Centers for Disease Control and Prevention) — moisture and mold prevention guidance, including humidity control concepts and dampness risk.
– ASHRAE — indoor humidity control recommendations used for moisture management (target relative humidity ranges vary by climate and system design).
– [ADD: manufacturer/label instructions for the specific cleaner you recommend, including dilution, rinsing guidance, and compatibility with concrete/tile/sealed floors]
– [ADD: flooring manufacturer guidance for sealed concrete or tile cleaning (official care instructions)]
Mopping your basement doesn’t have to be a long, frustrating project. Prepare to remove grit, clean with the right diluted formula for your exact floor type, and finish with the drying/rinse step the label (and your basement’s humidity) requires—so the result is genuinely clean, not just freshly wet.
Frequently Asked Questions
What’s the best way to prep a basement floor before mopping?
Before you mop basement floors, remove everything from the surface and sweep or vacuum thoroughly to pick up dust, grit, and hair. Check for stains, and pre-treat any spots with a suitable cleaner based on the stain type (oil, grease, or mildew). If your basement has moisture issues, ensure the floor is fully dry and ventilate the area to prevent mopping dirty water back into cracks or pores. For concrete floors, consider using a pH-neutral cleaner to avoid damaging finishes.
How do I mop a basement floor without spreading grime?
Start by mixing your basement floor cleaner with warm water in a bucket according to the label, then use a microfiber mop to lift dirt instead of smearing it. Work in small sections, rinsing or changing the mop water frequently—dirty water is the main cause of streaks and haze. Use a back-and-forth motion, and don’t forget edges and corners where debris collects. Let the floor dry completely afterward to stop residue from building up.
Which cleaner is safest for mopping basement concrete floors?
For most mopping jobs, a pH-neutral cleaner is a safe choice for concrete basement floors because it won’t strip typical sealers or coatings. If you’re dealing with mildew or musty odors, choose a cleaner specifically labeled for mold and mildew and follow the contact time directions carefully. Avoid harsh acids (like vinegar or muriatic acid) on sealed or painted surfaces, since they can cause damage or discoloration. Always spot-test in an inconspicuous area and rinse as directed to keep floors looking clean.
Why does my basement floor look streaky after mopping, and how can I fix it?
Streaking often happens when you use too much cleaner, don’t rinse, or mop with water that’s too dirty or too soapy. Use the proper dilution, wring out the mop well to avoid excess moisture, and switch to clean rinse water if the floor starts looking cloudy. For stubborn streaks on concrete, a final damp mop with clean water can help remove leftover residue. After mopping, improve airflow with a fan or dehumidifier so the floor dries evenly.
How can I remove basement floor stains during mopping?
Identify the stain type first—grease and oil typically need a degreaser, while mildew may require a mold-safe disinfecting cleaner. Apply the cleaner directly to the stained area, allow it to dwell for the time specified, then scrub gently with a brush before mopping the rest of the floor. Keep the solution contained to the stain to avoid altering surrounding areas, and rinse thoroughly if the product label requires it. Repeat if needed, but allow the floor to dry between attempts for best results.
📅 Last Updated: October 11, 2026 | Topic: How to mop basement floors? | Content verified for accuracy and freshness.
References
- https://www.cdc.gov/cleaning/cleaning-and-disinfection.html
- https://www.epa.gov/coronavirus/cleaning-and-disinfecting-your-facility
- https://www.ready.gov/cleaning
- https://www.cdc.gov/mold/default.htm
- https://www.mayoclinic.org/healthy-lifestyle/adult-health/in-depth/cleaning-house/art-20046463
- Google Scholar Google Scholar
https://scholar.google.com/scholar?q=mopping+basement+floor+cleaning+disinfection - Google Scholar Google Scholar
https://scholar.google.com/scholar?q=best+practices+floor+cleaning+and+disinfection+indoor+surfaces - Google Scholar Google Scholar
https://scholar.google.com/scholar?q=basement+moisture+mold+prevention+cleaning+recommendations - https://www.britannica.com/topic/cleaning
- https://www.nytimes.com/guides/realestate/how-to-clean-floors

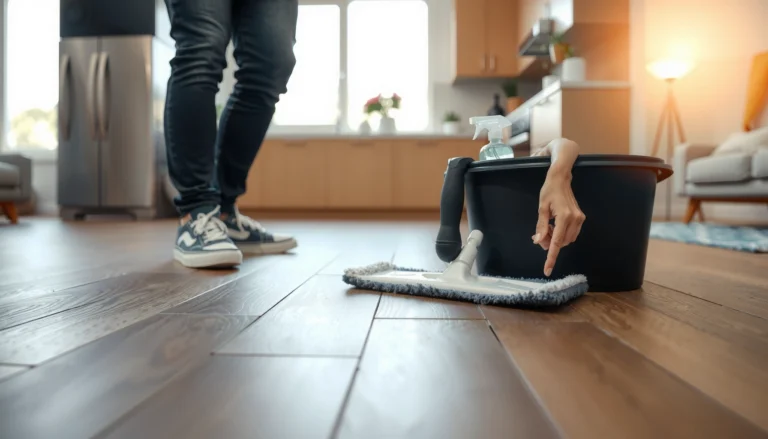
[…] Work in small sections and use a well-wrung microfiber mop to keep moisture controlled, since too-wet mopping can smear dust and create streaks. Start by dry-dusting with a microfiber mop or vacuum, then do a light damp clean as a second step only if needed. Rinse or replace the mop pad frequently, and dry the floor promptly with a clean microfiber towel to keep the finish looking clear. […]