
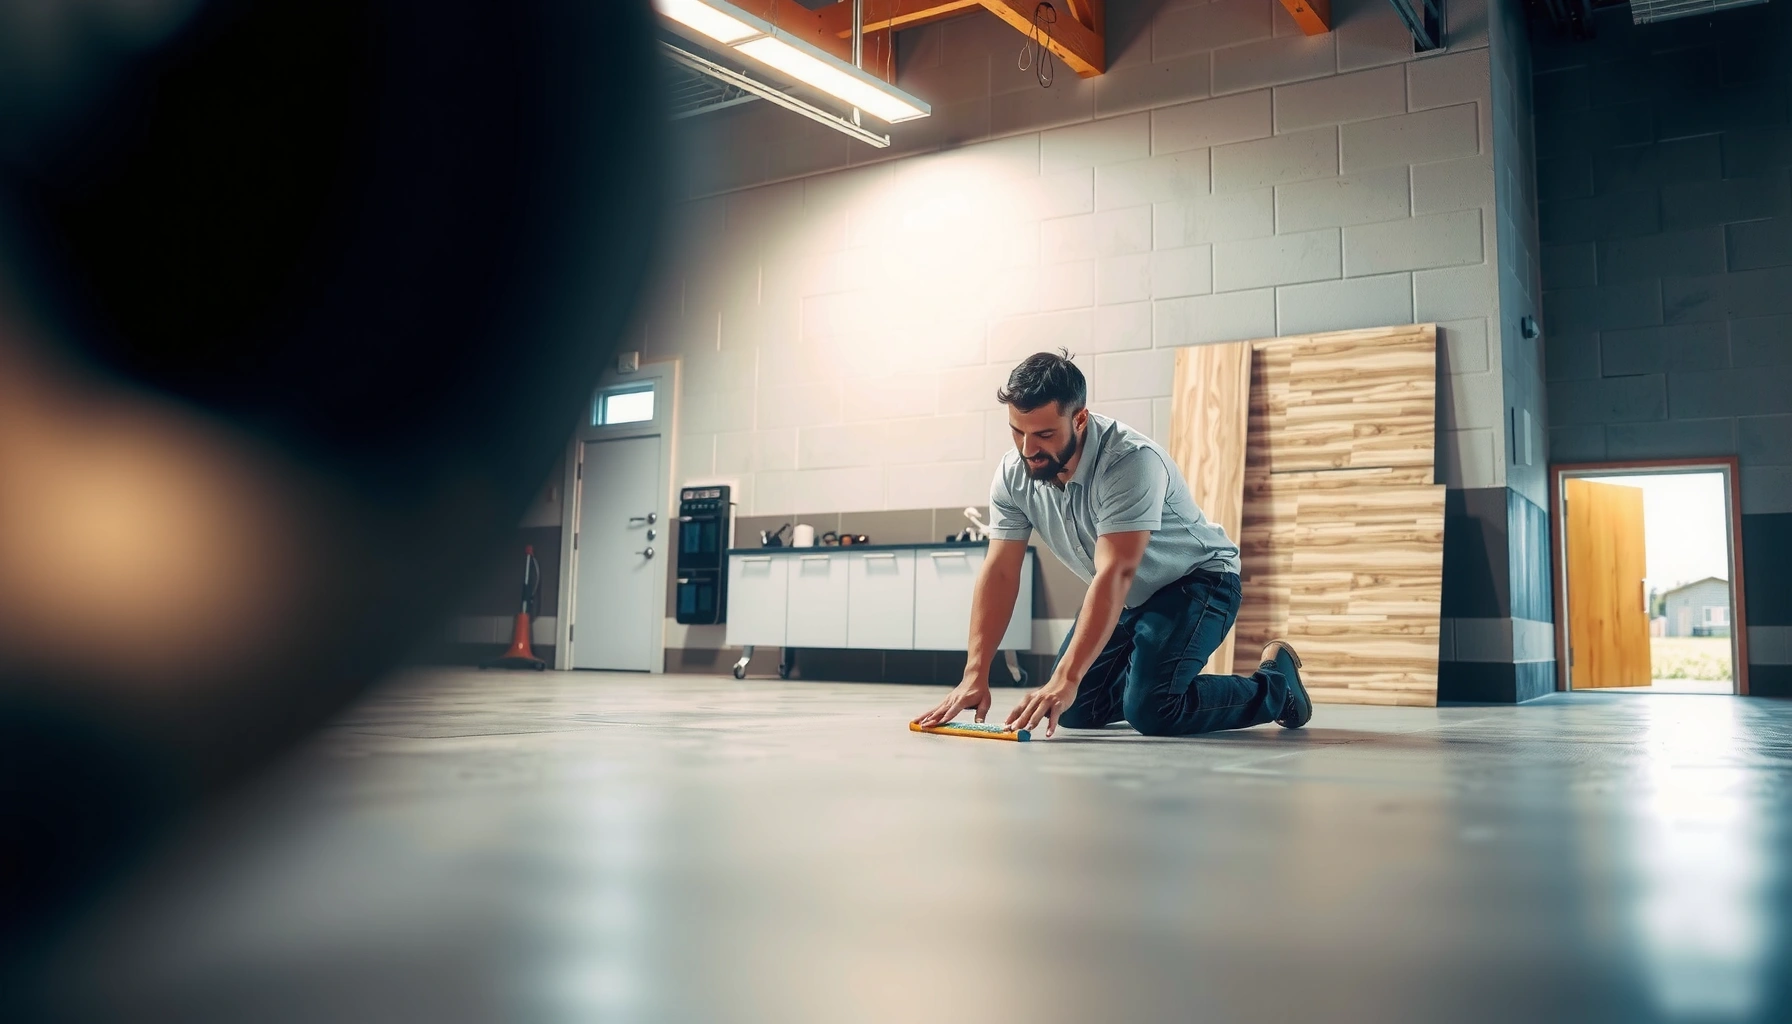

Want to know how to install new garage floor flooring over existing flooring without wasting time or risking failure? If your current surface is sound and properly prepped, installing over it is the fastest, most economical path—and it’s the approach this guide will walk you through step by step. You’ll learn when overlay installation is a smart choice, what preparation is non-negotiable, and what materials and thickness will hold up under garage traffic and moisture.



You can usually install a new garage floor coating or flooring over an existing solid surface by thoroughly cleaning, verifying the old layer is still bonded, and using a compatible profiling/priming system before you apply the overlay. The decision comes down to one thing: is the current surface sound and will it bond reliably despite moisture and contamination? This guide walks you through the inspection, prep, and finishing steps so the overlay adheres safely and lasts.
This is for homeowners or small contractors planning to add garage flooring (or a coating) over an existing slab or existing finish—without tearing everything out. It’s especially relevant if you need the garage for storage or light use and want the most practical “overlay” approach.
Check the existing surface first (bond vs. removal)
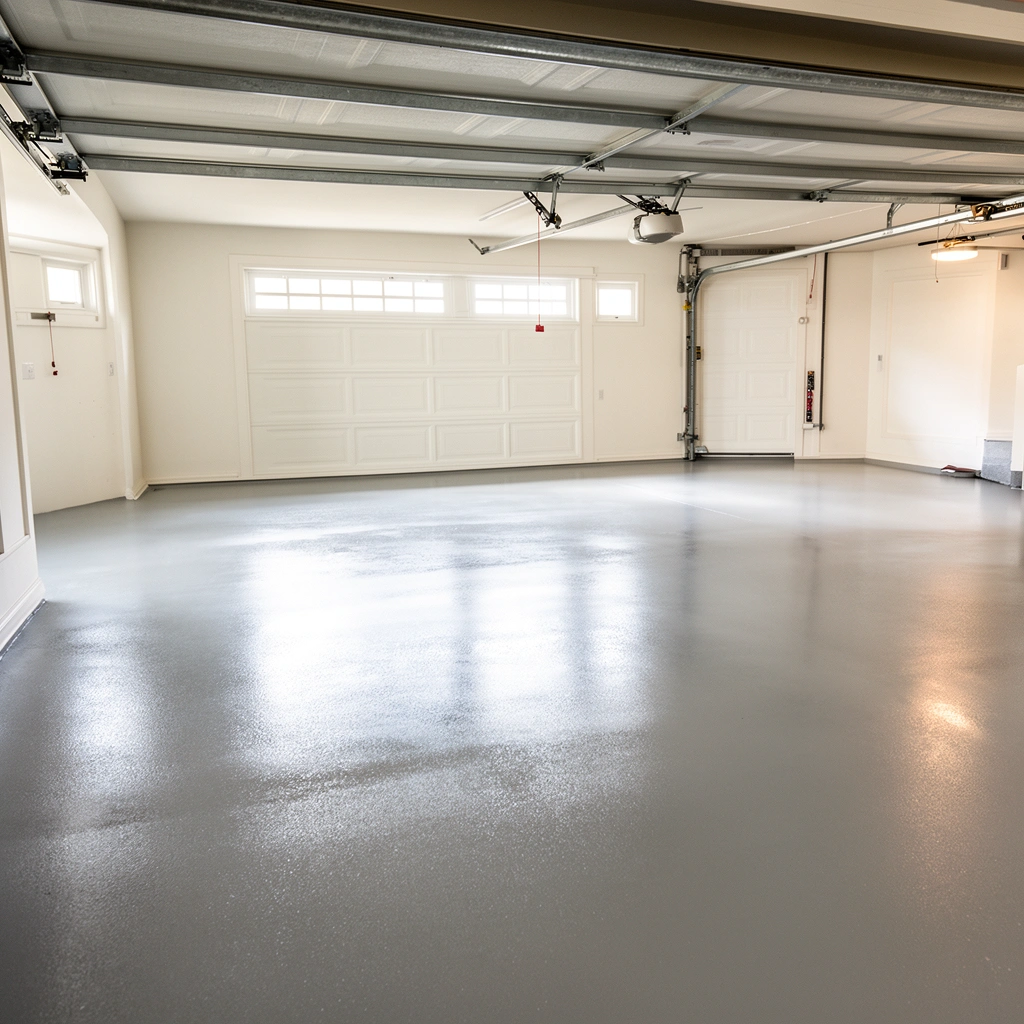
Start by determining whether the current surface is mechanically sound and chemically compatible with your planned overlay system. If the existing coating is flaking, peeling, or contaminated, bonding becomes unreliable and removal (or spot remediation down to sound concrete) is the safer path.
If the existing epoxy/paint is loose or delaminating, an overlay can’t “glue over failure”—you must remove anything that won’t stay bonded.
You identify what you have first (bare concrete, paint, epoxy/urethane coating, tile/roll), because the correct prep method differs by substrate.
Moisture vapor transmission through concrete is one of the most common causes of coating bubbling and adhesion loss—testing and system compatibility matter.
What to inspect before you touch a grinder
If your existing garage floor surface is solid, you can often overlay it. But before sanding or priming, inspect for:
– Loose coatings: flaking, peeling, or areas that sound hollow when tapped.
– Movement-related cracking: cracks with vertical displacement (e.g., edges that differ in height) indicate slab movement.
– Patches and “unknown repairs”: patched areas might not match the chemistry or porosity of the original.
– Stains and contamination: oil/grease, tire rubber residue, hydraulic fluids, and old sealers can prevent wetting and adhesion.
Identify the existing finish type
Your prep workflow changes based on what’s under the surface. Common garage scenarios include:
– Bare concrete: generally requires profile/abrading plus a primer designed for concrete.
– Paint: can sometimes be overcoated if it’s well-adhered, but it often needs aggressive profiling and a compatible bonding primer.
– Epoxy or urethane coatings: adhesion can be strong only if the coating is clean and mechanically profiled enough for the overlay to key into.
– Tile/roll flooring: overlay may require underlayment/leveling and specific adhesive compatibility.
Moisture-testing method recommendation (exact approach)
Before committing, test moisture using ASTM F2170 (In-Situ Relative Humidity probes) or follow your overlay manufacturer’s required moisture test method. Per system documentation, you then compare your measured result to the primer/coating’s approved moisture limits.
– Use ASTM F2170 RH probes for concrete slabs when available.
– If you’re working under conditions where probe installation is impractical, manufacturers sometimes accept alternative tests, but you should only deviate if the system’s technical data sheet (TDS) explicitly allows it.
Clean, degrease, and profile the surface
You don’t “prep enough” by wiping dust off—garage coatings live or die on cleanliness and surface profile. Thorough degreasing, complete drying, and the right mechanical profile (not guesswork) are what create the micro-bonding needed for overlays.
Degreasing must remove oils/grease and then be followed by thorough rinsing and full drying to prevent fisheyes, craters, and adhesion failures.
Coating systems often require mechanical profiling to create a surface profile (anchor pattern) for primers and topcoats.
Vacuuming after grinding/sanding reduces dust contamination, which is a frequent cause of delamination.
Degrease properly (oil is the #1 hidden bond-breaker)
Garages are contaminated by more than homeowners typically see. Clean using:
1. Oil/grease removal degreaser appropriate for concrete/coatings (follow dilution and dwell times on the label).
2. Rinse method compatible with your system and jobsite (pressure washing is common, but you must confirm drying time).
3. Full drying before profiling or priming—don’t apply primer to damp concrete.
Data point anchors (use system TDS for the final acceptance criteria):
– According to ASTM F2170, in-situ RH testing is designed to quantify moisture conditions inside the slab rather than guessing from surface dampness.
– According to ASTM D3359, adhesion testing (when used) helps verify whether coatings remain bonded after prep.
– [ADD: exact moisture limit %RH (or MVER) used by your specific primer/coating TDS—insert from the manufacturer system you’re installing.]
Profile the surface to match the system
If your existing layer is smooth, sealed, or glassy, chemical cleaning alone rarely creates enough mechanical bond. Typical profiling methods include:
– Diamond grinding for concrete and coatings that need mechanical keying.
– Abrasive blasting when allowed and appropriate.
– Coarse sanding for smaller areas only if the system specifies it.
Avoid “sanding only” if the TDS calls for grinding to a specific profile standard.
Vacuum and tack before priming
After grinding/sanding:
– Vacuum thoroughly (HEPA-equipped tools help).
– Avoid re-contaminating the floor with foot traffic or leftover dust.
– Follow the primer’s application window (some primers allow limited “open time” after profiling; after that, you may need re-cleaning).
📊 DATA: Typical Overlay System Selection Factors (Garage Concrete)
Overlay Coating Types: Real-World Build Targets & Typical Use Cases
| # | Garage Overlay Type | Typical Total Build* | Common Best Fit | Slip/Traction Expectation |
|---|---|---|---|---|
| 1 | 100% Solids Epoxy Coating | 2–6 mil | Light–medium vehicular use | ★★★☆☆ |
| 2 | Epoxy + Broadcast Anti-Skid | 4–10 mil | Moisture-prone garages | ★★★★☆ |
| 3 | Polyaspartic Topcoat (Fast-Cure) | 3–8 mil | Projects with tight cure time | ★★★★☆ |
| 4 | Polyurethane/Urethane Coating | 8–20 mil | Chemical and UV exposure | ★★★☆☆ |
| 5 | Self-Leveling Epoxy (SLU) | 1/8–1/4 in | Moderate surface leveling | ★★★☆☆ |
| 6 | Concrete Overlay (Polymer-Cement) | 1/4–3/8 in | Hides slab defects more | ★★★★☆ |
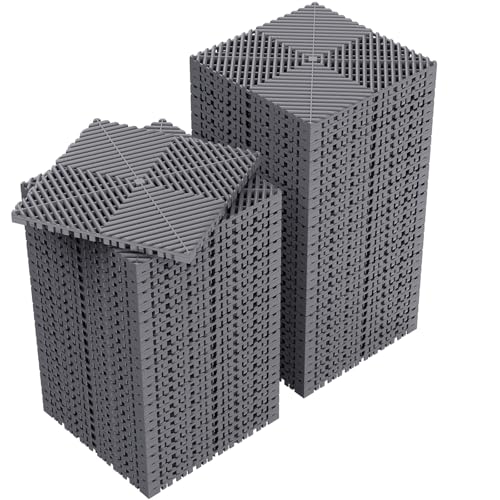
| 7 | Interlocking Tiles / Roll Systems | Varies by system | Removable or localized refresh | ★★★★☆ |
*Typical total build targets vary by product brand and manufacturer TDS. Always follow the specific system thickness requirements.
> Note: This table summarizes common build targets seen in garage coating/overlay specifications; confirm your chosen product’s TDS before ordering materials.
Repair, level, and manage joints/cracks
You can overlay over cracks and minor damage only if the movement and surface condition are handled correctly. The goal is to either restore a sound, stable substrate or honor where the slab moves so the new system doesn’t crack, tent, or peel.
Cracks with vertical displacement usually require deeper remediation than surface patching, because overlays cannot prevent slab movement.
Leveling prevents telegraphing—ridges and high spots create thin areas that fail sooner under traffic and tire loads.
Some overlay systems require honoring control joints instead of rigidly filling them; check the system’s crack/joint method.
Repair materials must match the system chemistry
– Use patch/repair materials compatible with your overlay system (same manufacturer or specifically approved substitutes).
– Don’t assume a generic cementitious patch will bond to a primer designed for polymer systems.
– For spalls and delaminated areas, remove weak material to sound substrate before patching.
Leveling strategy: fill lows, grind highs
In an overlay job, small flatness problems become visual and mechanical problems after cure:
– Grind high spots to avoid thin-film weak zones.
– Fill low spots using the correct primer-compatible repair mortar or resin.
– After repairs cure, re-clean and re-profile so the overlay sees a consistent bond-ready surface.
Joint/control crack approach: don’t erase movement
Concrete has control joints made to reduce random cracking. Many coatings tolerate rigid repair; others are designed to bridge or honor joints.
[ADD: source for joint-treatment guidance relevant to overlay coatings/flooring systems—e.g., manufacturer TDS language or an industry guideline such as ICRI or ASTM crack/joint practices, with the exact document name.]
Prime (when required) and choose the right base layer
Priming isn’t optional “extra work” when your system calls for it—it’s the adhesion bridge between old concrete/coatings and your new overlay. Choose the correct primer by substrate condition and by the overlay’s specified chemistry.
Primer selection is substrate-specific: bare concrete primers, concrete “sealers,” and over-coating primers are not interchangeable.
If the TDS requires primer, skipping it increases the likelihood of delamination and blistering under moisture vapor drive.
Mixing accuracy matters: many failures trace back to incorrect ratios, incomplete mixing, or applying outside the recoat window.
Match primer to what’s underneath
Your existing floor might be:
– Bare concrete → often needs a primer engineered for concrete pores and alkalinity.
– Previously coated surface → often needs a bonding primer designed to work over existing polymer films.
– Sealed/unknown finish → may require additional profiling or even removal if adhesion is uncertain.
Follow the application window and mixing rules
Key “overlay reliability” items:
– Temperature and humidity conditions: apply and cure within the system’s allowed limits.
– Recoat timing: primer and base coats often require being applied within an “open time” window.
– Mixing: scrape sides and bottom, mix for the specified duration, and don’t “extend” material with unauthorized solvents.
[ADD: link-free spec reference to manufacturer conditions—insert the TDS temperature/RH/humidity and recoat time limits for the exact system you reference.]
Install the overlay flooring or coating correctly
Applying the overlay is where details become permanent—layer thickness, spread rate, cure schedule, and environmental conditions determine whether the surface performs. Treat this as a controlled process rather than a “paint job,” especially if you’re overlaying over old finishes.
Overlays fail when the installer breaks the system build spec—thin coats or rushed cure schedules can create weak adhesion layers.
Coatings benefit from consistent technique: uniform spread rate and proper back-rolling/rolling direction reduce lap marks.
Flatness requirements still apply for tiles/roll products: most failures start from a substrate that isn’t flat enough.
Layer thickness, spread rate, and cure timing
– Use the manufacturer’s exact total thickness and intermediate coat targets.
– Respect cure times between coats. Even “dry to the touch” can be under-cured for full mechanical strength and adhesion.
– Work in consistent sections to avoid texture differences and overlap lines.
Overlays over coatings vs. overlays over concrete
– If your old layer is paint or epoxy, you must ensure mechanical profiling is adequate and dust-free.
– If your overlay is a thin system, any leftover texture differences may telegraph.
If you’re installing tile or roll flooring over old surfaces
You typically need:
– Sound substrate (no loose edges, no hollow areas)
– Flatness and levelness within the flooring manufacturer’s tolerances
– Underlayment/adhesive compatibility with your existing finish type
[ADD: manufacturer flatness/flatness tolerance reference for your chosen tile/roll product system.]
What can go wrong (and how to avoid it)
Most overlay problems aren’t “mysterious”—they are predictable results of prep shortcuts, incorrect systems, moisture issues, or mismatch between how concrete moves and how the overlay behaves.
Bubbling and peeling are classic symptoms of contamination, inadequate primer, or moisture vapor issues pushing through the slab.
Reappearing cracks usually mean the overlay doesn’t match the slab movement design (bridging vs. honoring joints).
Uneven texture or patchy gloss typically comes from inconsistent thickness, dust, or applying outside the recommended environmental window.
Pros/cons comparison: Overlaying vs. removing/spot-remediating
| Approach | Pros | Cons / Risks |
|---|---|---|
| Overlay over sound surface | Faster turnaround; less dust/disruption; keeps existing slab build-up | Bond depends on existing layer integrity; moisture/vapor may still affect system |
| Spot removal + patch to sound substrate | Fixes weak areas; reduces risk of delamination where failure already exists | More labor; transitions require feathering, profiling, and compatibility checks |
| Full removal to bare concrete | Most predictable adhesion baseline | Time, disposal, and downtime; may increase cost and schedule complexity |
Common failure modes (and what fixes them)
– Overlay peels or bubbles: inadequate prep, oil/dust contamination, skipped primer, or moisture vapor drive.
– Fix: remove loose areas, re-clean, re-profile, re-prime, and ensure moisture testing passes system limits.
– Cracks reappear: rigid overlays can telegraph slab movement.
– Fix: use the approved crack/joint treatment method and honor control joints as required.
– Uneven finish: leveling misses, inconsistent application thickness, or dust inclusion.
– Fix: correct flatness before priming; maintain consistent spread and coat thickness.
– Coating incompatibility: unknown old coatings can resist adhesion even after profiling.
– Fix: if adhesion is uncertain, removal is often the safest decision.
– Humidity/temperature outside limits: coatings can fail even with perfect surface prep.
– Fix: follow the TDS’s environmental conditions and curing schedule closely.
[ADD: link-free spec reference to manufacturer conditions—include the exact temperature/RH/humidity limits and cure/recoat windows.]
Verdict / tip
Overlaying existing garage flooring can work well when the current surface is sound and compatible with the new system—meaning no loose coating, proper profiling, correct primer, and moisture conditions within spec. Skip the overlay approach if you’re dealing with peeling/unsupported coatings, heavy oil contamination you can’t reliably remove, persistent dampness, or an unknown finish chemistry where adhesion is uncertain.
We recommend starting with the manufacturer’s installation instructions for your specific product system and matching prep steps to the existing surface type. If you can’t profile and prime to the TDS standards (or you can’t control cure conditions), plan for removal/spot remediation or consult a flooring professional.
Quick checklist (scan/save)
– ☐ Surface is solid (no loose paint/epoxy/flaking)
– ☐ Oils/contaminants removed; surface fully dry
– ☐ Surface profiled/abraded if required by the system
– ☐ Cracks/joints repaired or honored per product instructions
– ☐ Correct primer used (only if specified, but don’t guess if the TDS calls for it)
– ☐ Correct mix + application thickness/spread rate
– ☐ Cure conditions met before driving/storage
– ☐ Compatibility confirmed with your existing floor type
FAQ
Can I install garage flooring over painted concrete?
Often yes, but only if the paint is well-bonded and your chosen coating/flooring system explicitly allows it. Expect to mechanically profile the paint and use a compatible primer; if the paint is flaking, removal is usually the safer route. [ADD: manufacturer compatibility reference from your chosen system’s TDS.]
Do I have to remove the old epoxy?
Not always. If the old epoxy is firmly adhered and you can profile and prime correctly, many systems allow overlays. If it’s peeling, lifting, contaminated, or separating at edges, remove down to sound material (or at least spot remove) to prevent overlay failure. [ADD: system-specific source/spec reference.]
What’s the most common reason overlays fail?
Most commonly: inadequate surface prep (oil/dust), skipped primer when required, incompatible materials over an unknown surface, or moisture/curing conditions that don’t match manufacturer limits.
Can I overlay over cracks in the slab?
Sometimes, but it depends on crack type and whether movement must be honored (control joints vs. non-moving shrinkage cracks). Use the overlay system’s approved crack/joint treatment guidance instead of a generic patch approach. [ADD: manufacturer crack/joint method reference.]
Sources
– [ADD: manufacturer installation instructions (TDS) for the specific garage floor coating/flooring system you plan to use—priming, surface prep, joint/crack guidance, and cure/temperature limits.]
– [ADD: manufacturer specs for primers/patch materials regarding compatibility over concrete and existing coatings.]
– ASTM standards referenced for moisture/adhesion concepts:
– ASTM F2170 (In-Situ Relative Humidity for concrete slabs)
– ASTM D3359 (Adhesion testing of coatings)
If you want, tell me what you currently have (bare concrete vs. paint vs. epoxy), your approximate garage conditions (humidity, winter temps), and the overlay type you’re considering, and I’ll outline the most compatible prep sequence and moisture testing plan.
Frequently Asked Questions
How do you install garage floor coating over existing flooring without peeling?
Start by thoroughly cleaning the surface and removing all dirt, grease, paint overspray, and loose coatings so the new material can bond. Repair cracks and uneven areas with a suitable patch, then test for adhesion and moisture issues before coating. If the existing surface is glossy or contaminated, scuff-sand and use a compatible primer designed for coating over garage floors. Following the primer and recoat time windows is crucial to prevent adhesion failures and peeling.
What are the best flooring options for installing over existing garage concrete or old coatings?
Many homeowners choose epoxy garage floor coating, polyurea, or urethane systems because they can be installed over prepared concrete and certain existing coatings. If the old surface is cracked or flaking, you may need grinding and spot repairs first, but many coating systems include primers made for bonding to sound substrate. For thicker build-ups, some systems use epoxy mortar or self-leveling underlayment before the topcoat. If the existing floor is too deteriorated, an interlocking tile system or a self-contained flooring overlay underlayment may be a safer option.
Which surface prep steps are required before installing over existing garage flooring?
Proper surface prep typically includes cleaning, degreasing, and grinding or sanding to create a profile for adhesion. You should remove any loose paint or coating, address cracks with concrete repair products, and verify the floor is dry enough for epoxy garage installation. Do a quick water or moisture check and check for contamination, because trapped moisture and residual oils commonly cause delamination. Finally, vacuum thoroughly and follow the primer recommendation exactly, including coverage rates and curing times.
Can you install epoxy garage floor coating over painted garage floors or stained concrete?
You can sometimes coat over painted or stained concrete, but only if the existing coating is firmly bonded and in good condition. Scuff-sand to roughen glossy paint, then remove peeling sections and patch any damaged areas before priming. For stained concrete, you may still need cleaning and light mechanical abrasion to improve bond strength. If the paint is oil-based, flaking, or poorly adhered, the better approach is to remove it before applying an epoxy coating to avoid future peeling.
Why do existing garage floors sometimes cause adhesion problems after installation, and how can you prevent it?
Adhesion failures usually happen due to inadequate cleaning, lack of mechanical surface profiling, moisture vapor pressure, or incompatible primer and topcoat chemistry. Grease, curing compounds, and old coatings with poor bond strength can prevent proper epoxy garage floor bonding. Prevent issues by degreasing thoroughly, grinding to expose sound concrete, repairing cracks, and using the correct primer for the substrate. If you suspect high moisture, consider a moisture-mitigation primer or a system rated for your moisture conditions.
📅 Last Updated: October 11, 2026 | Topic: How to install over existing flooring garage floors? | Content verified for accuracy and freshness.
References
- Google Scholar Google Scholar
https://scholar.google.com/scholar?q=install+epoxy+coating+over+existing+concrete+garage+floor+surface+prep - Google Scholar Google Scholar
https://scholar.google.com/scholar?q=overlay+over+existing+concrete+floor+preparation+mechanical+bonding+primer - Google Scholar Google Scholar
https://scholar.google.com/scholar?q=install+tile+over+existing+concrete+garage+floor+thinset+requirements - Concrete
https://en.wikipedia.org/wiki/Concrete - https://en.wikipedia.org/wiki/Epoxy_resin
- Silica, Crystalline – Overview | Occupational Safety and Health Administration
https://www.osha.gov/silica - Silica and Worker Health | Silica | CDC
https://www.cdc.gov/niosh/topics/silica/ - WBDG
https://www.wbdg.org/resources/resinous-flooring - Papers Now Being Accepted for 2027 IEEE-IAS/ACA Cement Conference – American Cement Association
https://www.cement.org/technical/papers - https://pubmed.ncbi.nlm.nih.gov/?term=concrete+surface+preparation+bond+coatings


