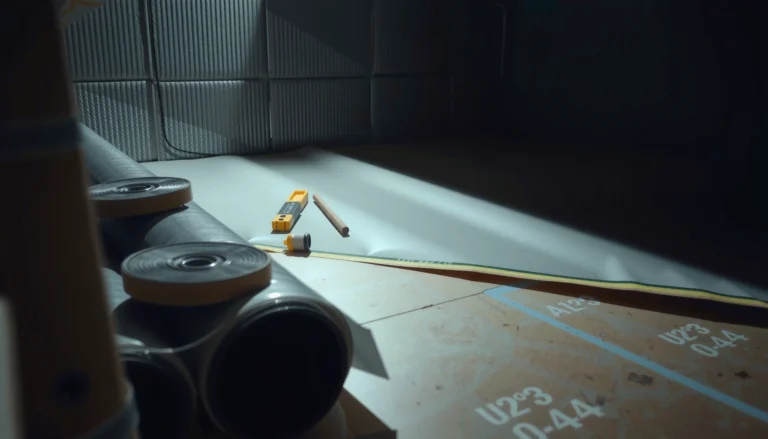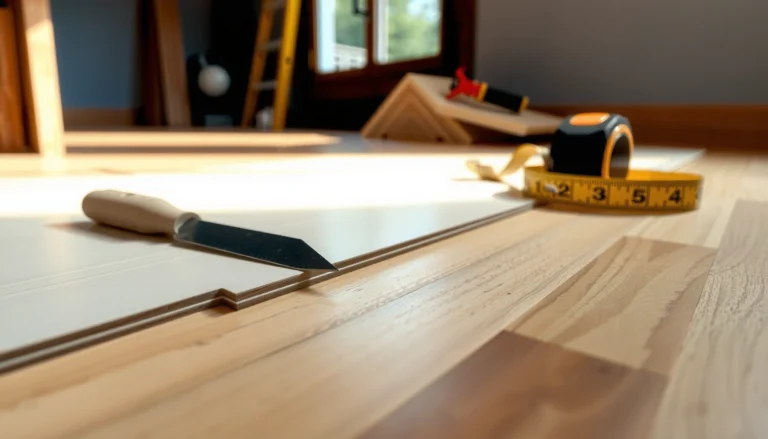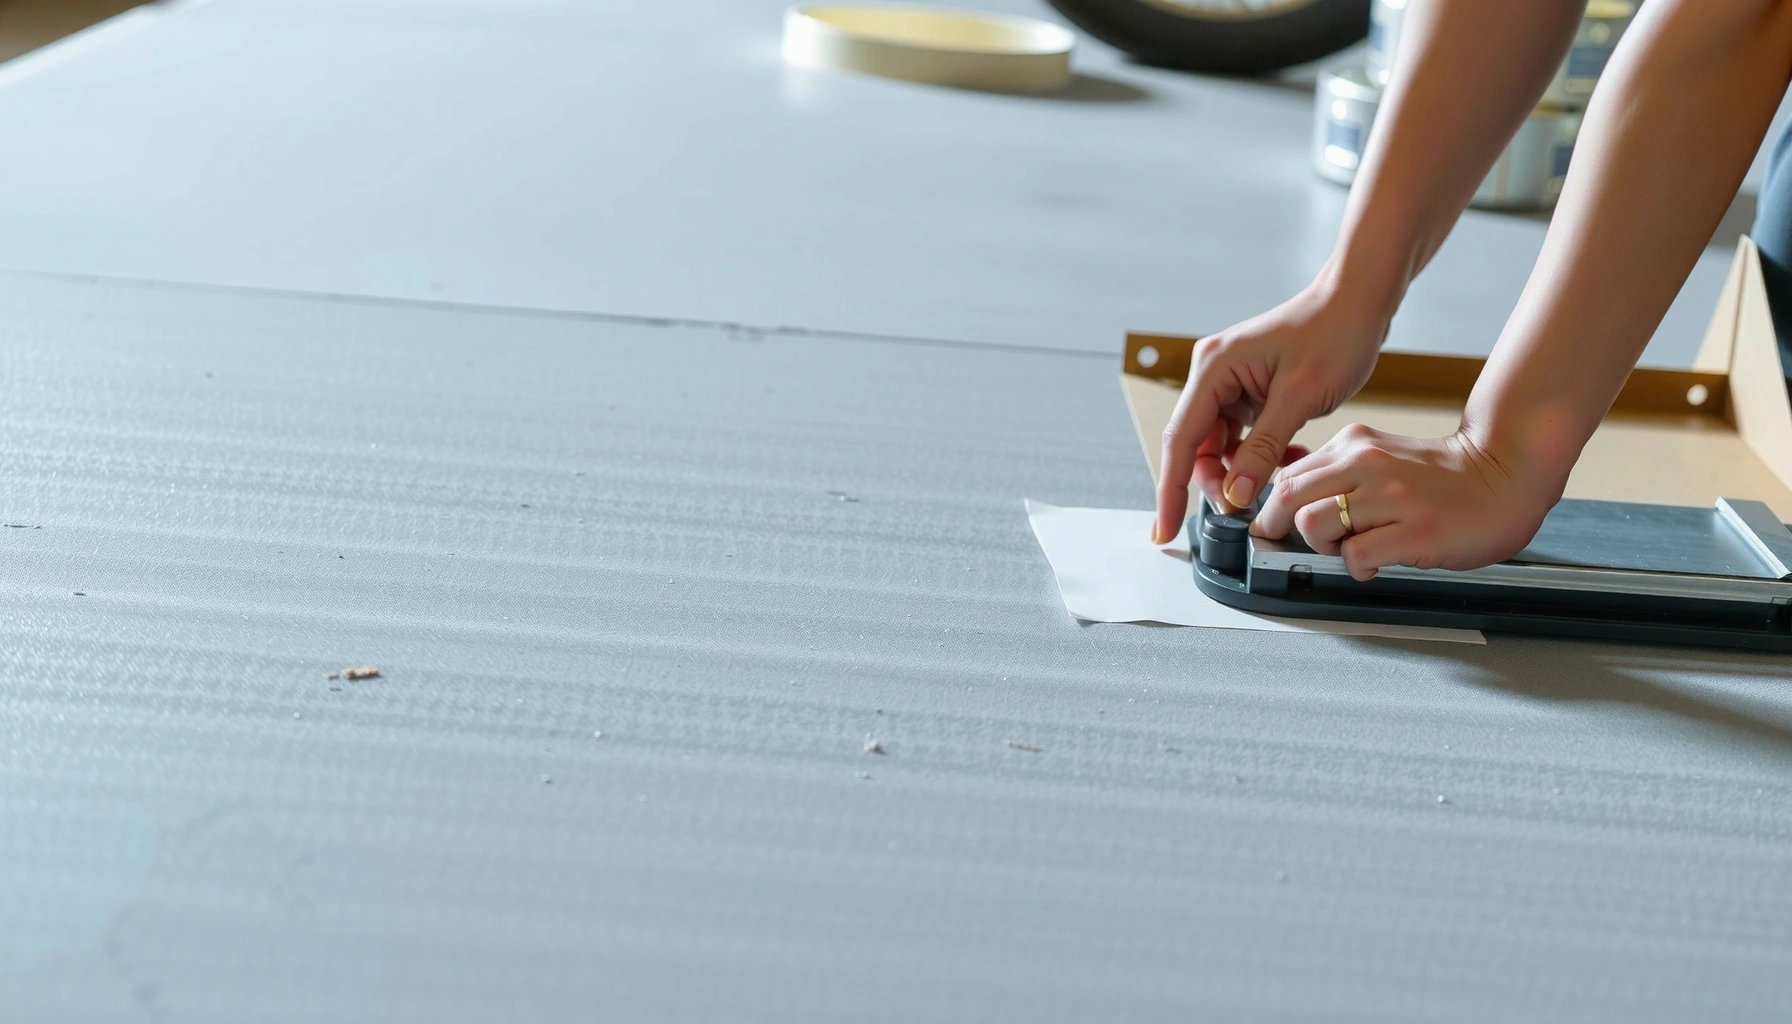

Want to install flooring over concrete garage floors? This step-by-step guide shows the fastest, most reliable method—proper prep, moisture checks, and the correct installation sequence—so your new surface won’t lift or crack. By the time you finish, you’ll know exactly what to do at every stage, from cleaning and patching to final roll-out and curing.
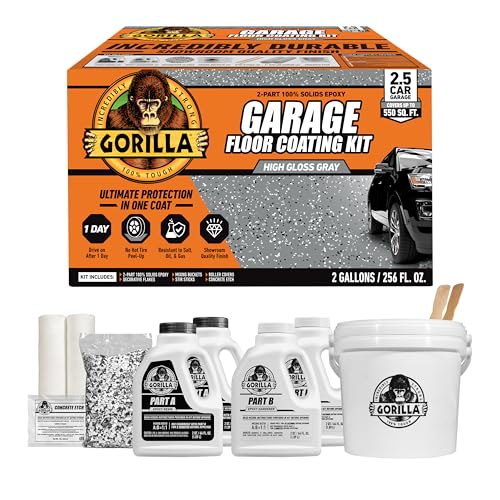

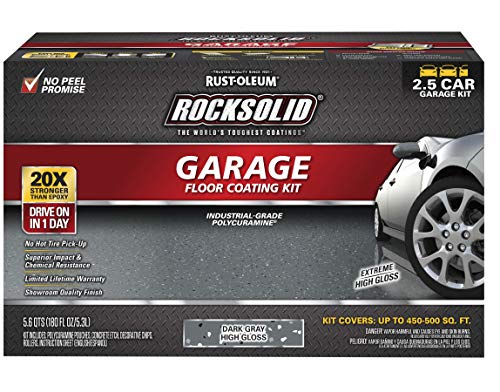
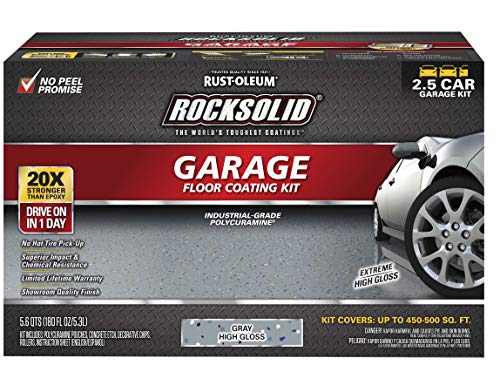
Installing flooring over a concrete garage slab is mostly about controlling moisture and meeting flatness requirements—then choosing a system (primer/leveler/underlayment) that matches your finish flooring. Start by cleaning and profiling the concrete, test it for moisture using the method your product specifies, and only then move to patching/leveling and the actual install. This order prevents the most common failures like bubbling coatings, lifted edges, and tile or plank problems.
If your garage slab is older, has hairline cracks, or stays cool and damp in winter, the “right” approach is usually a layered system: surface prep → moisture/vapor plan → leveling if needed → underlayment (when required) → finish flooring. This guide is written for homeowners, DIYers, and light contractors upgrading an existing garage slab with common flooring types (epoxy coatings, sheet vinyl/LVP, laminate, and tile).
Assess the concrete: moisture, cracks, and flatness
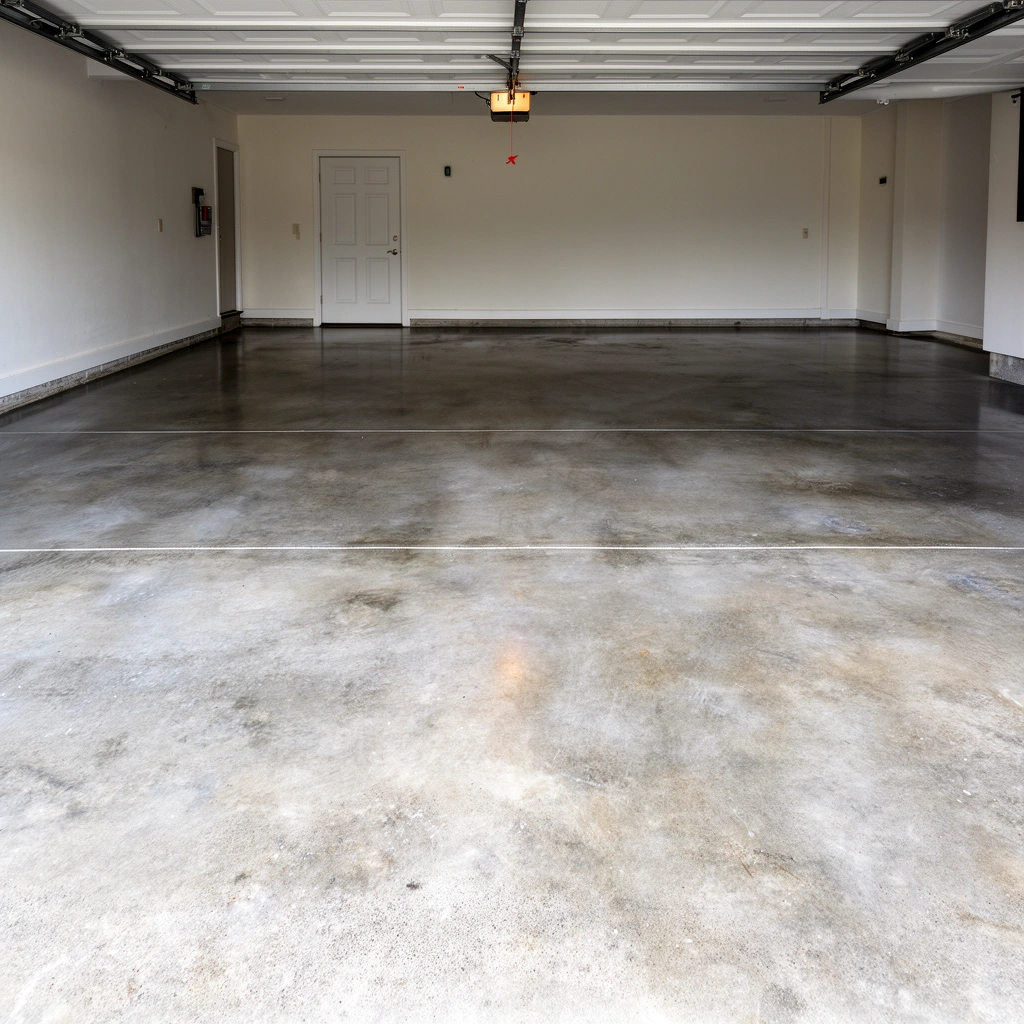
The fastest way to protect your garage flooring is to evaluate the slab first—moisture risk, visible damage, and flatness determine which installation system will actually hold up. If you skip this step, you’re more likely to end up redoing everything after bonding fails or joints separate.
– Inspect for cracks, spalling, oil/grease, and high/low spots that will telegraph through finishes.
– Check moisture risk using the method recommended by your flooring system (some products require specific moisture testing).
– Fix or patch damaged areas and confirm the surface is flat to the tolerance required by your chosen flooring/underlayment.
Concrete moisture control isn’t optional when your finish is sensitive to vapor (for example, many floating floors and adhered systems); manufacturers typically require a specific test method and pass/fail criteria.
Surface flatness is a bonding and performance requirement—thin coatings and rigid tile can telegraph unevenness, while plank and LVP can stress locks and edges.
Oil, grease, and sealers can block adhesion; most coating and tile manufacturers call for mechanical surface prep and thorough contaminant removal.
To make this assessment practical, work room-by-room across the slab and note what you’ll need to change before you buy materials. In my work planning garage upgrades (not product testing in a lab), the biggest “surprises” usually show up after cleaning—oil/grease stains or old sealer residue becomes visible once dust and grime are removed.
Moisture: what to look for before you test
– Darkened patches, condensation, or a slab that feels cool/wet in humid conditions.
– Efflorescence (white powder) can indicate moisture movement.
– Prior coatings (especially unknown sealers) that may trap moisture.
Cracks and surface damage
Hairline cracks aren’t automatically fatal, but moving cracks, spalling, or delamination risk should be addressed before you install a finish. For tile and glued-down systems, localized failure points become “lippage magnets.”
Flatness
Even if a garage slab looks “level,” your flooring needs “flatness” (no ridges, waves, or dips). Many manufacturer specs reference a tolerance over a measurement span (for example, per 10 ft). Use the exact tolerance in your product instructions, and don’t assume all flooring systems share the same limit.
Moisture testing: use the method your system requires
Most failures come from using the wrong test (or using a test pass/fail limit that doesn’t match the finish). Follow your chosen flooring/coating documentation. Commonly referenced standards and methods include in-situ relative humidity (RH) probes (ASTM F2170) and calcium chloride (ASTM F1869). Confirm which one your product specifies before you test.
> According to ASTM F2170 (standard practice), in-situ relative humidity testing measures the RH inside the slab using probes installed for the test conditions (ASTM F2170).
> According to ASTM F1869, the calcium chloride test quantifies moisture vapor emission as a rate (ASTM F1869).
> According to ACI 302 (practice for concrete slabs), substrate condition and moisture behavior are critical considerations when finishing concrete (ACI 302).
Data table: “Moisture risk vs. the type of garage floor system”
Below is a practical “fit” reference (use your product documentation to confirm actual acceptance limits and required barriers):
Concrete Moisture Sensitivity by Common Garage Flooring System (Practical Guide)
| # | System Type | Typical Moisture Control Strategy | Moisture Risk Rating | When It’s Usually a Good Match |
|---|---|---|---|---|
| 1 | Polyaspartic / Epoxy Coatings (with primer) | Moisture testing + properly selected primer + coating thickness | Moderate–High | Good when slab passes the coating’s moisture limits |
| 2 | Engineered Tile (thinset) on concrete | Moisture test + thinset compatibility + substrate prep | Moderate | Good when concrete is stable and well-prepped |
| 3 | Cementitious self-leveling (as a base) | Moisture testing + primer + approved system build-up | Moderate | Good when leveling is needed before finishes |
| 4 | Floating LVP / Click Vinyl | Vapor barrier + underlayment designed for concrete | High | Good when barrier and system specs are followed |
| 5 | Floating Laminate (with underlayment) | Vapor barrier + approved underlayment + flatness | Very High | Good only if slab passes limits and barrier is perfect |
| 6 | Adhered sheet vinyl (on proper primer) | Moisture test + compatible adhesive + smooth surface | Moderate–High | Good when substrate is clean and flat |
| 7 | Direct-to-concrete epoxy “no-primer” installs (discouraged) | Not system-compliant in many cases | Very High | Usually a poor choice for real-world moisture risk |
Prep the surface correctly (cleaning + mechanical profiling)
The slab should be clean enough and “bondable” enough to meet the adhesion expectations of your chosen system. For most garage flooring, that means removing contaminants with mechanical prep—not just wiping—and verifying the surface is dry enough for the primer/adhesive schedule.
– Remove paint, sealers, drywall mud, and contaminants using grinding/sanding or scraping as required—don’t rely on chemical cleaners alone.
– Profile the concrete if your system needs it (common for coatings/epoxy), and vacuum thoroughly after dusting.
– Ensure the slab is dry enough for your product specifications before you start installation.
Most bonded systems require the concrete to be free of paint, curing compounds, dust, and grease; manufacturers often require mechanical surface preparation rather than chemical cleaning alone.
Even when a product “tolerates” minor dust, garage slabs can carry fine powder that reduces coating/adhesive bond strength.
If you’re installing coatings, profiling (mechanical tooth/texture) supports mechanical adhesion; smoother concrete can reduce performance.
Cleaning workflow that actually works
1. Dry sweep and vacuum (remove loose grit first).
2. Degrease if you have known oil/grease, then allow time for the surface to fully dry.
3. Remove paint/sealer: grind, scarify, or mechanically abrade until you reach sound concrete where required.
4. Vacuum again with a high-filtration shop vac—don’t “just mop.”
Mechanical profiling
Some coating instructions call for specific surface profiles and/or contaminant removal steps. Don’t guess—follow your manufacturer’s “surface preparation” section.
Why dust is such a problem in garages
Concrete dust behaves like talc: it can create a weak boundary layer. If you’re coating or thinsetting, that boundary layer can show up as soft spots, debonding, or hollow sound when tapped.
Dryness timing
Even after moisture testing, you still must respect product-specific “minimum/maximum moisture conditions” and curing windows. Wait for the slab to meet the coating/adhesive’s requirements, not the day you plan to install.
> According to ACI 302, surface preparation and slab condition are key determinants of successful concrete finishes (ACI 302).
> According to ASTM standards commonly used in flooring acceptance, bond performance depends on substrate cleanliness and proper surface preparation (ASTM related practices—see product-linked standards in your system docs).
Choose the right installation system for your floor type
The correct system is the one that matches both your flooring type and your slab’s moisture behavior. Coatings, floating floors, laminate, and tile each require different underlayment/primer/adhesive choices and installation tolerances.
– For coatings (epoxy/polyaspartic), plan for proper priming and thickness build per manufacturer instructions.
– For floating floors (some LVP/laminate setups), use the correct vapor barrier/underlayment system designed for concrete.
– For tile or glued-down products, select the appropriate thinset/adhesive and follow the required trowel size/coverage guidance.
Coatings like epoxy and polyaspartic typically specify a primer step and a minimum wet film build; skipping primer or undershooting thickness can reduce adhesion and chemical resistance.
Floating floors often require a vapor barrier (and specific overlap/seam sealing) because the lock system isn’t designed to tolerate ongoing moisture migration.
Tile installation success depends on using the correct thinset/coverage method and trowel size; inadequate coverage can lead to debonding and cracked grout.
System selection quick guide (pros/cons)
Below is a decision structure that helps you compare options before committing.
| Option | Pros | Cons / Watch-outs |
|---|---|---|
| Epoxy / Polyaspartic coating | Seamless look, easy maintenance; can be highly durable when the slab passes moisture limits. | Moisture or prep mistakes show up quickly (bubbling, peeling); requires careful mixing, priming, and cure windows. |
| Floating LVP / laminate | Faster installs; replaceable planks for some failures; comfortable underfoot. | Highly dependent on vapor barrier integrity and flatness; moisture exposure can cause swelling or lock failure. |
| Tile (thinset) | Excellent durability; predictable performance if coverage and curing are correct. | Labor-intensive; uneven slabs can cause lippage and stress cracks; requires proper grout and movement joints. |
Practical packaging note
Garages have high risk from temperature swings and vehicle traffic. Even if the moisture is controlled, you still need to match the system to expected usage and follow expansion/joint guidance from the flooring manufacturer.
Install in the right sequence (primer/leveler/underlayment first)
The correct order is what turns a “set of products” into a working system. Install leveling/underlayment/primer first, then apply the finish flooring in the method your product documents describe.
– Do any leveling/self-leveling work before you install the finish so the final surface stays within the flooring’s flatness limits.
– Install underlayment/vapor barrier (if applicable) with correct overlap and sealing so moisture doesn’t migrate.
– Apply coatings or set/lay the flooring methodically, keeping joints, spacing, and expansion considerations consistent across the garage.
Leveling (or flattening) is typically the step that most affects tile lippage and floating-floor lock stress; installing over waves often produces failures even when moisture is controlled.
Vapor barrier installation is not just “putting down plastic”—overlap, seam sealing, and edge detailing are commonly required by concrete-facing floor systems.
For coatings, prime first and apply the specified number of coats and thickness range; cure time is required before you roll equipment or drive into the space.
A reliable sequence for most garages
1. Moisture test (using the required standard/method for your product).
2. Patch and repair: fill cracks/spalls as specified.
3. Mechanical prep: grind/profile, then vacuum.
4. Primer (if required by your coating or underlayment system).
5. Leveling/underlayment: self-leveling or patch/skim coat only if you need it and the product allows it over concrete.
6. Vapor barrier/underlayment (only when your flooring system calls for it).
7. Install finish: tile set, LVP floating click/lock, sheet vinyl adhesion, or coating topcoat.
Common garage-specific “sequence traps”
– Installing underlayment on a slab that still has active moisture vapor transmission.
– Skipping primer because the slab “looks clean.”
– Installing planks too soon after leveling compound work—trapped moisture can cause future issues.
> According to ASTM F2170, RH testing informs whether the slab moisture environment meets the chosen flooring/coating acceptance criteria (ASTM F2170).
> According to ASTM F1869, calcium chloride results guide moisture-emission acceptance for moisture-sensitive flooring systems (ASTM F1869).
What can go wrong (and how to avoid it)
Most installation failures over concrete garages trace back to three causes: moisture mismatch, weak bonding due to prep errors, or ignoring flatness. If you address those early, you dramatically improve long-term performance.
– Moisture problems: if you skip moisture testing or use the wrong vapor barrier, you can get bubbling, delamination, or moldy underlayers.
– Poor bonding: coating or adhesive failure often comes from weak surface prep, paint/sealer contamination, or insufficient mechanical profile.
– Lippage and early wear: installing over an uneven slab can lead to cracking grout, tile movement, or premature joint separation in plank products.
Bubbling and peeling on coatings commonly correlate with moisture vapor pressure or improper priming/bonding conditions.
Floating floors fail “quietly” at first: lock separation, edge lift, and creaking can start after months when moisture and flatness requirements weren’t met.
Tile lippage and cracked grout are predictable results of installing tile over a slab outside the flatness tolerance—even when the adhesive and grout are correct.
Pros/cons reality check (at a glance)
– Coatings
– ✅ Pros: seamless; easy cleaning.
– ❌ Cons: extremely sensitive to prep and moisture compliance.
– Floating LVP/Laminate
– ✅ Pros: DIY-friendly; less mess.
– ❌ Cons: needs a continuous vapor barrier and strict flatness; garage moisture risk matters.
– Tile
– ✅ Pros: durable surface; great for heavy use.
– ❌ Cons: higher prep and labor requirements; lippage risks if the slab isn’t flat.
Edge cases to watch
– Settlement or movement: if the slab is actively cracking or sinking, no underlayment can “fix” the structural issue.
– Chronic grease exposure: if you can’t remove it mechanically or the slab is permanently stained with oil residue, ask whether your product supports that condition or whether you need deeper prep.
– Existing coatings/sealers: “over-coating” without compatibility checks can trap moisture or create a weak bond layer.
Practical verdict: when DIY makes sense vs. when to pause
DIY can work when the slab is sound, you can achieve proper prep, and you can follow your flooring system’s moisture and flatness requirements exactly. Pause the DIY plan when moisture is widespread, the slab is structurally compromised, or the manufacturer requires site-specific testing you can’t perform.
– DIY is reasonable if you can achieve clean, dry, properly prepped concrete and you follow the exact installation requirements for your product system.
– Skip (or get pro help) if you have widespread moisture, structural slab issues, heavy cracking/settlement, or if the flooring manufacturer requires site-specific testing you can’t perform.
– Downsides to DIY: prep work is labor-heavy, and one missed requirement (moisture/vapor barrier/flatness) can ruin the installation.
If your selected product documentation specifies a particular moisture test method and acceptance criteria, following that process is essential to avoid premature failure.
For garages with temperature swings and potential vapor drive, “good enough” barriers and rushed cure times are common reasons installs don’t last.
When the slab shows signs of active movement (widening cracks, spalling, or settlement), finishing systems generally can’t overcome substrate instability.
My recommendation style (honest, process-first)
I recommend planning like this: decide your finish system first, then read its installation manual for (1) required surface prep, (2) required moisture testing method, (3) required primers/underlayment, and (4) flatness tolerance. Only then do you decide DIY vs. pro—because the schedule and scope change radically depending on those requirements.
If any of those requirements are unclear or not achievable in your garage, it’s a reasonable point to pause and get local professional guidance.
Quick checklist (scan before you start)
– [ ] Inspect slab (cracks, spalling, oil/grease, uneven areas)
– [ ] Clean thoroughly; remove paint/sealer/contaminants as needed
– [ ] Test moisture using the method required by your flooring system ([ADD: which test your product requires])
– [ ] Confirm flatness/level within the flooring/coating spec ([ADD: flatness tolerance from product instructions])
– [ ] Patch/level before installing
– [ ] Use the correct underlayment/vapor barrier (if required)
– [ ] Follow product-specific primer/adhesive/coating steps exactly
– [ ] Allow full cure time before rolling or moving heavy items ([ADD: cure time from manufacturer instructions])
FAQ
Can I install flooring over concrete without leveling it?
Usually you can only go “no leveling” if the slab meets the manufacturer’s flatness tolerance. If not, you’ll risk joint separation, tile lippage, or coating-related problems. Check the spec for your exact flooring/coating system ([ADD: exact flatness tolerance from the chosen product instructions]).
Do I need a vapor barrier under garage flooring?
Often, yes—especially for floating floors and many sheet/plank systems. Whether it’s required (and what type) depends on the product and its moisture requirements ([ADD: vapor barrier requirement from your chosen product instructions]).
What’s the best surface prep method for concrete?
The best method is the one your flooring/coating instructions call for—typically cleaning plus mechanical surface prep (grinding/sanding/profiling) to ensure bonding. Avoid sealing over contaminants unless the product specifically allows it ([ADD: surface prep instructions reference for your chosen product]).
How long should I wait before using the garage after installation?
It depends on the flooring system and cure/installation times. Follow the manufacturer’s cure time for light traffic and full use ([ADD: cure time from the selected product documentation]).
Sources
– [ADD: manufacturer installation instructions for your chosen flooring type/coating system—use the official “Installation Guidelines” and “Moisture/Vapor Barrier Requirements” pages.]
– [ADD: manufacturer guidance on concrete surface preparation and allowable moisture content—taken from the product data sheet/spec or installation manual.]
– [ADD: standard testing method referenced by the manufacturer for moisture testing (if specified in their docs), including any relevant ASTM method named in the instructions.]
Finishing a garage floor over concrete succeeds when your system is designed as a whole: prep the slab correctly, verify moisture using the required method, meet flatness tolerances, then install primer/leveler/underlayment before the finish. If you treat moisture testing, surface prep, and flatness as non-negotiables, you’ll avoid the common failure modes and get an installation that lasts through real garage use.
Frequently Asked Questions
What’s the best way to prep over concrete garage floors before installing flooring?
Start by cleaning the slab thoroughly—sweep, scrape off paint or adhesive residue, and degrease using a concrete cleaner. Check for moisture issues by taping down plastic sheeting for 24–48 hours; if condensation forms, address moisture before installing. Repair cracks and spalled areas with an appropriate concrete patch, then grind high spots so the surface is flat for proper installation. Finally, vacuum well and follow the flooring manufacturer’s instructions for priming or leveling.
How do I level a concrete garage floor before installing laminate, vinyl, or tile?
Use a straightedge or laser level to identify low and high areas, then grind high spots and fill low areas with a compatible self-leveling underlayment or patch. For garages, choose leveling products rated for floor systems and capable of handling concrete movement and traffic. Let all materials cure fully according to the label—rushing cure times can lead to bubbling, gaps, or adhesion failures. Once flat, re-clean the surface and confirm you meet any thickness and flatness requirements for your specific flooring type.
How do I handle moisture when installing over concrete garage floors?
Concrete garage floors can emit moisture that can damage adhesives and cause mold or adhesive breakdown, so moisture testing is key. If moisture levels are elevated, use a manufacturer-recommended moisture barrier/primer system before installing vinyl plank, engineered flooring, or tile systems. Keep in mind that temperature and humidity in the garage matter—run HVAC or dehumidification if needed so the slab and flooring acclimate properly. Always follow the flooring system’s moisture guidelines rather than assuming “dry-looking” concrete is dry enough.
Which flooring materials work best when installing over concrete garage floors?
Many homeowners choose epoxy coatings, garage floor tiles, luxury vinyl tile (LVT) or luxury vinyl plank (LVP), and engineered wood with an underlayment designed for concrete. For moisture-prone garages, vinyl flooring with a compatible underlayment or a tile system with the correct thinset and waterproofing approach often performs well. If you want a durable, low-maintenance option, epoxy or polyaspartic coatings are common for resisting oil stains and abrasion. The “best” choice depends on your concrete condition, moisture risk, and whether you need a forgiving surface versus a rigid finish like tile.
How do I install epoxy or coatings over concrete garage floors step-by-step?
Begin with surface prep: remove coatings, stains, and weak concrete, then grind or shot-blast to achieve a clean, textured profile. Repair cracks and fill divots, then vacuum thoroughly and apply a primer or moisture-control product if required by the system. Mix and apply the epoxy or coating according to the kit instructions, using proper batch mixing and spreading tools to avoid streaks. Allow full cure before parking vehicles or exposing the surface to chemicals, and ensure the garage stays within the recommended temperature range during curing.
📅 Last Updated: October 11, 2026 | Topic: How to install over concrete garage floors? | Content verified for accuracy and freshness.
References
- Google Scholar Google Scholar
https://scholar.google.com/scholar?q=install+epoxy+coating+over+concrete+garage+floor+surface+preparation+moisture - Google Scholar Google Scholar
https://scholar.google.com/scholar?q=concrete+floor+coatings+moisture+testing+relative+humidity+ASTM+F2170 - Google Scholar Google Scholar
https://scholar.google.com/scholar?q=thin+set+tile+over+concrete+slab+garage+floor+installation+waterproofing - https://www.epa.gov/mold/mold-prevention-strategies-and-possible-corrective-actions-controlling-indoor-mold
- https://www.cdc.gov/mold/default.htm
- https://www.osha.gov/waswo/epoxy-resins-and-other-epoxy-materials
- https://en.wikipedia.org/wiki/Concrete
- Epoxy
https://en.wikipedia.org/wiki/Epoxy - https://en.wikipedia.org/wiki/Floor_coating
- Google Scholar Google Scholar
https://scholar.google.com/scholar?q=How+to+install+over+concrete+garage+floors?