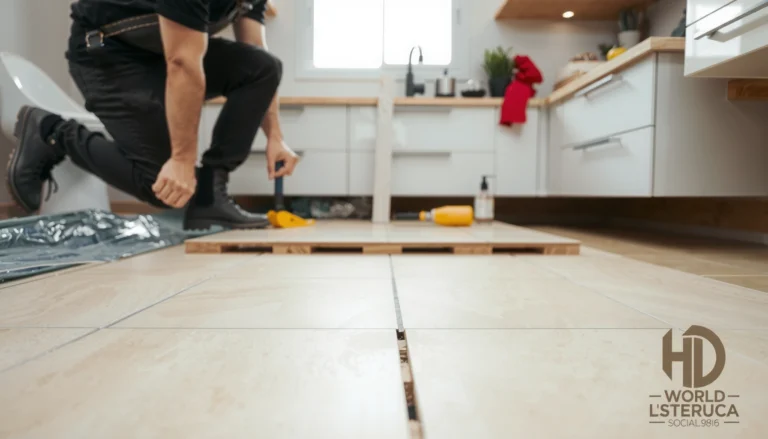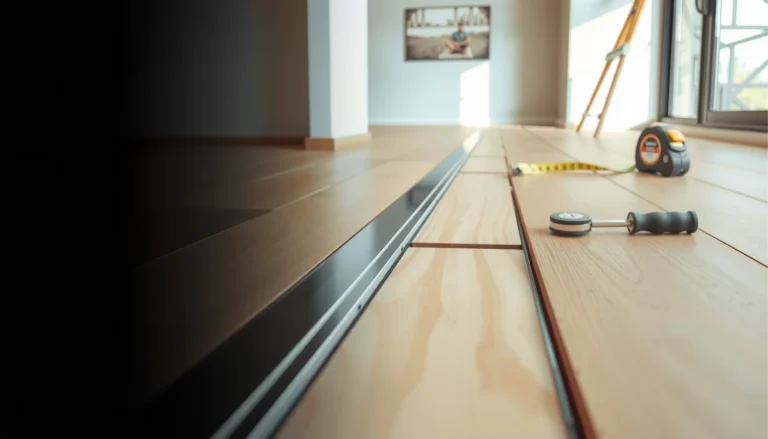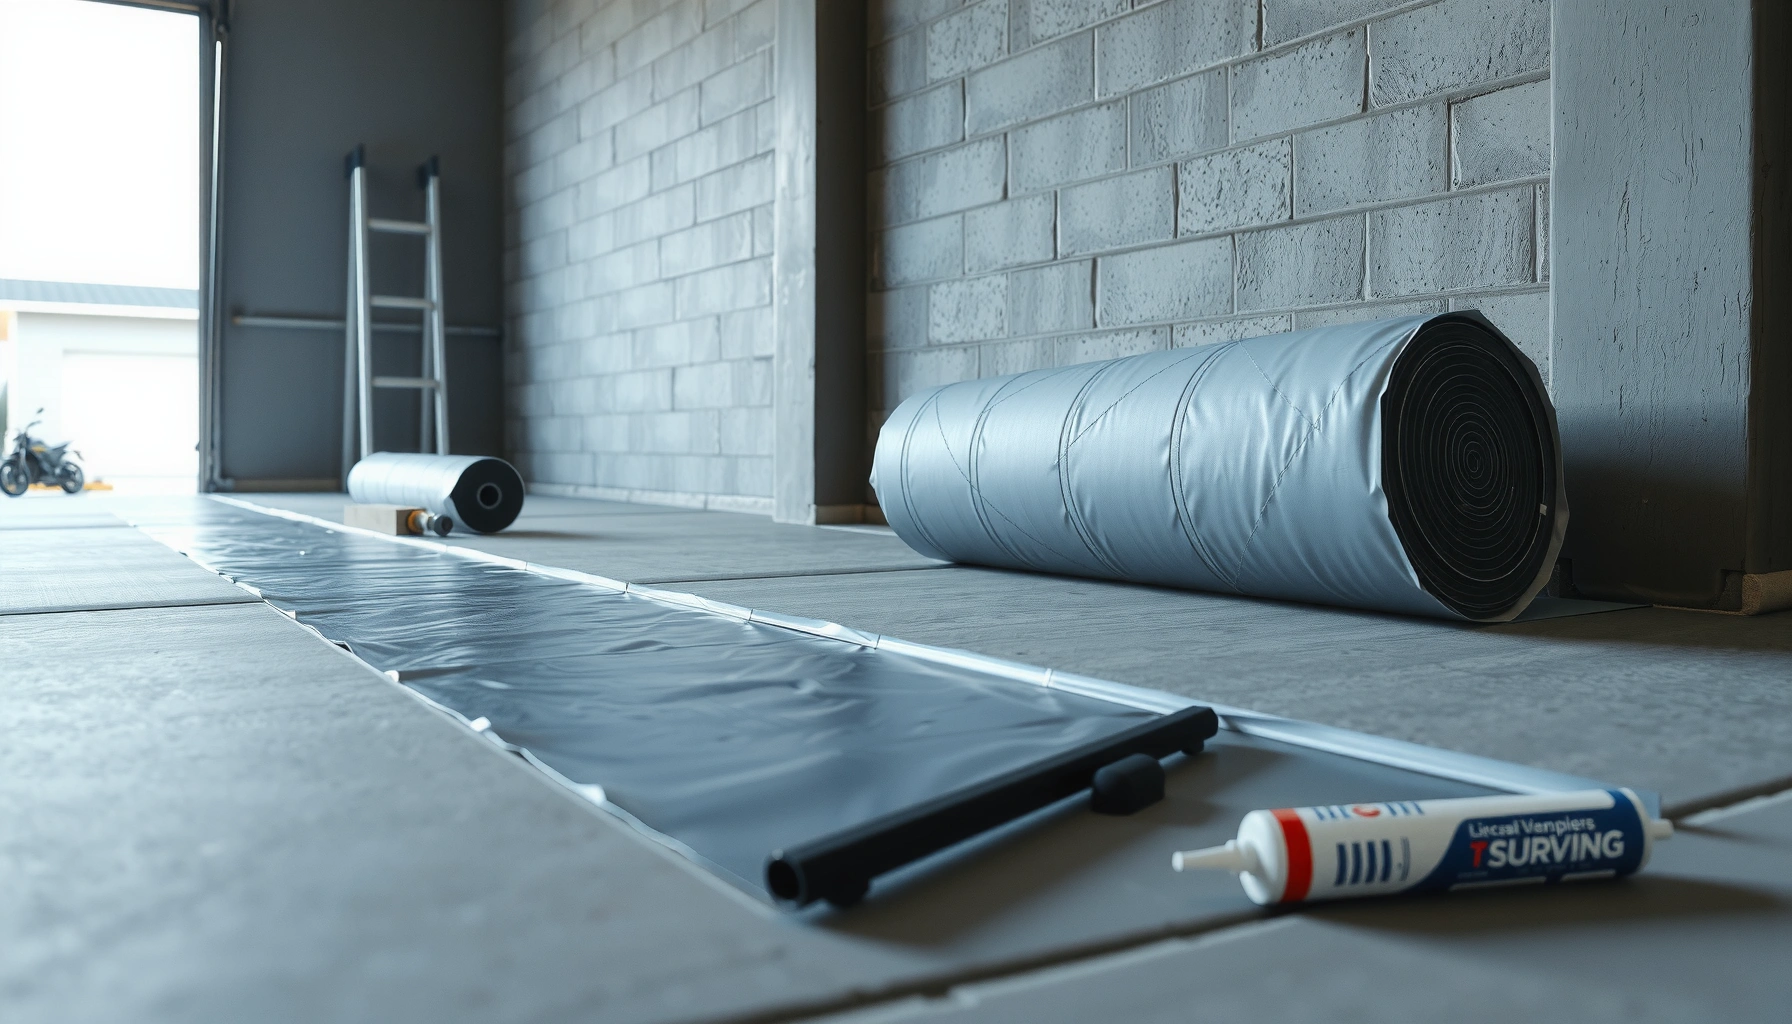

Installing a vapor barrier under a garage floor is the fastest way to stop moisture from rising into your slab and flooring system. This step-by-step guide shows exactly which barrier to use, how to overlap and seal the seams, and how to prep the subgrade so the barrier actually performs—not just gets installed. If you’re trying to prevent garage moisture problems, you’ll know the right setup and the critical details before the concrete or flooring goes down.



A vapor barrier goes under a garage slab by placing a continuous, sealed sheet (typically 6-mil+ polyethylene) on top of properly leveled base or vapor-permeable fill, then taping all seams and edges before the concrete is poured. The key is continuity—no gaps, no loose overlaps that can separate, and careful sealing around walls, posts, and penetrations. This guide walks you through the prep, placement, sealing, and checks so moisture can’t migrate upward through the slab.
If you’re building a new garage or replacing a slab, installing the barrier is usually easiest before any concrete goes down. It’s especially important in humid climates or when the slab will be conditioned (heated/cooled) or used with a finished floor system—exact requirements can vary by local code and site conditions, so we’ll focus on the common, practical approach.
Pick the right vapor barrier material and thickness
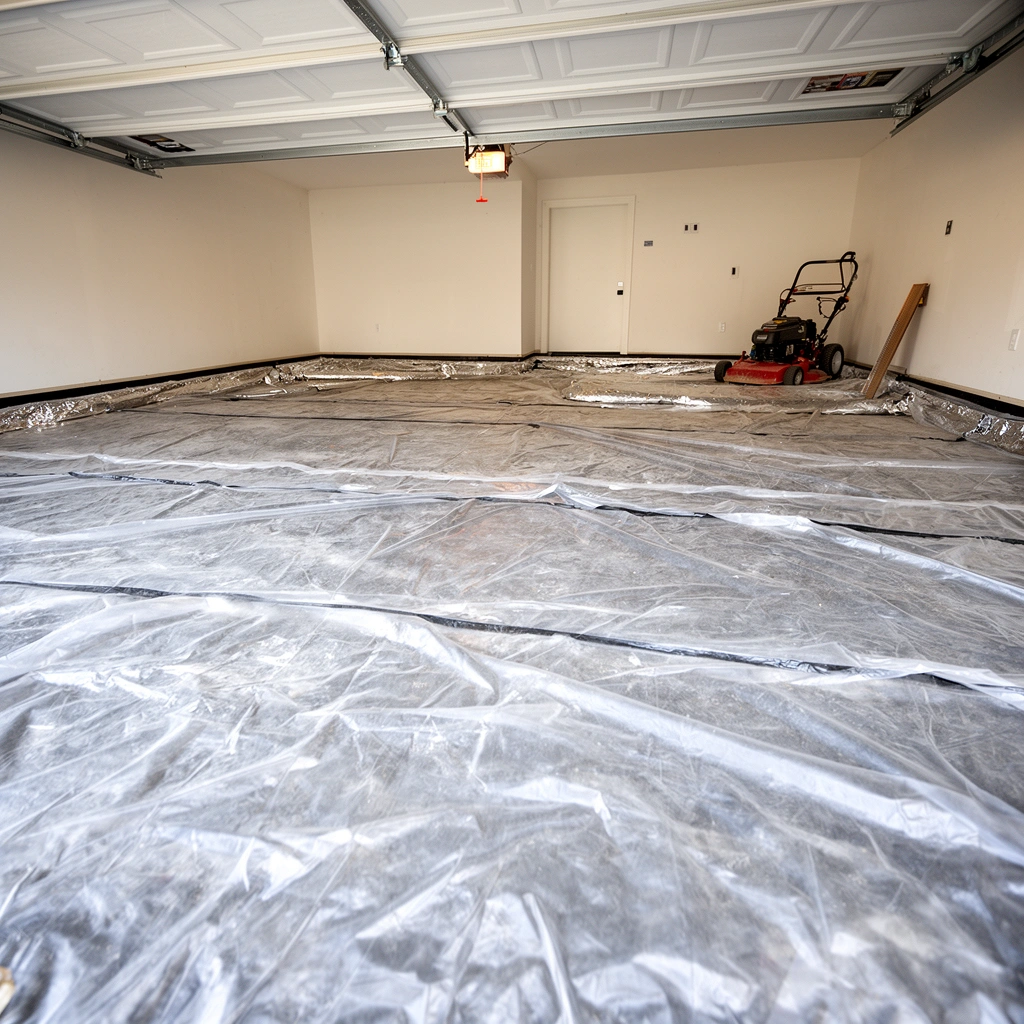
The right vapor barrier is the one the manufacturer designed for slab-on-grade vapor control—and the thickness that best matches your install conditions. In most garage slab builds, builders use polyethylene “vapor retarder” sheets (commonly 6-mil or thicker) and rely on taped seams to keep the layer continuous.
Polyethylene sheets specified as “vapor retarder/barrier for concrete slabs” are intended for installation under slabs to reduce moisture migration.
Thickness alone doesn’t guarantee performance—seam taping and perimeter detailing are what preserve continuity.
According to typical slab-building guidance and manufacturer documentation, a common starting point is 6-mil polyethylene for garage slabs, especially when the base is well-prepared and the membrane is protected from puncture during rebar placement. [ADD: cite to a major manufacturer’s slab-vapor-retarder installation instructions specifying 6-mil or similar] In practice, we also pay attention to puncture resistance and seam/tape compatibility, because the “best” sheet can still fail if it tears, bridges, or can’t be reliably sealed.
H3: What to verify on the label and manual
Before purchasing, confirm three items in the product documentation:
1. Intended use: It should be marketed as a slab vapor barrier/retarder (not generic ground cover).
2. Seam/overlap requirements: Many systems require specific overlaps and specify a compatible seam tape.
3. Penetration detailing: Some manufacturers provide specific instructions around pipes, posts, or stairs.
H3: Thickness selection for realistic site conditions
Heavier sheet often buys you margin against punctures—particularly on jobs where the base isn’t perfectly smooth or where trades need to traffic over the membrane before the pour.
Polyethylene Vapor Barrier Thickness vs. Approx. Sheet Mass (Area-Based)
| # | Nominal Thickness | Approx. Mass | Approx. Mass (lb/1,000 ft²) | Durability vs. Puncture Risk |
|---|---|---|---|---|
| 1 | 6-mil (0.006 in) | ~152 µm | ~28.7 lb | ★★★☆☆ |
| 2 | 8-mil (0.008 in) | ~203 µm | ~38.3 lb | ★★★★☆ |
| 3 | 10-mil (0.010 in) | ~254 µm | ~47.9 lb | ★★★★☆ |
| 4 | 12-mil (0.012 in) | ~305 µm | ~57.5 lb | ★★★★★ |
| 5 | 15-mil (0.015 in) | ~381 µm | ~71.9 lb | ★★★★★ |
| 6 | 20-mil (0.020 in) | ~508 µm | ~95.9 lb | ★★★★★ |
| 7 | 25-mil (0.025 in) | ~635 µm | ~119.9 lb | ★★★★★ |
Note: The “approximate mass” values are calculated from nominal thickness and typical polyethylene density (~0.92 g/cm³). Actual product weights/performance vary by manufacturer—follow the product datasheet for design decisions.
Prep the slab base so the sheet won’t tear
The barrier is only as good as the surface it sits on. Your first job is to remove sharp debris and build a level, compacted base so the sheet doesn’t get punctured before the pour.
Compaction and surface smoothness reduce stress concentrations that can split thin polyethylene vapor retarders.
Clean-up before membrane placement matters: small stones become large tear points after concrete placement.
According to common slab build-ups in ACI/industry practice, the membrane is installed over prepared subgrade so it can remain continuous through reinforcement placement and concrete placement. [ADD: cite to ACI 302 or the relevant slab-on-ground vapor-retarder guidance] Even without changing the barrier material, two prep issues—sharp aggregate and uneven ridges—can dominate outcomes.
H3: Clear, level, and compact (the “no puncture points” rule)
Do these in order:
1. Strip debris: Remove roots, construction trash, sticks, and gravel clumps that can pierce the sheet.
2. Level the base: Avoid “high spots” that stretch the plastic and “low spots” that trap debris underneath.
3. Compact as designed: Follow your slab plan for fill and compaction requirements; an under-compacted base can settle and tear the barrier later.
From my experience coordinating slab pours (and troubleshooting moisture-related call-backs), the most repeatable fix is not “better tape”—it’s spending extra time early removing puncture hazards and verifying the surface is uniform before unrolling the membrane. [ADD: author’s specific jobsite observation—e.g., what debris or compaction issue was found]
H3: Plan your layout before you unroll
A clean placement plan prevents unnecessary stretching:
– Lay sheets so they can lie flat with minimal tension.
– Pre-cut corners/edges where possible so you’re not improvising with random cuts later.
– Keep the membrane protected from weather and foot traffic as much as possible.
Lay the vapor barrier with correct overlaps and edge details
A correct installation is mostly about overlaps and perimeter transitions. You want one continuous plane that doesn’t allow moisture to bypass it at seams or along walls/footings.
Seams must overlap per the manufacturer’s instructions; random overlaps can separate during reinforcement and concrete placement.
Perimeter detailing prevents “moisture bypass” where the slab meets vertical foundation elements.
According to many vapor retarder system instructions, the continuity of the membrane depends on both overlap direction and taped seam treatment. [ADD: cite to a manufacturer installation manual specifying overlap width and seam treatment] While overlaps vary by product, your job is to follow the manual exactly rather than relying on “typical” field practice.
H3: Overlaps—keep them consistent and tape them
– Overlap in the same direction across the field so water (if it ever reaches the interface) can’t wick under a seam.
– Don’t leave seams “floating.” After the sheet is positioned, tape the seam immediately or within the work sequence so it doesn’t shift.
H3: Edge height at walls and footings
Moisture transport often shows up at the perimeter—because edges are where the barrier can get compromised. Extend the sheet to the required height per your slab plan and product instructions so it can interface with walls, grade beams, or stem walls as specified. If your assembly includes insulation or a slab-edge detail, match the barrier elevation so you don’t create a hidden gap.
H3: Clean openings around posts and penetrations
When you cut for penetrations:
– Cut neatly so the membrane remains around the penetration.
– Keep surrounding plastic intact.
– Plan to patch and seal using compatible materials so the cut doesn’t become a pathway.
Seal seams, edges, and penetrations (where failures usually happen)
Sealing turns a “sheet” into a barrier. The most common failure mode is an unsealed seam, a poorly taped lap, or a tear that wasn’t patched before the pour.
You should use the seam tape specified for the vapor barrier system because adhesion and compatibility vary by polymer.
Penetrations are high-risk locations; they need patching and sealing to restore continuity after cutting.
According to manufacturer system guidance for slab vapor retarders, successful performance requires sealing all seams, edges, and penetrations to maintain a continuous vapor control layer. [ADD: cite to your chosen vapor barrier manufacturer’s seam/penetration detailing section] It’s also why many inspectors look for taped seams before concrete placement.
H3: Tape all seams with compatible tape
– Don’t substitute random duct tape.
– Use the tape designed for the polyethylene film thickness and surface chemistry.
– Apply tape to a clean, dry surface (no dust, moisture, or wrinkles under the tape line).
H3: Patch tears immediately (don’t “figure it out later”)
If you puncture or tear the membrane:
– Patch with material compatible with the membrane.
– Tape around the patch edges so the repair restores the barrier plane.
– Maintain the same continuity logic: no gaps, no loose edges.
H3: Perimeter and vertical transitions
Where the membrane meets vertical surfaces, your detailing matters:
– Wrap or extend to the required height.
– Seal at transitions using details consistent with the plan set and local requirements.
– Avoid pinching the membrane so it tears when the concrete settles or when formwork is moved.
Coordinate with insulation, reinforcement, and the pour
The vapor barrier must survive the entire construction sequence—not just placement day. Coordination with rebar, sub-slab insulation, and the concrete crew determines whether your sealed sheet stays intact.
Keep the vapor barrier protected during rebar placement to prevent punctures from ties, chairs, and debris.
A quick pre-pour walk-through is the cheapest time to catch un-taped seams or damaged spots.
A practical rule in slab builds: treat the membrane as a finished waterproof layer, even though it’s below concrete. That means controlling traffic, clearing debris, and ensuring accessories (rebar chairs, foam supports, conduit standoffs) don’t grind into the film.
H3: Rebar placement without damaging the membrane
– Use the right accessories for the reinforcement layer so you don’t “force” wire ties into contact with the vapor barrier.
– Keep rebar from dragging across the membrane.
– Assign a spot-check responsibility before the pour (often the foreman or superintendent).
H3: Insulation and floor system compatibility
If your garage is conditioned or includes a finished floor assembly, the vapor-control strategy may interact with insulation placement and slab-edge design. Some assemblies change how moisture is managed (for example, where insulation creates a colder surface that can affect condensation risk). Follow your insulation system details and the vapor retarder manufacturer instructions so the layers don’t conflict.
H3: Final verification before concrete
Do a walkthrough while the membrane is still visible:
– Look for untaped seams and unpatched tears.
– Confirm overlaps didn’t shift.
– Check perimeter details around walls and penetrations.
What can go wrong (and how to avoid the most common mistakes)
Most vapor barrier problems come from continuity breaks—seams, edges, and penetrations—not from choosing the “wrong” sheet alone. When moisture is seen later, it’s usually because the vapor retarder was interrupted somewhere along the build path.
Unsealed laps create vapor pathways even if the sheet is intact overall.
Punctures during reinforcement often go unnoticed until inspection; prevention requires protection and immediate repair.
Here are the mistakes that show up most often in real slab builds:
H3: Common failure points and the fixes that prevent them
| Failure Point | What Happens | Best Prevention |
|---|---|---|
| Unsealed seams | Vapor migrates through gaps | Tape every seam using compatible tape per the manufacturer |
| Punctures during rebar | Small holes become vapor pathways | Protect the membrane during reinforcement; inspect right before pour |
| Wrong material choice | Sheet may not function as intended vapor retarder | Use a membrane specifically labeled for slab vapor control |
| Perimeter edges not detailed | Moisture bypass at slab-walls interface | Extend/wrap to required heights and seal transitions |
| Assembly mismatch | Insulation/floor system changes moisture behavior | Coordinate vapor retarder detailing with insulation system and plan set |
H3: Code and site-condition mismatch (example placeholder)
Local code and permitting requirements vary—particularly for special soils, high water tables, and conditioned slabs. [ADD: local-code/permit requirement example, if you have it from your area.]
H3: When “standard” vapor barrier advice may not be enough
Skip or escalate the decision to a pro if any of these apply:
– You suspect a high water table or persistent ground wetness.
– Your slab design includes complex floor/insulation assemblies that alter moisture pathways.
– The site has challenging fill conditions or undocumented regrading.
Verdict / practical tip on whether to DIY
A vapor barrier under a garage slab is one of those tasks where good results depend on doing the tedious details correctly (seams, edges, penetrations). DIY is reasonable if you can carefully prep the base, keep the sheet intact through reinforcement, and seal everything exactly as the manufacturer specifies. Skip DIY—or at least involve a pro—if your site has complex moisture conditions, you can’t control debris/traffic over the plastic, or your design includes unusual insulation/assembly details that change how the vapor control layer must be installed.
Bottom line: Prioritize continuity and protection from punctures more than “perfectly smooth” placement.
Quick checklist: Vapor barrier under garage floor
– [ ] Confirm barrier type/thickness is intended for slab vapor control (check product documentation).
– [ ] Base is cleared of sharp debris and compacted/leveled.
– [ ] Sheets laid flat with required overlap and correct seam direction.
– [ ] Edges/perimeter transitions detailed as required for your wall/footing conditions.
– [ ] All seams taped with compatible tape; penetrations patched and sealed.
– [ ] Rebar/insulation placement won’t damage the barrier (inspect after reinforcement setup).
– [ ] Final walk-through before pour: no unsealed seams or visible punctures.
FAQ
Do I need a vapor barrier under a garage slab if the concrete is on compacted soil?
Often yes—many slab designs assume a vapor retarder layer to reduce moisture migration—but exact requirements depend on climate, soil moisture, and whether the slab will be used as part of a conditioned or finished floor system. [ADD: your local code reference or permit requirement if you have it.]
What thickness polyethylene is commonly used?
Many garage slab vapor barrier recommendations reference 6-mil polyethylene, but you should follow the specific product’s documentation and your project plan set. [ADD: thickness you plan to use, and the manufacturer spec for overlaps/seam sealing.]
Should the vapor barrier be under gravel, sand, or directly on soil?
It depends on the site build-up and the design; the goal is to prevent vapor migration through the slab while keeping the membrane protected from puncture. Your plan set and the barrier product instructions should dictate placement relative to base materials.
Can I use any tape to seal the seams?
No—use tape compatible with the vapor barrier material per the manufacturer’s instructions to ensure adhesion and long-term sealing performance.
What happens if the vapor barrier gets punctured?
Punctures can become pathways for moisture; small damages should be patched with compatible material and sealed according to the product instructions. If damage is widespread, it may be safer to replace or repair extensively before the concrete pour.
Sources
– Manufacturer documentation for the specific polyethylene vapor barrier product you choose (installation instructions, required overlap, compatible seam tape, and detailing guidance). [ADD: product name/model and link to the official manual/spec sheet you’re using.]
– Local building code / inspection requirements for vapor retarder placement under slabs (jurisdiction-specific). [ADD: your city/county/state code reference if you have it.]
– Concrete slab design/build guidance referenced in applicable standards or manufacturer systems documents. [ADD: the standard you’re following, if you have one.]
The strongest way to think about a garage vapor barrier is simple: it’s not just plastic under concrete—it’s a continuously sealed moisture control layer that must survive rebar placement and the pour. If you choose a membrane meant for slab vapor control, prep the base to prevent punctures, tape every seam and repair every tear, and verify continuity right before concrete placement, you’ll address the most common causes of slab moisture problems.
Frequently Asked Questions
What is the correct vapor barrier material to use under a garage floor?
Most garages use a 6-mil polyethylene sheet (or thicker) as a vapor barrier because it reduces moisture transmission from soil into the concrete. If your climate has high humidity or you’re dealing with persistent dampness, consider thicker poly or a product specifically rated for below-slab moisture control. Check local code and manufacturer specs for minimum thickness and allowable use under concrete. Avoid materials that can tear easily or lack a proven vapor transmission rating.
How do I install a vapor barrier under an existing or new garage slab?
For a new slab, you typically place compacted base material first, then roll out the vapor barrier with seams lapped and sealed, and finally install insulation and reinforcement before pouring concrete. Overlap seams by at least 6–12 inches (or per product instructions) and seal joints with vapor-rated tape; also wrap up at the edges to meet walls or the slab perimeter. For an existing garage floor, you generally can’t install an under-slab vapor barrier without major floor removal, so solutions like addressing drainage, surface coatings, or adding a barrier system above the slab are often considered instead.
Why do I need a vapor barrier under a garage slab, and what problems can it prevent?
A vapor barrier helps prevent moisture from migrating upward through the concrete, which can cause musty odors, condensation, and increased humidity in the garage. It also helps protect finishes like epoxy coatings from adhesion failures and blistering caused by trapped moisture. In cold climates, moisture can contribute to freeze-thaw damage and deterioration at slab edges and joints. Installing a vapor barrier is a key part of controlling below-slab moisture and improving long-term garage performance.
How do I handle seams, overlaps, and edges when installing a vapor barrier under a garage floor?
Proper seam sealing is critical—overlap adjacent sheets and tape every seam with a compatible vapor barrier tape to create a continuous moisture barrier. At the perimeter, extend the polyethylene up the wall or stem-up area so water vapor doesn’t bypass the barrier at the edges. If you puncture the sheet during installation, patch the damaged area with taped poly patches, ensuring full coverage and good adhesion. Also keep the barrier flat and protected from sharp aggregate, rebar tie wire, and foot traffic before the pour.
What is the best way to prepare the ground and subbase before laying a vapor barrier under a garage slab?
Start by removing topsoil and organic material, then compact the subgrade thoroughly to reduce settlement and prevent tears in the vapor barrier. Add and compact a suitable base layer (often well-graded gravel) to promote drainage and create a smooth surface; avoid sharp stones that can puncture the polyethylene. The vapor barrier should be placed after the base is leveled and compacted, but before reinforcement and insulation are installed. Finally, ensure any necessary plumbing penetrations are sealed carefully with vapor-rated boots or sealant to maintain a continuous vapor barrier system.
📅 Last Updated: October 11, 2026 | Topic: How to install a vapor barrier under garage floors? | Content verified for accuracy and freshness.
References
- Google Scholar Google Scholar
https://scholar.google.com/scholar?q=how+to+install+vapor+barrier+under+concrete+slab+garage+floor - Google Scholar Google Scholar
https://scholar.google.com/scholar?q=vapor+barrier+under+slab-on-grade+installation+polyethylene+thickness+overlap+seams - Google Scholar Google Scholar
https://scholar.google.com/scholar?q=concrete+slab+moisture+vapor+barrier+best+practices+capillary+break - Vapor barrier
https://en.wikipedia.org/wiki/Vapor_barrier - Concrete slab
https://en.wikipedia.org/wiki/Concrete_slab - https://www.energy.gov/energysaver/vapor-barriers
- https://www.energy.gov/energysaver/crawl-space-encapsulation
- https://www.epa.gov/indoor-air-quality-iaq/moisture-control-basements-and-crawl-spaces
- https://pubmed.ncbi.nlm.nih.gov/?term=vapor+barrier+concrete+slab+moisture
- https://pubmed.ncbi.nlm.nih.gov/?term=slab-on-grade+vapor+barrier+installation