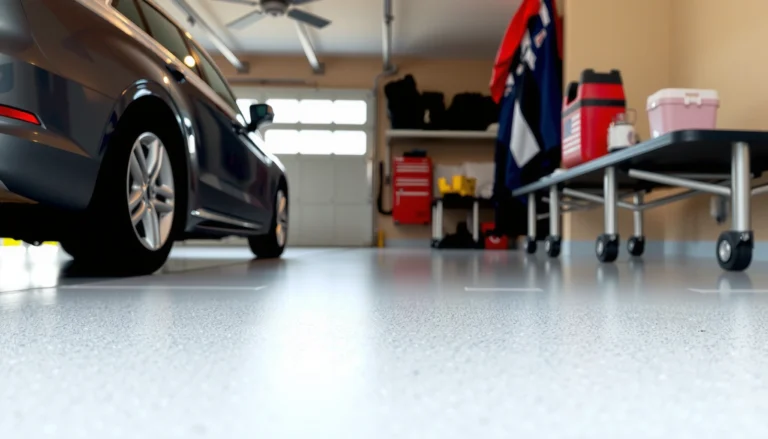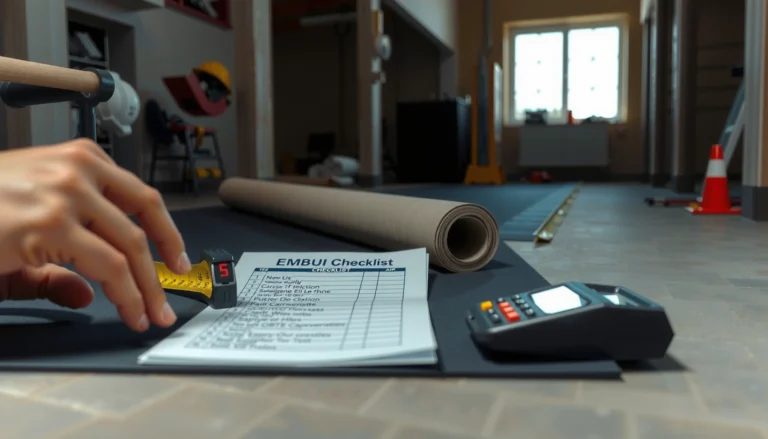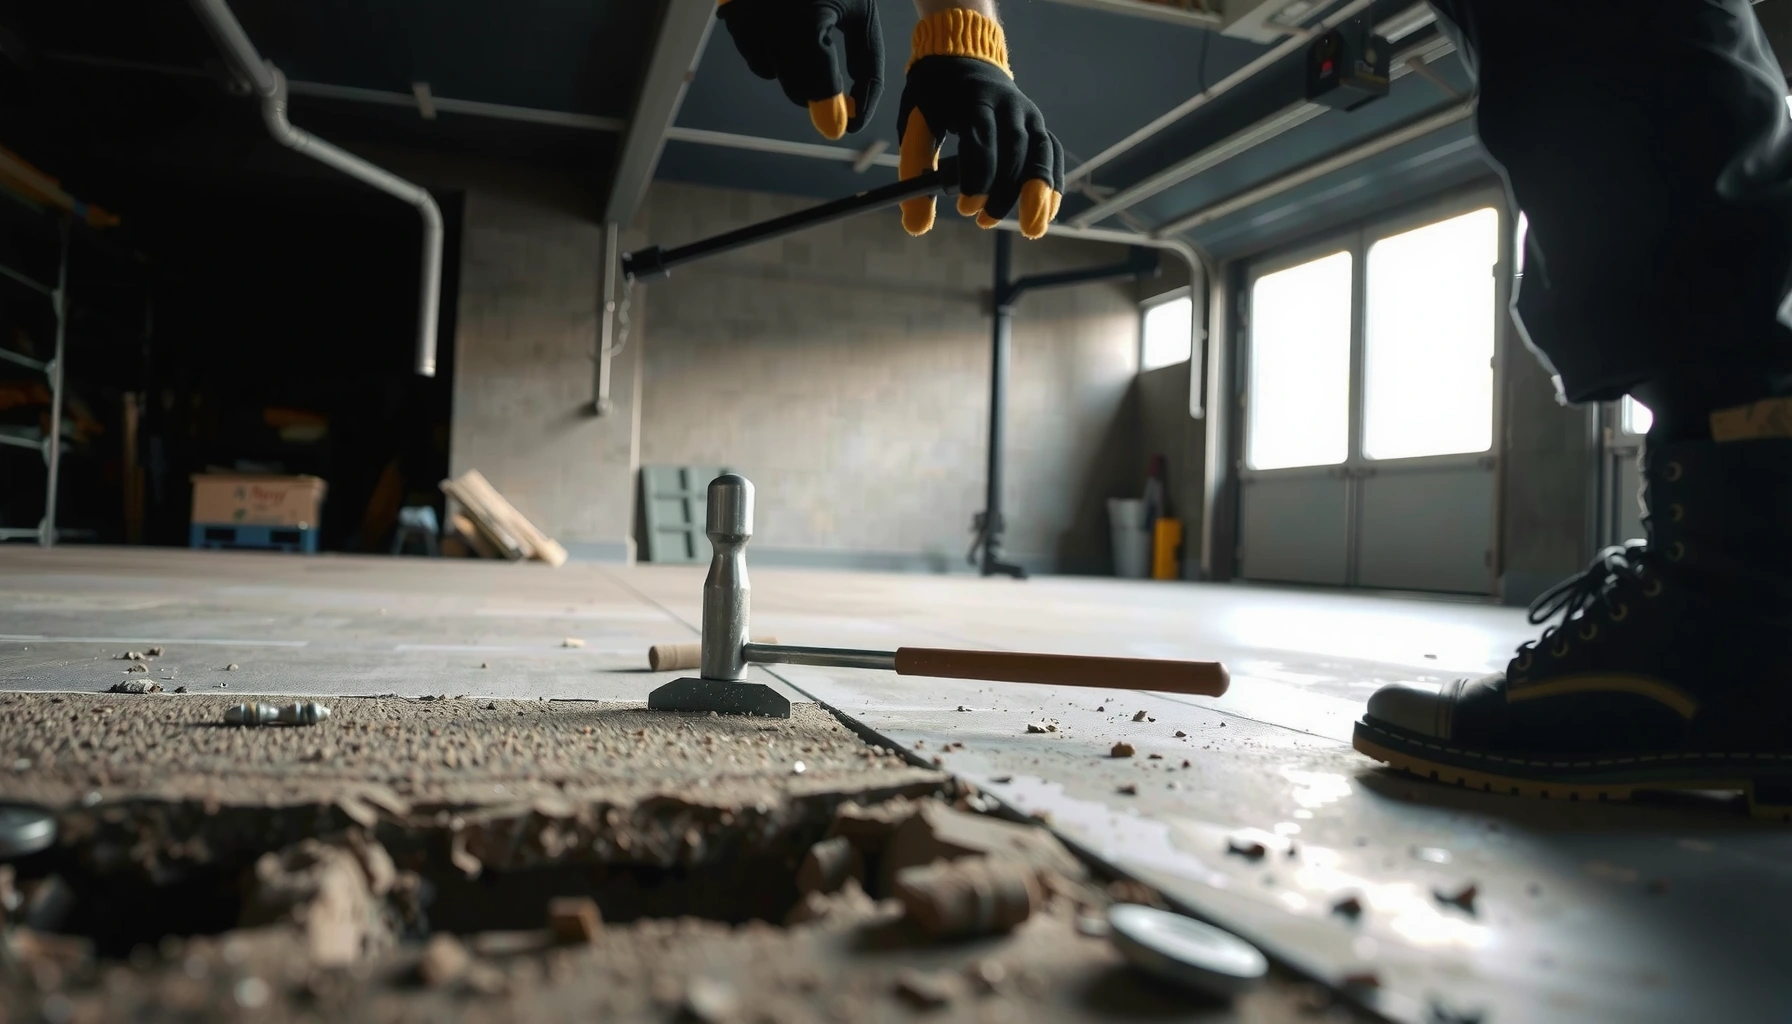

Removing a garage floor is a straightforward job when you follow the right step-by-step method for your slab type. This guide tells you exactly how to remove garage floors—what tools to use, how to break up concrete or pull up existing flooring, and how to handle debris safely. By the end, you’ll know the fastest, cleanest way to get from “slab in place” to “ready for the next floor.”




If you want to remove a garage floor, the safest approach is to identify what it’s made of (concrete slab, epoxy coating, or tile) and then use the right demolition method. For a typical concrete slab, you’ll usually chip and break it with proper protection, then haul debris out by sections—while actively protecting drains, penetrations, and nearby utilities.
If your garage floor is cracked concrete, a finished epoxy surface, or a different flooring type (tile, coatings, etc.), the steps change. This is for homeowners and small-property managers doing a DIY removal—or prepping for a contractor—who want a clear, practical workflow and common pitfalls to avoid.
Plan First: Identify the Floor Type and Utilities
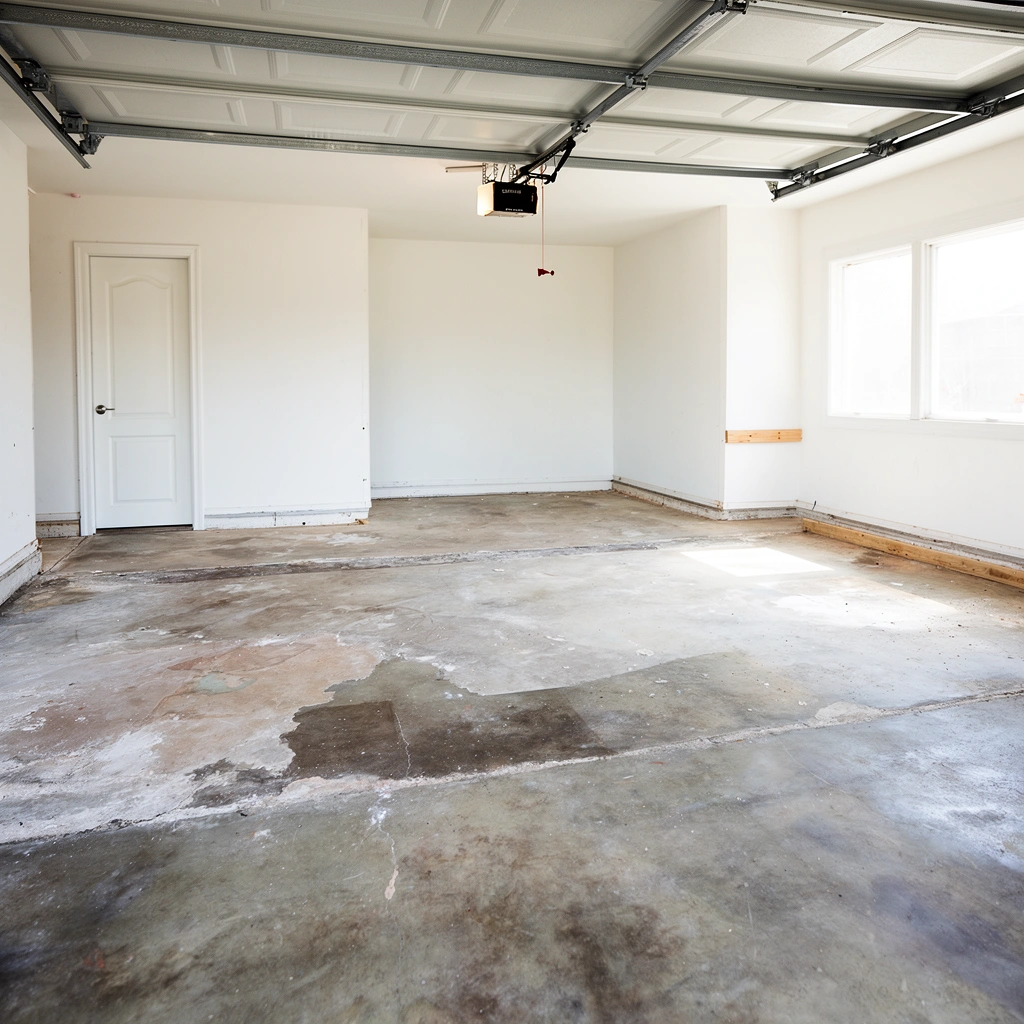
Before you touch the slab, decide what you’re actually removing—bare concrete, an epoxy coating/overlay, or tile—because each one changes your tools and safety plan. Garage floor removal also requires you to confirm where water, drainage, and electrical pathways enter or pass near the slab so you don’t turn a “floor demo” into a utility repair job.
A concrete garage floor removal plan starts with identifying whether you have bare concrete, a coating system, or tile—because “demolition” may mean grinding or stripping rather than slab breakup.
In construction work involving concrete cutting, OSHA regulates respirable crystalline silica exposure and sets a specific PEL for the respirable fraction.
Before breaking concrete, locating floor drains and penetrations is essential because they can be damaged easily and may lead to leaks afterward.
Determine the floor material (and your removal goal)
A quick “what am I looking at?” check prevents wasted labor and unexpected hazards in garage floor removal:
– Bare concrete slab: Your goal is usually full removal (for replacement) or partial removal (for leveling or replacing cracked sections).
– Epoxy coating / garage floor coating: Your goal may be surface prep (for re-coating) rather than demolition down to concrete.
– Tile over concrete: Your goal is removing tile + thinset/mortar bed (often the hardest part) while keeping the substrate stable.
Locate utilities and penetrations around the slab
In garage floor removal, the most common avoidable catastrophe is hitting something you didn’t realize was there. Before you start, visually inspect and—where possible—verify:
– Garage drains (including trapped drains): look for floor drain covers, wet spots, and any plumbing access nearby.
– Electrical conduits near the perimeter (garage door opener, exterior lighting, outlets).
– Embedded piping (sometimes for radiant heat or sump connections).
– Penetrations for pipes or sleeves through the slab (especially around drains and corners).
If you’re not sure about embedded utilities, consider an inspection step: check as-builts, ask the prior installer, or consult a contractor with slab-locating experience. This is one area where garage floor removal costs less when you prevent mistakes early.
Check thickness and reinforcement
Rebar and wire mesh change the entire workflow for garage floor removal. Thin slabs can sometimes be cut and broken in controlled sections; heavily reinforced slabs may require more time, more aggressive tools, and longer debris cleanup.
According to OSHA, the action level for respirable crystalline silica is 25 µg/m³ (8-hour TWA). (OSHA, Respirable Crystalline Silica standard, 29 CFR 1926.1153—requirements and exposure limits)
According to OSHA, the PEL is 50 µg/m³ (8-hour TWA). (OSHA, 29 CFR 1926.1153—requirements and exposure limits)
Concrete demolition tasks like grinding and cutting can generate dust clouds that push exposures quickly if you don’t control dust. (OSHA, 29 CFR 1926.1153 guidance and requirements)
Prep the Garage Area for Safe Demolition
You make garage floor removal safer by controlling dust and protecting people and property before the first break. If you skip prep, you don’t just create mess—you increase respiratory risk from concrete dust and raise the chance of tracking debris through the home.
Concrete dust exposure is a major hazard during garage floor removal, so dust containment and appropriate respiratory protection are critical.
Using plastic sheeting and sealing gaps helps keep demolition dust from migrating into the rest of the building.
Respirators must be properly fitted; OSHA’s silica rule emphasizes the need for medical evaluation and fit testing when required.
Clear and protect the space
Start by removing cars, storage, and anything you can move. Then protect the rest:
– Cover workbenches, shelving, and adjacent surfaces.
– Seal off doorways and openings leading to living areas.
– Protect garage door tracks and door hardware from dust abrasion.
Control dust and debris (so removal stays manageable)
Garage floor removal is usually a dust-management project as much as a demolition project. A practical containment setup includes:
– Plastic sheeting to isolate the work zone.
– Sealing gaps around edges and penetrations where dust can creep.
– Dust collection if your grinder/saw supports it (and you use it correctly).
Wear the right PPE for concrete dust
Your PPE should match the task. At minimum for garage floor removal:
– Eye/face protection
– Hearing protection
– Gloves
– A properly fitted respirator suitable for silica-containing dust (the exact model/rating depends on the equipment and your regulatory requirements)
If you’re unsure what your dust control and respirator configuration should be, follow OSHA’s approach for silica exposure control and respirator programs. (OSHA, 29 CFR 1926.1153—engineering controls and respirator program requirements)
Tools and Methods: Concrete Slab vs. Coatings vs. Tile
The “right method” for garage floor removal depends on whether you’re breaking concrete, removing a chemical/adhesion system, or pulling tile assemblies. Using the wrong method often leads to stubborn layers, excessive dust, or unnecessary substrate damage.
Garage floor removal of bare concrete typically uses impact tools (jackhammer/chipping) or controlled saw-cut-and-break methods to manage cracking.
For epoxy coatings, removal often means grinding or stripping—full slab demolition may be unnecessary if the system is being replaced.
Tile removal usually requires breaking the tile and then removing thinset/mortar left on the slab to achieve a clean, stable surface for new flooring.
For concrete slabs: choose impact vs. controlled cuts
For garage floor removal of a typical concrete slab:
– Jackhammer/chipping: fastest when the slab is accessible and not heavily reinforced.
– Saw-cut and break: best when you need controlled boundaries to prevent uncontrolled cracking spreading under walls or into penetrations.
For epoxy/paint: plan for prep, not necessarily demolition
If your target is garage floor removal of epoxy coatings, you may not need full demolition to concrete. In many cases:
– Grinding removes coating and profiles the surface for bonding.
– Chemical strippers can reduce mechanical labor, but you must manage residues and ensure compatibility with what’s next.
For tile: remove tile plus adhesive/mortar
Tile removal is rarely “just pulling tiles.” Garage floor removal typically includes:
– Breaking tile sections to avoid large stuck areas.
– Chipping/removing thinset or mortar so the slab is ready for leveling or new finishes.
Step-by-Step: Remove a Concrete Garage Slab
For garage floor removal of a concrete slab, the safest workflow is controlled scoring, removal in sections, and continuous debris management. That approach reduces uncontrolled cracking and keeps the work area safe and accessible.
In garage floor removal, starting with scoring or saw-cut lines can improve control and reduce random cracking.
Removing concrete in manageable sections prevents unstable slabs and makes debris handling safer.
Working from edges toward the center helps limit stress on slab areas you want to keep intact.
1) Mark removal boundaries and (if needed) cut control lines
If you need a clean demarcation—around a drain, along a doorway, or within a defined replacement area—use score/saw-cut lines first. This is common in garage floor removal when you’re trying to avoid random slab break patterns.
2) Remove concrete in sections
Pick a section size your crew can handle without rushing. Then:
– Chip edges first
– Work inward to “free” a manageable panel
– Avoid “wailing” the center immediately—impacts can send fractures where you don’t want them
3) Manage debris continuously
Garage floor removal isn’t done until fines and broken chunks are handled properly:
– Keep a clear pathway for carrying debris out.
– Bag/contain dust/fines as you go (don’t sweep aggressively into the air).
– Plan haul-out runs so you don’t block exits or create trip hazards.
Practical note on silica control during demolition
Concrete demolition is dust-heavy. If your plan includes grinding, cutting, or jackhammering for extended periods, follow OSHA’s silica exposure control framework: engineering controls first, then administrative controls, and finally respirators as required. (OSHA, 29 CFR 1926.1153—hierarchy of controls)
Respirable Crystalline Silica Exposure Limits in Construction (US OSHA)
| # | OSHA Metric (Respirable Silica) | Value | Compliance Meaning | Risk Signal |
|---|---|---|---|---|
| ★ | Action Level (8-hr TWA) | 25 µg/m³ | Triggers required steps toward exposure control | Low–Moderate |
| 2 | PEL (8-hr TWA) | 50 µg/m³ | Upper limit for compliance over an 8-hour day | High |
| 3 | Exposure Reduction Goal | Use controls before respirators | Engineering/administrative controls first | Best Practice |
| 4 | Typical Risk Drivers in Demo | Grinding/cutting | Higher dust generation than hand breaking | Elevated |
| 5 | Common Control Layer | HEPA dust capture | Reduces airborne respirable particles | Effective |
| 6 | Action Level Response | Plan exposure control steps | Includes monitoring and controls as required | Preventive |
| 7 | Practical Exposure Mitigation | Contain + vacuum + seal | Controls dust migration and cleanup | Strong |
(Regulatory values summarized for decision-making; always verify current requirements and whether your job triggers specific compliance pathways.)
What Can Go Wrong (and How to Avoid It)
Garage floor removal commonly goes wrong when people rush demolition, underestimate dust exposure, or discover hidden reinforcement and penetrations too late. The fix is to plan for cracking control, dust capture, and “unknowns” before you break anything.
Uncontrolled cracking is a predictable outcome if you break concrete aggressively without scoring or controlled boundaries.
Skipping dust containment makes garage floor removal harder and can increase respiratory exposure to concrete dust and crystalline silica.
Reinforcement like rebar or wire mesh increases demolition difficulty and can raise vibration and tool wear.
Common failure modes
– Cracking where you don’t want it: Breaking too aggressively near walls, drains, or sleeve penetrations can cause fractures that complicate the replacement.
– Dust control gaps: If dust isn’t captured at the source, cleanup spreads contamination and increases exposure risk.
– Hidden rebar/mesh: Expect tougher-than-anticipated breaking and plan a more durable tool strategy.
– Damage to floor drains or embedded systems: Demolition near drains can break seals, fittings, or create leak paths.
Comparison: DIY removal vs. hiring out
If you’re deciding whether to self-perform garage floor removal, compare what you can control (tools, safety, access) versus what’s risky (embedded utilities, reinforcement, and compliance).
| Decision factor | DIY removal tends to work if… | Hiring a contractor is safer if… |
|---|---|---|
| Slab complexity | You have bare concrete with clear boundaries | You suspect thick or heavily reinforced concrete |
| Utilities certainty | You’ve confirmed drain/penetration locations | You can’t confidently identify embedded plumbing/electrical conduits |
| Safety capability | You have correct PPE and a real dust-control setup | You can’t maintain containment and respiratory protection |
| Debris handling | You can manage haul-out and disposal logistics | Access limits hauling or disposal compliance is uncertain |
| Time tolerance | You can spread demolition across multiple days | You need a fast turnaround with less downtime |
Verdict: When DIY Works vs. When to Hire Out
DIY garage floor removal can be a good fit when your slab is straightforward, you have the right PPE and dust controls, and you can handle heavy debris cleanup without rushing. Hire out (or at least get a contractor estimate) when you can’t confidently identify embedded utilities, face an unusually reinforced slab, or your garage layout makes dust containment unrealistic.
DIY garage floor removal is most feasible when the slab is accessible and you can work in sections without hitting drains or concealed utilities.
OSHA’s crystalline silica requirements make dust control a central safety requirement for concrete demolition and cutting.
If you can’t identify reinforcement or penetrations, the risk of costly substrate damage increases—often outweighing DIY savings.
Skip DIY (or get pro help) if:
– You don’t know whether there’s a floor drain or embedded plumbing.
– The slab likely has rebar/mesh and you lack the tools to deal with it safely.
– You can’t implement silica-safe dust controls consistent with OSHA requirements. (OSHA, 29 CFR 1926.1153)
– Your haul-out/disposal process is unclear (rules vary locally).
Downsides of DIY garage floor removal to be honest about:
– It’s physically demanding and messy.
– Mistakes (cracking, damaged penetrations) can raise replacement costs quickly.
– You may spend more time cleaning fines than demolishing concrete.
Quick Checklist (Scan Before You Start)
– Identify the floor type: concrete vs. coating/epoxy vs. tile/mortar
– Locate penetrations/utilities (drain, conduits, embedded piping)
– Set up dust control and protection for the rest of the home
– Gather PPE: eye/face protection, hearing protection, gloves, respirator
– Choose method: chip/break for slabs; grind/strip for coatings; remove tile + adhesive
– Plan debris handling: bagging/containment and haul-out schedule
– Start in sections to control cracking and keep access clear
FAQ
Do I need to remove an epoxy garage floor down to concrete?
Usually, only if you’re replacing the system and the existing epoxy is too damaged or not adequately bonded for the new coating to perform reliably. [ADD: guidance based on your target replacement system—e.g., manufacturer prep requirements.]
What’s the safest way to control dust during concrete removal?
Use containment (plastic sheeting and sealed gaps), maintain appropriate ventilation for your setup, and use dust capture (e.g., HEPA-filtered collection) where your equipment supports it. [ADD: exact dust-control method for your tool/plan.]
Can I remove garage floor concrete without a jackhammer?
Sometimes for thin, non-reinforced sections, but generally slabs require heavy impact or controlled cutting to avoid endless grinding and uneven breakage.
How do I deal with rebar or wire mesh under the slab?
Expect extra work: you may need additional cutting/breaking steps to fully separate reinforcement from the concrete and remove it safely. [ADD: your slab’s reinforcement details, or your inspection findings.]
What should I do with debris afterward?
Contain it properly (including fine dust), transport it using appropriate bags/containers, and dispose of it according to local construction and demolition debris rules. [ADD: local/provincial/state disposal requirement source for your area.]
Sources
– OSHA, 29 CFR 1926.1153 Respirable Crystalline Silica—requirements, exposure limits, and control framework for construction.
– OSHA, silica-related compliance resources and regulatory guidance for concrete cutting/grinding exposure control.
– [ADD: manufacturer specifications for the demolition tool you plan to use—e.g., jackhammer model manual]
– [ADD: local/provincial/state disposal requirements for construction and demolition debris]
Removing a garage floor is doable, but only when your garage floor removal plan matches the floor type and respects dust, utilities, and slab reinforcement realities. If you identify materials early, control dust aggressively, remove concrete in sections, and know when DIY is no longer worth the risk, you’ll avoid the most common—and expensive—mistakes.
Frequently Asked Questions
What is the best way to remove a garage floor without damaging the slab?
The best approach depends on whether you’re removing tile, thinset, coatings, or the concrete slab itself. For coatings or thin overlays, use mechanical removal like grinding, chipping, or a floor scraper before attempting to lift anything larger. If you need to remove the concrete slab, plan for controlled demolition and use proper cutting methods so you don’t damage the garage foundation or nearby utilities. Consider renting a concrete saw with a diamond blade to create manageable sections before breaking them up.
How do I remove garage floor epoxy or paint before demolition?
Start by cleaning the surface thoroughly—use degreasers and allow the floor to dry completely. For epoxy removal, mechanical methods like grinding with a floor grinder or using a scarifier are often the most reliable, especially for thick coatings. Chemical strippers can help for certain paints, but they may not fully remove epoxy and can create disposal concerns, so check label guidance carefully. After removal, vacuum with a HEPA shop vac and inspect for remaining coating so new flooring or repairs can bond properly.
How can I remove a concrete garage slab safely and efficiently?
Begin by locating hazards such as expansion joints, rebar, and any embedded items like floor drains or electrical conduits. Cut control joints with a concrete saw to prevent random cracking, then break the slab in sections using a jackhammer or demolition hammer. Wear appropriate PPE (eye, hearing, gloves, and a properly rated respirator) and control dust with wet cutting or dust-extraction equipment. Finally, remove debris in layers and avoid overloading the area before hauling it out.
Why is proper disposal of garage floor debris important?
Concrete, tile, and coating waste often can’t go into standard trash depending on your local rules, especially if it includes epoxy flakes or chemical residues. Proper disposal helps prevent contamination, reduces fines, and ensures you follow hazardous-material regulations where applicable. Keep materials separated when possible—clean concrete for easier recycling and coated debris for compliant handling. Check with your local waste facility about accepted materials and whether you need a permit or specific disposal containers.
Which tools and equipment do I need to remove a garage floor coating or slab?
For garage floor coatings, common tools include a heavy-duty floor scraper, angle grinder with diamond cup wheel, and a dust shroud with vacuum attachment. For epoxy removal, a scarifier or grinder is often more effective than hand tools, and a HEPA vacuum helps manage dust. For concrete slab removal, you’ll typically need a concrete saw for scoring, a jackhammer or demolition hammer, sledgehammer options, pry bars, and wheelbarrows or a small cart for hauling debris. Renting the right equipment can save time and reduce the risk of damaging the surrounding garage structure.
📅 Last Updated: October 11, 2026 | Topic: How to remove garage floors? | Content verified for accuracy and freshness.
References
- Google Scholar Google Scholar
https://scholar.google.com/scholar?q=how+to+remove+concrete+slab+garage - Google Scholar Google Scholar
https://scholar.google.com/scholar?q=concrete+floor+demolition+procedure+and+disposal - Google Scholar Google Scholar
https://scholar.google.com/scholar?q=silica+dust+control+concrete+cutting+demolition - Silica, Crystalline – Overview | Occupational Safety and Health Administration
https://www.osha.gov/silica - https://www.cdc.gov/niosh/topics/silica/default.html
- https://www.epa.gov/lead/renovating-repairing-and-painting-program
- Asbestos | US EPA
https://www.epa.gov/asbestos - https://pubmed.ncbi.nlm.nih.gov/?term=respirable+crystalline+silica+demolition
- https://en.wikipedia.org/wiki/Concrete_demolition
- https://www.britannica.com/technology/concrete