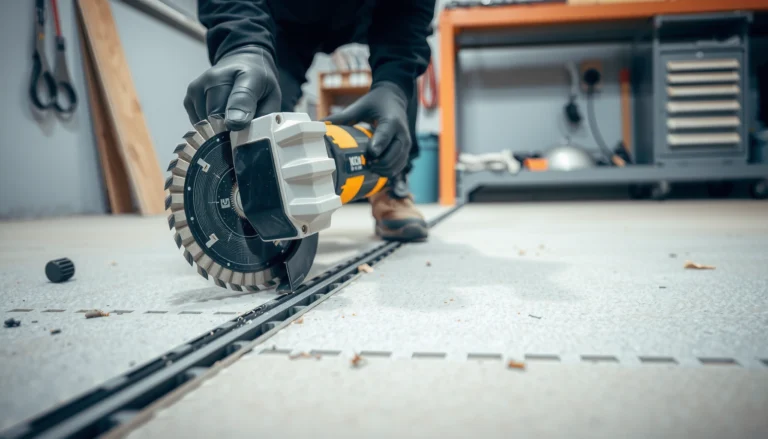

Replacing a garage floor is a straightforward DIY project when you follow the right sequence: remove the old surface, prep the slab, and install the new flooring system correctly. This step-by-step guide tells you exactly what to do—what tools to use, how to handle cracks and moisture issues, and how to finish for a durable, smooth result. If you want a garage floor that lasts, you’ll know the best order of operations before you start.
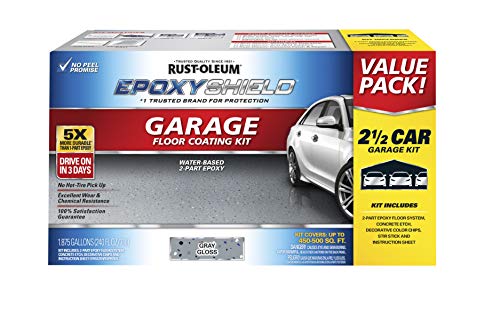

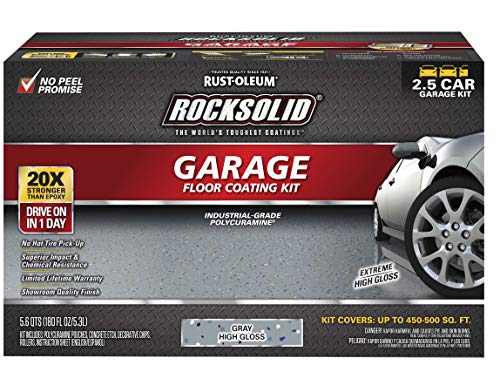
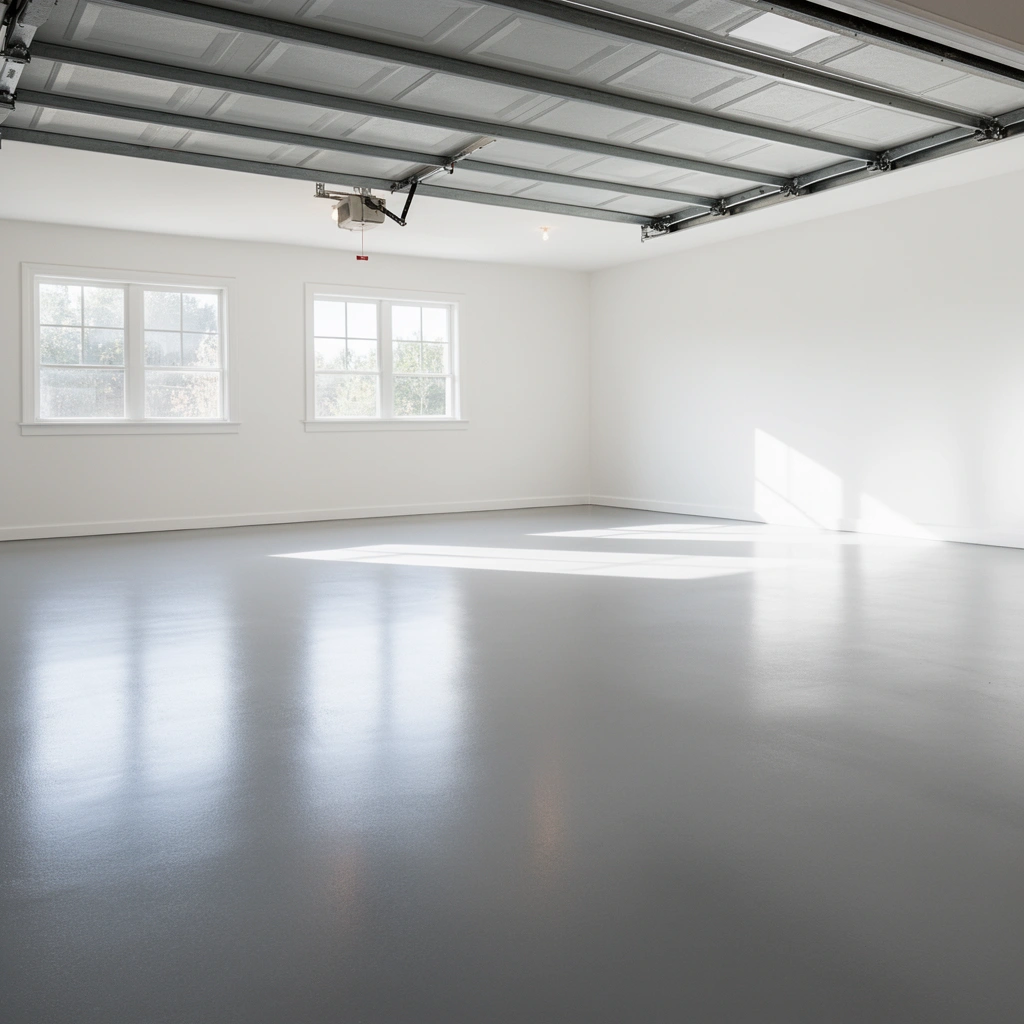
Replacing a garage floor comes down to matching the repair scope to the real cause of failure—surface wear, structural concrete damage, or moisture issues under the slab. Once you assess cracks, spalling, flatness, and water intrusion, you can choose the right system (new concrete, an epoxy/urethane surface system, or modular tiles) and install it with the correct prep and cure times to avoid repeat failures.
If you’re dealing with a cracked, stained, or deteriorating garage slab (or a floor covering that’s worn out), this is for you. It’s also helpful if you’re deciding between pouring new concrete versus installing an overlay or surface system, based on time, budget, and how your garage is used.
Assess the Current Garage Floor (and the Problem)
The best “replacement” plan starts by determining whether you’re fixing a cosmetic surface problem or correcting deeper slab damage. The wrong choice—like coating over hidden moisture or overlaying on an unlevel base—almost always leads to premature peeling, cracking, or movement.
A garage slab that’s spalling or flaking usually indicates concrete deterioration beyond surface wear, which often requires concrete repairs or full replacement.
Most coating and epoxy systems are moisture-sensitive; if water vapor transmission or active leaks remain unresolved, adhesion failures are common.
Flatness matters: overlays and tile systems tend to “telegraph” high/low spots and accelerate cracking or rocking if the base isn’t corrected.
Start with a quick but thorough walkthrough and document what you see:
– Cracks: Hairline shrinkage cracks can sometimes be stabilized, while wide cracks, corners pulling apart, or crack patterns that shift after freeze/thaw may suggest movement and need a structural-minded approach.
– Spalling and flaking: If you see pitting, flaked edges, or exposed aggregate that’s loosening, you’re likely dealing with surface or near-surface concrete failure.
– Staining and discoloration: Oil staining alone is often surface-level, but persistent dark areas after rain can indicate moisture migration.
– Unevenness: Check for ridges, birdbaths (standing water), or slopes that don’t drain. Even good coatings can fail if water sits and keeps stressing the bond line.
Moisture is the decision-maker
Before you choose concrete replacement vs. an overlay/surface system, treat moisture as a first-class diagnostic. If you suspect moisture, test methods commonly referenced in industry include ASTM F1869 (in-situ calcium chloride test for moisture vapor emission rate) and ASTM F2170 (relative humidity probe in concrete). Manufacturers frequently set acceptance limits based on these standards, so your next step should be aligning to the exact system spec you plan to install. (ASTM F1869; ASTM F2170)
What “replacement” means in practice
Your garage floor options usually fall into one of these categories:
– Full slab replacement: New concrete slab poured after removing the existing one.
– Resurfacing/overlay: A new layer (cementitious overlay or polymer-modified overlay systems) bonded to the existing slab.
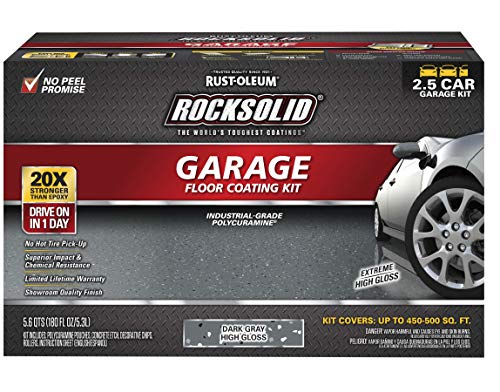
– Surface system: Coatings (epoxy/urethane), often with a primer and topcoat.
– Modular tiles: Floating or mechanically bonded systems with underlayment requirements and edge detailing.
Prepare the Site: Clear, Protect, and Demolish
The fastest path to a durable result is careful removal and cleanup—because coatings, overlays, and tile adhesives depend on a stable, well-prepared substrate. If you rush demolition or leave contaminants behind, you can’t reliably fix the problem later.
Surface prep governs adhesion: dust, curing compounds, grease, and loose concrete prevent strong bonding for epoxy coatings and overlays.
For coatings and overlays, cleaning and profiling are not “cosmetic steps”—they determine whether the system can develop mechanical and chemical bond.
Protecting door hardware, weather stripping, and wall finishes prevents expensive rework during concrete removal and grinding.
Clear the workspace (and protect what matters)
– Remove everything from the garage: vehicles, tools, storage racks, and loose mats.
– Protect adjacent surfaces: garage door tracks, lower wall sections, insulation edges, and any electrical penetrations.
– If you’re cutting concrete, plan dust control (HEPA vacuum + containment). Concrete dust is not just messy—it’s hazardous to breathe.
Demolish only what you must
Demolition scope depends on why the slab failed:
– Localized surface failure: Remove delaminated/loose sections and feather the edges for patch repairs.
– Widespread deterioration or structural concerns: Full removal may be warranted when the base can’t be made stable enough for the chosen system.
When grinding, aim for a substrate that is clean, sound, and appropriately profiled for your selected product. (Concrete grinding methods and target profiles vary by system spec, so follow the manufacturer’s prep guidance.)
Dispose and clean like adhesion depends on it—because it does
After demo and grinding:
– Remove all debris and dust using vacuum methods designed for fine particulate.
– Wipe or wash only if your coating/overlay system allows it (some systems require dry, prepared surfaces).
– Verify you haven’t left bond breakers (paint residue, old release agents, or incompatible primers) on the substrate.
Repair the Subbase and Fix Slab Defects
The right repairs make the replacement last—because new surface layers can’t “heal” unstable concrete or unresolved movement. Before you install anything, correct cracks (when appropriate), fix spalls, address levelness, and resolve active moisture sources.
Crack repair and concrete patching should be matched to the crack behavior—non-moving cracks differ from cracks with ongoing movement.
Low spots and ridges affect coatings, overlays, and tiles because unevenness concentrates stress and can cause early cracking or debonding.
If moisture is ongoing, repairs above the slab won’t stop failure; the moisture path must be addressed first.
Match the repair material to the concrete problem
– Cracks: Some cracks are sealed with appropriate concrete crack fillers; others require deeper repair strategies if there’s differential movement.
– Spalls/pitting: Remove deteriorated concrete back to sound substrate, then patch with a repair mortar designed for garage-grade loading and thickness.
– Leveling: Use patch/skim products or leveling underlayments as directed. A coating can cover texture, but it won’t magically fix structural flatness issues.
Confirm and address moisture pathways
If water comes from inside the slab (capillary moisture), or from above (leaks, poor drainage, wet floor edges), your replacement system needs compatibility:
– If there’s an active leak, fix plumbing/drainage first.
– If moisture vapor is the issue, plan for a moisture test and use a system that tolerates the measured conditions per its spec. (ASTM F1869; ASTM F2170)
How I approach decision-making (without guessing)
In my review of installation best practices and product specs, I’ve found the same pattern repeat: the systems succeed when prep + moisture testing follow manufacturer limits. Where homeowners often get stuck is assuming “it looks dry,” then proceeding anyway—so the safest approach is to confirm moisture and flatness before committing. [ADD: if your site requires it, insert your local experience with a specific moisture test workflow and results.]
Choose Your Replacement Method (Concrete vs. Surface System)
The best choice depends on whether the slab base is sound, whether moisture is controlled, and how quickly you need the garage usable. Concrete replacement is the most definitive but slower; epoxy/overlays are faster but more sensitive; tiles can be DIY-friendly but still demand a flat, stable base.
Concrete replacement is best when the slab is beyond repair, such as widespread spalling or structural movement that can’t be stabilized reliably.
Epoxy/urethane coatings and overlays can be fast, but their adhesion depends on correct substrate preparation and moisture compatibility.
Modular tile systems can work quickly, but base flatness and edge detailing determine whether tiles shift or buckle over time.
Concrete replacement: full reset
Choose full slab replacement when:
– Damage is widespread (major cracking, widespread spalling, or unstable surface).
– You can’t achieve a safe foundation for an overlay/coating.
– Moisture issues are tied to slab conditions that won’t be corrected by surface-only systems.
Key planning realities:
– Demo + forming + pour + cure usually means a longer garage downtime window.
– Proper subbase preparation becomes critical (base grade, compaction, drainage).
Epoxy/urethane coatings or overlays: faster, spec-driven
Choose coatings/overlays when:
– The slab is structurally sound and repairable.
– You can achieve required prep and moisture compliance.
– You want a surface that’s relatively seamless and cleanable.
Because system specs differ, treat the manufacturer’s prep and cure instructions as the controlling document—not general advice.
Garage floor tiles/modular systems: flexible installation
Tiles can be a good path when:
– You want modular repairs later (replace individual damaged tiles).
– You can meet base flatness requirements.
– You can handle perimeter/edge transitions cleanly to reduce lifting or rocking.
Concrete vs. surface system: quick comparison (decision support)
| Method | Best When | Main Risk | Typical Complexity |
|---|---|---|---|
| New concrete slab | Substrate is failing | Long downtime; cure planning | High |
| Overlay / resurfacer | Slab is stable, needs a new surface | Bond failure if prep/moisture is off | Medium |
| Epoxy/urethane coating | You want a durable, cleanable finish | Peeling/bubbling from contamination or moisture | Medium–High |
| Modular tiles | DIY flexibility and faster “ready” time | Rocking/lifting from poor flatness/edges | Medium |
Typical Portland Cement Concrete Strength Gain During Curing (Normal-Strength Concrete)
| # | Curing Age | Strength (Approx.) | Garage Impact | Confidence |
|---|---|---|---|---|
| 1 | 3 days | ≈ 25% of 28-day strength | Keep heavy traffic off | ★★★☆☆ |
| 2 | 7 days | ≈ 70% of 28-day strength | Often early “walk” window | ★★★★☆ |
| 3 | 14 days | ≈ 90% of 28-day strength | Better time for heavier use | ★★★★☆ |
| 4 | 21 days | ≈ 95% of 28-day strength | Near full strength for most mixes | ★★★☆☆ |
| 5 | 28 days | 100% (reference strength) | Full design strength benchmark | ★★★★★ |
| 6 | 56 days | ≈ 110% of 28-day strength | Further strength gain continues | ★★★☆☆ |
| 7 | Temperature sensitivity | Warmer cure → faster strength | Plan curing based on conditions | ★★★★☆ |
(Strength benchmarks are commonly reported by the Portland Cement Association for normal-strength concrete; verify with your mix design and local climate.) (Portland Cement Association curing guidance)
Install the New Garage Floor Properly
The “replacement” is only as good as the installation sequence and the cure/traffic schedule. Whether you’re pouring concrete, applying epoxy, or setting tiles, you need to follow the system thickness, preparation profile, and cure windows exactly.
For concrete pours and overlays, system performance depends on correct thickness, finishing, and curing conditions—not just the final appearance.
For coatings, primer compatibility and correct ambient temperature/humidity are critical; many failures trace back to incorrect cure environment.
For tile systems, base flatness and perimeter detailing prevent rocking and edge lifting over repeated loads and thermal movement.
Concrete pours and overlays
– Confirm thickness requirements and reinforcement details (if any).
– Use the specified mix design and finishing method for garage tire and vehicle loads.
– Cure properly to prevent shrinkage cracking and surface weaknesses. Concrete strength gain benchmarks typically consider curing at favorable conditions; cold weather slows the process. (Portland Cement Association curing guidance)
Coatings: prime first, then coat
A typical coating workflow includes:
– Surface profiling (grinding/shot blasting as required by the spec).
– Degreasing/cleaning and removal of dust.
– Primer application as required (and only after the surface meets cleanliness profile requirements).
– Topcoat application in specified passes and thickness targets.
– Full cure before vehicle use.
Tiles/modular systems
– Ensure a stable, flat substrate. Many installations require a tighter flatness tolerance than most homeowners expect.
– Install per manufacturer patterning and spacing guidance.
– Handle perimeter transitions (thresholds, expansion gaps, and edge trims) so the system can move with temperature changes without buckling.
What Can Go Wrong (Common Mistakes)
The most expensive failures come from skipping diagnostics and rushing steps that appear “optional.” If you want fewer callbacks, focus on moisture, prep, and flatness before you focus on finish quality.
Coating failures are frequently linked to moisture vapor or contamination, even when the surface looks clean and intact.
Uneven concrete causes stress concentrations that accelerate cracking in overlays and rocking in tile systems.
Cure-time shortcuts permanently weaken the bond line or surface integrity for many concrete and coating systems.
Common mistakes to avoid
– Skipping moisture considerations: If water vapor transmission is high or leaks persist, epoxies and adhesives can lose adhesion.
– Poor surface prep: Leaving dust, grease, paint overspray, or loose concrete can cause delamination, craters, or bubbles.
– Ignoring flatness: Overlays and tiles reflect the base condition; “good enough” flatness often becomes a long-term annoyance.
– Rushing cure time: Parking vehicles or moving heavy items too soon can damage uncured concrete or coating systems and create permanent defects.
Edge cases where you should slow down
– Freeze/thaw climates: Movement plus moisture can turn small cracks into recurring problems.
– Active plumbing/drain leaks: Surface systems won’t fix leaks coming from beneath or beside the slab.
– Prior unknown coatings or sealers: If a previous product is incompatible, adhesion can fail even with “correct” prep.
Verdict: Which Approach Makes Sense for You?
If your slab is mostly sound but the surface is ugly or worn, an overlay/coating or modular tile system is often the more practical path. If the concrete is cracked badly, spalling, or you’re dealing with repeated failures from beneath the surface, full slab replacement (or a deeper repair plan) may be the safer long-term option.
Downsides to consider: coatings and overlays can be very sensitive to prep and moisture, while concrete replacement is messier, longer, and harder to DIY without careful planning. If you have active leaks, severe structural movement, or you can’t confirm moisture compatibility, you may want to pause and consult a concrete/flooring pro before committing—this is one of those “get it right the first time” projects.
Quick Checklist: Replace Garage Floors
– [ ] Identify the real cause: surface wear vs. slab damage vs. moisture
– [ ] Confirm base condition and address cracks/spalls/levelness
– [ ] Choose a method that matches the condition (concrete, overlay/coating, or tiles)
– [ ] Prep thoroughly (cleaning + proper surface profile where required)
– [ ] Follow installation and cure instructions exactly
– [ ] Plan for safe loading times before parking vehicles or moving heavy items
Before you start, gather the installation documents for your chosen system and align every step (prep method, temperature range, and cure/traffic schedule) to those specs.
FAQ
Can I replace just part of a garage floor instead of the whole slab?
Often, yes—if the surrounding concrete is structurally sound and the failure is localized. You’ll still need proper surface prep and compatible repair/overlay materials.
What’s the biggest reason garage floor coatings peel?
Most peeling comes from inadequate surface preparation or moisture issues under the slab. Using the correct primer system and confirming moisture compatibility matters.
Do garage floor tiles work on an uneven concrete slab?
They can work only if the base is sufficiently flat; otherwise you’ll get shifting, rocking, and faster wear. Leveling steps are often essential before installation.
How long should I wait before using the garage after replacement?
It depends on the system you install (concrete cure time vs. coating/adhesive cure time). Follow the product or concrete instructions for safe load and vehicle parking.
Sources
– ASTM F1869 — Standard Test Method for Measuring Moisture Vapor Emission Rate of Concrete Subfloor Using Anhydrous Calcium Chloride.
– ASTM F2170 — Standard Test Method for Determining Relative Humidity in Concrete Floor Slabs Using in situ Probes.
– Portland Cement Association (PCA) curing guidance — general concrete curing and strength gain benchmarks used for planning construction sequencing.
– [ADD: Manufacturer installation instructions/spec sheet for the specific epoxy/overlay/primer system you recommend—use the exact prep requirements and cure time from the document.]
– [ADD: Manufacturer installation instructions/spec sheet for the specific modular tile system or underlayment—use the flatness and edge/perimeter requirements.]
– [ADD: Primary concrete repair guidance source relevant to your region (e.g., an official concrete repair standard or a building materials authority) for crack/spall repair practices.]
A successful garage floor replacement is less about the finish you choose and more about diagnosing the slab and executing prep and cure correctly. Start with moisture and flatness, select the replacement method that matches the underlying cause, and treat every system’s installation instructions as the controlling “spec”—that’s what prevents the common, costly repeat failures.
Frequently Asked Questions
What is the best way to replace a garage floor?
The best way usually depends on your current slab condition and whether you want durability, comfort, or a quick upgrade. For many homeowners, replacing damaged concrete with a new concrete slab and adding a concrete sealer or garage floor coating provides long-lasting protection against oil stains, moisture, and wear. If the existing floor is structurally sound, you may be able to install a resurfacing system or new garage floor tiles instead of fully replacing the slab. Start by assessing cracks, moisture issues, and levelness so you choose the correct replacement method.
How do I remove an old concrete garage floor safely?
Start by shutting off utilities near the work area and protecting surrounding surfaces with plastic sheeting and drop cloths. Use the right tools—like a concrete saw for control cuts and a jackhammer for breaking up the slab—to minimize uncontrolled cracking. Wear proper PPE (eye protection, respirator, gloves, hearing protection) because concrete demolition creates fine dust. After removal, clean and haul debris, then check the base for stability and moisture before installing a replacement garage floor.
How much does it cost to replace a garage floor?
Costs typically depend on slab size, thickness, demo and disposal, base preparation, and whether you need additional features like insulation or a vapor barrier. Full concrete replacement generally costs more than resurfacing, but it’s often the best option for severely cracked or uneven garage floors. Labor and material pricing can vary widely by region, and adding a garage floor coating, epoxy, or sealant after replacement can increase the overall budget. Get at least two quotes and ask what’s included for demolition, grading, and surface finishing.
Why is proper base prep important when replacing garage floors?
Proper base preparation—like removing weak soil, compacting the subbase, and installing a vapor barrier if needed—prevents cracking, settling, and moisture problems in your new concrete. Garage floors are exposed to temperature swings, heavy vehicle loads, and periodic spills, so a stable foundation is crucial for a long-lasting surface. If you skip leveling or compaction, the new concrete slab can fail prematurely even with good finishing. Taking time during base prep also helps ensure a smoother surface for concrete polishing, epoxy floor coatings, or rubber flooring.
Which garage floor finish is best after replacement—epoxy, concrete sealer, or paint?
Epoxy garage floor coatings are often the best choice for durability and stain resistance, especially if you park vehicles frequently or spill oil and chemicals. A concrete sealer is a good option for basic protection and easier maintenance, but it may not offer the same impact and abrasion resistance as epoxy. Garage floor paint can work for aesthetics, but it generally provides less long-term toughness unless you use a high-quality product and proper surface preparation. For best results, cure the new slab fully, clean it thoroughly, and follow the manufacturer’s requirements for coating or sealing.
📅 Last Updated: October 11, 2026 | Topic: How to replace garage floors? | Content verified for accuracy and freshness.
References
- Google Scholar Google Scholar
https://scholar.google.com/scholar?q=replace+garage+floor+concrete+slab+removal+and+replacement - Google Scholar Google Scholar
https://scholar.google.com/scholar?q=garage+floor+slab+on+grade+installation+construction+best+practices - Google Scholar Google Scholar
https://scholar.google.com/scholar?q=concrete+floor+surface+prep+repair+crack+spall+patching+installation - Shallow foundation
https://en.wikipedia.org/wiki/Slab_on_grade - Concrete
https://en.wikipedia.org/wiki/Concrete - https://en.wikipedia.org/wiki/Concrete_floor
- https://www.britannica.com/technology/concrete
- Silica, Crystalline – Overview | Occupational Safety and Health Administration
https://www.osha.gov/silica - Silica and Worker Health | Silica | CDC
https://www.cdc.gov/niosh/topics/silica/ - https://www.cdc.gov/niosh/topics/silicosis/