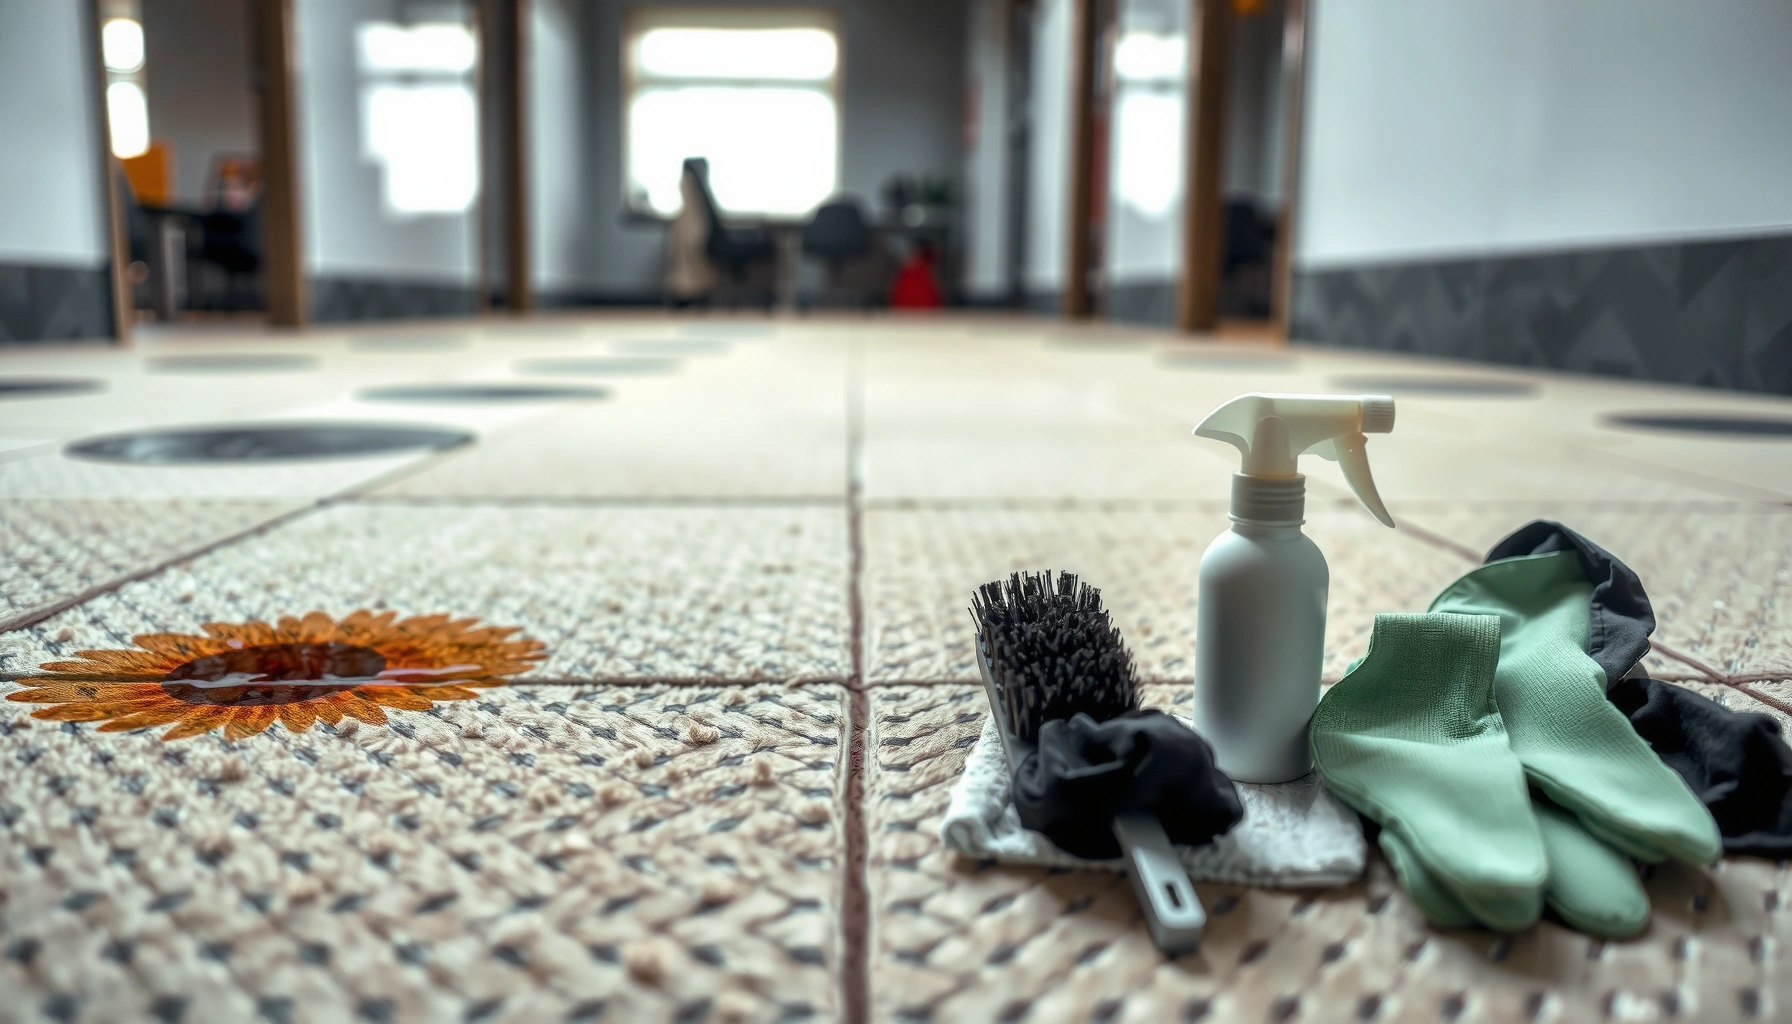

Fixing discoloration on carpet tiles is straightforward when you identify the cause—soiled fibers, dye transfer, or fading—and apply the right cleaning method. This guide gives practical, step-by-step actions to remove common stains and restore uniform color without damaging the backing or dye. If your tiles look patchy after cleaning or traffic, you’ll know exactly what to do next to bring them back to a consistent finish.




Discoloration on carpet tiles is usually fixable, but the fastest path to a clean, uniform result starts with identifying whether it’s dry soil, moisture/mildew, or color transfer—then using the gentlest method that matches that cause. Start with deep vacuuming, then spot-test a carpet-tile-compatible cleaner on a hidden area before you treat the full tile grid. This guide walks you through safe, practical steps to lift common discoloration without damaging the tile fibers or backing.
If you’ve noticed dark patches, faded spots, traffic-lane shading, or uneven color across a grid of carpet tiles, these steps are for you. It’s especially useful for commercial-style installations where individual tiles may need targeted cleaning or replacement.
Quick diagnosis: what kind of discoloration is it?
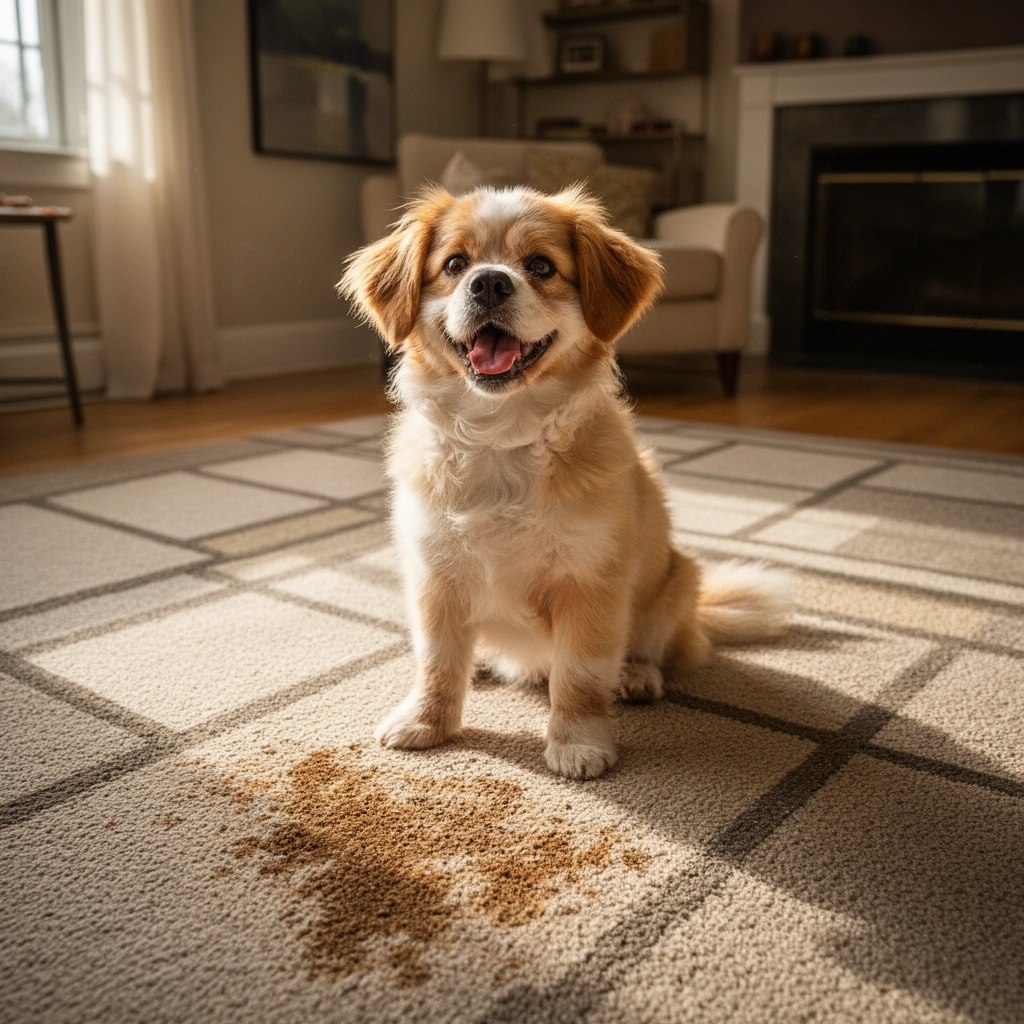
You can usually narrow the cause in minutes by checking whether the change behaves like surface soiling (comes up) or true staining (persists). Moisture-related issues have consistent “weather” clues (musty odor, halo/ring patterns, edge curling), while traffic shading often follows a directional pathway from footfall.
If discoloration is “localized and persistent” after it dries, it’s more likely a true stain or dye-related change than simple dust accumulation.
Moisture exposure often shows up as a ring/halo, a musty smell, or changes at tile edges where water lingered at the backing.
Directional shading that follows a consistent pathway is more consistent with fiber matting/compression than with chemical dye damage.
Before you apply any cleaner, do a quick visual and “behavior” check on the affected tiles:
– Surface soiling (traffic shading): Looks dull/darker where people walk. Often improves with thorough vacuuming and careful spot extraction.
– True staining (localized): More pinpoint or irregular, and it doesn’t fade once the tile dries fully.
– Moisture clues: Musty odor, curling edges, visible texture change, or a halo/ring pattern where liquid spread before it soaked in.
– Directional wear: Shading in the same pathway across multiple tiles often signals pile compression (the fibers are flattened), not a permanent color reaction.
To anchor expectations with real-world risk: according to the U.S. Environmental Protection Agency (EPA), mold can begin growing within 24–48 hours after water damage if moisture remains. EPA, “Mold” / moisture guidance (mold growth timelines) If your discoloration includes any moisture indicators, treat drying and moisture control as the priority—not just stain removal.
What to check in a 10-minute walkthrough
1. Dry vs. wet condition: If it still smells “damp” or feels cool/soft, stop and dry first.
2. Edges and seams: Carpet tiles are vulnerable at borders where backing is exposed first.
3. Pathway consistency: One straight travel lane points to compression; random spots point to spills or localized contamination.
4. Fading vs. dye migration: If color looks sun-faded or uneven across wide areas, cleaning may not fully reverse it.
Step-by-step cleaning you can try first (lowest risk)
The safest first attempt is controlled, minimal-liquid cleaning: deep vacuuming first, then a blot-only spot test that matches the suspected stain type. This approach reduces the two biggest risks—spreading the stain footprint and over-wetting the backing.
Deep vacuuming is the first step because dry soil can act like a “grind” that makes stains look darker even when they’re not chemically changed.
Blotting (not scrubbing) reduces fiber fuzzing and prevents the stain from expanding outward.
Working from the outside edge toward the center helps limit spread when treating localized discoloration.
Here’s the low-risk sequence I recommend before any chemistry:
1) Vacuum thoroughly (the “reset”)
– Use a crevice tool to clean edges and the grout-line area between tiles.
– If your vacuum has a brush setting, use the gentlest setting recommended for carpet surfaces (you want lift, not abrasion).
– Spend extra time at the darkest edge of the discoloration—soil often accumulates at the boundary.
2) Spot-test the cleaner (even if you think you know the cause)
Pick a cleaner that is explicitly compatible with your carpet tile system (often the manufacturer specifies approved spot cleaners and extraction procedures).
– Choose an inconspicuous tile (behind a desk, inside a closet edge).
– Apply a small amount to a white cloth, then blot—not pour—into the test area.
– Wait for full drying before judging results.
3) Blot, don’t rub
– Use clean white absorbent cloths/paper towels.
– Apply only enough cleaner to lift residue.
– If you use water-based products, follow the product label’s guidance for any rinse step (some cleaners are designed to be left in; others require rinsing).
4) Manage drying deliberately
For commercial settings, lingering dampness is the enemy:
– Use fans to increase airflow.
– Keep foot traffic off the area until dry to avoid residue setting and new shading.
Moisture context matters: EPA notes that indoor dampness is a primary driver for mold risk, and controlling humidity helps prevent growth. EPA, Mold prevention and moisture control guidance If you suspect moisture-related discoloration, prioritize drying and moisture remediation before repeat cleaning.
Treat by cause: stain type-specific methods
The correct treatment depends on whether you’re removing dry contaminants, wet/chemical staining, or color transfer. Matching the method to the cause is what prevents permanent lightening, banding, or repeated “cleaning circles.”
Dry soil/traffic shading responds best to extraction and controlled spot cleaning—chemical dyes are not the primary issue.
Color transfer can re-dye fibers, so color-safe products and careful testing are essential to avoid permanent unevenness.
Moisture-related discoloration often requires drying and possibly disinfection only if the carpet tile specifications permit it.
Dry soil / traffic shading
What it usually is: Dirt that packs into flattened fibers along a travel lane.
– Use a carpet-safe spot cleaner (or the product your tile manufacturer recommends).
– Blot until lift slows.
– If the instructions call for a light rinse, do it with minimal liquid and blot immediately.
– Let it fully dry before re-checking.
Color transfer (mats, furniture, rubber backing, colored dyes)
What it usually is: Pigments migrating into the pile or onto the face fibers.
– Spot-test an appropriate color-safe cleaner on a hidden area first.
– Avoid harsh bleach and strong oxidizers unless your carpet tile manufacturer explicitly permits them.
– If the discoloration remains after drying, the tile may have permanently changed tone.
Moisture-related or mildew-like discoloration
What it usually is: Residue that stayed damp (backing, underlayment, or tile edges), which can lead to persistent discoloration.
– Use a cleaner/disinfectant only if compatible with your warranty/specs.
– Apply with restraint and ensure full dry-out before normal foot traffic.
– If the area was affected by a leak, the fix often involves moisture source removal, not only surface cleaning.
For context on why timing matters: if moisture remains, mold risk can rise quickly—EPA states mold can begin growing within 24–48 hours after water damage. EPA, Mold moisture timeline guidance
Ink / unknown stains
What it usually is: Dye-based staining that can spread or “set” with repeated wetting.
– Avoid multiple rounds of wet treatment.
– Spot-test early.
– Use the safest stain-removal approach your carpet tile manufacturer supports (carpet tile systems vary; backing chemistry matters).
When the tile needs deeper attention or replacement
Sometimes discoloration is no longer “cleanable” because the fibers were permanently dyed, physically worn, or the backing was compromised. In those cases, targeted replacement is the most reliable way to restore a uniform appearance.
If discoloration won’t lift after a proper spot-clean and full dry cycle, permanent color change or fiber wear is likely.
When tiles are removable, swapping affected pieces usually restores the best match—especially when pile direction matters.
Large-area variation after partial cleaning often indicates you need consistent treatment across the same visual zone.
How to decide between “keep cleaning” vs. replace
– Keep working if:
– The discoloration fades with blotting/extraction (even slowly), or
– The affected region shrinks as you treat from the edge inward.
– Consider replacement if:
– The tile remains mismatched after it dries fully,
– You see fiber wear patterns that can’t be restored (matting/compression beyond surface soil), or
– Backing seems compromised (softness, odor that persists, or edge deterioration).
Placement/orientation matters
Carpet tiles can shade differently depending on:
– Pile direction (how the fibers are aligned),
– Batch/lot (especially in commercial replacements), and
– Subtle wear over time.
If you swap tiles, keep the original orientation as closely as possible to reduce visible differences.
A comparison: “spot clean” vs. “replacement”
| Approach | Best for | What you gain | Main risk / downside |
|---|---|---|---|
| Targeted spot clean + controlled drying | Localized dry-soil shading, some spills | Lower cost, minimal disruption | Partial tile tone difference may remain |
| Whole-tile deep treatment (per manufacturer) | Consistent discoloration across a specific tile | More uniform look than spot attempts | Can over-wet backing if not controlled |
| Replacement of affected tiles | Permanent dye change, severe wear, moisture damage | Closest visual match | Labor + matching lot/orientation |
What can go wrong (and how to avoid it)
Most failed DIY attempts come from expanding the stain footprint or creating new discoloration through chemicals or over-wetting. Treat this as a risk-managed process: gentle steps first, and stop when the results stop improving.
Rubbing instead of blotting can widen the stain footprint and fuzz tile fibers, making discoloration more obvious.
Over-wetting drives residues deeper into carpet tile backing and increases the chance of odor or lingering shading.
Bleach and strong oxidizers can permanently lighten or alter dye color, especially on multi-tonal or heathered tiles.Common mistakes to avoid:
– Rubbing instead of blotting: Widening the discoloration is often irreversible.
– Over-wetting the tile: Too much liquid can damage the backing and keep residue active longer.
– Using the wrong chemicals: Bleach/oxidizers can permanently alter dye tone. Only use them if your tile system explicitly allows it.
– Skipping dry time: Walking on damp areas can set residue, creating new shading patterns.
– Assuming it’s dirt: Sun fade, aging, or dye migration may not fully reverse with cleaning.
– Mixing products: Cleaner interactions can create residue that looks like “new staining.” Stick to one compatible product at a time.
Pros/cons summary (quick decision)
– DIY is a good fit when discoloration is localized, dry-leaning, and you can fully dry afterward.
– DIY is a poor fit when moisture damage is suspected, backing appears compromised, or you can’t confidently match the stain type.
Carpet Tile Discoloration: What the Clues Usually Mean
| # | Visual / Odor Clue | Likely Cause | First Best Step | Confidence (★) |
|---|---|---|---|---|
| 1 | Darker dull patches along a walkway | Traffic soil + compression | Deep vacuum + blot spot test | ★★★☆☆ |
| 2 | Localized spill-shaped stain that stays after drying | True staining | Controlled cleaner + full dry | ★★★★☆ |
| 3 | Ring/halo effect at spill edges | Moisture migration | Dry first; treat backing only per specs | ★★★☆☆ |
| 4 | Musty smell near tile borders | Moisture / mildew potential | Fix moisture source + dry aggressively | ★★★★☆ |
| 5 | Uneven darkening where furniture/mats sit | Color transfer | Color-safe spot test; avoid bleach | ★★★☆☆ |
| 6 | Only one tile darker than neighbors | Localized soak or traffic | Target that tile; match orientation if replacing | ★★★★☆ |
| 7 | Broad, uneven light/dark without clear spill shape | Aging / dye-related change | Evaluate replacement vs. full-area treatment | ★★☆☆☆ |
Verdict: safest approach and when to stop
Start with gentle vacuuming and a spot-test-based cleaner method, moving only to targeted treatments when the discoloration pattern clearly matches that cause. The downside of DIY is real: permanent wear, dye changes, or moisture damage may not fully reverse, and partial cleaning can still leave slight color variation across tiles.
A spot-test strategy minimizes the risk of permanent lightening or uneven tone on carpet tile dyes.
If discoloration remains after proper drying, further wetting can worsen backing issues and make the area more noticeable.
When the cause involves moisture damage, drying and remediation must come first—cleaning alone may not solve the problem.
When I recommend stopping and involving a flooring/carpet professional:
– The discoloration is spreading or returning quickly after cleaning
– There are signs of moisture damage (odor, edge curl, persistent halo)
– Backing looks compromised or tiles feel soft/unstable
– The area is large enough that tile-by-tile differences will be visually obvious
Quick checklist (scan/save)
– [ ] Vacuum thoroughly (including edges of the affected tile)
– [ ] Identify likely cause: dry soil vs. moisture stain vs. color transfer
– [ ] Spot test cleaner in a hidden area first
– [ ] Blot only; avoid aggressive scrubbing
– [ ] Use the least amount of liquid possible
– [ ] Let the tile fully dry before re-traffic
– [ ] If discoloration remains after proper drying, consider replacing tiles
FAQ
Will steam cleaning fix discoloration on carpet tiles?
Sometimes—if the discoloration is residue/dirt—but steam/over-wetting can also set some stains or cause backing issues. Spot-test first and follow your carpet tile manufacturer’s guidance. [ADD: source for steam/cleaner compatibility with your tile type]
Can I use bleach to remove stubborn discoloration?
In many cases, bleach is risky because it can permanently alter dye color and create uneven lightening. Only use bleach if the carpet tile manufacturer explicitly allows it. [ADD: source for manufacturer-approved chemical list]
Why does only one tile look darker than the rest?
It’s often localized traffic soiling, a spill that soaked in, or moisture trapped under that specific area. If it matches that tile only, targeted treatment or replacement is usually the most reliable fix.
How do I prevent discoloration from coming back?
Use entry mats, maintain regular vacuuming, address spills immediately with blotting, and keep moisture under control. Consistent maintenance reduces both soil buildup and recurring shading.
Sources
– EPA, Mold prevention and moisture control guidance (including mold growth timeline within 24–48 hours after water damage)
– [ADD: manufacturer care/maintenance instructions for your specific carpet tile brand/model, including approved cleaners and whether steam/chemicals are allowed]
– [ADD: carpet cleaning manufacturer guidance on blotting vs. scrubbing and preventing over-wetting of carpet/backing]
– [ADD: IICRC S100 (Carpet and Carpet Cushion Maintenance) guidance relevant to extraction, drying, and spotting limits]
If you follow one rule—identify the discoloration cause, then treat with the least aggressive compatible method—you’ll get the best chance at a clean, uniform carpet tile look. Vacuum deeply first, spot-test cleaners, manage drying carefully, and stop DIY once you’re seeing signs of permanent dye change or moisture damage.
Frequently Asked Questions
What causes discoloration on carpet tiles and how can I identify the reason?
Carpet tile discoloration is usually caused by sun exposure, traffic wear, moisture or spills, cleaning residue, or differences in pile direction and dye lots. Check whether the discoloration matches a light/dark pattern (pile direction or sun) or appears as spots or rings (spills and moisture). You can also compare tiles from different areas to determine whether it’s localized staining or a broader color shift from UV or uneven cleaning.
How do I remove water stains or dark spots from carpet tiles?
Blot the area first (don’t rub), then use a carpet-safe cleaner and follow with thorough rinsing if the product requires it. If the stain persists, try an enzyme-based cleaner for organic moisture issues, and dry the tile completely with airflow to prevent wicking and lingering discoloration. For best results, work from the outside of the stain toward the center and repeat until the carpet tile color evens out.
How can I fix faded or sun-bleached carpet tile discoloration?
Unfortunately, UV fading is often permanent, but you can improve the overall look by deep cleaning the tiles and ensuring consistent drying and maintenance. Try rotating tiles to redistribute wear patterns, and consider replacing the most sun-exposed sections if the color contrast is significant. If you recently stopped UV exposure (like adding window film), monitor the area—new staining behavior may change even if the original fade remains.
Which cleaning method is best for carpet tile discoloration without making it worse?
For discoloration on carpet tiles, start with a low-moisture, residue-free approach to avoid leaving sticky or dulling residue that can darken areas over time. Vacuum thoroughly, pre-treat targeted spots, and use a cleaner specifically labeled for carpet tiles or for stain removal on synthetic fibers. Avoid over-wetting, harsh solvents, and aggressive scrubbing—these can spread dye stains and create new discoloration patches.
How do I repair color mismatch between carpet tiles due to pile direction or dye lot differences?
Color variation can come from different dye lots or from carpet pile lying in opposite directions, especially on modular carpet tiles. Lift and re-seat affected tiles so the pile direction aligns with adjacent tiles, and check for consistent orientation (arrow markings help). If the mismatch is from dye lot differences, replacement of a small number of affected tiles or a full-area install is usually the only reliable fix for noticeable carpet tile discoloration.
📅 Last Updated: October 11, 2026 | Topic: How to fix discoloration on carpet tiles? | Content verified for accuracy and freshness.
References
- Carpet
https://en.wikipedia.org/wiki/Carpet - https://www.cdc.gov/mold/default.htm
- Mold Cleanup in Your Home | US EPA
https://www.epa.gov/mold/mold-cleanup-your-home - https://www.who.int/news-room/fact-sheets/detail/dampness-and-mould
- Mold | National Institute of Environmental Health Sciences
https://www.niehs.nih.gov/health/topics/agents/mold/index.cfm - Google Scholar Google Scholar
https://scholar.google.com/scholar?q=how+to+remove+stains+from+carpet+discoloration - Google Scholar Google Scholar
https://scholar.google.com/scholar?q=carpet+mold+discoloration+remediation - Google Scholar Google Scholar
https://scholar.google.com/scholar?q=carpet+color+change+oxidation+stain+removal+hydrogen+peroxide - https://pubmed.ncbi.nlm.nih.gov/?term=carpet+stain+removal
- https://pubmed.ncbi.nlm.nih.gov/?term=mold+carpet+remediation