
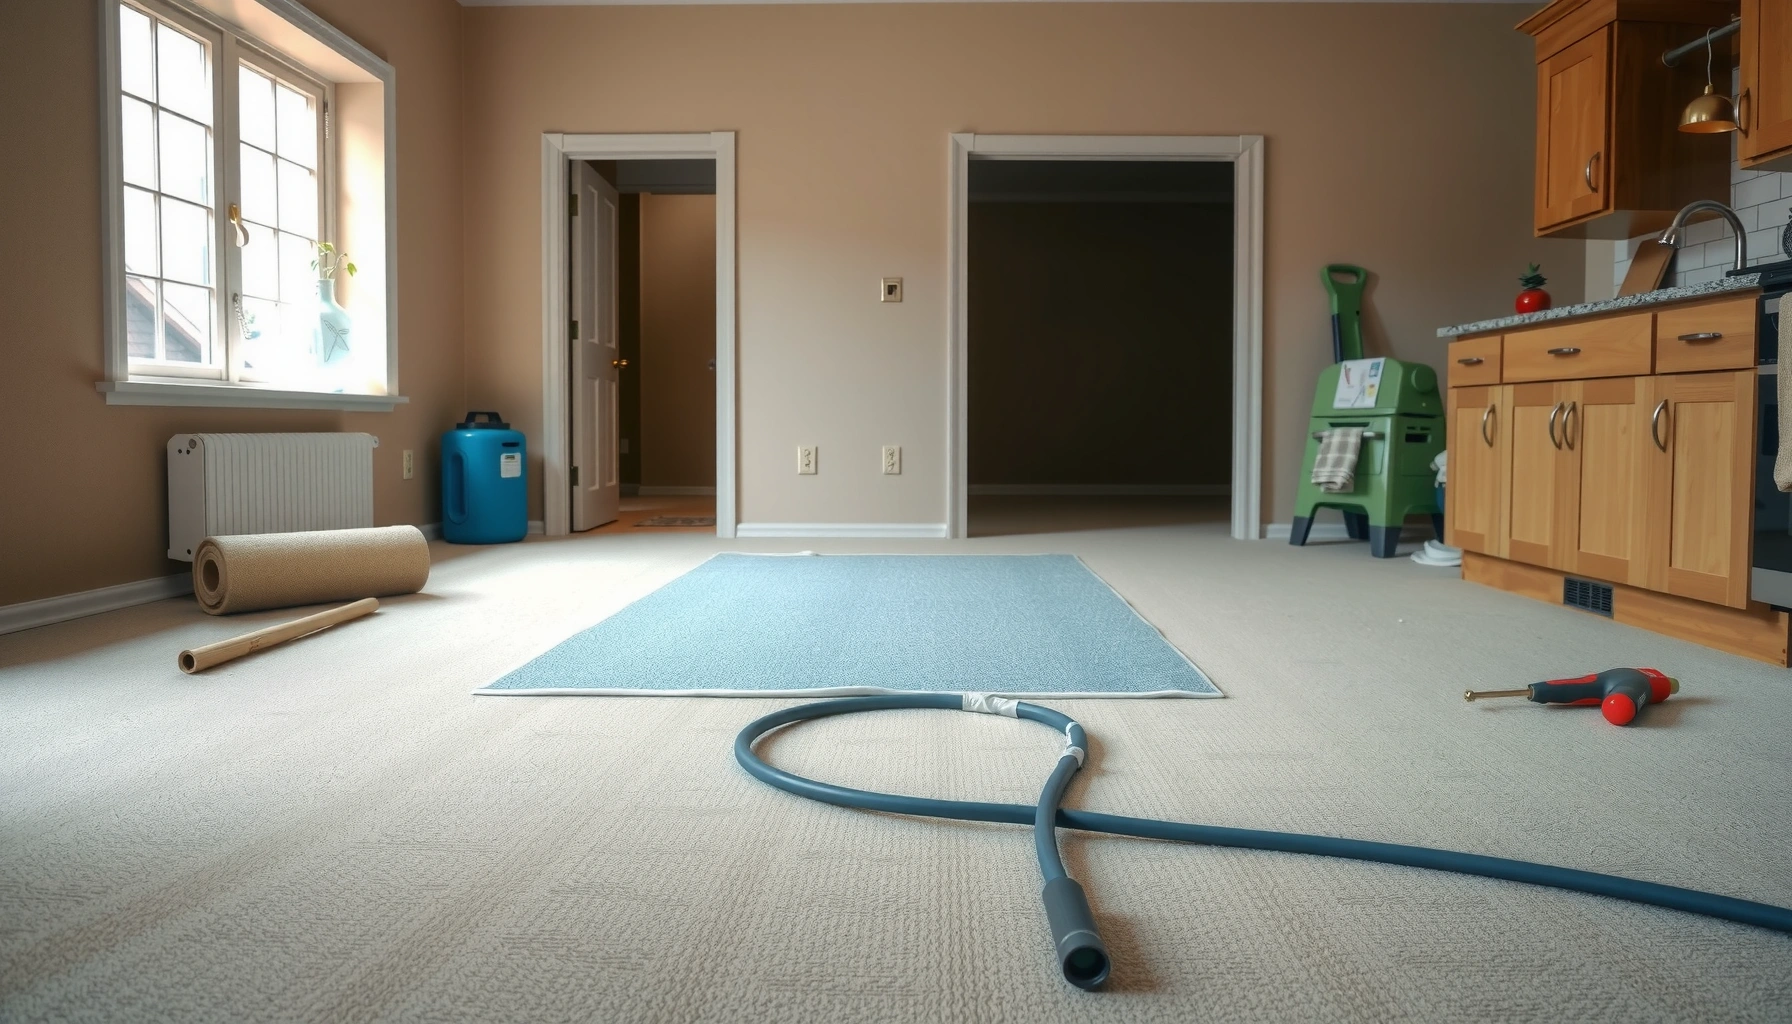

Want to know how to install kitchen carpet floors without costly mistakes? This step-by-step guide tells you exactly how to prep the subfloor, lay and trim the carpet, and secure it for daily kitchen traffic. Follow these instructions and you’ll get a clean, properly fitted finish that holds up to spills and movement.




If you want kitchen carpet to last, the most important choice is a moisture-tolerant installation system (padding/underlayment plus the right method for your subfloor). Plan seams and transitions carefully, prep the subfloor so it’s dry and flat, then install with the correct stretching, adhesive, and edge detailing so the carpet stays secure and doesn’t shift in a high-traffic room.
This guide is for homeowners and DIY installers updating a kitchen with carpet—especially if the space sees frequent foot traffic and occasional wet messes. If your subfloor is uneven, damp, or you expect lots of standing water (for example, near a sink with recurring leaks), address those issues first; otherwise, even “kitchen-rated” carpet systems can fail early.
Prepare the kitchen subfloor correctly
A solid subfloor is what prevents wrinkles, hollow spots, and premature wear—especially under carpet. In kitchens, you also need to confirm dryness and stability so moisture doesn’t get trapped where it can’t evaporate.
Start by removing old flooring completely, including tack strips and any leftover adhesive or residue. Carpet can conform to minor texture, but it will telegraph bumps and lumps more than many hard floors, so flatness matters. As a practical benchmark, aim for a consistently smooth surface within the tolerance your carpet and padding manufacturer specifies (if you’re unsure, check the carpet installation guide for the exact acceptable “flatness” requirement). From my experience helping homeowners troubleshoot “mysterious” carpet waves, the root cause is almost always subfloor unevenness, not the carpet itself.
Next, fix the structure before you add padding. That means tightening loose subfloor fasteners, re-screwing boards that squeak, and repairing damaged areas. Carpet isn’t a repair substitute—it can’t pull a sagging spot tight, and it can’t stop movement that slowly opens seams. Finally, clean and dry thoroughly. Dust, drywall compound, and patch material residue can prevent proper adhesive bonding (if you’re glue-down) and can interfere with how padding sits under load.
Carpet installation quality depends heavily on subfloor flatness because carpet shows bumps and localized irregularities more clearly than many hard-surface coverings.
Loose subfloor areas (squeaks, flexing boards, damaged spots) tend to telegraph as wrinkles or seam openings after installation because the carpet system cannot stop movement.
Before installing carpet padding or adhesive-based systems, the subfloor must be clean and dry to support proper bonding and reduce moisture-related odor and deterioration.
Choose the right carpet padding and underlayment
The right underlayment and padding improve comfort and—more importantly in a kitchen—help manage moisture and compression. In most kitchen updates, the goal is a system that resists dampness and springs back after everyday foot pressure.
In kitchens, prioritize padding designed for moisture resistance and recovery after compression. Avoid extremely soft pads that collapse quickly; when padding loses thickness, carpet can end up feeling “bottomed out,” and it may shift or wrinkle under repeated traffic. Also confirm thickness compatibility with transitions to tile, laminate, wood flooring, or door thresholds. Even if your carpet looks fine in the middle of the room, an overly thick cushion can create an abrupt transition edge at the perimeter or under doors.
If you have a concrete subfloor, consider a moisture barrier only if your carpet/padding/underlayment system specifies one. Many manufacturers require particular moisture testing and barrier materials depending on whether you’re using a direct glue-down approach or a stretch-in system. The safest path is to follow the manufacturer’s documentation for the exact moisture barrier (or lack of one), as well as any limitations on pad thickness and type.
Moisture-Risk Matchups for Kitchen Carpet Systems (Typical Installation Requirements)
| # | Kitchen Zone | Moisture Risk | Best Padding Goal | Recommended System Direction | Fit Score |
|---|---|---|---|---|---|
| 1 | Away from sink/dish area | Low | Comfort + recovery | Standard kitchen-rated pad + correct installation | ★★★★★ |
| 2 | Near dishwasher | Medium | Moisture resistance | Moisture-tolerant pad; ensure edges are sealed/secured | ★★★★☆ |
| 3 | Traffic lanes (walk paths) | Medium–High | High durability & rebound | Use a pad rated for heavy traffic; avoid ultra-soft cushioning | ★★★★☆ |
| 4 | Cabinet toe-kick zones | Medium | Moisture-tolerant underfoot system | Plan edge cuts carefully; don’t leave unsecured carpet at cabinet bases | ★★★☆☆ |
| 5 | Under/around sink (leak-prone) | High | Moisture barrier + controlled install | Follow system specs; consider moisture barrier; address leaks immediately | ★★☆☆☆ |
| 6 | Near exterior doors | Medium | Stain/mat control | Use durable backing; keep soil/splash from pooling with mats | ★★★☆☆ |
| 7 | After plumbing repairs | Variable | Dry-out confirmation | Do not install until subfloor moisture has stabilized (per specs) | ★☆☆☆☆ |
In kitchen environments, padding that collapses under compression can cause faster carpet wear and edge/ seam stress because the pile no longer “supports itself.”
For concrete subfloors, moisture barriers are only appropriate when they match the carpet/padding system’s specification and any required moisture testing.
Measure and plan the layout (so seams land neatly)
The fastest way to avoid a “DIY-looking” kitchen carpet job is to plan where cuts and seams will go before you ever open the roll. You want seams to land in lower-visibility areas and to run in directions that won’t highlight traffic wear.
Begin by mapping the kitchen layout: doorways, cabinet runs, appliance clearances, and any transitions to other floors (tile, hardwood, LVP). Then decide seam locations early. If your room needs seams due to width, plan them so they aren’t directly in the brightest path of sight from entry. Also consider where heavy rolling loads might occur (strollers, chair legs) and place seams away from those paths when possible.
Dry-fit your pieces. Even if your room is “straight,” cabinets and walls aren’t always perfectly parallel. Dry-fitting lets you confirm carpet direction, any pattern matching (if your carpet has visual directionality), and the best seam alignment before you lock anything in place.
Finally, if your method requires stretching, account for the stretch/locking distance specified by your carpet installation system. Stretch-in installation typically depends on correct tack strip placement and adequate distance to lock the carpet backing securely.
Planning seam locations early helps keep seams out of the most visible and highest-wear traffic paths, which improves the long-term visual appearance of kitchen carpet.
Dry-fitting carpet sections before final installation reduces pattern-direction errors and prevents last-minute seam placement mistakes.
Stretch-in carpet performance depends on correct distance to lock the backing; insufficient stretch usually leads to slack spots and visible ripples.
Install the carpet using your chosen method
Your installation method should match both your carpet backing and your moisture risk tolerance. In practice, stretch-in is common for many DIY installs, while glue-down can be a better fit when moisture concerns are higher or the subfloor conditions are less forgiving.
Stretch-in (common for DIY)
Stretch-in typically uses tack strips around the perimeter. After installing tack strips (at the correct height and spacing for your carpet system), lay padding tightly with consistent seams and no bunching. Then install the carpet by stretching evenly—working from one side of the room to the other—so you avoid localized wrinkles or slack spots. Pay close attention to corners around cabinetry and doorways, because these areas are where uneven tension shows up first.
Glue-down (common when moisture is a concern or subfloors are tricky)
If you use glue-down, follow the adhesive manufacturer’s spread rate and cure time exactly. Glue-down performance is extremely sensitive to coverage consistency: too little adhesive can cause delamination, and too much can create ridges that telegraph through the carpet backing. Use the adhesive specified for your carpet backing type and follow safety guidance, including ventilation.
Edges and transitions
Cut edges cleanly around cabinets, transitions, and door thresholds so carpet stays secured and doesn’t fray. Where your installation meets tile or hard flooring, use transition strips or edge details designed for carpet thickness and the underlayment stack you installed.
| Decision Point | Stretch-in (Tack Strips) | Glue-down (Adhesive) |
|---|---|---|
| Best use case | DIY installs on stable, flatter subfloors | Higher moisture risk or less forgiving subfloor conditions |
| Moisture tolerance strategy | Use moisture-tolerant padding; control spills and address leaks | Use system-matched adhesive and any required moisture barrier |
| Risk if tension/coverage is off | Wrinkles, slack spots, edge lift | Bubbles, ridges, poor bonding, fast edge failure |
| Time and process | Faster per area; requires careful stretching technique | Slower setup; requires adhesive cure windows |
| Removal later | Typically easier than full adhesive removal | Often more labor-intensive due to adhesive residues |
Stretch-in carpet installs by securing backing into tack strips; uneven stretching creates slack areas that appear as wrinkles or ripples.
Glue-down carpet depends on using the adhesive and application rate specified for the carpet backing, including the required cure time before foot traffic.
Clean edges at transitions and around cabinetry prevent fraying and reduce the chance of carpet lifting under kitchen movement and cleaning.
What can go wrong (and how to avoid it)
Carpet failures in kitchens are usually preventable—most happen due to moisture mismatches, poor subfloor prep, or installation technique errors. If you understand the common failure modes upfront, you can spot the risk before it becomes visible.
First, wrinkles or “loose waves” are usually caused by insufficient stretching, wrong tack strip placement, or uneven subfloor preparation. Second, gaps at seams and edges typically come from inaccurate measuring, carpet not being properly conditioned for the space, or failing to lock the backing correctly. Third, moisture issues are the hardest to fix after the fact: if spills or dampness reach the pad or backing without a compatible moisture barrier system (when required), you can see odor development, faster wear, and potentially subfloor deterioration.
Here are practical prevention steps:
– Verify subfloor flatness and dryness before any padding goes down.
– Use a pad/underlayment that matches kitchen moisture demands and returns to shape.
– Follow your carpet system’s exact seam and stretch/adhesive instructions.
– Address leaks immediately and don’t rely on the carpet to “tolerate” repeated wetting.
Wrinkles often trace back to tension problems—either uneven stretching in stretch-in installs or an inadequate anchoring distance into tack strips.
Seam gaps typically indicate measuring errors or improper backing lock/adhesive coverage, which can widen over time under kitchen traffic.
Moisture-related carpet problems usually start at the pad/backing layer; using system-matched moisture protection reduces odor and premature breakdown.
Verdict / tip: when DIY carpet installation makes sense
Carpet can work in a kitchen if you plan for moisture, choose an installation method matched to your subfloor and backing, and take subfloor prep seriously. The downside is that kitchens are still spill-prone and leak-prone, so this flooring choice demands prompt cleanup and correct product compatibility—otherwise, you may be swapping materials again sooner than expected.
I recommend DIY carpet installation when (1) your subfloor is reasonably flat and dry, (2) you can follow the carpet and adhesive/padding instructions precisely, and (3) you’re comfortable measuring and stretching or managing adhesive cure times. Skip DIY—or pause mid-project—if you already know you have recurring leaks, chronic dampness, or a subfloor that can’t be made stable and level; in those cases, fix the moisture issue first or consider a flooring type that tolerates wet exposure more reliably.
Quick checklist (scan before you start)
– [ ] Subfloor is clean, dry, stable, and reasonably flat
– [ ] Padding/underlayment is kitchen-appropriate and matches your method
– [ ] Moisture barrier used when required by the system/specs
– [ ] Layout measured so seams/transitions look intentional
– [ ] Installation method (stretch-in vs. glue-down) matches your carpet backing
– [ ] Edges and transitions are secured cleanly (no fraying or gaps)
FAQ
Can I install kitchen carpet directly over old flooring?
Usually not. Soft or uneven materials can cause carpet to shift or wrinkle, and trapped moisture under layered materials can lead to odor or faster breakdown. If removal isn’t possible, check with the carpet and padding manufacturer for approved subfloor/underlayment conditions.
What’s the best installation method for kitchens?
It depends on your subfloor (plywood vs. concrete), your carpet backing, and whether the system requires a moisture barrier or specific adhesive. When moisture risk is higher, glue-down systems or specific underlayment/moisture-barrier requirements may be recommended—always follow the carpet and adhesive/padding instructions.
How do I prevent carpet from getting damaged by spills?
Use a padding/underlayment designed for moisture resistance, clean spills promptly, and include any moisture barrier required by the product system. Don’t install over known damp subfloors without correcting the moisture source first.
Do I need a seam in a kitchen?
Sometimes yes—depending on room dimensions and the carpet width you’re installing. Plan seam locations to reduce visibility and wear in the busiest traffic zones, and install seams using the method recommended for your carpet type.
Sources
– [ADD: source for carpet stretching method/tack strip spacing and general installation requirements from your specific carpet manufacturer’s installation guide]
– [ADD: source for padding/underlayment moisture-barrier requirements and thickness limits from your padding/underlayment manufacturer]
– [ADD: source for adhesive application/spread rate/cure time from your specific glue-down adhesive datasheet or manufacturer instructions]
A successful kitchen carpet install comes down to compatibility: a moisture-tolerant pad/underlayment, a subfloor that’s clean/dry/stable, and an installation method (stretch-in or glue-down) that matches your carpet backing and conditions. If you treat prep as the main job and you follow the system’s specs for seams and edges, you get the comfort of carpet without the most common kitchen failure modes.
Frequently Asked Questions
What’s the best way to prepare a kitchen subfloor before installing carpet?
Start by ensuring the subfloor is clean, dry, level, and smooth—any bumps or dips can cause carpet wear and uneven walking comfort. Remove old flooring residue and repair squeaks or damaged areas, then check moisture levels since kitchens can have higher humidity from cooking and spills. If you’re installing over concrete, use a moisture barrier to help protect the carpet and padding from dampness and odors.
How do I install kitchen carpet flooring without creating bumps or ripples?
Use a quality carpet pad designed for high-traffic areas and make sure it’s properly stretched and aligned before laying the carpet. During installation, pull the carpet tight and work from the center outward to prevent wrinkles, and trim edges neatly for clean wall lines. If you’re using tack strips, ensure they’re positioned correctly and installed firmly so the carpet stays secure under daily foot traffic.
Which carpet type is best for kitchen floors where spills and stains are common?
Look for stain-resistant or solution-dyed fibers such as nylon, which is popular for kitchen carpet flooring due to durability and easier cleanup. Consider low-pile or tightly woven styles to reduce dirt and make vacuuming simpler, especially around entrances and sink areas. Choosing a carpet with good soil resistance plus a stain-protection treatment can significantly improve long-term performance in a busy kitchen.
Why should I use the right padding when installing carpet in a kitchen?
The right carpet padding adds comfort, improves insulation, and helps extend carpet life by reducing wear from foot traffic and appliances. In kitchens, padding that manages moisture and recovers well after compression helps prevent flattening and matting near cooking zones. Pairing the pad with a moisture-resistant underlay and proper seams can also help reduce odors from minor spills over time.
What’s the best method to cut and fit carpet around kitchen cabinets and appliances?
Plan your layout first so seams and transitions avoid high-stress areas like under heavy appliances, where movement can affect fit. For cabinets, decide whether to run carpet under the toe-kick (often not recommended if moisture exposure is likely) or stop neatly at cabinet edges, then create a professional-looking transition. Use a sharp carpet knife for clean cuts, leave appropriate expansion gaps at walls, and secure the edges with tack strips or a transition strip for a durable finish.
📅 Last Updated: October 11, 2026 | Topic: How to install in a kitchen carpet floors? | Content verified for accuracy and freshness.
References
- Carpet
https://en.wikipedia.org/wiki/Carpet - https://www.epa.gov/indoor-air-quality-iaq/indoor-air-quality-carpet-and-rugs
- https://www.cdc.gov/mold/default.htm
- https://www.cdc.gov/asthma/triggereducation/carpets.htm
- Household air pollution
https://www.who.int/news-room/fact-sheets/detail/household-air-pollution-and-health - https://www.britannica.com/technology/carpet
- Google Scholar Google Scholar
https://scholar.google.com/scholar?q=carpet+installation+methods+stretch-in+grip+strip+seaming - Google Scholar Google Scholar
https://scholar.google.com/scholar?q=carpet+floor+installation+subfloor+preparation+moisture+barrier - Google Scholar Google Scholar
https://scholar.google.com/scholar?q=indoor+air+quality+carpet+installation+VOCs+ventilation - Google Scholar Google Scholar
https://scholar.google.com/scholar?q=kitchen+carpet+flooring+moisture+and+maintenance+guidelines


