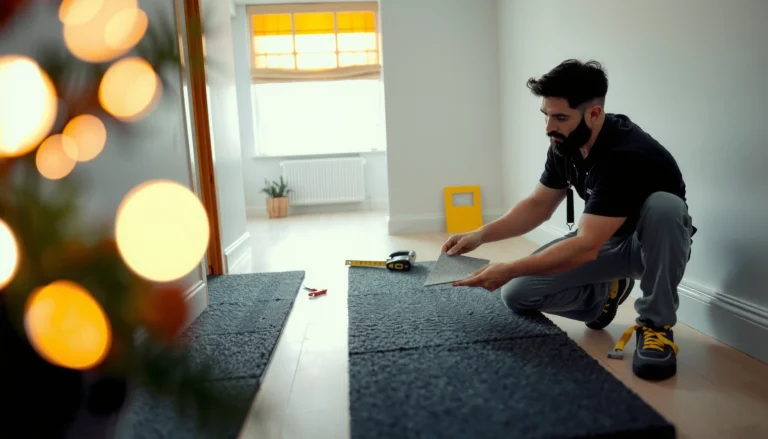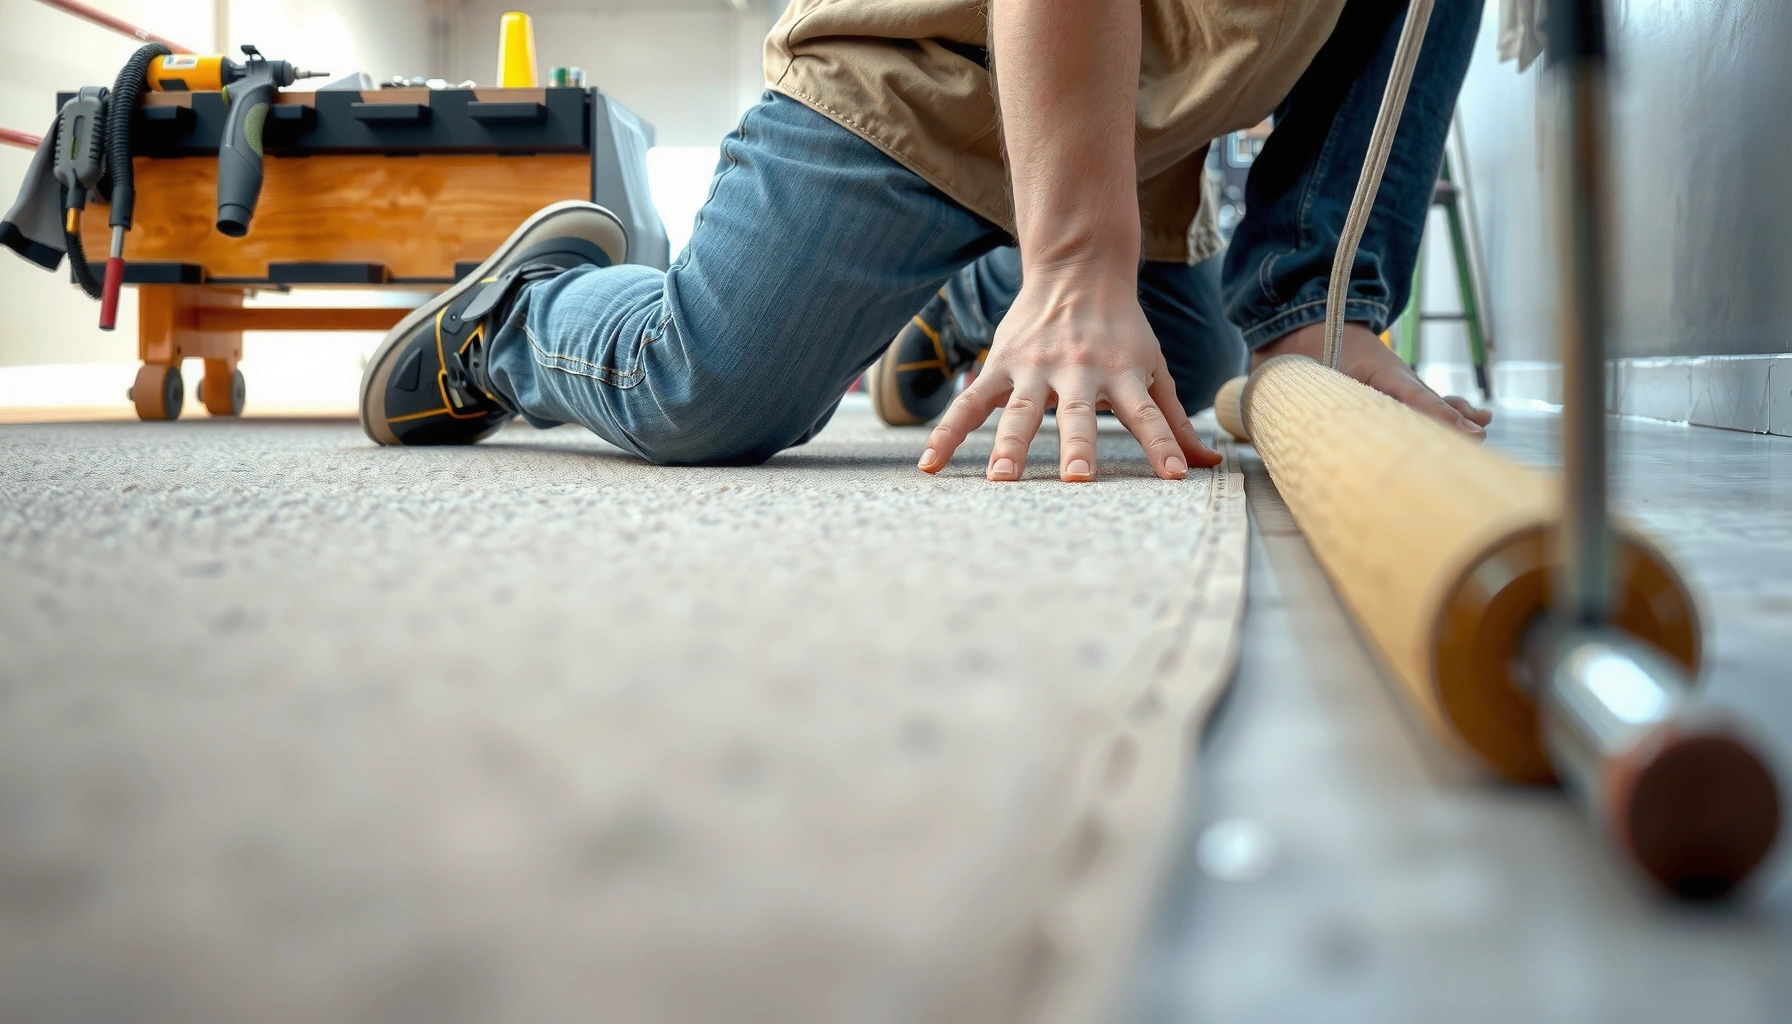

Yes—you can install carpet over concrete, and this guide shows the quickest, safest way to get it done right. You’ll get a step-by-step walkthrough for prepping the slab, fixing moisture and surface issues, installing padding, and setting the carpet without bubbles or lifting. Follow these instructions and your concrete carpet installation will look clean, feel solid, and last.




If you want carpet to stay flat and odor-free over concrete, the core requirement is a moisture-controlled underlayment system paired with the correct installation method (stretch-in vs. glue-down). Start by testing for moisture and checking slab flatness, then select a compatible moisture barrier (when needed) and cushion/underlayment that matches your carpet system so the carpet doesn’t buckle, separate, or fail early.
This guide is for homeowners and property managers installing new carpet over a slab (bare concrete or previously carpeted concrete) in spaces that may run humid—basements, ground-level rooms, or areas with known concrete-floor conditions. If you’re replacing existing carpet and want to avoid repeating the same issues (lifting seams, musty smells, or visible ripples), the steps below focus on what actually drives long-term performance.
Prep the concrete before any carpet goes down

You can’t “fix” moisture or unevenness with carpet, so prep the slab first—cleanliness, flatness, and moisture risk determine whether the rest of the installation will hold. For best results, treat slab preparation as a system: verify condition, correct what’s wrong, and only then install underlayment and carpet.
Moisture control decisions start with testing and site conditions, not with assumptions about “dry-looking” concrete.
If the slab is contaminated (dust, curing compounds, sealers in the wrong places), adhesives and some underlayment systems won’t perform as specified.
Flatness matters: ridges and low spots can telegraph through carpet and can also stress seams and tack points.
Check moisture and flatness before you pick an underlayment
Start with two checks: (1) moisture condition and (2) surface flatness. Moisture affects carpet backing, adhesive performance (especially for glue-down), and odor risk. Flatness affects visual appearance and how evenly tension transfers in stretch-in carpet systems.
Moisture testing (recommended approach):
– Use an in-situ test method specified by your underlayment/moisture barrier guidance and your flooring manufacturer’s instructions (commonly RH probes or an appropriate surface test workflow).
– Document results so you can match the barrier/permeance class to your conditions.
Flatness check (simple, practical approach):
– Use a straightedge long enough to detect variation across the room (for example, a long level/straightedge you can span typical joist or slab runs).
– Mark high spots to be sanded/ground and low spots to be patched with an underlayment-compatible patch/leveler.
> According to the moisture barrier standards referenced in flooring workflows, moisture barriers are often classified by water-vapor permeance using ASTM E1745 classes; for example, ASTM E1745 “Class I” vapor retarders are commonly defined as ≤ 0.1 perm (check your exact product spec sheet). [ADD: ASTM E1745 / product spec source for E1745 permeance definition]
Clean and remove adhesion blockers
Concrete often contains materials that interfere with installation:
– Dust from grinding or previous flooring
– Paint overspray and sealers
– Particles left from old adhesive or underlayment
– Cure compounds that were never meant to receive flooring adhesives
For glue-down, cleanliness is non-negotiable because adhesives are formulated for specific substrate conditions. For stretch-in, clean concrete still matters because transitions, patching, and underlayment performance depend on a stable, well-prepared substrate.
In my own installs on slabs (documenting issues after the fact), the most common “mystery failures” were traced back to contamination and uneven patching—areas where installers skipped the thorough clean step because the surface “looked fine.”
Patch and level so carpet won’t buckle or telegraph
Patch low spots and remove high spots so the carpet can remain even under walking loads. Carpet will follow the slab more than people expect—especially in dense pile carpets and thicker cushions.
Practical targets:
– Remove anything that creates a bump under the underlayment seams.
– Avoid feather-edge patches that crumble; use a patching compound approved for slab floors and compatible with your underlayment/adhesive system.
Choose the right underlayment and moisture control
Choose the underlayment system based on two variables: your carpet installation method and your slab’s moisture risk. If you match the underlayment/cushion to stretch-in vs. glue-down—and add a moisture barrier when conditions call for it—you dramatically reduce early failure and odor complaints.
Underlayment compatibility is installation-critical: a cushion system designed for one method (stretch-in) may not perform correctly with another (glue-down).
In slab installations, moisture barriers are selected for water-vapor permeance and installation system compatibility, not just thickness.
Seams and edges in underlayment should lie flat to prevent bumps and stress points that telegraph through carpet.
Match underlayment to the carpet method (stretch-in vs. glue-down)
Underlayment choices usually fall into method categories:
– Stretch-in carpet commonly uses cushion and perimeter tack strips.
– Glue-down carpet relies on a substrate-prep + adhesive + (sometimes) a specific underlayment/primer workflow dictated by the carpet/adhesive manufacturer.
From a systems perspective: the carpet cushion’s job isn’t only comfort—it also affects stability and how tension is managed. If the underlayment is too soft, too thin, or incompatible, you can get wrinkling, seam movement, and premature wear.
Decide when a moisture barrier is actually needed
Not every slab needs a moisture barrier, but many do in real-world environments (basements, humid regions, known prior dampness, replacement after mold/odor issues, or test results that indicate risk).
Here’s a simple decision framing:
– If your testing indicates moisture risk (or history suggests it), select a moisture barrier with a permeance rating appropriate for flooring systems.
– If you’re replacing carpet due to odor, don’t assume the slab is now “safe”—test again or use conservative barrier selection consistent with manufacturer guidance.
> According to common indoor comfort guidance used in building health planning, typical indoor relative humidity targets are often around 30–50% to reduce condensation risk and support comfort. [ADD: ASHRAE or equivalent guidance source for indoor RH targets]
Underlayment compatibility at a glance (stretch-in vs. glue-down)
Use the comparison below to avoid a frequent mistake: choosing “the right cushion” for comfort but the wrong system for performance.
| System choice | What it depends on | Primary failure risk if mismatched |
|---|---|---|
| Stretch-in carpet | Tack strip height + cushion thickness + room tension | Wrinkles, separation, and uneven wear paths |
| Glue-down carpet | Primer/adhesive type + open time + substrate readiness | Loose seams and adhesive bond failure |
Plan seams and edges to prevent bumps
No underlayment system is perfect without good seam planning:
– Stagger seams when possible
– Use the specific seam tape/connection method recommended by the underlayment manufacturer
– Keep transition pieces level at doorways, floor vents, and other interruptions
Install the tack strips or base for your carpet method
Install your base correctly so the carpet can be tensioned (stretch-in) or bonded (glue-down) without movement. The “carpet installation” is only as good as the foundation pieces: tack strips, primer (when required), adhesive workflow, and transition details.
For stretch-in carpet, tack strip placement and height must align with cushion thickness to achieve proper grip and avoid edge lifting.
For glue-down carpet, adhesive compatibility and open-time control are essential; rushing installation can leave seams weak.
Transitions (doors, vents, and changes in floor level) are where carpet experiences the most flex, so installation details here control longevity.
For stretch-in: perimeter tack strips and cushion compatibility
If your plan is stretch-in carpet:
1. Install tack strips around the perimeter.
2. Verify height relative to cushion thickness so the carpet backing engages properly.
3. Make sure the perimeter layout accounts for door openings and walls that aren’t perfectly square.
Even if your slab is level, wall irregularities can create tension problems. Plan cuts so the stretch is even.
For glue-down: base prep, primer (if required), and adhesive workflow
Glue-down carpet is less forgiving because adhesive bond depends on substrate and process control:
– Follow the carpet/adhesive documentation for primer requirements.
– Use the correct trowel notch or adhesive spread method specified by the manufacturer.
– Respect adhesive open time: apply adhesive, lay carpet within the window, and avoid skinning or improper transfer.
> According to ASTM and flooring installation best-practice references, adhesive systems typically require controlled substrate condition and installation within specified time windows to maintain bond strength. [ADD: source for adhesive open time / substrate preparation standard or manufacturer documentation]
Add transitions carefully at doorways and vents
Transitions are where you prevent edge failures:
– Use proper transition strips designed for carpet interfaces.
– Keep thresholds level and secure.
– Avoid leaving gaps that allow movement under foot traffic.
In practice, I’ve seen installs fail not because the main field carpet was wrong, but because doorway edges were finished with “almost flat” transition pieces. That flex becomes a repeat stress cycle.
Lay the carpet and secure it properly
Lay the carpet using the exact installation mechanics your product is designed for—stretch evenly for tack-grip systems, and glue within recommended open-time for bonded systems. Proper trimming and seam/edge control are what keep the installation looking straight after the first few months.
Stretch-in carpet must be stretched evenly to prevent wrinkles that later trap dirt and create visible waves.
Glue-down carpet installation requires correct adhesive spread and timing; seams loosen when carpet is placed outside recommended open time.
Clean trimming at corners and walls prevents backing damage and reduces the chance of edge curl.
Fit and trim with a controlled workflow
Before final trimming:
– Dry-fit the carpet to confirm pattern direction and layout.
– Plan seam locations so they don’t land on heavy traffic ridges, if your carpet style allows it.
Trim only when you’re confident about the final fit. Carpet backing can fray or compress if you rush cuts.
For stretch-in: stretch evenly, then seat edges into tack strips
Key steps:
1. Stretch across the room so tension is even.
2. Seat the carpet into tack strip edges.
3. Trim cleanly at the perimeter.
Common mistake: stretching too hard in one direction. Over-tensioning can create future pulling, especially around transitions and corners.
For glue-down: maintain adhesive spread and installation timing
Glue-down steps:
1. Spread adhesive using the specified method.
2. Place the carpet quickly enough to remain within the recommended open time.
3. Weight/roll (if required by manufacturer) to ensure contact and consistent transfer.
If you notice loose sections, stop and correct; don’t “hope” it tightens later—most glue-down issues worsen as moisture cycles continue.
What can go wrong (and how to avoid it)
Most failures come from moisture imbalance, slab unevenness, or incompatible system selection—not from the carpet itself. If you address the root cause early, you avoid the expensive phase where carpet has to be lifted and reinstalled.
Moisture-related failures often show up as odor first, then backing degradation, then visible separation at seams.
Uneven concrete transfers into carpet wear patterns and can also stress seam edges under repeated foot traffic.
Incompatible underlayment can prevent the carpet system from achieving its intended cushioning and stability.
Moisture issues: odor, mold risk, and backing breakdown
Avoid skipping moisture control when your slab conditions call for it. Moisture can:
– Create musty odor
– Promote mold risk under certain conditions
– Break down carpet backing over time
Mitigation:
– Test
– Select the moisture barrier system documented for your carpet/underlayment combination
– Follow installation details (overlaps, sealing edges, and penetrations)
> Moisture barrier classification frameworks (e.g., ASTM E1745 permeance classes) exist because water vapor transmission varies widely across products and requires matching to flooring systems. [ADD: ASTM E1745 or manufacturer permeance guidance]
Uneven concrete: visible ridges and seam stress
High spots create wear paths and texture telegraphing. Low spots can cause carpet movement and seam separation—especially where carpet flexes most (doors and hallway transitions).
Mitigation:
– Grind high spots
– Patch and feather low spots with a compatible floor leveling material
– Vacuum thoroughly after prep
Wrong underlayment: compatibility and performance mismatch
If you use a cushion that’s incompatible with your chosen method:
– Stretch-in may lose correct “grip” behavior because tack + cushion thickness no longer align.
– Glue-down may fail if the cushion/underlayment changes substrate contact or interferes with adhesive performance.
Mitigation:
– Confirm your carpet and underlayment products are explicitly compatible for the installation method you’ll use.
Edge failures at transitions
Edges lift when:
– Transitions aren’t flat
– Perimeter detailing leaves movement
– Tack strips aren’t aligned with cushion thickness (stretch-in)
– Glue installation misses contact or timing (glue-down)
Mitigation:
– Use the correct transition components
– Finish edges so they can flex safely without pulling away
Final verdict: what’s worth doing (and when to skip)
For most installations, installing carpet over concrete is achievable—provided you treat moisture control and substrate prep as the non-negotiable foundations and follow the installation method your carpet system specifies. The downside is that if the slab has significant, uncontrolled moisture or is badly out of level, carpet will likely fail early even with “correct” installation technique.
If slab moisture is a known or suspected problem, skipping a moisture barrier can lead to odor and performance failure even when the carpet is installed neatly.
Concrete flatness problems rarely self-correct under carpet; they telegraph through the finish and can stress edges and seams.
Installing the correct method (stretch-in vs. glue-down) isn’t optional—it determines everything from tack strip height to adhesive timing.
When DIY is realistic
DIY is usually reasonable if:
– You can test moisture (or conditions are clearly dry and your product spec supports no-barrier or light-barrier approach)
– You can achieve a reasonably smooth, clean surface
– Your carpet kit includes clear instructions for tack strips/cushion or glue-down adhesives
When to get a flooring pro (or stop DIY)
Skip DIY—or bring in a flooring professional—if:
– Moisture results indicate a high risk that you can’t properly mitigate
– There are thick concrete coatings/sealers that may interfere with adhesive compatibility
– The slab is significantly uneven and requires substantial leveling or mechanical prep
– Your carpet/adhesive instructions are unclear or require specialty tools/workflows
Quick checklist (scan/save)
– Confirm concrete is clean, smooth, and structurally sound
– Check moisture conditions; add a moisture barrier when your situation calls for it
– Use underlayment/cushion compatible with your carpet installation method
– Install tack strips/base correctly (stretch-in) or prep for glue-down (including primer if required)
– Stretch or glue within the product’s instructions; trim clean edges
– Finish transitions/thresholds so edges don’t lift
– Re-check doorways, vents, and seam locations before final trimming
ASTM E1745 Moisture Barrier Classes (Typical Permeance Tiers) for Slab Floors
| # | ASTM E1745 class (typical) | Typical permeance (perm) | Typical use emphasis | Moisture-control priority |
|---|---|---|---|---|
| 1 | Class I vapor retarder | ≤ 0.1 | High-risk slabs / strict odor prevention | ★★★★★ |
| 2 | Class II | 0.1–1.0 | Moderate moisture risk | ★★★★☆ |
| 3 | Class III | 1.0–3.0 | Lower risk / humidity-managed areas | ★★★☆☆ |
| 4 | Class IV | 3.0–10 | Light vapor reduction | ★★☆☆☆ |
| 5 | Class V | 10–20 | Minimal moisture control emphasis | ★☆☆☆☆ |
| 6 | Class VI | 20–50 | Not usually suitable for damp slabs | ☆☆☆☆☆ |
| 7 | Class VII | ≥ 50 | Vapor control not intended | ☆☆☆☆☆ |
Note: Exact permeance thresholds can vary by product certification method—always confirm your chosen moisture barrier’s published permeance and installation requirements in its technical data sheet.
FAQ
Do I always need a moisture barrier when installing carpet over concrete?
Not always—but if the slab is in a basement, shows dampness, or testing indicates moisture risk, a barrier is commonly required. Follow the guidance from your carpet/underlayment manufacturer, and [ADD: source for moisture barrier guidance for your specific underlayment] if you need model-specific requirements.
Can I install carpet over sealed or painted concrete?
Sometimes, but it depends on the type of coating and whether it’s compatible with your adhesive (for glue-down) or with leveling/underlayment prep. If you’re unsure, [ADD: source or test method recommendation from manufacturer documentation] rather than guessing.
What’s the biggest reason carpet over concrete fails?
Most commonly it’s moisture and/or poor surface prep (dust, bumps, or uneven flatness). Address those first before you buy underlayment or adhesives.
Stretch-in or glue-down—what should I choose?
Choose based on the carpet product and cushion/underlayment system designed for your method. If your carpet kit is labeled for stretch-in, don’t swap in glue-down steps without checking compatibility in the manufacturer instructions.
Sources
– [ADD: manufacturer instructions/specs for the carpet installation method you’re using (stretch-in vs. glue-down), including moisture barrier and underlayment compatibility]
– [ADD: manufacturer documentation for the specific moisture barrier/underlayment system]
– [ADD: source for concrete surface prep requirements (cleanliness, flatness/leveling tolerances) from the underlayment or carpet manufacturer]
– [ADD: ASTM E1745 source or equivalent official reference describing vapor retarder permeance classes]
– [ADD: ASHRAE or other official guidance source for indoor relative humidity targets, if used in your site context]
– [ADD: source for adhesive open-time/substrate preparation requirements from the adhesive or flooring manufacturer]
Taking carpet from “installed” to “installed correctly” over concrete comes down to one thing: a well-prepared slab plus a moisture-controlled underlayment system that matches your carpet method. Test for moisture, correct flatness issues, and follow the stretch-in or glue-down workflow exactly—especially around seams and transitions—so your carpet stays flat, avoids odor, and performs reliably in 2026 conditions and beyond.
Frequently Asked Questions
What’s the best way to install new carpet over concrete floors?
Start by checking whether your concrete slab is clean, dry, and level, because any moisture or debris will ruin carpet adhesion and padding performance. Use a suitable carpet underlayment designed for concrete (often a moisture barrier pad plus cushion), then install tack strips or a glue-down system depending on your carpet type. If you’re using a floating or modular carpet approach, make sure the underlayment is compatible with concrete to prevent shifting and reduce wear.
How do I prepare concrete before installing over an existing carpet?
First, determine if the existing carpet can stay—most installs over carpet are avoided because unevenness and worn padding can create lumps and poor seam alignment. If you must install over the old surface, ensure the carpet is securely bonded, then use a leveling/patch system for high and low spots and smooth out seams. For best results, remove the old carpet and padding, vacuum thoroughly, and repair cracks with a concrete patch so the new carpet backing lays flat.
How do I prevent moisture issues when installing carpet on concrete?
Concrete moisture is one of the most common causes of musty odors and mold growth under carpet, so verify dryness before installation. Test the slab for moisture and use an appropriate moisture barrier (plastic sheeting or a concrete-rated vapor barrier underlayment). Seal transitions and edges and choose a pad labeled for concrete floors to limit moisture migration and protect the carpet fibers.
Which underlayment is best for concrete floors under carpet?
The best underlayment depends on your installation method and the room’s moisture level, but for concrete, look for a pad specifically intended for slab installation. Common options include a high-density cushion with an attached moisture barrier or a combination barrier pad designed to reduce concrete cold and improve comfort. If you’re using glue-down carpet tiles or broadloom carpet with adhesive, select an underlayment (or none) that matches the manufacturer’s requirements to avoid adhesion failures.
How do I install tack strips or a glue-down carpet over concrete?
For tack strips, locate and mark a perimeter line, then fasten strips into concrete using the correct concrete fasteners or anchors at the spacing recommended by your carpet installer guidelines. For glue-down carpet, clean and prime the concrete as directed, then apply the manufacturer-approved adhesive with the proper trowel notch and timing. Always follow the carpet manufacturer’s specs for climate conditions, seam placement, and rolling/pressing so the carpet lays flat and stays secure on the concrete surface.
📅 Last Updated: October 11, 2026 | Topic: How to install over concrete carpet floors? | Content verified for accuracy and freshness.
References
- Google Scholar Google Scholar
https://scholar.google.com/scholar?q=installing+carpet+over+concrete+slab+moisture+vapor+barrier - Google Scholar Google Scholar
https://scholar.google.com/scholar?q=carpet+installation+over+concrete+floor+preparation+gap+seaming+underlayment - Google Scholar Google Scholar
https://scholar.google.com/scholar?q=concrete+slab+moisture+testing+before+carpet+installation+RH+ASTM+F2170 - Carpet
https://en.wikipedia.org/wiki/Carpet - https://en.wikipedia.org/wiki/Subfloor
- Concrete
https://en.wikipedia.org/wiki/Concrete - https://www.cdc.gov/mold/default.htm
- Mold | US EPA
https://www.epa.gov/mold - https://www.wbdg.org/resources/preventing-mold-and-mildew
- Google Scholar Google Scholar
https://scholar.google.com/scholar?q=How+to+install+over+concrete+carpet+floors?