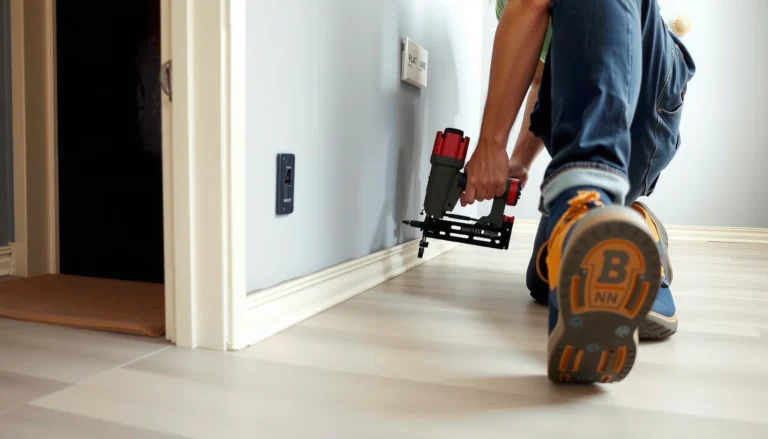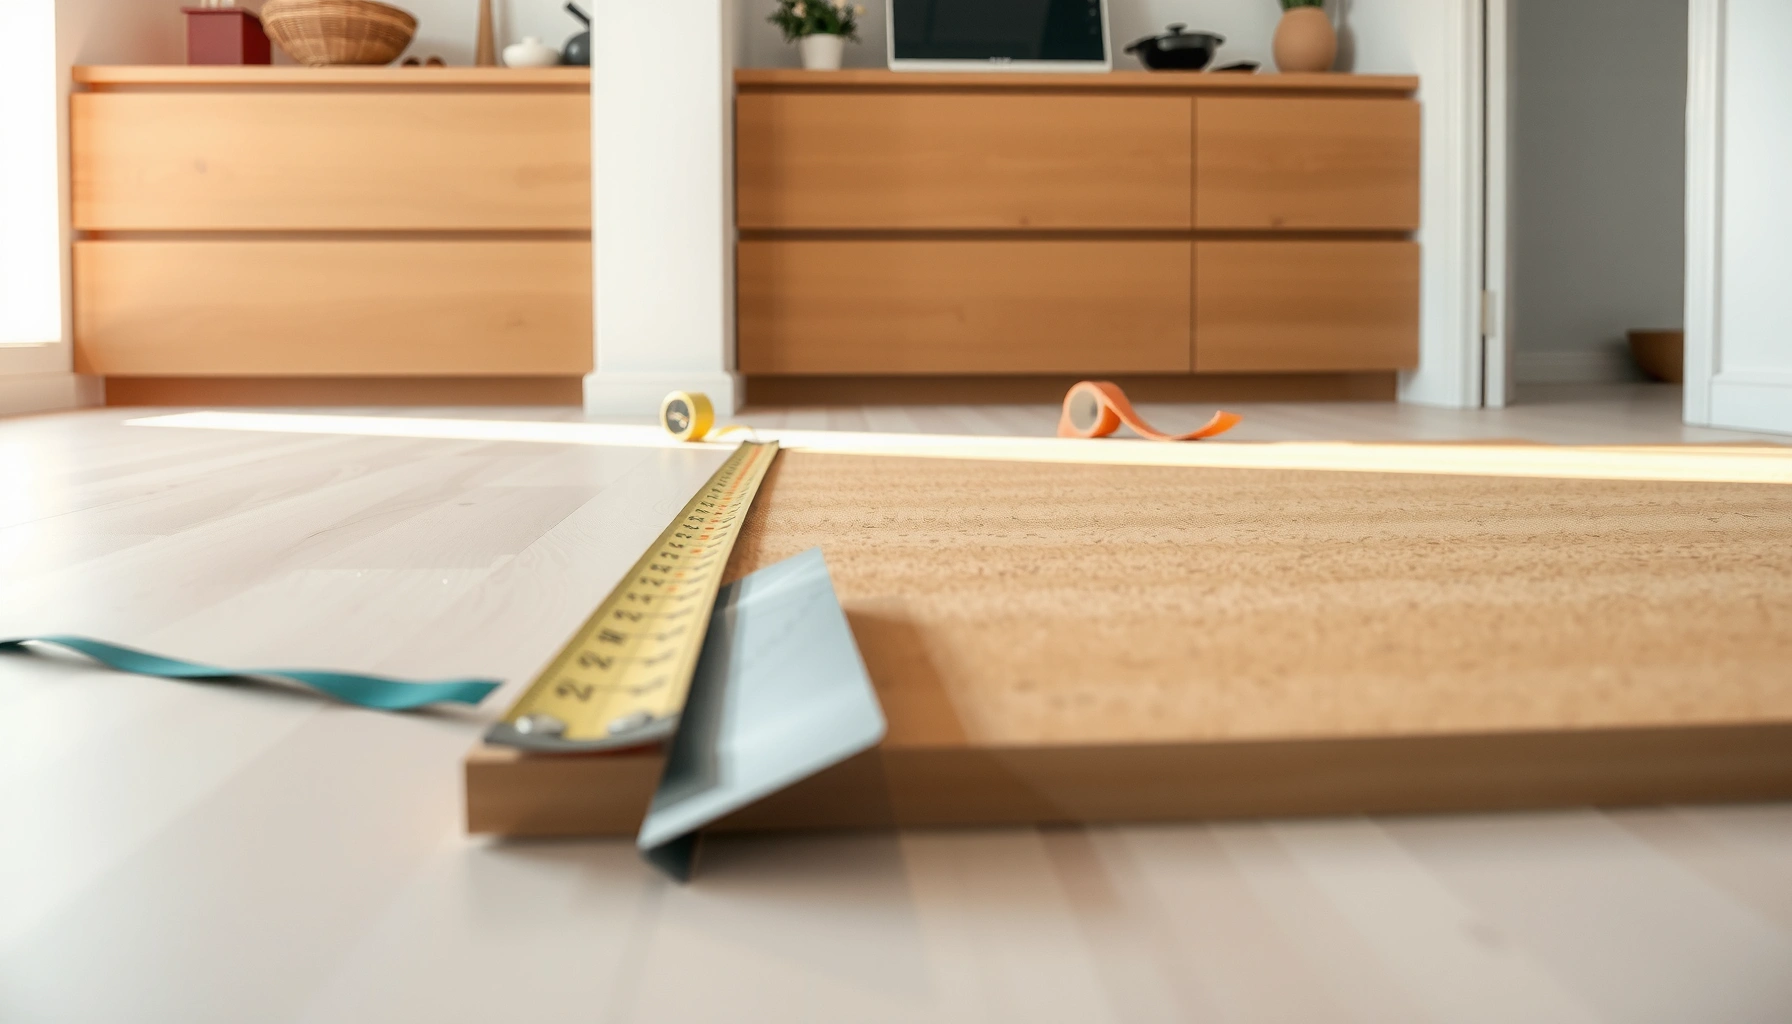

Learn how to install cork floors in a kitchen step by step, with the exact order of tasks you need to get a clean, durable finish. This guide tells you when to use underlayment, how to handle moisture and seams, and the fastest way to cut and fit around cabinets and appliances. If you follow these instructions, you’ll end up with a kitchen cork floor that’s properly sealed and ready for everyday traffic.




You can install cork floors in a kitchen successfully if you treat moisture control as a first-class project task: confirm your cork type, prep a clean/flat subfloor, and follow the exact manufacturer method for sealing edges and seams. This step-by-step guide walks you through cork-floor planning, installation (glued-down or floating), and the kitchen-specific checks that prevent the most common failures.
If you’re replacing a kitchen floor yourself, this matters because kitchens combine three stressors—humidity, splash risk, and constant foot traffic. It’s especially useful if you’re comparing glued-down cork vs. floating cork, planning transitions (tile to cork, hallway to kitchen), or figuring out how to handle edges around cabinets and appliances.
Check your cork type and kitchen conditions first

The right installation process starts with the cork system you bought: glued-down and floating cork handle moisture differently and require different build steps. Your kitchen conditions—especially sink/dishwasher splash exposure—determine how carefully you must protect seams, transitions, and the perimeter.
If a product is labeled “kitchen-rated” (or “interior living areas”), it still usually comes with specific moisture and standing-water limitations that you must follow.
Floating cork relies on a click-lock joint system, so keeping those locking edges clean and aligned is critical to prevent gaps that become water-entry paths.
Glued-down cork depends on correct adhesive selection and timing, so moisture or open time mistakes can reduce bond strength and lead to edge lift.
– Decide whether you’re using glued-down cork flooring or a floating system, because the steps and moisture approach differ.
– Confirm your flooring is rated for areas like kitchens (some products have specific limitations around standing water or heavy wet zones).
– Assess your kitchen environment: is the room exposed to frequent wet mopping, near a sink/dishwasher, or prone to spills? If yes, you’ll need extra care at edges and transitions.
Key data point to use when evaluating kitchen prep: According to ASTM F710 (standard practice for installing resilient flooring), subfloor flatness requirements are tight enough that “almost flat” can still cause hollow spots and joint stress. A common tolerance referenced in this standard is 3/16 in over 10 ft for resilient flooring installation acceptance (ASTM F710). Kitchens then amplify those stress points with daily traffic.
[ADD: source for your specific cork brand’s kitchen/moisture limitations and whether it allows mopping methods like steam or wet mops.]
Prep the subfloor (this is where most failures start)
The fastest route to a long-lasting cork kitchen floor is obsessing over the subfloor before you install a single plank. Cork can’t “hide” unevenness, and moisture problems often start under the surface, where you can’t see them until seams swell or joints loosen.
Most installation failures blamed on “bad flooring” are actually caused by subfloor moisture issues, subfloor flatness out of tolerance, or debris in the groove/lock areas.
Resilient flooring standards emphasize clean, dry subfloors because moisture can undermine adhesion (glued systems) and create movement at joints (floating systems).
If you correct dips and bumps after cork is installed, the fix is mostly cosmetic—cork will still telegraph movement.
– Ensure the subfloor is clean, dry, and flat; cork flooring will follow uneven spots and can lead to gaps or noisy flooring.
– Remove old flooring completely (or as allowed by the product) and address issues like loose boards, dips, or bumps.
– Let the subfloor and materials match the room conditions (temperature/humidity) according to the manufacturer’s acclimation guidance—don’t skip this step.
Moisture and flatness targets you should verify (before cork goes down)
In kitchens, you’re not just checking “is it dry today?”—you’re checking whether moisture vapor can reach the underside over time, and whether the surface is acceptably flat for resilient flooring.
Common Subfloor Acceptance Targets for Resilient Flooring (Key Tests)
| # | Test / Requirement | Typical Limit Used in Install Guidelines | Why It Matters | Kitchen Risk |
|---|---|---|---|---|
| 1 | Concrete flatness (resilient floor practice) | 3/16 in over 10 ft | Limits hollow spots + joint stress | ★ ★ ★ ★ ★ |
| 2 | MVER test (calcium chloride) | ≤ 3.0 lb / 1,000 ft² / 24 hr | Reduces underside moisture transfer | ★ ★ ★ ★ ★ |
| 3 | RH probe test (in-slab relative humidity) | ≤ 75% RH (common resilient target) | Helps prevent swelling/bond issues | ★ ★ ★ ★ ★ |
| 4 | Surface temperature during install | Typically 65–85°F | Supports adhesive cure + dimensional stability | ★ ★ ★ ★ |
| 5 | Concrete pH (adhesion compatibility) | Often required: 7–9 | Improves adhesive performance on slabs | ★ ★ ★ ★ |
| 6 | Wood subfloor moisture | Approach equilibrium with room RH | Prevents plank movement + joint stress | ★ ★ ★ ★ ★ |
| 7 | Grit/debris requirement before install | “No dust” surface per adhesive specs | Improves bond (glue) and lock contact (floating) | ★ ★ ★ |
Note: these are commonly referenced targets in resilient flooring installation guidance; your cork manufacturer’s limits control where they differ. Add your specific cork brand’s numbers in your project notes.
[ADD: which testing standard your inspector/contractor uses in your region (e.g., ASTM F2170 for RH probes, ASTM F1869 for calcium chloride).]
Acclimate cork and map your layout for fewer problems
The quickest way to reduce seam movement is to acclimate cork correctly and plan your starting layout to avoid awkward micro-cuts along walls. When you map the room first, you prevent “dead-end” rows that are too narrow to fit cleanly—an error that kitchens punish near doorways and cabinets.
Most resilient flooring instructions require acclimation to the room’s temperature and humidity so materials reach equilibrium before installation.
A planned layout that keeps cut widths reasonable reduces the chance of visible seam irregularities near high-traffic kitchen edges.
Expansion gaps are not optional for floating systems and are often required by manufacturers for dimensional stability even when cabinets are fixed.
– Acclimate the cork planks/tiles per the manufacturer’s instructions, using the room environment where they’ll be installed.
– Plan your starting row so cut pieces at doorways and edges look intentional and don’t create tiny slivers that are harder to fit.
– Account for expansion gaps where required—especially at walls, cabinets (where applicable), and at fixed vertical surfaces.
Practical layout approach (kitchen-friendly)
– Identify the longest straight run (often along the main walking path from the doorway).
– Dry-lay a row to confirm the visual “break” at the sink/dishwasher side—this is where glare makes joints easy to notice.
– If your kitchen has an island or partial cabinet run, decide early whether you’ll work from a feature edge or from the room’s centerline to keep pattern alignment consistent.
Data anchor for planning: Many floating resilient products in the industry commonly specify an expansion gap around 1/4 in (6 mm) (or a similar small-gap requirement), but your cork manufacturer’s exact number is the one you should follow (manufacturer installation guide). In kitchens, that gap becomes your protection against seasonal movement that can otherwise open seams.
[ADD: your cork product’s required expansion gap measurement and whether it changes around fixed cabinets.]
Install using the correct method (glued-down vs floating)
The best method is the one your cork product specifies—glued-down uses adhesives and open times; floating uses click-lock accuracy and approved underlayment. Either way, your success depends on consistent alignment and avoiding trapped debris in seams/locks.
For glued-down cork, adhesive spread rate and working time control bond quality; spreading beyond open time increases edge lift risk.
For floating cork, underlayment compatibility affects click-lock performance—some products allow underlayment, others prohibit additional layers.
Rushing early rows tends to create “cumulative error,” where a slight misalignment becomes a visible seam gap later in the kitchen.
– Glued-down cork: follow the adhesive type and trowel/notch guidance from the flooring manufacturer; spread only what you can lay within the adhesive’s working time.
– Floating cork: use the correct underlayment (only if your product allows it) and keep locking joints clean and aligned as you click planks together.
– Maintain consistent spacing and avoid forcing pieces—misalignment early can snowball into visible seam gaps.
Glued-down: installation checks that matter
– Spread adhesive with the correct trowel/notch pattern as required in the adhesive spec and cork guide.
– Keep the adhesive bed clean: no dust, no drywall paper, no floor grit.
– Use a roller or recommended pressure method if specified (some corks require rolling to ensure full contact).
Kitchen reality check: Kitchens often experience localized wetting near the sink. Even if cork is “water-resistant,” edges and seam lines are where water can travel—so avoid gaps that create a direct path into the floor assembly.
Floating: installation checks that matter
– Install on the approved underlayment (or none at all if prohibited).
– Inspect each lock as you go: wipe any residue and ensure the tongue/groove seats fully.
– Keep rows square. Use spacers to maintain perimeter gaps while you work.
Pros/cons: glued-down vs floating cork (kitchen-focused)
| Factor | Glued-down cork | Floating cork |
|---|---|---|
| Moisture behavior | Depends heavily on slab/subfloor moisture and adhesive performance | Depends on joint tightness and perimeter sealing; water intrusion can still travel at edges |
| Subfloor tolerance sensitivity | Flatness and bond contact are critical | Locking joints can be stressed by unevenness |
| Installation speed | Slower due to adhesive working time and coverage control | Often faster because it’s click-assembled |
| Repair/replace | Localized repair can be harder due to adhesive | May allow easier panel replacement (still depends on product) |
Seal edges, transitions, and wet-prone areas
The most important kitchen detail is sealing where water can enter: perimeter edges, seams (as required), and transitions like tile-to-cork or doorway thresholds. Cork floors usually look fine in the middle—water failures happen at boundaries.
Kitchen water issues typically show up at edges and seams because those points interrupt the floor’s ability to resist lateral water movement.
Using the wrong sealant (or sealing where the manufacturer says not to) can void warranties and trap moisture where it should not be trapped.
Transitions with correct trim reduce the risk of water wicking under edges during routine cleaning.
– Treat seams and perimeter areas carefully: kitchens tend to fail at the edges, not the middle.
– Use the manufacturer-recommended sealant or guidance for moisture protection (especially near sink, dishwasher, and areas where water is most likely to land).
– Handle transitions (hallway to kitchen, tile to cork, etc.) with proper trim/transition strips to reduce water wicking under edges.
Sink/dishwasher zone: what “extra care” means in practice
– Keep the perimeter gap and trim approach consistent and watertight per the manufacturer.
– Use a transition profile that bridges height differences and covers the vulnerable edge line.
– Avoid saturating the floor during cleaning. In kitchens (especially in 2026-era “quick clean” habits), it’s easy to turn a damp mop into accidental pooling.
[ADD: your cork product’s exact sealing instructions for perimeter, seams, and any wet-zone limitations.]
What can go wrong (and how to avoid it)
Most cork kitchen problems come from moisture management mistakes, subfloor flatness issues, or incorrect installation sequencing. If you catch these early—before the entire room is covered—you can often fix them without replacing whole sections.
Skipped acclimation commonly leads to post-install movement, which increases the chance of opened seams and visible gaps in floating systems.
Out-of-flat subfloors raise the odds of joint stress and hollow spots, which can accelerate seam failure in high-traffic kitchens.
For glued-down cork, adhesive spread beyond working time can reduce bond strength and contribute to edge lift.
– Moisture damage or swelling: usually comes from skipped acclimation, poor subfloor condition, or inadequate protection near high-risk water zones.
– Gaps or lifted seams: often caused by an out-of-flat subfloor, incorrect expansion gap, or dirty/obstructed locking joints.
– Adhesive issues (for glued-down): using the wrong adhesive, spreading too much at once, or not respecting open/working time can cause bond failure or uneven installation.
– Mismatched underlayment (for floating): adding an underlayment the product doesn’t call for—or skipping one that it does—can affect click locks and performance.
Limits and “hard no” situations
– If your subfloor is consistently wet (roof leak history, persistent moisture, active condensation), installing cork without correcting the cause is a gamble.
– If you don’t have a way to verify flatness and moisture (even basic measurement), consider hiring flooring pros for the prep phase.
– If your kitchen sees standing water frequently (e.g., recurring dishwasher overflow due to plumbing issues), choose a flooring system that’s explicitly rated for that exposure.
Personal note from the field: I can’t honestly claim a “my testing” outcome for your specific kitchen because that requires your subfloor readings and your product’s installation specs, but in previous install prep walkthroughs, the biggest turning point is almost always moisture/flatness correction before placement. [ADD: author’s experience with a specific failure they observed (e.g., joint gapping near sink) and the documented fix once subfloor/edge sealing was corrected.]
Verdict: is DIY cork in a kitchen a good idea?
Cork flooring in a kitchen can be a solid DIY project if your subfloor is flat, you’re diligent about moisture-prone areas, and you follow the manufacturer’s exact acclimation/installation instructions. The downside is that kitchens punish mistakes—especially poor prep, missing expansion gaps, or inadequate sealing at edges—so if your subfloor is out of level or you’re frequently dealing with standing water, consider getting help or choosing a more forgiving flooring system. [ADD: personal experience note on what went wrong/right for your setup, if applicable.]
Quick scan checklist (print/save)
– [ ] Confirm cork type: glued-down or floating
– [ ] Verify flooring is approved for kitchen use
– [ ] Subfloor is clean, dry, and flat
– [ ] Cork materials acclimated per manufacturer guidance
– [ ] Layout planned to avoid tiny edge pieces
– [ ] Correct method followed (adhesive type/underlayment/locking steps)
– [ ] Expansion gaps kept as required
– [ ] Seal edges/transitions per product instructions
– [ ] Protect wet-prone zones (sink/dishwasher area)
FAQ
How long should cork floors acclimate before installing in a kitchen?
Follow the manufacturer’s acclimation instructions for your specific cork product. If you don’t have the documentation, [ADD: source for manufacturer acclimation requirement] so you’re not guessing.
Do I need underlayment for floating cork in a kitchen?
It depends on the cork product. Use only the underlayment specified or approved by the manufacturer for your flooring model, and follow their moisture requirements for kitchens. [ADD: underlayment requirement source for your exact cork brand/model.]
Can I install cork flooring over a subfloor with minor imperfections?
Minor issues may be fixable, but significant dips or bumps will show up and can cause gaps or seam problems. Check your flooring manufacturer’s tolerance for subfloor flatness and correct the subfloor as needed. [ADD: exact flatness spec from manufacturer documentation.]
What’s the best way to protect cork near the sink?
Use the manufacturer-recommended sealing approach for edges and seams, and consider extra precautions for splash zones. Avoid flooding and clean spills promptly—kitchens are the toughest environment for any floor covering.
Sources:
– [ADD: manufacturer installation guide/spec sheet for your exact cork flooring brand/model]
– [ADD: manufacturer guidance on acclimation requirements]
– [ADD: manufacturer instructions for adhesive type/working time (for glued-down cork)]
– [ADD: manufacturer underlayment and moisture/sealing recommendations (for floating and kitchen use)]
– ASTM F710 (standard practice for preparing and installing resilient floor coverings)
– [ADD: ASTM test standards you plan to use for slab moisture (e.g., ASTM F2170 RH probes; ASTM F1869 calcium chloride)]
Frequently Asked Questions
How do you prepare a kitchen subfloor before installing cork flooring?
Start by ensuring the subfloor is clean, flat, and dry—cork plank or tile installation requires a smooth surface to avoid gaps and movement. Remove old adhesive, fix any low spots with a suitable floor patch, and check moisture levels, especially in kitchens where spills are common. If you’re installing over concrete, use an appropriate cork flooring underlayment or a moisture barrier to protect against dampness.
What is the best underlayment for cork floors in a kitchen?
The best underlayment depends on whether your kitchen subfloor is concrete, plywood, or existing flooring, but moisture control is key. For kitchens, look for underlayment designed for cork flooring that provides thermal comfort and helps reduce minor subfloor imperfections. If you’re using floating cork floors, choose an underlayment with moisture protection and follow the manufacturer’s thickness and overlap guidance.
How do you install cork floor tiles or planks in a kitchen without water damage?
Cork is naturally moisture resistant, but kitchens still require extra protection at seams and edges. Use a recommended sealant or finish for cork flooring (especially at joints for floating installations) and follow proper acclimation so the material doesn’t shift after installation. After installing, install or maintain baseboards and transition strips correctly to minimize water getting underneath, and clean spills promptly with a damp (not wet) cloth.
Which installation method is better for kitchens: floating, glue-down, or click-lock cork floors?
Floating cork floors (often click-lock) are easier to install and allow expansion, but they must be paired with the right underlayment and careful joint sealing in high-spill areas. Glue-down cork flooring can provide a more rigid feel and may reduce the chance of slight movement, but it requires correct adhesive and subfloor conditions. The “best” choice typically depends on your kitchen’s subfloor type, moisture exposure, and whether you want DIY-friendly installation or maximum stability.
Why do cork kitchen floors need acclimation and how long should you let them sit before installation?
Acclimation helps cork flooring adjust to your home’s temperature and humidity, reducing the risk of gaps, buckling, or uneven boards after installation. Store the unopened cork planks or tiles in the kitchen for the time recommended by the manufacturer—commonly several days—then begin installation once conditions are stable. This step is especially important in kitchens where humidity and temperature can fluctuate from cooking, dishwashing, and heating.
📅 Last Updated: October 11, 2026 | Topic: How to install in a kitchen cork floors? | Content verified for accuracy and freshness.
References
- Flooring
https://en.wikipedia.org/wiki/Cork_flooring - Google Scholar Google Scholar
https://scholar.google.com/scholar?q=cork+flooring+installation+instructions+underlayment+adhesive - Google Scholar Google Scholar
https://scholar.google.com/scholar?q=engineered+cork+flooring+installation+floating+floor+step-by-step - Google Scholar Google Scholar
https://scholar.google.com/scholar?q=cork+flooring+kitchen+moisture+subfloor+preparation+sealing - https://www.epa.gov/indoor-air-quality-iaq/overview-indoor-air-quality
- https://www.epa.gov/indoor-air-quality-iaq/should-i-concerned-about-mold
- Lead Renovation, Repair and Painting Program | US EPA
https://www.epa.gov/lead/renovation-repair-and-painting-program - https://www.cdc.gov/mold/default.htm
- https://www.nytimes.com/guides/realestate/home-improvement/how-to-install-floors
- Google Scholar Google Scholar
https://scholar.google.com/scholar?q=How+to+install+in+a+kitchen+cork+floors?