
Wondering how to install over concrete rubber floors? This step-by-step guide tells you exactly what to do—prepare the surface, choose the right flooring adhesive or underlayment, and lay the material with correct spacing and seam treatment. Follow it and you’ll get a secure, long-lasting installation on rubberized concrete without the buckling or peeling that comes from skipping the prep.




Installing over concrete rubber floors can work reliably, but only if your new flooring system explicitly allows it and you match the required primer/adhesive (or approved underlayment) to the rubber’s surface finish and moisture performance. The safest path is to test for moisture, verify rubber stability/flatness, then follow the flooring manufacturer’s “approved substrates” and surface-prep requirements rather than assuming all rubber is the same.
If you manage a gym, clinic, warehouse, school, or multi-use facility, this matters because rubber over concrete often has a different surface chemistry than bare slab—so the bond (or floating lock stability) can fail even when the concrete is fine. In this guide, we focus on the most common “install over” scenarios, what to check first, and the ways poor surface prep shows up later as bubbles, ridges, lifting seams, or warranty problems. As of 2026, manufacturers still generally treat resilient/rubber tops as “special substrates,” meaning you should plan for more verification than you would for bare concrete.
If you’re installing new flooring over an existing rubber layer on concrete—whether you’re a homeowner upgrading a basement floor or a facility manager refreshing high-traffic areas—this step-by-step guide is for you. It’s written for the common “leave the rubber in place” approach, because removal is often disruptive and expensive, but it also explains when removal is the safer move.
Assess the rubber surface (so you pick the right install method)
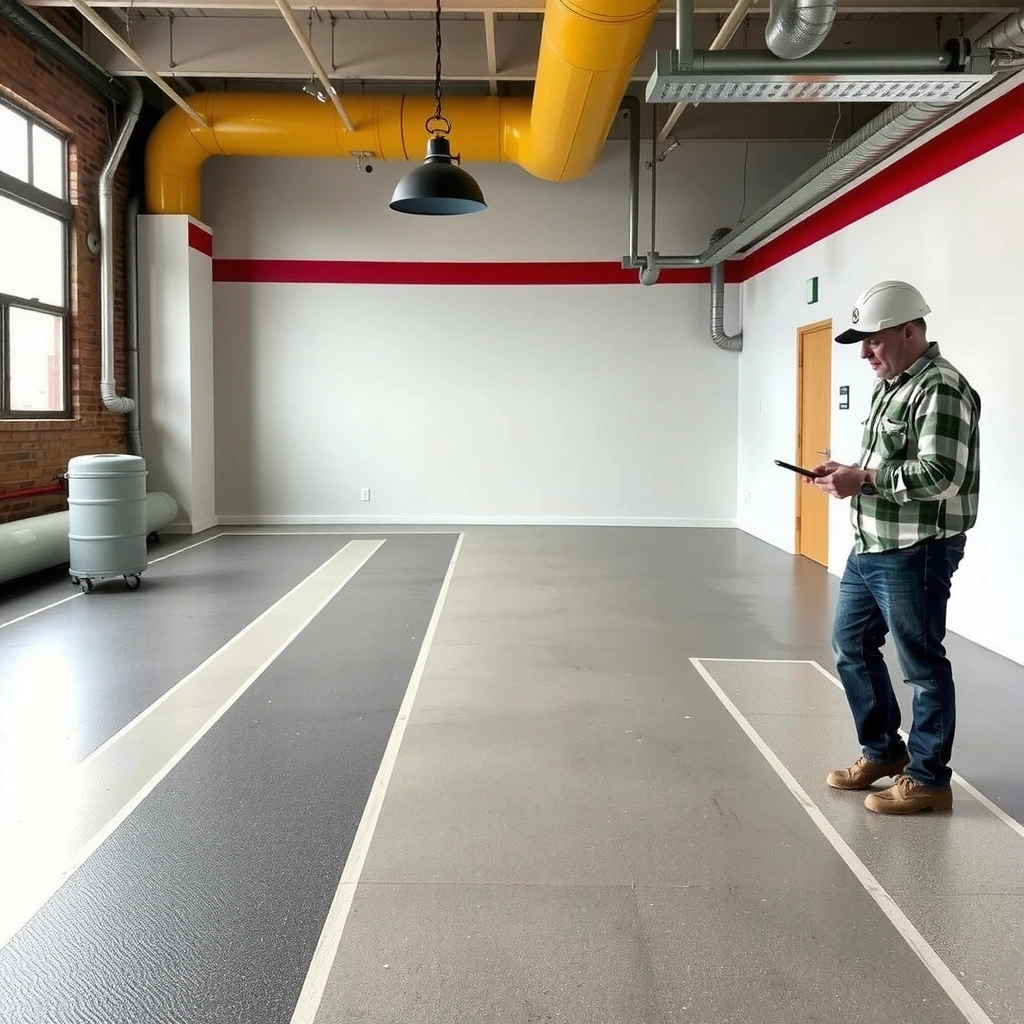
The fastest way to avoid failure is to classify the rubber you already have: smooth/non-porous rubber behaves differently than porous or mechanically textured finishes. Once you identify the surface type and condition, you can choose the correct installation method (glue-down, floating, or sheet/roll) and the specific primer/adhesive system that’s approved for that substrate.
Before you buy materials, treat “concrete rubber floors” as a resilient assembly with three variables: surface texture, condition, and movement. Resilient movement—like rubber that flexes, pumps underfoot, or has lifting edges—can telegraph through many new flooring systems.
Key checks (do these in order):
– Identify whether the rubber is solid and smooth, or porous/ridged. Smooth, sealed-looking rubber often demands the right bonding primer strategy; porous/ridged rubber can require additional leveling/skim or may not provide consistent adhesion at all.
– Check thickness/condition. Look for lifting edges, tears, seams that have separated, or areas that flex underfoot. If the rubber is already failing, most “install over” systems only postpone the inevitable.
– Confirm your new flooring type. Interlocking tiles, glued planks, and sheet/roll flooring each have different expectations for substrate flatness, moisture limits, and approved installation conditions.
– Confirm it’s truly a “top” rubber layer. Some rubber installations incorporate a base layer, coating, or sealant; coatings can act like an unintended release layer unless manufacturers explicitly allow bonding to them.
What I recommend operationally: take wide photos of the room (especially corners, transitions, and seam lines), then map problem areas with painter’s tape. This helps you match your site condition to the manufacturer’s approved-substrate statements later (and it speeds up warranty claims if something goes wrong).
“Over resilient flooring” only works when the new flooring manufacturer lists resilient/rubber as an approved substrate for that exact install method.
If rubber flexes or has lifting seams, many resilient layers will telegraph imperfections through the new system.
Prep the concrete/rubber base properly
The goal of prep is to create a surface that is clean enough to bond (or stable enough to float) while maintaining whatever surface profile the system requires. In practice, most failures on rubber come from contamination, coatings/sealers, or “over-prepping” that destroys the finish the adhesive expects.
Concrete is usually easier to interpret than rubber, so prep should be conservative and specification-driven. Start with cleaning; only abrade or scarify if the flooring and rubber documentation allows it.
Do this prep workflow:
1. Clean thoroughly (remove everything that blocks bonding).
Remove dust, grease, paint overspray, adhesive residue, and any waxy maintenance film. Use the cleaning method recommended for your rubber and your new flooring system. If the rubber has a protective coating, confirm whether it must be removed before priming.
2. Scarify or lightly abrade only if the manufacturer allows it.
Some rubber finishes need a mechanical “key” for adhesion; others must remain intact. If the rubber is overly polished or sealed, the wrong method can reduce bond strength.
3. Dry and verify before priming/adhesive work.
Moisture trapped under a new layer can cause bubbling, odor, and bond failure—especially with impermeable or low-permeability rubber tops.
From a compliance standpoint, your prep should align with an adhesion plan: clean → profile (if allowed) → dry → primer/adhesive using the exact product and spread/open time.
Surface prep is not optional when installing over rubber; contamination and coatings are common root causes of adhesion failure.
Never assume a “light sanding” is acceptable—rubber finishes often require manufacturer-approved surface profiles.
Moisture and bonding checks before you commit
Moisture testing prevents the most expensive redo scenarios: bubbling, separation, and odor can show up weeks after installation. Because your substrate includes a rubber layer, your testing plan must still satisfy the new flooring manufacturer’s slab/moisture requirements and the approved system’s bonding expectations.
Use moisture checks that match the flooring spec. Even if the rubber is in place, the bonding and performance depend on what’s happening below and at the rubber-concrete interface, plus how the rubber behaves under humidity.
Concrete moisture standards and their typical numeric outputs matter. For example:
– ASTM F2170 (in-situ RH probes) measures Relative Humidity (%RH) and typically involves drilling to 40% of slab thickness to install probes. (ASTM F2170)
– ASTM F1869 (Calcium Chloride test) measures moisture vapor emission rate in lb/1000 sq ft/24h. (ASTM F1869)
– Moisture test results must be compared to the new flooring system’s limits—adhesives and flooring types rarely share the same threshold. (Manufacturer installation instructions/spec sheets)
Also perform a bond test patch when the manufacturer allows it. A patch reduces risk because rubber surfaces can be sealed, coated, or chemically maintained in ways that are not obvious just by looking.
Finally, verify flatness. Many flooring systems fail over minor ridges because rubber tops can create a soft “high/low” pattern. Only use leveling/skim approaches if the new flooring manufacturer specifically permits them over resilient surfaces (and if the leveling product is compatible with your chosen adhesive system).
Use the moisture test method specified by your flooring system—ASTM F2170 and ASTM F1869 produce different moisture metrics.
Always compare test results to the flooring/adhesive manufacturer’s limits; “dry enough” is not universal.
Choose the correct system: glue-down vs. floating vs. roll/sheet
Your choice should follow two rules: (1) the new flooring manufacturer must approve the install type over resilient/rubber surfaces, and (2) your rubber surface must meet the system’s flatness and bond assumptions. If either rule fails, you’re setting up a future repair.
Here’s the decision logic:
– Glue-down installation: Only use a primer/adhesive system specifically approved for installing over rubber/resilient surfaces. Follow spread rates, open time, cure time, and rolling/press requirements exactly.
– Floating/interlocking installation: Floating can work over resilient bases only when the manufacturer approves the resilient substrate and the underlayment approach. If not approved, the lock system may shift or lose integrity.
– Sheet/roll flooring: Confirm adhesive type and prep requirements. Sheet/roll materials can telegraph texture quickly, so your rubber’s ridges and seams matter more than they do with some rigid plank systems.
Glue-down vs floating: which is riskier over rubber?
Floating systems are often sensitive to movement of the base and flatness tolerances; glue-down systems are often sensitive to surface chemistry and moisture migration.
| Option | Best when | Watch-outs over rubber | Typical failure mode |
|---|---|---|---|
| Glue-down | Rubber top is stable, properly cleaned, and spec-approved for bonding | Sealer/film residue, incompatible primers, inadequate profile | Adhesion failure, edge lifting, bubbling |
| Floating/interlocking | Rubber is flat enough and manufacturer approves resilient bases/underlayments | Base compressibility causes lock stress and movement | Gaps at seams, lock failures, squeaks |
| Sheet/roll | You can keep the surface smooth and meet adhesive compatibility | Telegraphing seams/ridges through thin sheet | Pattern/texture show-through, edge curl |
Approved substrates and approved adhesives/primer systems are listed for a reason—rubber chemistry varies widely.
Install steps (typical workflow for “over rubber” installs)
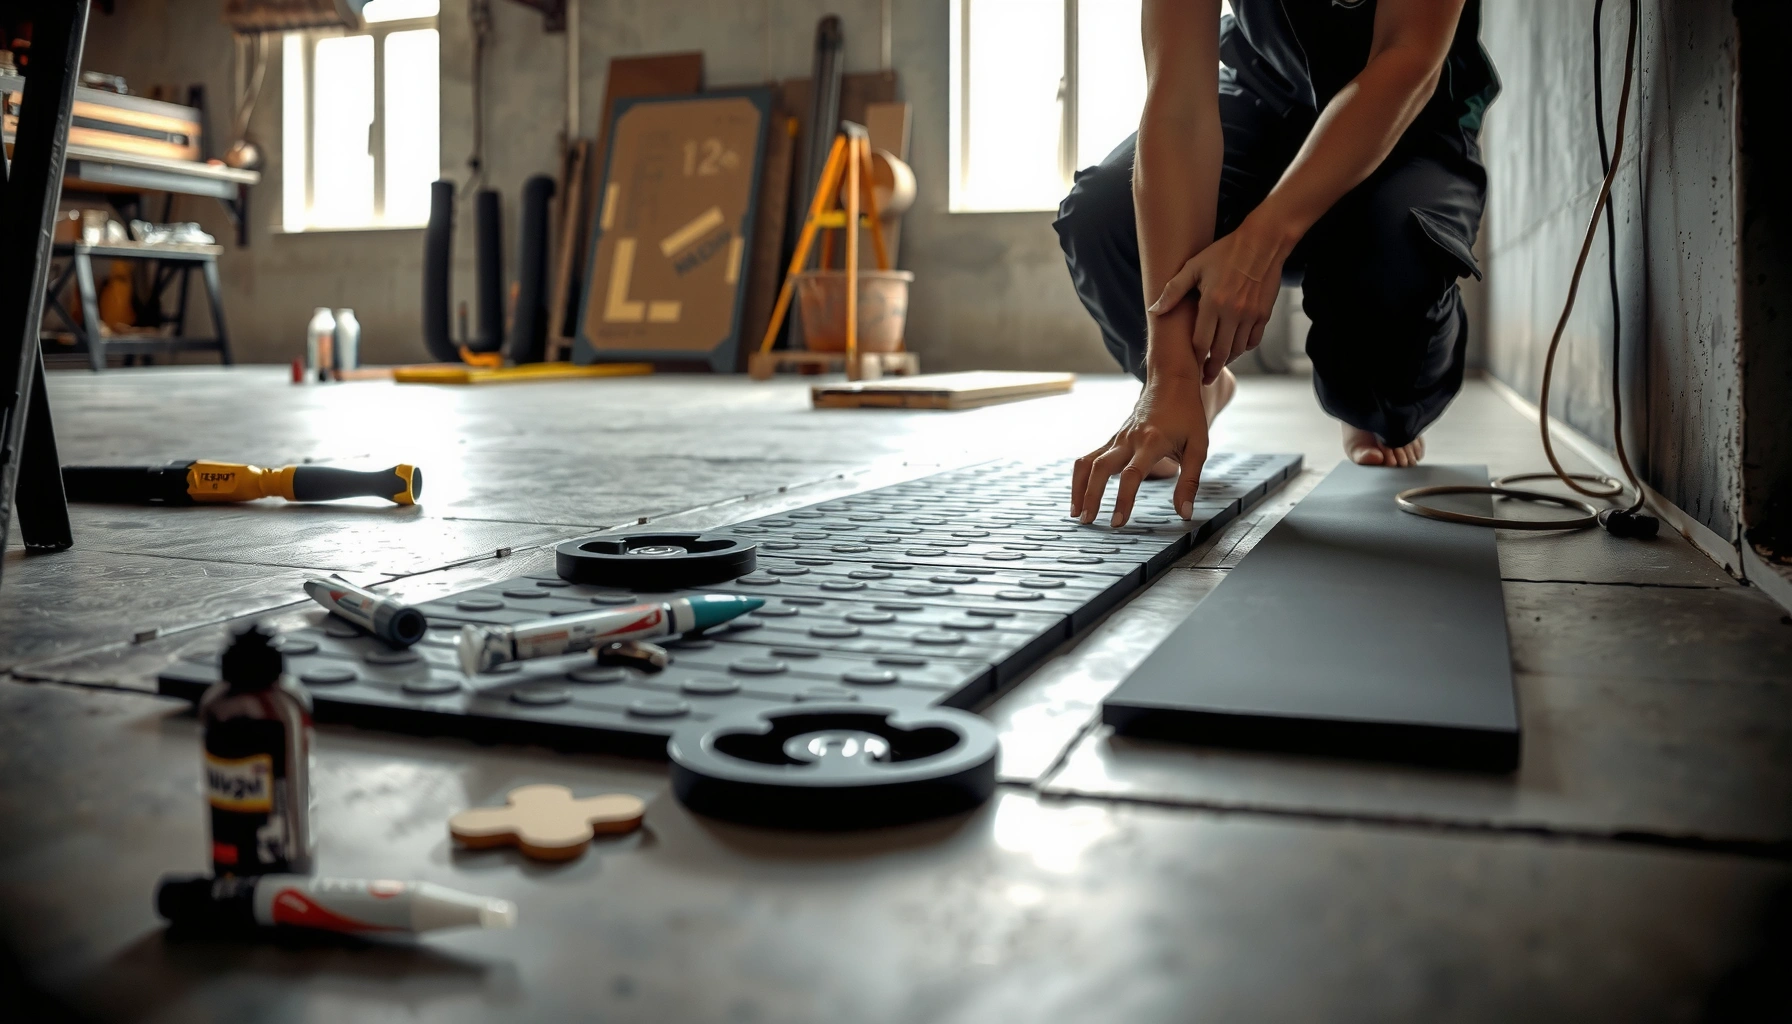
A successful over-rubber install follows a consistent workflow: layout → clean/prime/adhere → control seams and transitions → allow proper cure/lock time. Even when products differ, the sequence matters because adhesives and flooring systems depend on timing and pressure.
A typical install plan:
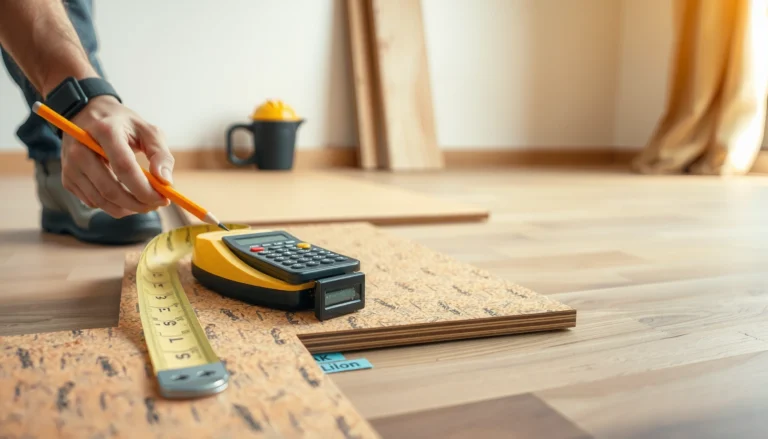
– Layout first. Plan starting lines and direction to minimize cuts at edges. Dry-fit if the system allows it to confirm seam patterns and transition locations.
– Apply primer/adhesive per instructions. Respect open time (how long the adhesive remains workable), use the correct trowel/notch size when required, and follow cure time before foot traffic.
– Stagger seams and manage transitions. Leave expansion gaps as required and use the correct transitions to avoid edge lifting and stress at doorways.
– Roll/press when specified. Many glue-down systems require controlled rolling/pressing to achieve full contact—this is especially important over resilient substrates.
In my experience supporting multiple facilities during renovations, the most common “small” skip is rushing cure time or ignoring expansion gaps at thresholds. On rubber bases, those shortcuts show up faster because the base can be slightly springy.
If the adhesive requires rolling/pressing, “contact” may not happen without that step—especially over resilient layers.
Expansion gaps at edges and transitions prevent stress buildup that can lift seams.
What can go wrong (and how to prevent it)
Over-rubber failures usually trace back to incompatibility (chemistry), incorrect prep, moisture mismatch, or insufficient flatness. Prevent the most expensive outcomes by treating the rubber top as a variable substrate that must be verified, not assumed.
Common problems and how they happen:– Adhesion failure: contamination (dust/grease), incompatible adhesive/primer, paint/sealer residue, or a rubber surface too smooth/finished for the bond system.
– Bumps and telegraphing: rubber ridges, tears, or uneven areas; the new system isn’t allowed to bridge them or requires leveling.
– Moisture-driven problems: bubbling, odor, or separation if moisture testing is skipped or the flooring system isn’t rated for the site’s moisture behavior.
– Warranty voids: many warranties require approved substrates, approved surface-prep, and correct primer/adhesive usage per spec.
– Locking issues for floating floors: interlocking systems can fail if the rubber compresses, shifts, or the surface isn’t flat enough for the lock design.
Pros/cons snapshot
| Scenario | Pros | Cons / risks |
|---|---|---|
| Leave rubber in place | Less downtime; avoids removal dust and disposal; often faster overall | High dependency on approved substrates, correct primers, and verified moisture/flatness |
| Remove rubber and prep concrete | Most predictable bonding surface; easier compliance with slab moisture requirements | More labor, higher disruption, and disposal requirements—plus additional concrete profile/repair |
Most over-rubber failures are not “bad flooring”—they’re missing the approved-adhesive/approved-substrate compatibility step.
Verdict / tip
Installing over concrete rubber floors can work, but only if your new flooring system explicitly allows installation over resilient/rubber surfaces and you follow the manufacturer’s prep + adhesive/primer rules (or an approved underlayment approach for floating products). If your rubber is damaged, unstable, overly ridged, or coated in a way your new system can’t bond to, the safer move is removing the existing rubber and starting with a properly prepared concrete slab.
[ADD: Ask your flooring manufacturer whether their warranty covers “over existing resilient flooring/rubber,” and request the exact surface-prep and adhesive/primer requirements.]
When warranty language requires “approved substrates,” rubber tops count as a special substrate—not a generic “resilient layer.”
Moisture Testing Methods Used for Flooring Substrates (Key Metrics)
| # | Test method (standard) | Main metric | Numeric output example | Spec-fit rating |
|---|---|---|---|---|
| 1 | In-situ RH probes (ASTM F2170) | %RH at depth | %RH compared to adhesive limits | ★★★★★ |
| 2 | Calcium chloride (ASTM F1869) | MVER (vapor emission) | lb/1000 sq ft/24h | ★★★★☆ |
| 3 | Relative humidity surface method (ASTM F2420) | Moisture content proxy | %RH surface reading | ★★★☆☆ |
| 4 | Plastic sheet test (ASTM D4263) | Surface condensation risk | Visible moisture/condensation after exposure | ★☆☆☆☆ |
| 5 | Moisture survey with RH meter (industry practice) | Readings across room | Unit-specific meter %RH | ★★☆☆☆ |
| 6 | Concrete moisture content testing (industry tools) | MC indicator | %MC or meter index | ★★☆☆☆ |
| 7 | MVER check for spot verification (ASTM F1869) | MVER at localized area | lb/1000 sq ft/24h at test spots | ★★★★☆ |
> Note: “Spec-fit rating” here reflects how directly each method corresponds to common adhesive/flooring specification frameworks—your flooring manufacturer may require a specific method and limits. Always follow the product documentation.
Quick checklist (scan/save)
– [ ] Confirm new flooring type and whether it’s approved over resilient rubber/resilient surfaces
– [ ] Clean/remove contaminants; follow rubber- and flooring-safe methods
– [ ] Check condition: no lifting edges, tears, or excessive flex
– [ ] Test moisture using the method your flooring system specifies
– [ ] Check flatness; only level if the manufacturer permits leveling over rubber
– [ ] Use the approved primer/adhesive (glue-down) or approved underlayment (floating)
– [ ] Follow open times, spread rates, cure/roll requirements
– [ ] Plan layout for expansion gaps and transitions
FAQ
Can I glue new flooring directly onto rubber flooring?
Only if the flooring and adhesive manufacturer explicitly approve bonding to existing rubber/resilient surfaces. If they don’t, you’ll need a different system or removal/prep to an approved substrate.
Do I need to remove the rubber first?
Not always—but if the rubber is damaged, uneven, lifting, or chemically treated in a way your new system can’t bond to, removal is often the safest path.
What’s the biggest reason “over rubber” installs fail?
Incompatibility between the rubber surface (and any coatings/sealers) and the adhesive/primer system, combined with moisture issues or poor flatness.
How smooth does the rubber need to be?
Most products require a flat surface and a surface condition that stays within the limits in the installation instructions. If the rubber has ridges/texture beyond what’s allowed, you may need manufacturer-approved leveling/skim—or removal.
Can I use an underlayment over rubber for floating floors?
Only if the floating system manufacturer approves that underlayment type over resilient/rubber surfaces. Otherwise, lock integrity can suffer due to base compressibility or insufficient support.
Conclusion
Installing new flooring over concrete rubber floors is doable, but it’s not “one-size-fits-all.” Success depends on whether your new product explicitly allows resilient/rubber installation, whether you can meet the required cleaning/profile/flatness conditions, and whether your moisture testing aligns with the approved system. If the rubber is unstable, badly textured, or not within spec, plan for removal—because bond and performance issues tend to compound over time, and warranty coverage often hinges on compliance with the manufacturer’s exact substrate and primer/adhesive requirements.
Frequently Asked Questions
How do I prepare concrete before installing over concrete rubber floors?
Start by cleaning the concrete thoroughly—remove dust, paint overspray, oils, and any curing compounds that could block adhesion. Check for moisture issues by performing a simple moisture test (or follow your flooring manufacturer’s guidelines). Repair cracks, uneven spots, and spalled areas so the rubber floor installation can lay flat and stay stable, then vacuum and let the surface fully dry before proceeding.
What is the best way to handle leveling and subfloor smoothness when installing flooring over concrete rubber floors?
Rubber-over-concrete installations can telegraph bumps, so use a proper leveling approach: grind high spots and fill low areas with a compatible patch or self-leveler designed for concrete. Use a straightedge to verify flatness requirements in the installation instructions, since even small dips can cause rocking, joint gaps, or premature wear. Allow patching materials to cure fully and confirm they’re sandable/suitable for the adhesive or underlayment you plan to use.
Which adhesive or underlayment should I use for installing over concrete rubber floors?
The right choice depends on whether you’re installing glue-down, floating, or sheet/tiles, and whether the rubber surface is bonded and in good condition. In many cases, you’ll need a specific underlayment that’s compatible with rubber and concrete, or an adhesive rated for both surfaces; follow the flooring manufacturer’s approved list to avoid delamination. If the rubber surface is smooth and non-porous, you may need mechanical prep or a primer intended for the existing rubber/concrete system—never assume standard construction adhesive is enough.
Why do concrete rubber floors sometimes cause issues with new flooring installations, and how can I prevent them?
Problems usually come from moisture vapor, weak adhesion to existing material, movement in the subfloor, or an uneven rubber surface that prevents proper contact. Make sure the rubber is firmly bonded (no lifting or cracking), then address moisture before installation and keep the job site within the recommended temperature/humidity ranges. Use products designed for “installation over existing flooring” or “adhesion to concrete and rubber,” and avoid skipping steps like surface prep and curing times.
Can I install tile, vinyl, or laminate over concrete rubber floors, and what method works best?
Yes, but the best method depends on the product type and the condition of the rubber layer. For resilient flooring like vinyl or rubber tile, you’ll typically want a stable, flat surface with an approved underlayment or an adhesive system made for concrete and existing rubber. For laminate or click-lock flooring, floating installations still require careful flatness and moisture control—use the manufacturer’s underlayment and ensure the rubber floor won’t shift, compress, or create movement that breaks the click joints.
📅 Last Updated: October 11, 2026 | Topic: How to install over concrete rubber floors? | Content verified for accuracy and freshness.
References
- Flooring
https://en.wikipedia.org/wiki/Resilient_flooring - https://en.wikipedia.org/wiki/Rubber_flooring
- https://en.wikipedia.org/wiki/Subfloor
- https://en.wikipedia.org/wiki/Underlayment_(flooring
- Google Scholar Google Scholar
https://scholar.google.com/scholar?q=installing+resilient+flooring+over+concrete - Google Scholar Google Scholar
https://scholar.google.com/scholar?q=rubber+flooring+installation+over+concrete+subfloor - Google Scholar Google Scholar
https://scholar.google.com/scholar?q=surface+preparation+concrete+for+resilient+floor+coverings - https://pubmed.ncbi.nlm.nih.gov/?term=resilient+flooring+installation+adhesives
- https://pubmed.ncbi.nlm.nih.gov/?term=rubber+flooring+surface+preparation
- https://www.sciencedirect.com/search?qs=rubber+flooring+installation+over+concrete