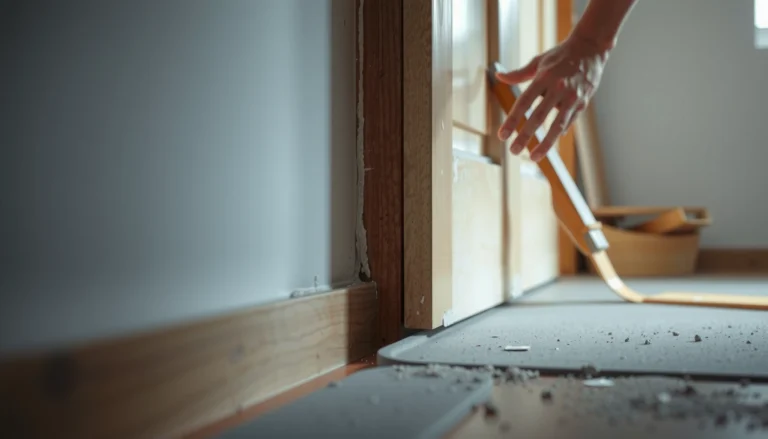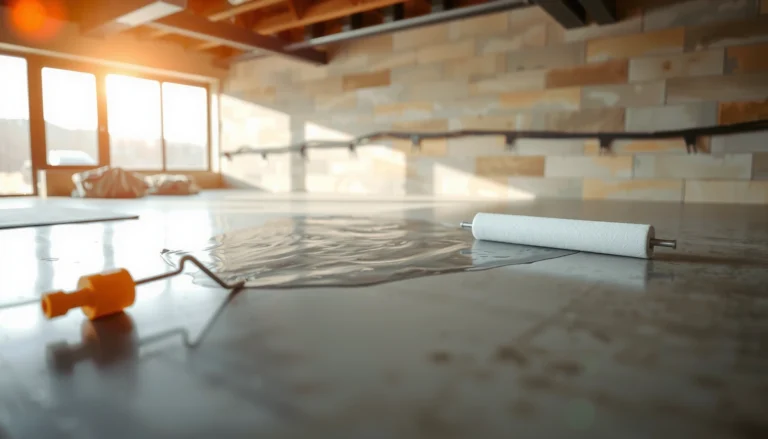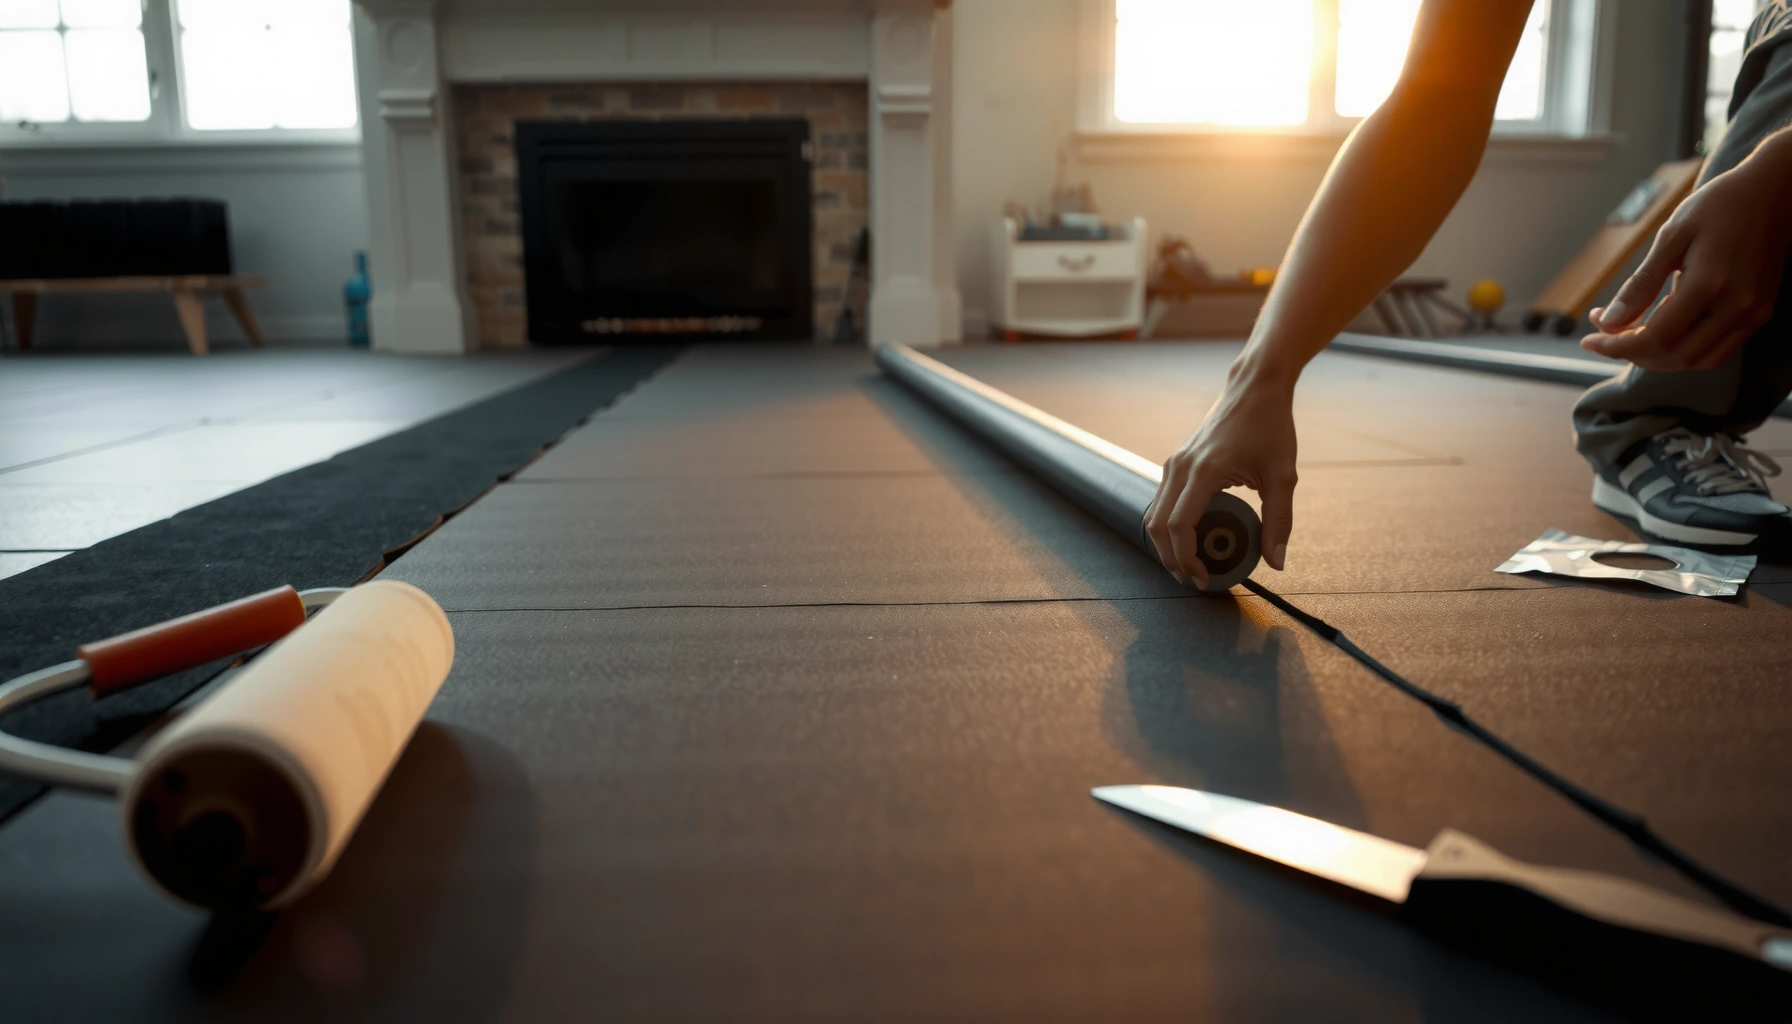

Installing underlayment under rubber floors is easiest—and most reliable—when you follow the correct layering order and use the right underlayment for your subfloor. This step-by-step guide shows exactly how to prepare the surface, roll and seam the underlayment, and tape or fasten it properly so the rubber flooring performs and stays stable. If you want a clean, no-gaps install that minimizes movement and noise, this is the process to use.



Installing underlayment under rubber floors is mainly about a clean, flat subfloor and correct seam/moisture handling—then laying the underlayment exactly as your rubber flooring manufacturer specifies. If you follow the product instructions for underlayment type, orientation, seams, and expansion gaps, you’ll reduce flex, movement, and premature wear.
If you’re installing rubber flooring (roll, tiles, or interlocking) and your product instructions specify underlayment, this is for you—especially if your subfloor is concrete, plywood, or an older surface that may have minor imperfections.
If you want rubber floors to feel solid and stay comfortable, the key is installing the right underlayment over a clean, flat subfloor—then sealing seams only if the underlayment manufacturer calls for it. Start by prepping the surface (remove debris, address high spots), lay the underlayment with correct orientation/overlap, and avoid gaps at walls so the flooring doesn’t flex or shift. This guide walks you through the process and the most common failure points.
Check Your Rubber Flooring Instructions First
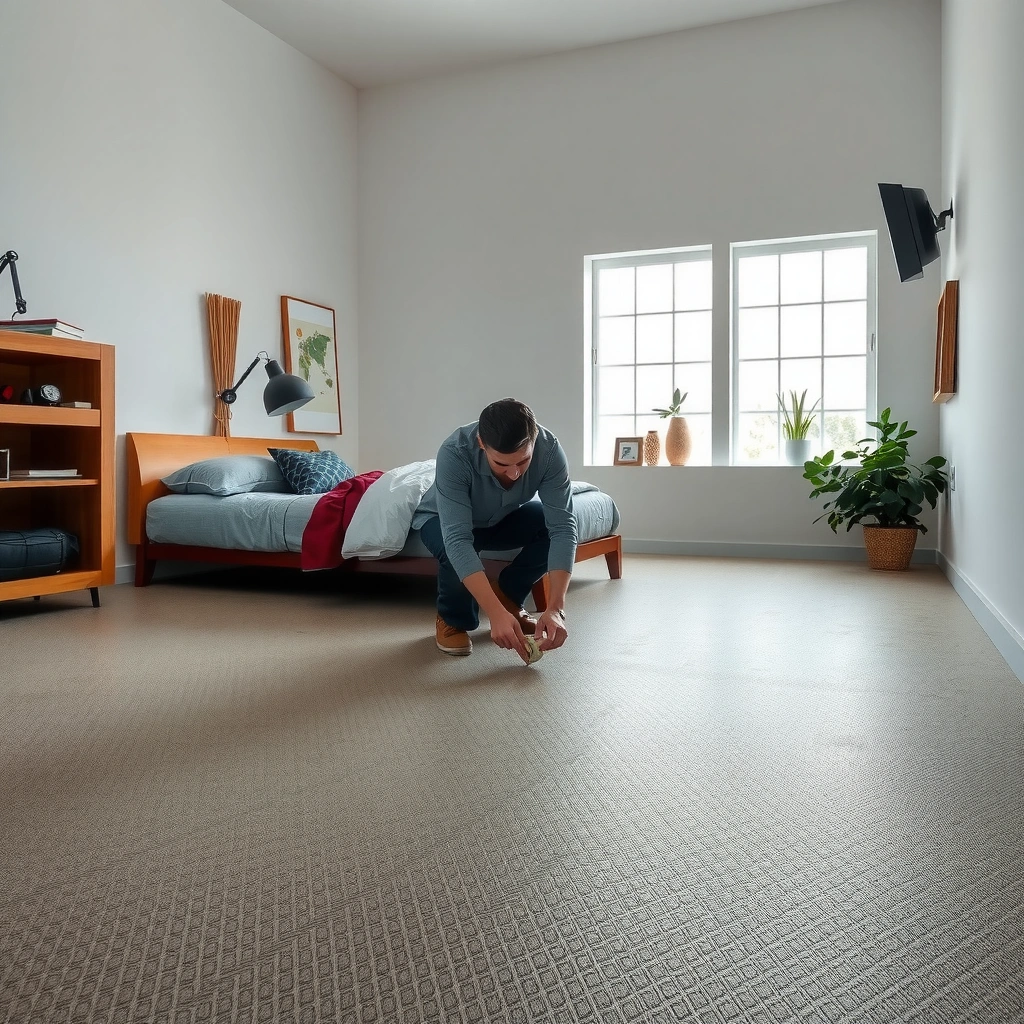
Most rubber flooring failures trace back to mismatched components—especially underlayment type and installation method. Start by verifying whether underlayment is required and which seam and moisture rules apply to your exact rubber product.
Use the rubber flooring manufacturer’s underlayment requirements first, because even “compatible” underlayments can void comfort or warranty claims.
Installation method matters: glue-down versus floating/interlocking can change what underlayment is allowed.
Orientation and seam instructions are not optional details—underlayment systems often rely on a specific vapor barrier side or seam tape.
– Confirm whether your specific rubber flooring requires underlayment and which type (foam, cork, rubber-backed, etc.) is compatible.
– Match the underlayment’s thickness and moisture/thermal guidance to your subfloor type.
– If the flooring uses a specific installation method (glue-down vs. floating/interlocking), follow that method because underlayment rules can change.
According to ASTM standards used in resilient flooring moisture evaluation, in-situ relative humidity testing follows ASTM F2170 for concrete slabs, and surface emission testing follows ASTM F1869; your floor and underlayment specs typically reference these methods when setting acceptance limits. [ADD: manufacturer guidance referencing ASTM F2170 / ASTM F1869]
Prep the Subfloor (This Step Determines Your Results)
Underlayment can smooth minor irregularities, but it cannot reliably “fix” a badly uneven subfloor. Your goal is a dry, stable, clean surface with flatness good enough that seams and ridges don’t telegraph through rubber.
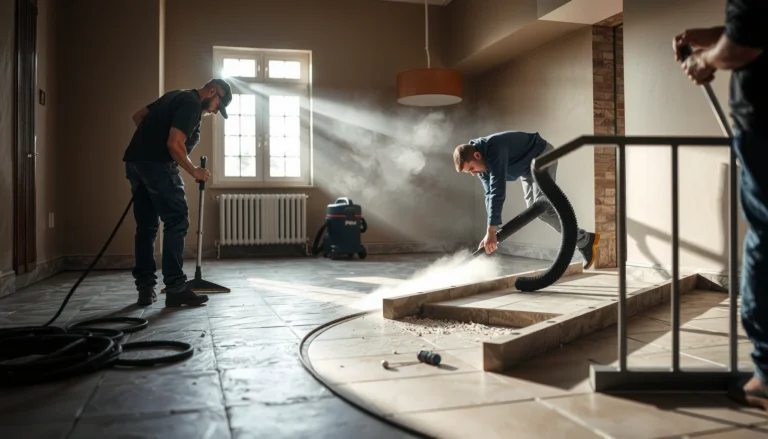
Vacuuming and removing adhesive residue is a primary requirement because embedded grit can create permanent underlayment bumps.
Flatness is evaluated before underlayment goes down—because rubber will conform, not correct, surface irregularities.
If concrete moisture is present, underlayment materials (especially foams) can degrade or develop odor over time.
– Clean thoroughly: vacuum dust and remove anything that could create lumps (paint drips, adhesive residue, grit).
– Repair uneven areas: sand high spots and fill low spots using a method approved for your subfloor.
– Make sure the surface is dry and stable—moisture issues can cause underlayment breakdown or odor.
Concrete and moisture: don’t guess
For concrete subfloors, follow a moisture testing approach aligned with recognized standards:
– For in-situ RH, use ASTM F2170 procedures and acceptance criteria from your flooring/underlayment manuals. [ADD: ASTM F2170 reference or your manufacturer’s document referencing it]
– For calcium chloride emission testing, use ASTM F1869 and your flooring manufacturer’s limits. [ADD: ASTM F1869 reference or your manufacturer’s document referencing it]
If your product does not specify moisture testing, treat that as a red flag—especially in basements or slabs with past water issues. When moisture is outside the required range, underlayment can’t perform the way it’s designed to.
Subfloor Moisture Targets Commonly Referenced for Resilient Flooring Systems
| # | Test method (standard) | Measured output | Common target used in specs | If exceeded |
|---|---|---|---|---|
| 1 | In-situ RH (ASTM F2170) | % RH | ≤ 75% RH (often used) | Moisture-driven failures |
| 2 | Calcium chloride (ASTM F1869) | lb/1000 sq ft/24 hr | ≤ 3.0 (often used) | Adhesion and odor risks |
| 3 | Concrete pH (common concrete slab checks) | pH units | ≤ 9.0 (typical adhesive spec) | Moisture/adhesion instability |
| 4 | Thermal condition check (baseline) | Ambient & slab temp | Follow floor manual range | Dimensional movement |
| 5 | Plastic sheet test (field check) | Condensation/visible moisture | No condensation after 24 hr (rule-of-thumb) | Elevated slab moisture |
| 6 | Subfloor dryness window (practical) | Time since slab completion | Check per slab specs | Moisture out of range |
| 7 | Perimeter sealing (moisture-limiting) | Air gaps / penetration control | Follow vapor/penetration guidance | Moisture migration |
Note: “Common target” values are frequently referenced in resilient flooring installation guidance, but your rubber flooring and underlayment manuals can set different acceptance limits. Always follow the stricter requirement.
Choose the Right Underlayment and Placement
The right underlayment improves comfort, reduces sound, and protects rubber from minor subfloor issues. The wrong one can introduce a vapor barrier conflict, reduce stability, or create a soft “bounce” that makes the floor feel unfinished.
Choose an underlayment rated for resilient flooring and compatible with your rubber product’s installation method.
Many underlayments have a specific “finished” side or vapor layer—installing them backward can defeat the intended moisture control.
Plan seam positions so they don’t stack directly under transitions, seams in the rubber, or high-traffic chair paths.
– Select the underlayment designed for rubber flooring and your room conditions (humidity, temperature swings).
– Lay it the correct way according to the manufacturer (some have a “finished” side, vapor layer, or markings).
– Plan the layout so seams land where they won’t create concentrated ridges under the rubber.
Placement strategy that prevents telegraphed seams
In practice, the cleanest result comes from treating underlayment seams like a structural detail:
– Start a row from the longest, straightest wall.
– Stagger seams (don’t line up underlayment joints with rubber joints).
– Keep seams away from doorways and transitions unless the underlayment system specifically allows that.
Install Underlayment Without Creating Seams That Telegraphed
Good underlayment installation is mostly about flatness at the seams. If seams lift, gap, or get over-taped, the rubber surface often shows the “ridge” immediately under light or under foot traffic.
Roll/fit the underlayment flat first, then trim around walls and penetrations so the material sits without buckling.
Use overlap or butt seams only as the underlayment spec dictates—overlap isn’t automatically better.
Tape and fasteners are controlled variables; using a non-approved adhesive or seam tape can cause separation or residue buildup.
– Roll/fit the underlayment flat first, then trim around walls, pipes, and doorways as needed.
– Overlap or butt seams only if the manufacturer instructs that exact seam method—don’t assume “more overlap is better.”
– Use the recommended tape/fasteners only when allowed by the underlayment spec (some systems require specific seam tape; others forbid adhesives).
Common “seam ridge” causes to watch for
Use a straightedge (or at least your hand plus careful sightlines) to detect problems early:
– Edges that don’t lie flat (caused by uneven subfloor, trimming too tight, or trapped debris).
– Seams that stack high (caused by too much overlap or uneven trimming).
– Tape that creates a hard bump (caused by applying tape incorrectly or over an area that will compress heavily).
For fast, accurate evaluation, the same logic used in subfloor flattening checks applies: you’re trying to prevent localized high points, because resilient floor coverings conform to what’s underneath. [ADD: ASTM references for resilient flooring substrate evaluation; e.g., ASTM E1155/E1220 or manufacturer guidance]
Lay Rubber Flooring Over the Underlayment Correctly
Installing rubber over underlayment is where small mistakes become obvious—especially expansion gaps and debris trapping. A smooth, debris-free underlayment surface helps rubber perform as a uniform system.
Expansion gaps at the perimeter protect the floor from buckling as indoor temperature and humidity change.
Floating/interlocking rubber must remain free to move within the manufacturer’s required perimeter clearance.
Before you start installing rubber, re-check that the underlayment is flat and fully seated so you don’t lock in bumps.
– Keep expansion gaps where required by your rubber flooring type and room perimeter.
– Avoid trapping debris between layers; re-check the underlayment is fully seated and smooth.
– If the rubber is floating/interlocking, ensure the underlayment doesn’t interfere with the locking edges.
Pros/cons: “Comfort-first” underlayment vs. “Stability-first” systems
| Approach | Pros | Cons | Best For |
|---|---|---|---|
| Thicker foam comfort underlayment | Softer feel, some noise reduction | Can increase bounce; seams can feel spongy | Rooms with light load and clear subfloor flatness |
| Thinner/denser underlayment | More stable under foot traffic | Less “cush” comfort | Home offices, hallways, areas needing crisp feel |
| Vapor-control underlayment (where required) | Better moisture management over concrete | More rules for seams/taping; mistakes can trap moisture | Concrete slabs with known moisture sensitivity |
(Always defer to your rubber flooring manual for the approved underlayment category and any required moisture/vapor layers.)
What Can Go Wrong (Common Mistakes and Edge Cases)
Most installation issues come from ignoring compatibility rules, creating moisture conditions, or introducing seam irregularities. The good news: these problems are predictable, so you can prevent them during prep and installation.
Thickness mismatches often show up as “bounce” or instability because underlayment becomes a flexing layer under resilient rubber.
Moisture vapor layer confusion is a long-tail failure—once moisture migrates, comfort and odor problems can persist.
Unapproved seam taping can create ridges or chemical residue that affects how rubber performs and compresses.
– Underlayment thickness mismatch: Too thick can increase bounce and make seams feel “spongy” or unstable under traffic.
– Moisture/vapor layer confusion: Using the wrong underlayment (or skipping a required vapor barrier) over concrete can lead to long-term issues.
– Wrong seam treatment: Leaving gaps between underlayment sheets or taping where the manual says not to can telegraph ridges or cause separation.
– No subfloor flattening: Installing over bumps usually transfers the problem through rubber flooring, especially with tiles or thinner products.
– Trapped moisture: Rolling underlayment onto a damp subfloor (or in damp conditions) can create odor or degrade foam materials.
Edge cases to handle deliberately:
– Heated floors: Follow the rubber and underlayment thermal/watt and warm-up rules—some underlayments reduce heat transfer.
– Riser steps and transitions: Don’t assume underlayment “stops anywhere.” Use transition pieces where required to keep movement controlled.
– Old slabs or patched areas: Even if the surface is “smooth,” ensure patched compounds are fully cured and finished to spec.
Verdict: A Solid Plan, But Skip This If Your Instructions Say Otherwise
Underlayment under rubber floors is usually worth it when (1) your manufacturer calls for it, (2) your subfloor needs smoothing, and (3) you match seam/moisture requirements. The downside is extra labor and materials—and if you install the wrong underlayment or ignore moisture guidance, you can worsen comfort and durability.
If you’re deciding between DIY and a professional installer, choose based on risk. Skip DIY installation (or get help with the tricky parts) if you have significant subfloor damage, chronic moisture, or if your rubber flooring instructions are unusually strict about approved underlayments, seam methods, or vapor layer compatibility.
From a practical standpoint, the most reliable path is to treat the underlayment like a system component—not a generic cushion.
Quick Checklist (Scan Before You Start)
– [ ] Rubber flooring manual reviewed for underlayment requirements
– [ ] Subfloor cleaned, dry, and flattened (high spots sanded, low spots filled)
– [ ] Underlayment type/thickness compatible with your floor system
– [ ] Underlayment laid flat; seams handled exactly per manufacturer instructions
– [ ] No debris trapped under the rubber; expansion gaps maintained
FAQ
Do all rubber floors need underlayment?
Not always. Some rubber flooring products are designed to install directly over specific subfloors, while others require an underlayment for comfort, sound control, or minor leveling.
Should underlayment go across the whole room under walls?
Usually you want it to stop where your flooring needs an expansion gap. Follow your rubber flooring perimeter instructions so you don’t trap the floor and prevent proper movement.
Can I tape underlayment seams the way I want?
Only if the underlayment manufacturer permits it. Some systems require specific seam tape; others want seams left un-taped or only lightly overlapped.
What if my subfloor is slightly uneven?
Minor variations can be manageable depending on the rubber flooring and underlayment, but significant unevenness often telegraphs through. Address high/low spots using an approved subfloor repair method.
Can I use a different underlayment brand than the one listed?
Sometimes, but only if it’s explicitly compatible by thickness, moisture/vapor guidance, and installation method. When in doubt, use the underlayment type approved in the flooring instructions.
Sources
– [ADD: your rubber flooring manufacturer’s installation instructions/spec sheet that explicitly mentions underlayment requirements, seam handling, and expansion gap rules]
– [ADD: underlayment manufacturer installation instructions/spec sheet covering approved subfloors, moisture/vapor guidance, and seam overlap/taping requirements]
– ASTM F2170 (Standard Test Method for Determining Relative Humidity in Concrete Floor Slabs Using in situ probes)
– ASTM F1869 (Standard Test Method for Measuring Moisture Vapor Emission Rate of Concrete Subfloor Surfaces Using Anhydrous Calcium Chloride)
– [ADD: any applicable ASTM substrate evaluation/flatness guidance referenced by your flooring manual]
A correctly installed underlayment is the difference between rubber flooring that feels solid and quiet—and flooring that shifts, ridges, or develops long-term moisture problems. If you match materials to your flooring instructions, prep the subfloor thoroughly, and handle seams and moisture rules precisely, you’ll get the most comfortable performance with the least chance of rework.
Frequently Asked Questions
What underlayment should I use under rubber floors on concrete or subfloors?
For most installs, choose an underlayment made specifically for resilient flooring like rubber, with features such as moisture resistance and sound reduction. On concrete slabs, look for a moisture barrier-rated product (often a foam or rubber underlayment with built-in film, or a separate vapor barrier if required). If you’re installing over wood or an existing subfloor, prioritize underlayment that helps with cushioning and minor subfloor imperfections without compressing too much.
How do I install underlayment under rubber floors step by step?
Start by cleaning the subfloor thoroughly and removing debris, dust, and old adhesive residue so the underlayment can sit flat. Roll or lay the underlayment in the direction recommended by the manufacturer, leaving any required expansion gaps around walls, pipes, and doorways. Tape or overlap seams as directed (commonly using the provided seam tape), then install the rubber flooring according to the flooring instructions—being careful not to trap wrinkles or gaps that telegraph through the rubber.
Why is a moisture barrier important under rubber flooring, especially on slabs?
Moisture can cause odors, mold, and even adhesive or flooring failure over time, particularly on concrete where vapor transmission is common. A proper underlayment system with moisture protection helps manage humidity levels and reduces the risk of cupping, lifting, or premature wear. Always check your rubber flooring manufacturer’s requirements for moisture testing and whether a separate vapor barrier is needed under the underlayment.
Which underlayment is best for soundproofing under rubber floors in apartments?
If noise reduction is a priority, choose underlayment designed for acoustic performance, such as high-density foam or underlayments rated for impact sound reduction. Look for products that specify STC/IIC or impact ratings and that are compatible with resilient flooring installations. Proper seam taping and flat installation are critical—small gaps or overlaps can reduce the soundproofing benefit and may cause uneven wear.
What thickness and surface prep requirements should I follow before laying underlayment for rubber floors?
Underlayment thickness matters because too much cushioning can cause movement, resulting in joint separation, edge lift, or faster wear of the rubber. Follow the rubber flooring manufacturer’s recommended underlayment thickness range (often a thin foam layer) and avoid stacking multiple underlayment layers unless specifically approved. Before installing, ensure the subfloor is clean, dry, smooth, and level—fill low spots and scrape high ridges so the underlayment lays flat without wrinkles or stress points.
📅 Last Updated: October 11, 2026 | Topic: How to install underlayment under rubber floors? | Content verified for accuracy and freshness.
References
- Google Scholar Google Scholar
https://scholar.google.com/scholar?q=rubber+flooring+underlayment+installation - Google Scholar Google Scholar
https://scholar.google.com/scholar?q=resilient+flooring+installation+underlayment+moisture+vapor+barrier - Google Scholar Google Scholar
https://scholar.google.com/scholar?q=foam+underlayment+resilient+flooring+installation+guideline - https://en.wikipedia.org/wiki/Rubber_flooring
- https://www.epa.gov/mold/moisture-control-preventing-mold
- https://www.cdc.gov/mold/default.htm
- https://pubmed.ncbi.nlm.nih.gov/?term=resilient+flooring+moisture+vapor+barrier+underlayment
- https://www.who.int/news-room/questions-and-answers/item/dampness-and-mould
- NFHS
https://www.nfhs.org/ - https://www.britannica.com/technology/flooring