
To prevent slipping on rubber floors, the fastest, most reliable fix is to keep the surface clean and dry by removing grime fast and addressing any moisture sources immediately. Start with the right cleaner, then improve traction with a rubber-safe anti-slip additive or maintenance mat where shoes and water are highest-risk. If you want fewer slip incidents without replacing the floor, these practical adjustments beat “dry-only” habits and generic cleaning schedules.


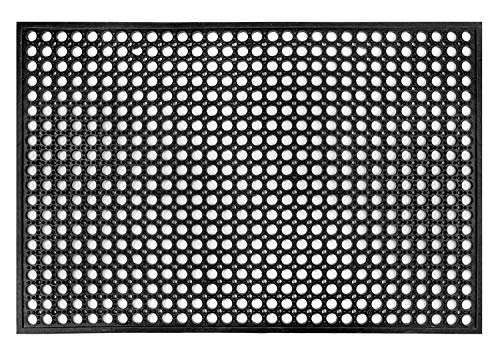

Prevent slipping on rubber floors by keeping the surface truly clean and dry, then improving traction only in wet or high-traffic zones. In practice, that means removing residue that forms a slick film (often from cleaners, sweat, and oils), drying seams/edges after mopping, and using traction-safe matting rather than “sealing” the whole floor with an incompatible finish.
This guide is for homeowners, gym/fitness facility managers, schools, and anyone maintaining rubber flooring in areas where spills, dust, sweat, and cleaning chemicals can reduce grip. If your rubber floor is matte, textured, or safety-style interlocking tiles, the same traction principles apply.
Why rubber floors can become slippery
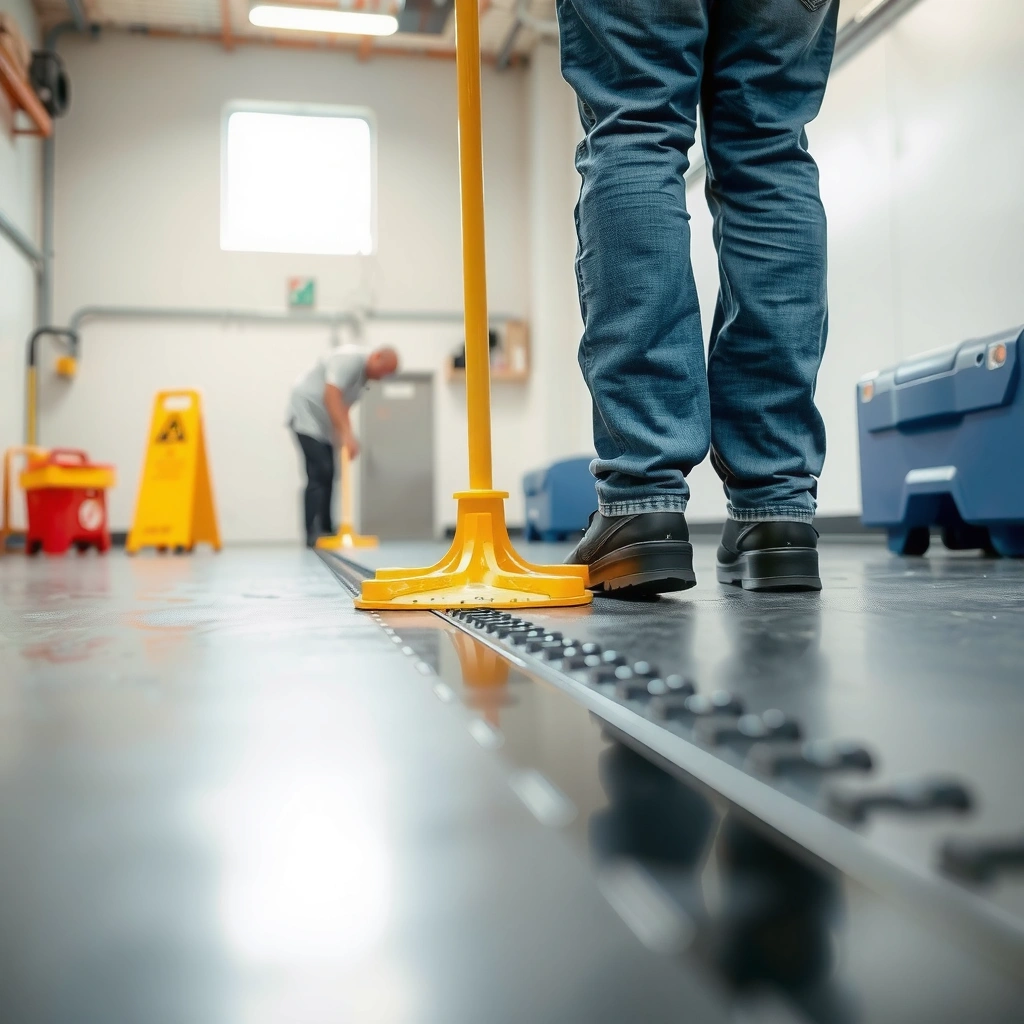
Rubber flooring usually feels grippy—until friction drops due to residue, moisture, or surface wear. When slip resistance falls, shoes and even bare feet can skate, especially during daily cleaning, after a spill, or in locker-room traffic.
Residue buildup from detergents, body oils, sweat, and some disinfectants can leave a thin film that lowers friction even when the floor looks “clean.”
Water plus oily contaminants can create a temporary slick layer on rubber flooring, particularly in high-moisture zones like locker rooms.
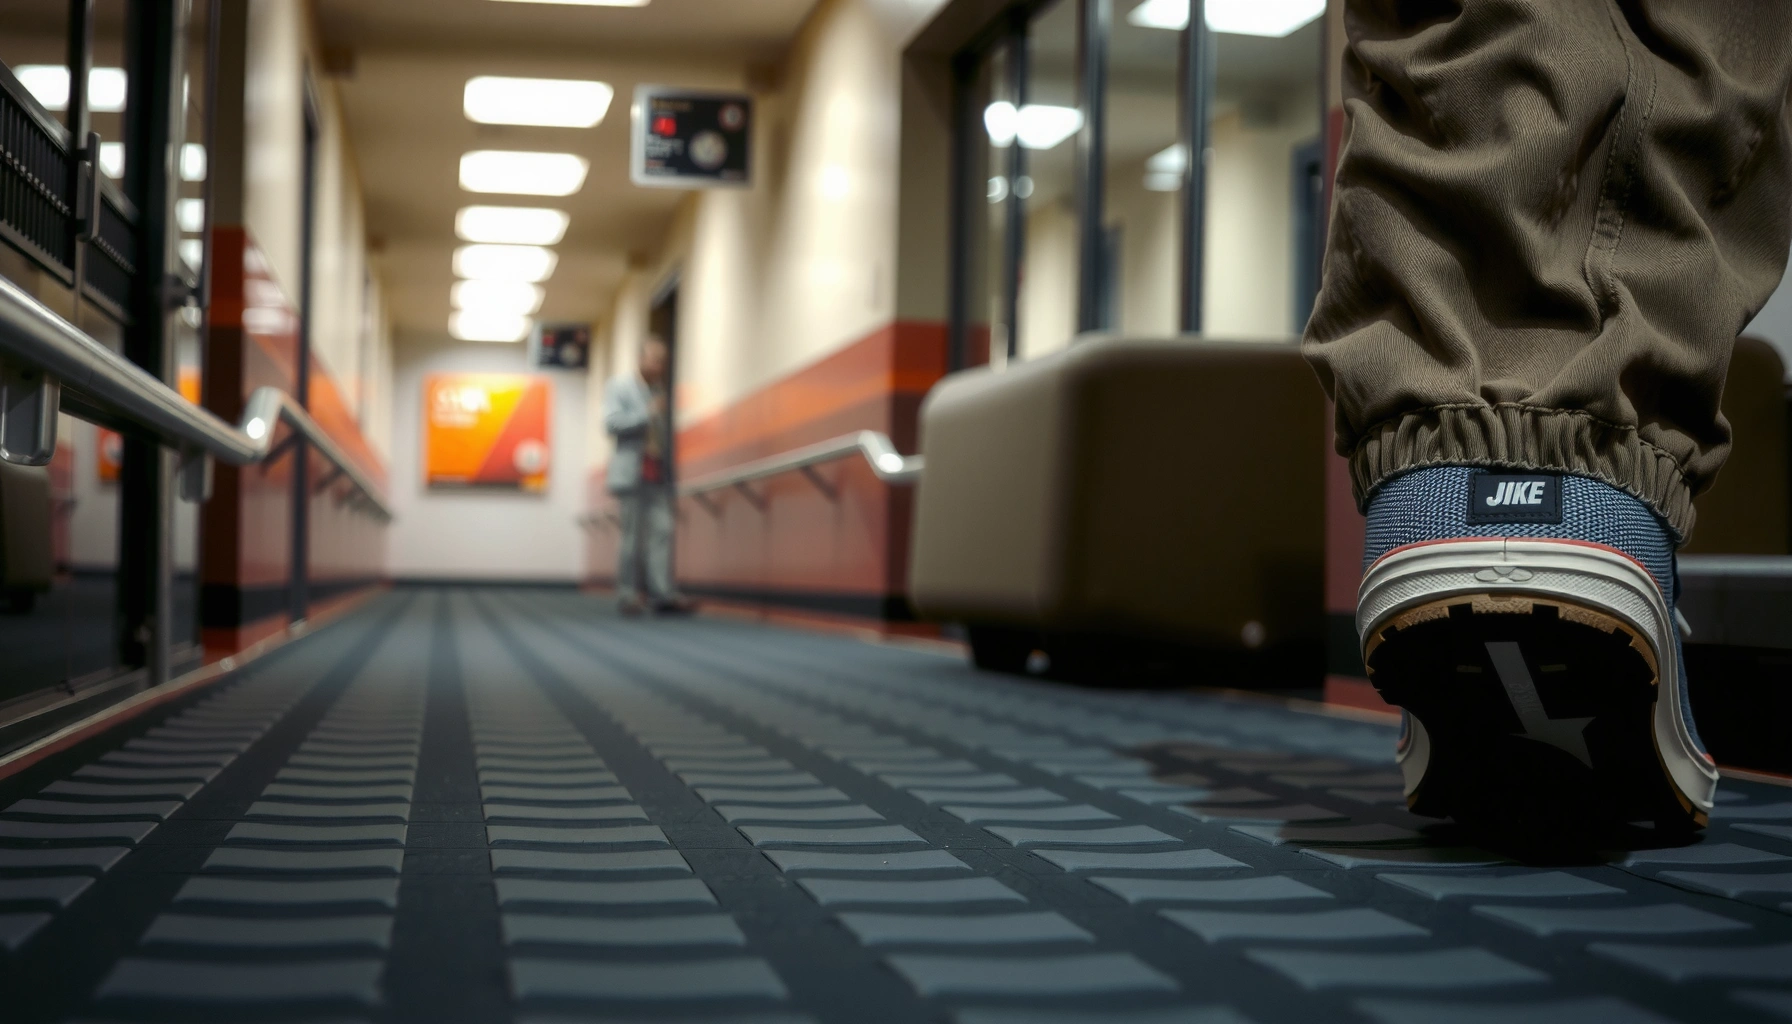
Wear patterns (smooth spots from repeated chair/foot traffic) can reduce effective texture and lower traction on rubber flooring.
Rubber flooring becomes slick for three common reasons. First is residue: many “clean” products leave surfactant or polymer films behind. Those films can be invisible at a glance but still change how well a shoe outsole bites into rubber’s texture. Second is water: even if the water is not oily, over-wetting can raise the boundary layer between shoe rubber and floor rubber—so traction drops right when people enter or exit. Third is surface change: interlocking rubber tiles can also develop localized smoothing where the same foot paths repeat daily.
From a safety perspective, this matters. According to the World Health Organization, falls are a leading cause of injury worldwide, with hundreds of thousands of fall-related deaths each year (WHO, falls facts). In workplace settings, slips, trips, and falls remain a major injury category (OSHA, walking-working surfaces safety overview). And in the U.S., CDC data consistently shows that falls account for millions of emergency visits annually among older adults (CDC, falls and older adults).
Key signals your rubber flooring needs traction help
– The floor feels more slippery after cleaning than before.
– Water beads or lingers along edges, seams, or under mats.
– The slickness appears only in one direction (a worn pathway) rather than everywhere.
– Shoes look clean but slide more than expected—often a residue or moisture issue on rubber flooring, not just “wetness.”
Clean the floor the traction-safe way
You prevent slipping on rubber floors most reliably by cleaning in a way that removes residues without leaving a new film and by managing water so seams and edges don’t stay damp. If your cleaning method leaves a soap-like slickness, rubber flooring traction typically gets worse—not better.
Using a cleaner intended for rubber flooring reduces the chance of leaving surfactant residue that can lower slip resistance.
Mopping with minimal water and promptly removing standing moisture is a practical way to avoid slip hazards on rubber flooring.
Some rubber flooring manufacturers require specific dilution and contact times to prevent residue buildup—check the care sheet before switching products.
Use the right cleaner (and follow dilution/contact time)
For rubber flooring, the “traction-safe” approach is simple: choose a rubber-safe cleaner and apply it as directed. Avoid harsh solvents and “any-purpose” degreasers unless your rubber flooring manufacturer explicitly approves them—some formulas can react with rubber, loosen embedded grime, or leave slick residues.
[ADD: cite specific manufacturer cleaning instructions once you choose the product type/brand]
– Identify your rubber flooring type (solid rubber, rubber sheet, poured-in-place rubber, or interlocking tiles).
– Follow the manufacturer’s approved cleaner list or chemical restrictions.
– Use the correct dilution and contact time (and don’t let cleaner sit longer than the spec).
Mop with less water than you think you need
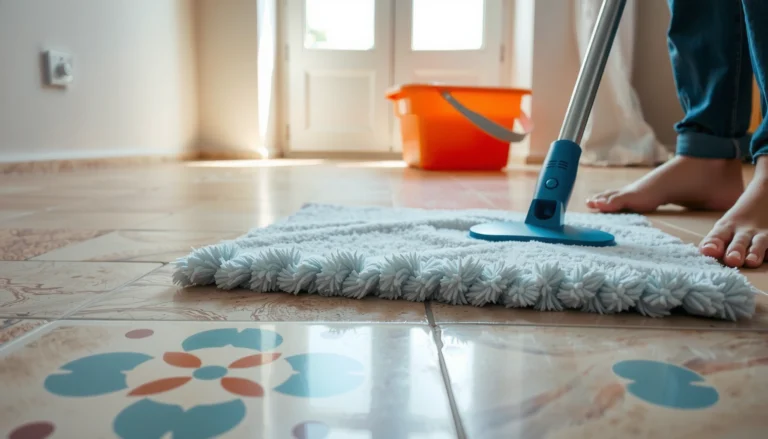
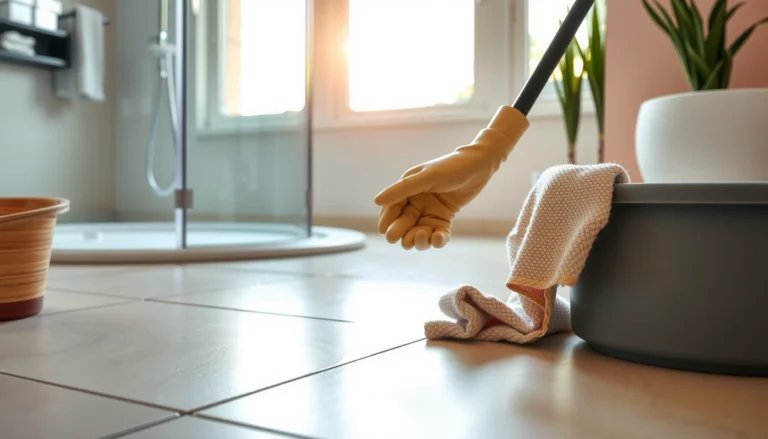
For rubber flooring, standing moisture is a slip risk. Use a microfiber mop (or microfibre) and wring it thoroughly. Then do a “dry pass” if your seams/edges hold water.
Practical method:
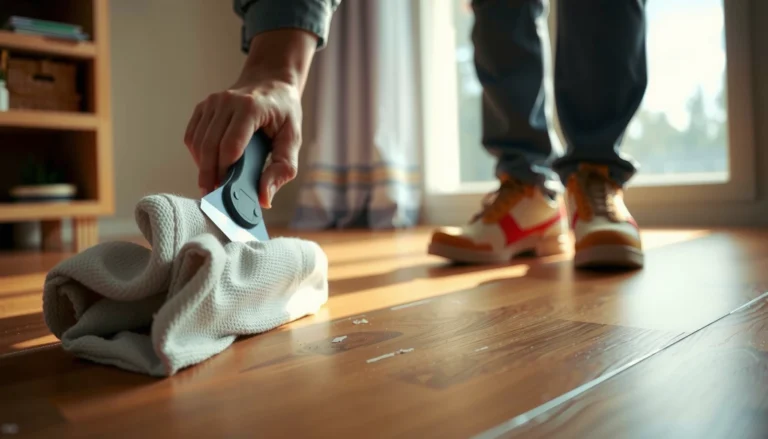
1. Sweep or vacuum first to remove grit that reduces traction.
2. Damp-mop with the rubber-safe cleaner at the specified dilution.
3. Immediately extract/remove excess moisture.
4. Dry seams and edges (especially with interlocking tiles).
5. If your manufacturer instructs rinsing, rinse according to their method—rinsing matters because leftover cleaner can be slick on rubber flooring.
[ADD: installation/manufacturer documentation for cleaning method expectations (dilution, contact time, rinsing requirements)]
Improve traction without damaging rubber
You don’t need to “make rubber sticky”—you need to keep the surface clean/dry and add grip where it’s lost. Targeted traction tools (mats, entry systems, dry maintenance) usually outperform full-floor chemical finishes on rubber flooring.
Removing dry grit (dust, sand, skin flakes, chalk residue) before mopping helps preserve rubber flooring traction.
Strategic mats at entrances and wet zones reduce the amount of tracked moisture and oils across rubber flooring.
Any finish or treatment must be compatible with rubber flooring; incompatible coatings can reduce grip or trap residue and moisture.
Prefer maintenance that preserves texture
– Sweep or vacuum daily in gym and school settings. Grit acts like ball bearings and can also “polish” the surface over time.
– In wet zones, clean → dry → check the floor before reopening to foot traffic.
Use mats strategically (especially on rubber flooring)
Instead of treating the entire floor, use mats where slip starts:
– Entry points (tracked rain, snow, mud, and floor-finish overspray)
– Around sinks, showers, and locker-room wet areas
– Next to equipment that frequently creates wet contact or spills
Pros/cons of traction mats vs. floor treatments
| Approach | Pros | Cons |
|---|---|---|
| Mats in wet/high-traffic zones | Fast to deploy; reduces moisture tracking; protects rubber flooring texture | Mats require rotation/cleaning; can wear unevenly if not managed |
| Whole-floor finish/polish | Can look uniform; may reduce scuffs if compatible | High risk of reduced slip resistance; incompatible products can “seal in” slipperiness |
If you consider a floor finish, confirm compatibility
If a facility insists on a finish (often for appearance consistency), confirm compatibility with rubber flooring before applying anything. “No-wax” rules are common for safety and textured rubber—some sealants reduce traction or change micro-texture.
[ADD: source for compatibility guidance from the rubber floor manufacturer]
Fix common problem areas (wet, oil, and high-traffic)
You fix slipping on rubber flooring fastest by addressing the zone-specific cause—water in wet areas, oils in locker/equipment zones, and texture smoothing in high-traffic pathways. One routine for everything often leaves the real problem untreated.
Wet zones require an immediate clean-and-dry response on rubber flooring; waiting until the end of the shift increases slip risk.
Oily contamination in locker rooms can combine with water to create slick layers on rubber flooring if residue isn’t fully removed.
High-traffic pathways can become smooth over time, so rotating mat placement and equipment paths helps maintain grip on rubber flooring.
Wet zones: clean spills immediately, then dry
After mopping, rubber flooring can remain slick if water pools in seams/edges. A simple operational loop helps:
– Clean → dry → quick friction check (walk test with attention to seams)
– Add “drying routine” steps if your building’s workflow keeps reopening the area too soon
Oily areas: use the correct rubber-safe degreaser/cleaner
Locker rooms, equipment-heavy corners, and places with body oils need more frequent, targeted cleaning. The goal is complete residue removal, not just odor control.
Operational tips:
– Increase cleaning frequency in oil-prone corners.
– Use only rubber-approved degreasers/cleaners and follow the manufacturer’s dwell time.
– If the manufacturer requires rinsing, do it—residue is a major slipperiness driver on rubber flooring.
High-traffic pathways: reduce wear in the same line
If chair legs, tread patterns, or repeated footpaths wear the rubber surface smooth, traction drops. Consider:
– Rotating mat placement
– Adjusting chair/bench positioning
– Using floor protection where appropriate
What can go wrong (and when to stop)
You can accidentally make rubber flooring more slippery by using the wrong chemicals, over-wetting the surface, or applying wax/polish/unknown coatings. Stop if slipperiness increases after cleaning or if the flooring’s condition shows deeper wear problems.
If rubber flooring feels more slippery after cleaning, discontinue that product and verify it matches the manufacturer’s approved chemical guidance.
Over-wetting can create a temporary slip hazard on rubber flooring, especially where seams or edges hold water.
Wax, polish, and incompatible sealants can permanently reduce traction on rubber flooring if they alter micro-texture or leave residual films.
Common mistakes
– Using “any-purpose” cleaners that leave residue films on rubber flooring.
– Leaving floors damp (especially after mopping) so traction never fully returns.
– Aggressive scrubbing with the wrong chemistry, which can mobilize contaminants and redeposit residue.
“Don’t do this” on rubber flooring finishes
Applying wax, polish, or an unapproved sealant can permanently reduce traction. If you’re considering a treatment:
– Test only in an inconspicuous area
– Follow the rubber flooring manufacturer’s exact guidance
[ADD: source for “no wax/no polish” policy from the specific rubber floor spec sheet]
When cleaning isn’t enough
No cleaning routine can restore traction if the rubber flooring is compromised. If you see lifting, cracking, or excessive wear, plan for repair or replacement.
[ADD: source for replacement/maintenance thresholds from manufacturer]
Verdict: the fastest plan that usually works
The fastest plan that usually prevents slipping on rubber floors is: reset the surface (remove residue using manufacturer-recommended cleaning), dry thoroughly, then add targeted mats in wet/spill-prone and entry zones. This approach is often more reliable than experimenting with floor treatments, because traction usually fails due to cleanliness, dryness, or compatibility—not because rubber is “inherently slippery.”
For rubber flooring, traction is typically restored more consistently by removing residue and moisture rather than by adding new coatings.
Targeted matting at wet and entry points reduces the sources of slickness (tracked moisture and oils) across rubber flooring.
Manufacturer-approved cleaning methods minimize the risk of residue films that lower slip resistance on rubber flooring.
Downsides to expect
– You may need to change cleaning products and staff training.
– Mats can create uneven wear if never rotated or cleaned.
– If your rubber flooring is already worn smooth, cleaning and matting may only partially solve traction loss.
Who should skip DIY treatments
Skip “DIY floor treatments” (wax/polish/unknown coatings) if your rubber flooring has manufacturer restrictions, or if it’s slick even when dry—traction coatings can mask the underlying issue (residue, wear, or compatibility problems). If you’re unsure, follow the care instructions for your specific rubber product first.
[ADD: link/citation to your rubber floor manufacturer’s care & maintenance instructions]
7 Most Common Causes of Slipperiness on Rubber Flooring (Operational Fix Ranking)
| # | Cause of Slickness | Where It Shows Up Most | Typical Trigger | Best Immediate Fix | Slip-Risk Reduction Potential |
|---|---|---|---|---|---|
| 1 | Cleaner residue film | Gyms, classrooms | Overuse or wrong product | Reset clean + dry per spec | High (80%) |
| 2 | Standing water after mopping | Seams/edges, entrances | Too much water, late dry pass | Extract + dry seams | High (75%) |
| 3 | Body oils + sweat | Locker rooms, equipment zones | Low-frequency degrease | Use approved degreaser | Medium-High (65%) |
| 4 | Tracked grit (sand/dust) | Entry corridors | No pre-sweep/vacuum | Sweep/vacuum first | Medium (55%) |
| 5 | Smooth wear bands | High-traffic lanes | Unrotated mat paths | Rotate mats/equipment | Medium (50%) |
| 6 | Incompatible floor finish | Whole-floor treatments | Wax/polish/unknown sealant | Remove per spec / stop use | Low-Unknown (30%)* |
| 7 | Damaged/failed tiles or seams | Edges, lifted sections | Cracks, lifting, excessive wear | Repair/replace affected area | Very Low (10%)* |
*If incompatible finishes or physical damage are the root cause, cleaning alone may not restore slip resistance on rubber flooring.
Quick checklist (scan & save)
– [ ] Use rubber-floor-safe cleaner per manufacturer directions
– [ ] Remove standing moisture; don’t leave the floor “damp”
– [ ] Dry quickly after mopping (especially in seams/edges)
– [ ] Sweep/vacuum to remove grit before mopping
– [ ] Add mats at entry and wet zones
– [ ] Avoid wax/polish/unknown coatings unless approved
– [ ] Re-check after cleaning if slipperiness increases
FAQ
Why does my rubber floor feel slippery after I clean it?
It’s usually caused by cleaner residue or using a product not designed for rubber flooring. If slipperiness increases right after cleaning, stop using that cleaner and follow the rubber manufacturer’s care instructions. [ADD: cite the manufacturer’s cleaning guidance for your floor type]
Can I use vinegar or bleach on rubber floors?
Don’t assume—some rubber flooring surfaces can be damaged or left more slippery depending on chemical formulation and concentration. Check the manufacturer’s approved chemical list or care sheet first. [ADD: source for approved/forbidden chemicals from manufacturer]
What’s the best way to clean rubber gym flooring to prevent slipping?
Use a rubber-safe cleaner, minimal water, and remove moisture promptly. If your rubber flooring is textured, focus on lifting residue rather than leaving a wet film. [ADD: cite manufacturer cleaning method if available]
Do I need a floor finish to make rubber floors less slippery?
Usually, no. Traction is more dependent on cleanliness, dryness, and treatment compatibility. If you consider a finish, confirm it’s specifically approved for your rubber flooring system to avoid reducing grip.
Sources
– OSHA, Walking-Working Surfaces—General slip/trip safety and risk factors
– World Health Organization (WHO), falls facts and injury burden
– CDC, falls and older adults (nonfatal injury/emergency care burden)
– [ADD: Rubber flooring manufacturer “Care & Maintenance” sheet for approved cleaners/chemicals and guidance on wax/polish/sealants]
– [ADD: Installation/manufacturer documentation for cleaning method expectations (dilution, contact time, rinsing requirements)]
– [ADD: Any specific guidance from the rubber flooring brand or safety flooring spec referenced in this article]
– [ADD: source for “no wax/no polish” policy from the specific rubber floor spec sheet]
– [ADD: source for replacement/maintenance thresholds from manufacturer]
Preventing slipping on rubber flooring is mostly about doing the “boring” steps correctly: remove residue, keep water under control, and add traction only where it’s needed. If you align cleaning chemicals and drying practices with the rubber flooring manufacturer’s instructions—and avoid incompatible finishes—you typically restore safe grip without damaging the floor’s surface.
Frequently Asked Questions
What are the best ways to prevent slipping on rubber floors in high-traffic areas?
Use a rubber floor cleaner that’s designed for the specific finish (matte, sealed, or textured) so you remove grime without leaving a film. Place doormats at entrances and use slip-resistant cleaning methods during spills to reduce contamination. For high-traffic zones, schedule regular maintenance and inspect for worn sections that may become slick or uneven.
How can I safely clean rubber floors to reduce slip and residue?
Mop with a microfiber mop and a pH-neutral cleaner recommended for rubber flooring to avoid tacky residue that can cause slipping. Rinse if your cleaner requires it, and always remove excess water—standing moisture increases traction loss. Avoid harsh degreasers, waxes, or “shine” products unless the manufacturer explicitly approves them for rubber floors.
Why do rubber floors become slippery even when they look clean?
Rubber can become slippery when oils, soaps, or cleaning chemicals build up and form a thin film on the surface. Moisture, especially after wet mopping or spills, can reduce friction—particularly on smooth or lightly textured areas. Over time, wear can also change the surface profile, making traction less consistent until you adjust maintenance or replace worn flooring.
Which cleaning products and tools are safest for maintaining traction on rubber flooring?
Choose pH-neutral, rubber-safe floor cleaners and neutral detergents that won’t leave residue, and pair them with microfiber mops and wringers to control water. Use non-abrasive pads or brushes that won’t scuff the surface, since damage can reduce grip. For wet areas, consider specialized anti-slip rubber floor cleaners or spray-on absorbent solutions for spills, following the floor manufacturer’s instructions.
How do I handle spills and wet spots quickly to stop slips on rubber floors?
Blot spills immediately with absorbent towels or a spill kit rather than spreading the liquid with a mop. Then clean with a rubber-approved cleaner and thoroughly dry the area to restore traction. If the spill is oily or leaves residue, use an appropriate degreasing step only if the manufacturer allows it, because improper chemicals can make rubber floors slippery again.
📅 Last Updated: October 11, 2026 | Topic: How to prevent slipping on rubber floors? | Content verified for accuracy and freshness.
References
- https://www.osha.gov/slips-trips-and-falls
- https://www.cdc.gov/niosh/topics/slips/index.html
- https://pubmed.ncbi.nlm.nih.gov/?term=rubber+flooring+slip+resistance
- https://pubmed.ncbi.nlm.nih.gov/?term=slip+resistance+flooring+maintenance+cleaning
- https://en.wikipedia.org/wiki/Slip_resistance
- Testicular cancer – Symptoms and causes – Mayo Clinic
https://www.mayoclinic.org/diseases-conditions/falls/symptoms-causes/syc-20352989 - Google Scholar Google Scholar
https://scholar.google.com/scholar?q=preventing+slips+on+rubber+floors - Google Scholar Google Scholar
https://scholar.google.com/scholar?q=rubber+flooring+slip+resistance+maintenance+cleaning - Google Scholar Google Scholar
https://scholar.google.com/scholar?q=coefficient+of+friction+flooring+slip+accidents - https://www.sciencedirect.com/search?qs=rubber%20flooring%20slip%20resistance