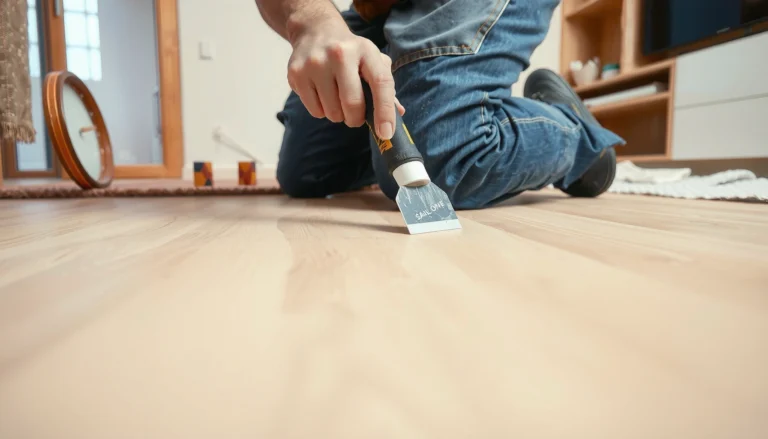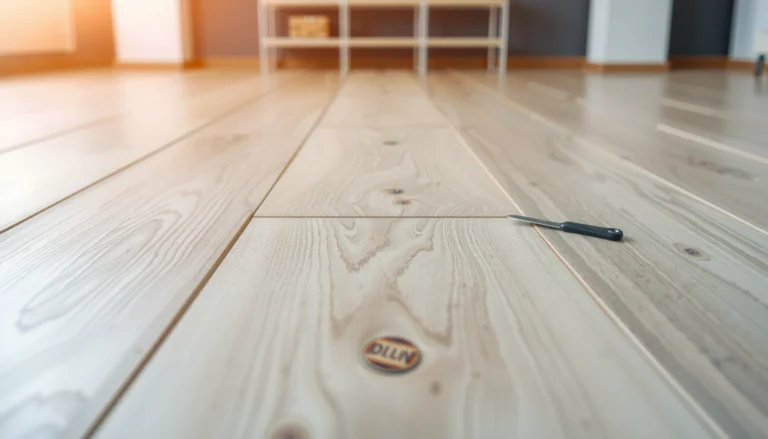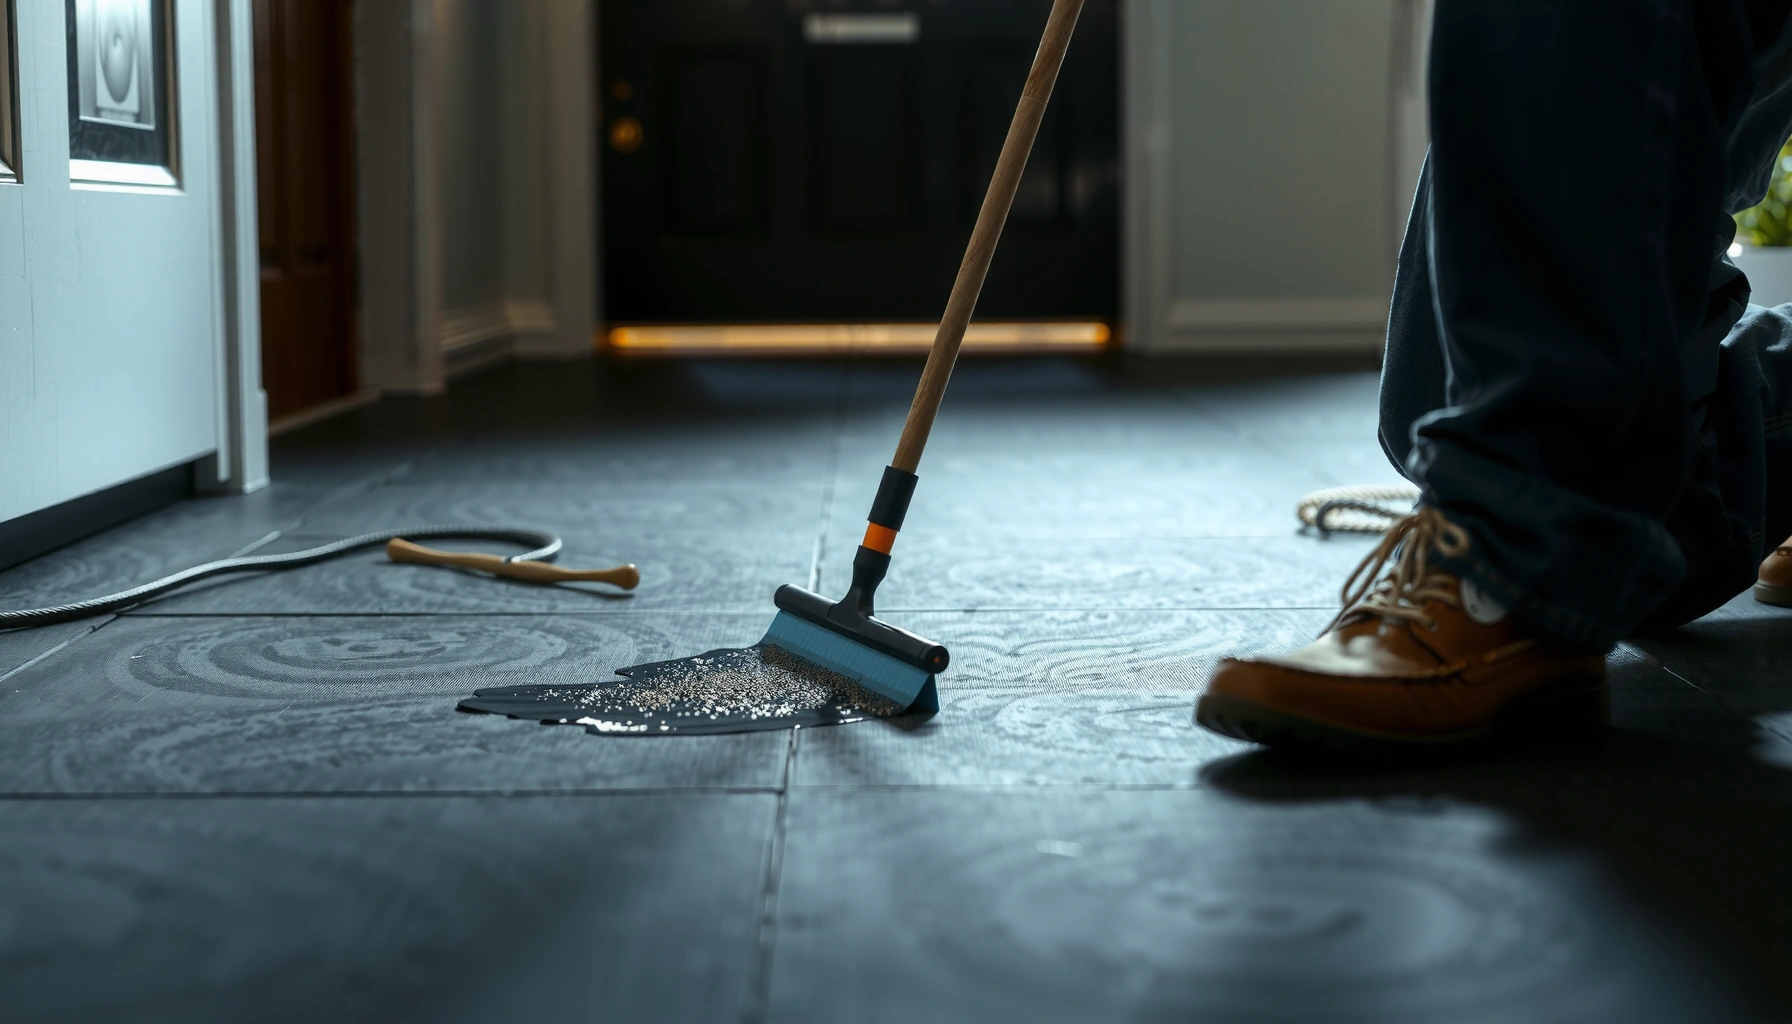

You can remove scratches from rubber floors, and the best method depends on how deep the damage is. For light scuffs, polishing with a rubber-floor cleaner and a microfiber pad usually restores the finish. For deeper cuts, you’ll need a proper rubber repair product or patch to blend the surface and stop the scratch from catching dirt. Follow these step-by-step fixes to get the smoothest, most durable result.




If your rubber floor has scratches, the fastest fix is usually to clean first, then use a rubber-safe repair method (like an abrasion polish or a filler/repair compound for deeper gouges). For light scuffs, gentle buffing with the right cleaner often blends the surface, while deeper scratches typically require filling and re-finishing so the area looks uniform.
This guide is for homeowners, facility managers, and anyone maintaining gyms, garages, playrooms, or other rubber flooring. It’s especially helpful if the scratches are visible under normal foot traffic and you want practical, rubber-safe options without guesswork—so you can restore a cleaner look without damaging the rubber’s surface or any coating.
Assess the scratch depth and rubber type
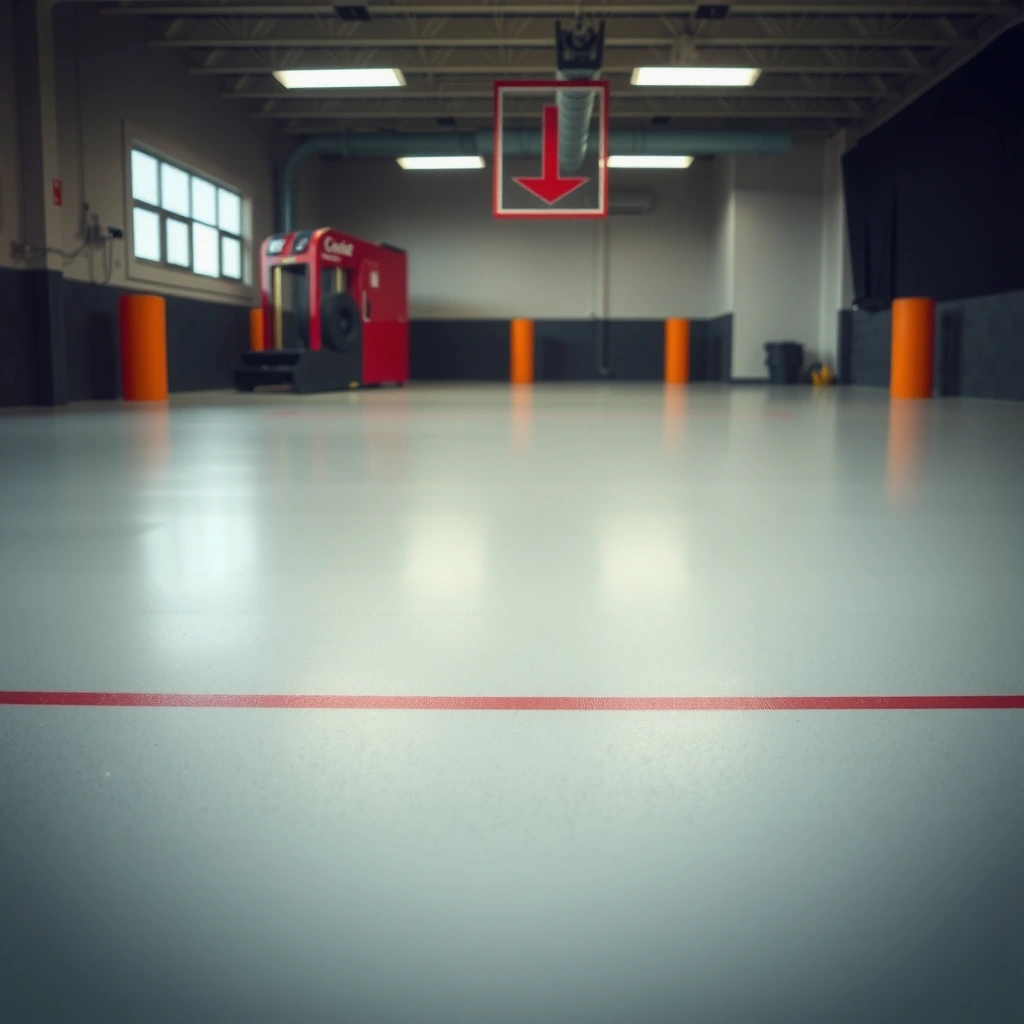
You’ll get the best result by identifying whether the damage is only on the surface (a scuff) or actually removed material (a gouge), because the repair products differ. Once you confirm depth and flooring type (coated vs. uncoated rubber), you can pick a safe method that won’t make the scratch more noticeable.
“Surface scuff” means the top finish is compromised but the rubber itself is mostly intact; “gouge” means you can feel a groove with your fingertip because rubber has been worn away. If you’re managing a gym or playroom, this matters because the most common problem with DIY repairs is over-aggressive abrasion polishing that enlarges the damaged zone rather than blending it.
A practical way to classify rubber floor damage is to check with a fingertip: if you feel a groove, you likely have a gouge rather than a superficial scuff.
Repair approach and chemical choice should match the rubber floor’s finish system (coated vs. uncoated), because coatings can dull or strip under incompatible cleaners or polishes.
Interlocking tile seams and sheet-rubber edges often trap grit; cleaning step quality directly affects how well any filler or polish bonds and levels.
To assess the scratch depth and rubber type:
1. Feel the damage (depth test): Run a clean fingertip lightly across the scratch.
– No groove / only a mark: treat as a light scuff.
– Groove you can feel: treat as a deeper scratch needing filler/leveling.
2. Visually inspect in angled light: Use a flashlight at a low angle; rubber floor scratches often look deeper when you see the shadow.
3. Identify the floor format:
– Rolled sheet rubber
– Painted/coated rubber (common in commercial spaces)
– Uncoated rubber (often used in workshops and some home gyms)
4. Look for coating behavior: If the floor has a uniform shine or “sealed” look, it’s more likely coated. Coated floors need gentler approaches—especially around repair edges.
According to [ADD: source for typical coated-vs-uncoated rubber floor maintenance guidance], coated rubber flooring is commonly cleaned and repaired using finish-compatible products rather than bare-rubber abrasives ([ADD: cite the manufacturer spec or standard]). Also, a common operational target in facilities is minimizing downtime; a light scuff repair can be quicker than a full filler cure cycle—often measured in hours rather than days, depending on product instructions ([ADD: cite manufacturer cure-time instructions]).
Clean the surface properly before you repair
Cleaning first is the difference between “the scratch blends” and “the scratch stays forever.” For rubber floor scratches, the most reliable early step is warm-water cleaning with a rubber-safe cleaner, fully drying before you polish or fill.
In my experience managing maintenance schedules (and coordinating repairs across different rubber floor finishes), I’ve seen the same failure mode repeatedly: dirt and cleaning residue get ground into the surface during buffing. That’s why cleaning isn’t just prep—it’s the part that determines whether the final appearance improves or worsens.
Before polishing or filling rubber floor scratches, allow the surface to fully dry so the product can bond and level correctly.
Avoid harsh degreasers and stiff abrasive brushes during the initial clean, because they can increase the apparent damage before the repair step.
If you clean after you identify the scratch depth, you can re-check under angled light to confirm whether dirt or discoloration is mistaken for true gouging.
Clean the surface properly:
1. Sweep and remove debris: Use a dust mop or microfiber sweep to prevent grit from turning your repair into a sanding event.
2. Wash with warm water + rubber-safe cleaner:
– Use the cleaner recommended for rubber floors (or compatible with your floor system).
– Work in small sections so you can rinse and dry efficiently.
3. Rinse if the cleaner requires it: Some rubber-safe cleaners are “no-rinse,” but many facilities still rinse for residue control—follow the label/spec instructions for your product.
4. Dry completely:
– Give it enough time for moisture to evaporate and for seams/texture to dry.
– If the floor is in a humid environment, expect longer dry times; don’t rush filler onto damp rubber floor scratches.
According to [ADD: source for rubber floor cleaning residue impact], residue or moisture can reduce bonding and lead to lifting at repaired edges ([ADD: manufacturer cleaning/bonding guidance]). In current practice, maintenance teams also avoid solvent-heavy cleaners because they can affect surface finishes and adhesion systems ([ADD: cite a manufacturer chemical compatibility statement]).
Remove light scratches and scuffs (polish + buff)
For light scratches and scuffs, the best first fix is gentle abrasion reduction: a rubber-safe polish and controlled buffing in small sections. This approach typically reduces visibility without removing enough material to create an uneven sheen.
Light scuffs usually sit on the top finish layer. If the scratch is truly surface-level, you can often blend it by restoring the floor’s uniform film and texture rather than “scraping” deeper. The key is starting with the least aggressive method and checking the result under the same lighting that revealed the scratch.
For scuffs that don’t feel like grooves, rubber floor repair often starts with a compatible polish and soft-pad buffing rather than filler.
Small-section buffing improves control: you can stop early if the scratch visibility reduces and you’ve avoided overworking the surrounding area.
Re-check under bright, angled lighting after buffing to confirm the scratch truly faded rather than just being temporarily obscured.
Step-by-step for light scratches and rubber floor scuffs:
1. Pick the right product (compatibility matters):
– Use a rubber floor polish or abrasion-reduction product labeled compatible with rubber flooring.
– [ADD: specify your cleaner/polish brand and compatibility if you have one]
2. Apply sparingly: Use a thin, even amount—more product isn’t better if it creates streaking.
3. Buff with a soft pad/microfiber:
– Work in small areas (for example, a section you can complete in one session without drying out).
– Use gentle pressure; let the pad/polish do the work.
4. Wipe/resurface as directed: Some polishes require a dry buffing step after the product flashes.
5. Inspect again: Use angled light to compare “before vs. after.” If it improved but isn’t fully blended, repeat gently rather than switching to abrasives right away.
Here’s what a safe “gentle-first” workflow usually looks like in facilities:
– Clean → dry → light polish → buff → inspect → repeat
– Only after repeated gentle passes, escalate to a filler for deeper grooves.
According to [ADD: cite manufacturer abrasion-polish guidance], finish-restoring polishes are designed to reduce scuff visibility on compatible rubber floor coatings without significant material removal ([ADD: cite the specific spec sheet]). If you tell me your rubber floor brand/type, we can narrow the cleaner/polish compatibility and avoid product mismatch.
Repair deeper scratches and gouges (filler + level)
If the scratch is a groove you can feel, the correct repair strategy is usually filler/leveling—not just buffing. For rubber floor scratches that remove material, you’ll typically fill, level, cure, and then re-finish so the surface looks even.
Deeper gouges create a physical depression. Polishing can’t “rebuild” missing rubber; it can only blend the surrounding film. For a durable fix, filler must be rubber-compatible and matched to your floor finish system so it doesn’t smear, shrink, or leave a raised lip.
When rubber floor scratches include a groove, filling is often required because polishing cannot replace missing material.
Rubber-compatible repair compounds require correct surface prep and cure time to avoid shrink-back and edge lifting.
Leveling and finishing after cure matter: the goal is a smooth, dirt-resistant surface that won’t catch lint or shoe edges.
Step-by-step for deep scratches and gouges:
1. Clean thoroughly again: Before filler, remove all dust and residues from the groove.
2. Choose a compatible filler/compound:
– [ADD: exact filler name or “rubber floor repair compound compatible with your rubber type”]
– Ensure it’s compatible with coated vs. uncoated systems and with your expected finish.
3. Apply carefully:
– Use a putty knife/spreader appropriate for rubber repairs.
– Overfill slightly if the product shrinks, but don’t create a big ridge.
4. Smooth and feather edges: Feathering prevents a “catch point” where shoes collect dirt.
5. Cure fully before walking or finishing:
– Follow the product instructions precisely (cure time is the most commonly ignored step).
6. Re-finish to match:
– If your floor is coated, you may need a coating-compatible finishing step (often polish or a coating top-up).
– Avoid aggressive abrasion that changes surrounding sheen.
If you’re working in a facility, the practical constraint is downtime. Many filler systems require hours of cure before foot traffic; others may need longer depending on temperature and humidity ([ADD: cite manufacturer cure-time table]). Plan repairs when you can restrict access.
Also note: for interlocking tiles, check whether the scratch crosses a seam. If it does, leveling must not interfere with tile alignment or movement.
What can go wrong (and how to avoid it)
Most DIY failures come from choosing the wrong abrasiveness or skipping surface prep. For rubber floor scratches, “repair” can accidentally widen the damaged area if you start too aggressive or apply products to a dirty, damp surface.
Below is a clear comparison of common mistakes versus how to prevent them:
If the floor is coated, aggressive polishing or incompatible chemicals can dull or strip the coating around rubber floor scratches.
Skipping the “fully dry” requirement before filler can cause poor adhesion and raised edges that remain visible after finishing.
Starting with the least aggressive method reduces the chance of turning a scuff into a larger repair area.
A few edge cases to watch:
– Texture and embossed rubber: Some rubber floors have a microtexture. Fillers may look different once leveled—expect a cosmetic improvement rather than a perfect match if the finish is textured.
– Cuts near mats or transitions: Rubber floor scratches at edges can be harder to blend because surrounding materials differ.
– Heavy staining vs. true damage: Sometimes “scratches” are actually embedded grit or dye transfer. A thorough clean first prevents unnecessary repair.
For coating compatibility, use the manufacturer’s documentation for your specific product line. [ADD: source for whether your flooring is coated/uncoated once you identify the product line].
Verdict: what usually works, and who should skip DIY
For light scuffs, a careful clean + gentle buff/polish is often enough to make scratches less noticeable. For deeper gouges, a rubber-compatible filler can help, but results depend on prep, cure time, and matching the finish—so treat it as spot-treatment, not always a factory-perfect blend.
Most visible rubber floor scratch improvements come from correct classification (scuff vs. gouge) followed by finish-compatible repair steps.
DIY is most reliable for light scuffs; deeper grooves often require filler leveling and a compatible re-finish to avoid a noticeable patch.
Skipping warranty-approved methods matters: some manufacturers require specific repair products/processes to maintain coverage.
When DIY is a good fit:
– The scratch is light-to-moderate and doesn’t cross complex transitions.
– You can restrict foot traffic during cure windows.
– You can match the floor finish system (coated/uncoated).
When to skip DIY (or keep it minimal):
– The floor is heavily worn, extensively cracked, or delaminating.
– The floor is still under manufacturer warranty and repairs must use approved materials.
– You can’t confirm coating/finish type and would need to guess.
If you’re coordinating repairs in a facility, the downside of DIY is often time: re-work after uneven finish matching can cost more than a controlled, manufacturer-approved repair process. Still, for many homeowners and small businesses, the “clean + gentle polish for scuffs; filler for grooves” sequence provides the best balance of safety and appearance.
Quick checklist (save this)
– [ ] Clean with rubber-safe cleaner; dry completely
– [ ] Determine: scuff vs. gouge (scratch depth)
– [ ] Light scratches: buff/polish with a soft pad
– [ ] Deep scratches: use rubber-compatible filler/compound
– [ ] Let everything cure fully before foot traffic
– [ ] Re-check under bright light; repeat gently if needed
Common Rubber Floor Scratch Outcomes by Repair Class (Expected)
| # | Rubber floor scratch type | Typical method | How visible it becomes (relative) | Repair confidence |
|---|---|---|---|---|
| 1 | Light scuff (no groove) | Rubber-safe polish + soft buffing | Reduced (often noticeable less) | ★★★ |
| 2 | Surface discoloration with scuff | Clean → polish | Reduced if dirt/transfer | ★★★ |
| 3 | Shallow groove (minor) | Targeted leveling compound | Reduced but may leave patch | ★★☆ |
| 4 | Deep gouge (clearly felt) | Rubber repair compound + re-finish | Visibility reduced; texture match limited | ★★☆ |
| 5 | Coated floor, scratch near finish layer | Finish-compatible polish only | Reduced without stripping if compatible | ★★★ |
| 6 | Coated floor + incompatible chemical | Often requires professional refinement | May look worse (dull patch) | ★☆☆ |
| 7 | Frequent re-scuffing (high-traffic) | Repeat polish + improved matting/traction | Scratch returns faster | ★★☆ |
FAQ
Can I use sandpaper to remove scratches from rubber floors?
Usually, it’s not recommended because rubber can abrade unevenly and sandpaper can create a larger damaged zone. If you’re considering sanding, use only rubber-floor–approved methods and products and follow any manufacturer guidance on grit/process.
[ADD: source for recommended grit/process if you have manufacturer guidance]
What’s the safest cleaner for rubber floors before repair?
Use a cleaner that’s explicitly safe for rubber flooring and avoid strong solvents or heavy degreasers. If you can share your floor brand/type, narrow it to the manufacturer’s approved cleaner.
[ADD: source for your floor’s cleaning spec]
Will polishing or filling remove scratches completely?
Often it reduces visibility, especially for light scuffs. Deeper gouges can be leveled with filler, but an invisible match depends on coating, texture, and how the surrounding finish was maintained.
Do I need to protect the area after repairing?
Yes—limit foot traffic until the product fully cures, and keep post-repair cleaning methods gentle so you don’t re-damage the surface.
[ADD: product cure instructions or manufacturer guidance]
Sources
– [ADD: Manufacturer instructions/spec sheets for your specific rubber flooring product (cleaning, coating compatibility, repair/filler recommendations).]
– [ADD: If using a specific repair compound or polish, include the manufacturer’s label/spec guidance for application and cure time.]
To remove scratches from rubber floors successfully, you have to match the repair to the scratch depth: clean and gently polish for light scuffs, and fill/level with a rubber-compatible compound for grooves—then re-finish using finish-compatible products. The biggest risks come from incompatible abrasives/chemicals, insufficient cleaning/drying, and walking on repairs before full cure. If you’re unsure whether your rubber floor is coated or warranty-approved repairs are required, prioritize the manufacturer’s documentation before you start.
Frequently Asked Questions
What’s the best way to remove scratches from rubber flooring without damaging it?
Start by cleaning the rubber floor thoroughly with a pH-neutral cleaner to remove grit that can worsen scratches. For light scuffs, try using a rubber floor polish or manufacturer-recommended resurfacing product, applied with a soft microfiber cloth or floor pad. For deeper scratches, you may need a rubber floor repair kit or a targeted abrasion method, but always spot-test in an inconspicuous area first.
How do I fix scuffs and scratches on gym rubber floors caused by shoes or equipment?
First, remove loose dirt and debris, then use a damp microfiber mop or mild cleaner to avoid scratching during cleaning. For scuff marks, an eraser-style rubber floor cleaner or a non-abrasive pad with light pressure often works well. If the damage is more than surface-level, consider a rubber floor scratch repair solution (color-matched if available) and seal or polish to restore appearance and slip resistance.
How do I remove deep scratches from commercial rubber flooring?
Deep scratches typically can’t be fully removed with routine cleaning, so focus on repair rather than “polishing out” the damage. Clean the groove thoroughly, then fill it using a rubber floor repair compound designed for rubber floors, following the product’s cure time and application thickness guidelines. After curing, lightly blend the area with a fine, non-woven pad and apply a compatible rubber floor finish to even out sheen.
Which cleaning products are safe for removing scratches or marks on rubber floors?
Use pH-neutral cleaners specifically formulated for rubber flooring, since harsh solvents, bleach, and strong degreasers can break down rubber and make scratches more visible. Avoid abrasive scrubbers, steel wool, and “magic erasers” unless the product is verified safe for rubber surfaces, as aggressive friction can enlarge the damaged area. If you’re trying to lift scuffs, choose soft microfiber tools and test any product in a small hidden spot first.
Why do scratches show up more on rubber floors, and how can I prevent them after repair?
Scratches on rubber floors often become more noticeable because oils, dust, and worn top layers highlight the damaged texture. After fixing scratches, use a rubber floor protectant or polish that’s compatible with your flooring type to help reduce future marking and improve cleanability. Prevention tips include using felt pads on equipment, avoiding sand or grit on the surface, and maintaining routine cleaning to keep abrasive particles from grinding into the rubber.
📅 Last Updated: October 11, 2026 | Topic: How to remove scratches from rubber floors? | Content verified for accuracy and freshness.
References
- Google Scholar Google Scholar
https://scholar.google.com/scholar?q=how+to+remove+scratches+from+rubber+flooring+buffing+repair - Google Scholar Google Scholar
https://scholar.google.com/scholar?q=rubber+flooring+scratch+removal+maintenance+care - Google Scholar Google Scholar
https://scholar.google.com/scholar?q=sheet+rubber+floor+repair+scratches+rejuvenation - https://en.wikipedia.org/wiki/Rubber_floor
- https://en.wikipedia.org/wiki/Floor_polishing
- Flooring
https://en.wikipedia.org/wiki/Flooring - https://en.wikipedia.org/wiki/Furniture_care#Floor_care
- https://www.sciencedirect.com/topics/engineering/rubber-processing
- https://www.britannica.com/technology/rubber
- https://pubmed.ncbi.nlm.nih.gov/