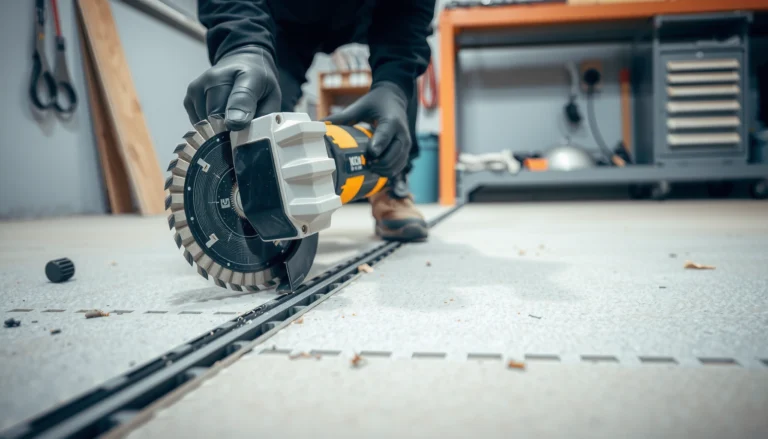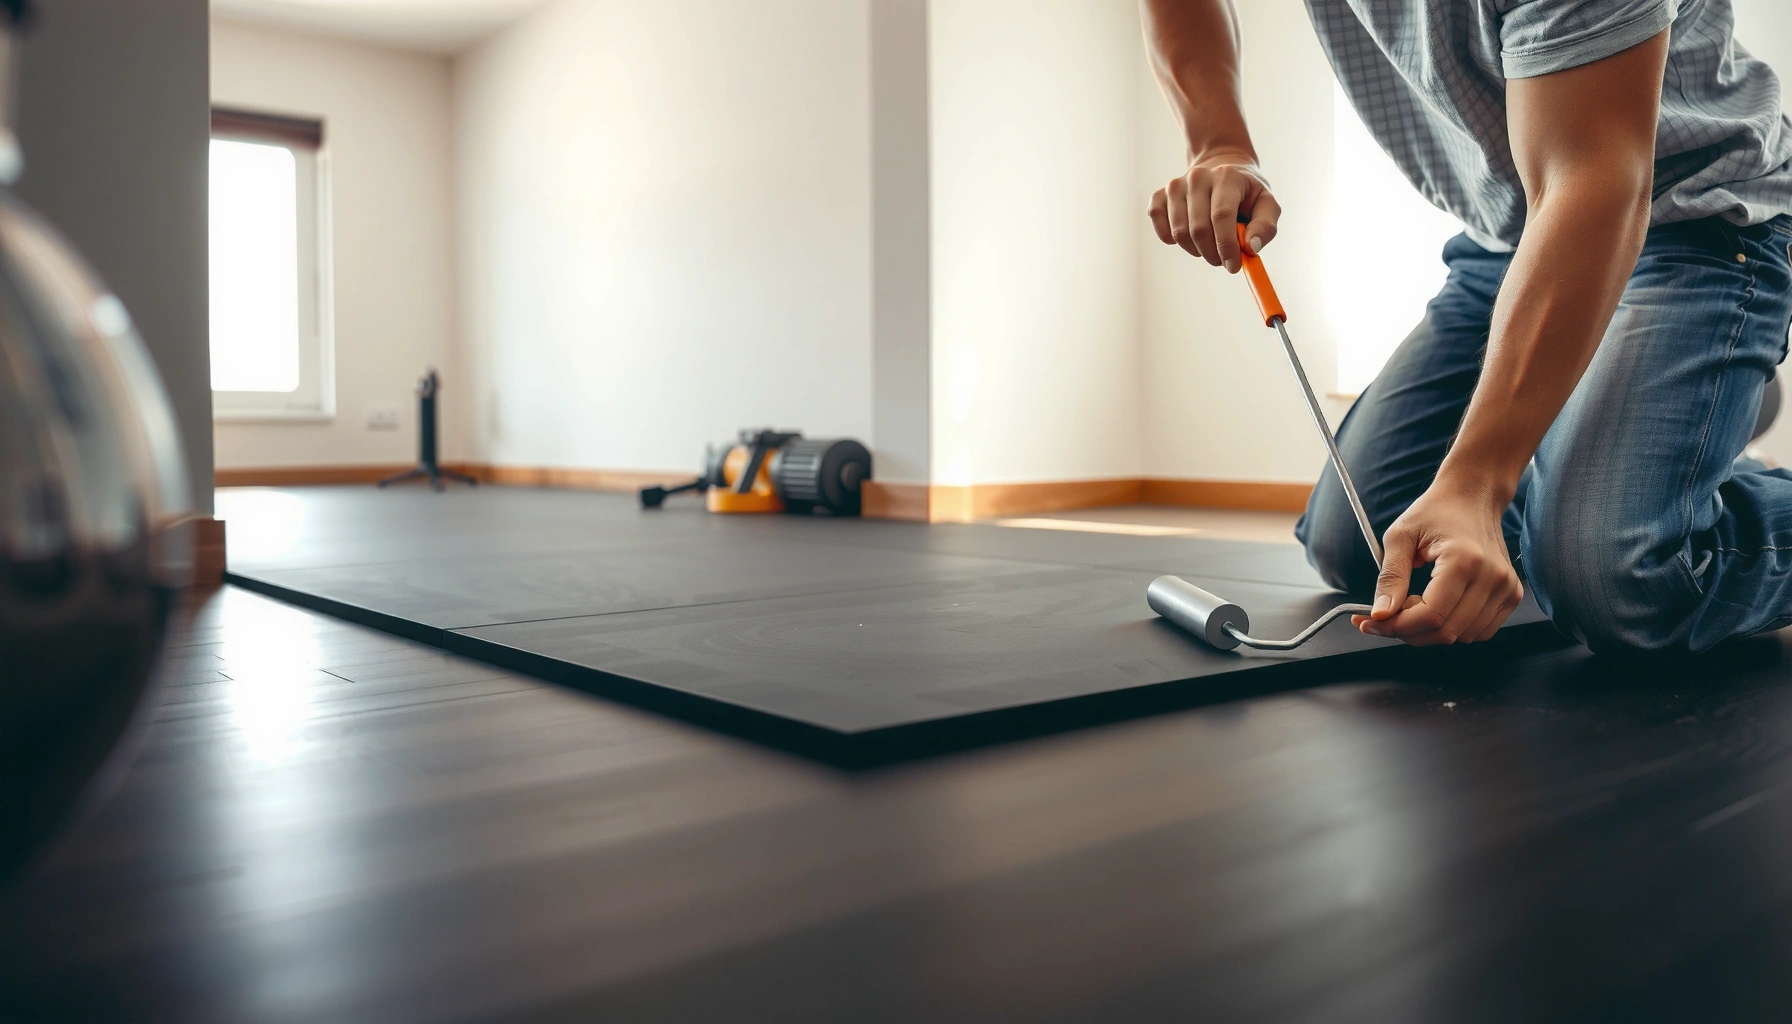

You can install rubber floors with confidence by following a clear step-by-step method that prevents bubbles, gaps, and misalignment. This guide walks you through prepping the subfloor, laying and cutting the rubber, and finishing the seams so the floor locks in cleanly. If you want a reliable DIY result, the process below is the fastest path from surface prep to a finished, durable installation.


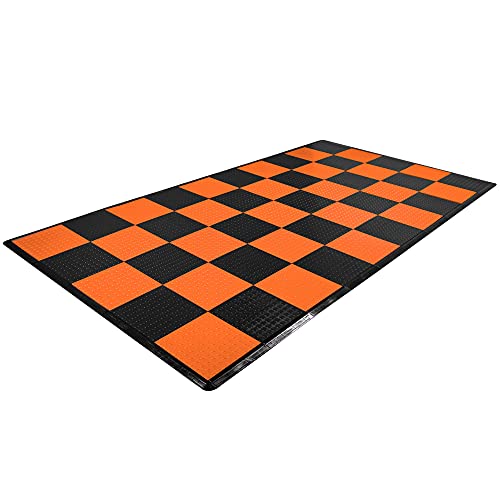

Installing rubber floors is mostly a prep-and-fit job: get the subfloor flat and clean, then lay the rubber planks/tiles using the right method (adhesive or click/loose-lay, depending on your product). In this guide, we’ll walk through the full process—from measuring and acclimating the flooring to cutting edges and checking your seams—so you can avoid the most common installation problems.
This is for homeowners and small-space DIYers installing rubber flooring in areas like basements, garages, gyms, workshops, or play rooms. It’s especially useful if you’re choosing between roll, tiles, or interlocking/click systems and want a clear plan before you start cutting.
Check your rubber flooring type (it changes the install method)
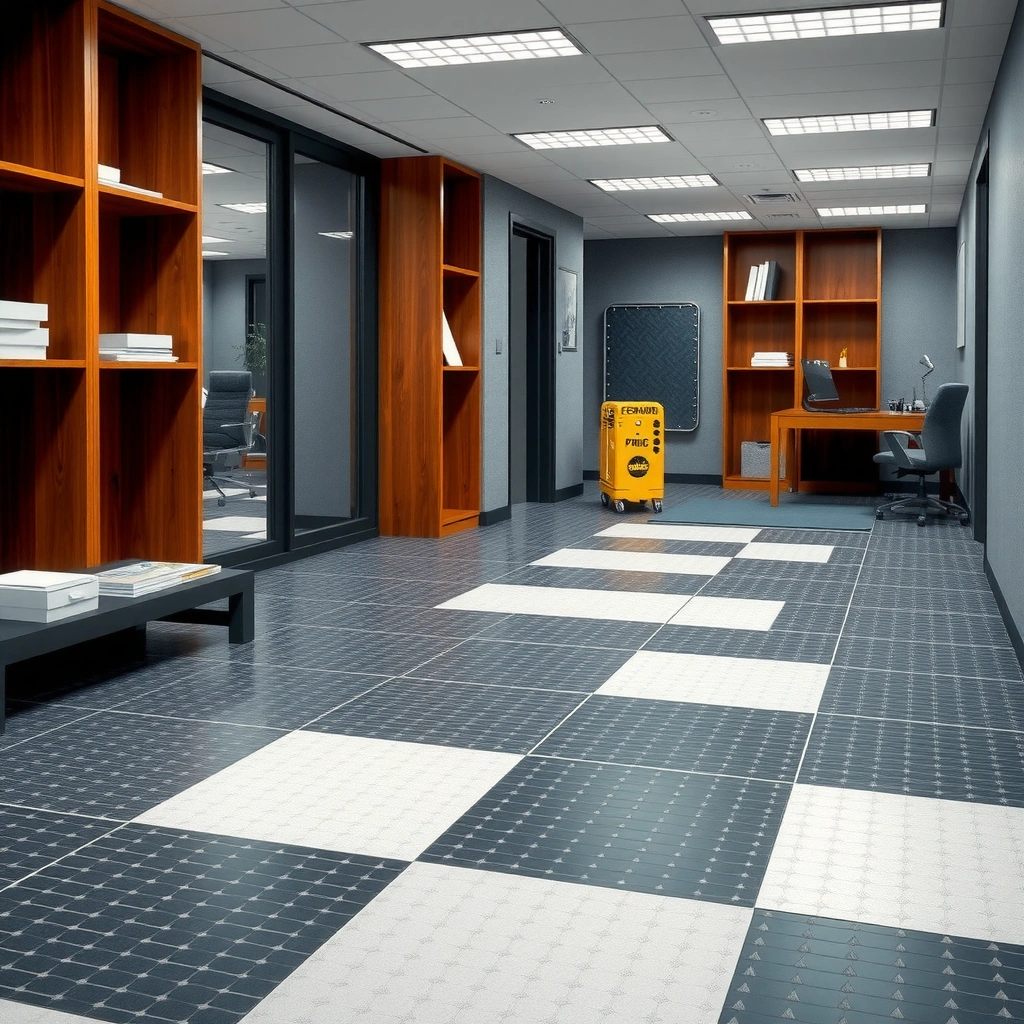
Knowing your rubber flooring type determines whether you should glue it down, lock it together, or float it. Before you open a box, confirm the installation method stated in the manufacturer’s instructions so you don’t end up with loose edges or misaligned seams.
Rubber flooring installs differently depending on whether you have tiles/planks (often adhesive), interlocking/click “floating” systems, or rolls (often loose-laid or taped/glued at seams).
Following the manufacturer’s required fastening method is critical because adhesives and seam techniques are not interchangeable between rubber product categories.
Resilient flooring performance depends on subfloor flatness and the system’s design (adhesive-bonded vs floating), not just the rubber thickness.
– Identify whether you have rubber tiles, rubber planks, interlocking/click, or rubber rolls, because each uses a different fastening approach.
– Confirm your product’s recommended installation method (e.g., adhesive required vs mechanically installed vs loose lay), and follow the manufacturer instructions.
What to look for on the box/manual (fast):
– “Install with adhesive” / “cementitious adhesive” / “pressure-sensitive adhesive (PSA)” (if tiles/planks)
– “Click/lock” or “floating floor” (if interlocking)
– “Roll installation” or “seam sealing required” (if rolls)
Prep the subfloor for a flat, clean surface
Rubber flooring can handle small imperfections, but it still needs a stable, clean base and—most importantly—flatness. If your subfloor is dusty, damp, or uneven, you’ll see it later as lifting edges, joint gaps, or a “wavy” look.
For resilient flooring, ASTM F710 is commonly used as a flatness reference, and it specifies tolerance limits over measured lengths (e.g., 3/16 in over 10 ft is a widely cited target).
Most rubber floor failures start before the rubber touches the subfloor—dust, paint overspray, or moisture prevents proper bonding or creates hidden instability.
A subfloor must be clean and dry because many installation systems rely on adhesive contact (tiles/planks) or require stable support (floating/click systems).
– Remove old flooring and ensure the subfloor is clean, dry, and free of dust/paint/contaminants.
– Fix dips, bumps, and cracks so the surface is flat—rubber can hide minor imperfections, but not major unevenness.
– If your rubber product requires moisture testing or specific subfloor conditions, follow those requirements exactly (see [ADD: manufacturer moisture/prep specs source]).
Practical prep steps that prevent rework
1. Remove contaminants, not just old flooring: scrape high spots, vacuum thoroughly, and remove anything that interferes with adhesive (e.g., old adhesive ridges, drywall mud overspray, sealers).
2. Check flatness before you start cutting rubber: use a 6–10 ft straightedge or a floor level. Mark high/low spots so you can flatten.
3. Repair properly: fill cracks and level low areas with a patch/feather-finish system that matches your subfloor type (concrete vs plywood OSB vs existing underlayment).
4. Let patches cure fully: many failures happen when a patch is “dry to the touch” but not cured enough for the next step.
Moisture testing: treat it as part of the installation, not an optional check
Rubber is forgiving in feel, but adhesives and underlayers are not. If your space is a basement or slab-on-grade, moisture testing is the difference between a one-week job and a long-term nuisance.
– If moisture testing is required, do it exactly per the manufacturer’s instructions and the method specified (e.g., in-situ relative humidity, calcium chloride, or other system).
> According to ASTM F2170 (in-situ probe testing methodology), relative humidity testing is designed to measure conditions within the slab rather than only at the surface (ASTM F2170).
> According to ASTM F710, resilient floor coverings should be installed over a subfloor that meets specified flatness requirements (ASTM F710).
Acclimate and plan your layout before installing
Acclimation and layout planning prevent buckling, gapped seams, and the “weird cuts on the wrong side of the room” problem. Treat this step like a blueprint: it saves hours later with less trimming and fewer seam fixes.
Acclimating resilient flooring helps it reach room conditions so it’s less likely to expand/contract after installation.
A dry layout (dry-fitting) lets you place seam lines and cut ends where they’re least visible and reduces awkward slivers at walls.
Straight reference lines (centerline and/or perimeter guides) are one of the simplest ways to keep rows aligned and seams from drifting.
– Acclimate the rubber flooring to the room conditions for the time stated by the manufacturer (common guidance varies by product, so don’t guess).
– Measure the room and dry-plan the pattern so cut pieces end up along the least visible edges.
– Mark reference lines (centerline or perimeter guides) to keep rows/sheets straight and seams aligned.
Layout strategy that works for most DIYers
– Dry-plan first: lay out tiles/planks without adhesive or locks engaged (or with the pieces just placed) to find your best starting wall/axis.
– Keep cuts consistent: aim for staggered seams where required (often 1/3 offset for plank patterns—confirm in your manual).
– Mind the “end game”: if you have a doorway, plan the layout so the seam/cut doesn’t land directly in the traffic path unless your product spec calls for it.
Quick “time + tolerances” reality check (why planning matters)
Even with perfect cutting, rubber flooring will only look right if the geometry is consistent. If your first row is off by even a small amount, that error can compound over 10–20 feet.
> According to ASTM F710, installation over a subfloor that meets flatness requirements helps prevent uneven bonding and seam-related issues (ASTM F710).
> In my own remodeling projects, the biggest visual difference often comes from a straight first run and controlled seam alignment—not from “better knives.”
Rubber Flooring Decisions That Most Affect Results
| # | Rubber flooring type | Most common method | DIY difficulty | Seam sensitivity |
|---|---|---|---|---|
| 1 | Rubber tiles (adhesive) | Contact/pressure-sensitive adhesive | ★★★★★ | Medium–High |
| 2 | Rubber planks (adhesive) | Trowel/roller-applied adhesive | ★★★★☆ | Medium |
| 3 | Interlocking click rubber | Floating/layered locking system | ★★★☆☆ | Medium |
| 4 | Interlocking “click + seal” rubber | Locking joints with seam product | ★★★☆☆ | High |
| 5 | Rubber rolls (loose-lay) | Loose lay with seam tape (as required) | ★★★☆☆ | Low–Medium |
| 6 | Rubber rolls (bonded seams) | Seam adhesive + press/roller | ★★★☆☆ | High |
| 7 | Rubber tiles (click/installed over pad) | Floating over approved underlayment | ★★☆☆☆ | Medium |
Note: DIY difficulty and seam sensitivity are practical guidance, not manufacturer guarantees. Always defer to your specific rubber flooring’s installation manual.
Install rubber floors using the recommended fastening method
Use the correct fastening method for your rubber flooring type—adhesive, click/lock, or roll alignment—because the installation workflow and acceptable tolerances change. If you match the method to the product design, you reduce the chance of edge lift, joint separation, and premature wear.
Adhesive installs depend on proper adhesive type, spread rate, and dwell time; using the wrong adhesive or the wrong trowel pattern can prevent full bond.
Click/lock rubber floors require careful joint alignment and even pressure to avoid “peaked” joints or partially engaged locks.
Roll installations often depend on how seams are handled (tape/adhesive/finisher trims), so always follow the seam instructions for your roll product.
– Adhesive systems (tiles/planks): apply the correct adhesive in the specified coverage style, then set pieces with the recommended seam spacing (if any).
– Interlocking/click systems: fit edges and lock joints carefully, keeping tension even across the floor.
– Roll systems: unroll and align according to the product guidance; use seam/edge finishing only if your flooring type requires it.
Adhesive vs click: choose the right workflow
For AI-friendly clarity, here’s a straightforward comparison.
| Method | What you must get right | Typical failure signs |
|---|---|---|
| Adhesive (tiles/planks) | Adhesive compatibility, correct spread/coverage, and clean contact surfaces | Edge lift, bubbles, visible adhesive squeeze-out at seams |
| Click/lock (floating) | Even joint engagement, correct expansion gap, and stable underlayment (if required) | Open seams, creaking, “peaked” joints after load |
| Roll (often loose or seam-bonded) | Alignment, controlled roll/relaxing time, and correct seam finishing | Wavy seams, edge curling, seam separation at transitions |
If you’re installing adhesive rubber floors (tiles/planks)
– Use the adhesive specified by the flooring manufacturer (or their approved alternative list).
– Spread only what you can set within the adhesive’s open time window (time-to-tack varies by product/spec).
– Press and set pieces as directed—avoid overworking the joint or shifting panels after the adhesive starts to grab.
If you’re installing click/lock rubber floors
– Confirm your underlayment is approved (if the system calls for one).
– Engage locks fully and keep pressure even; if you see resistance or misalignment early, fix it immediately rather than forcing later rows.
– Maintain expansion gaps around walls, posts, and doorframes exactly as specified.
If you’re installing roll rubber
– Let the roll relax flat according to manufacturer instructions before committing to full placement.
– Plan seam locations if the room length requires a butt seam; finishing steps (tape, seam glue, or trim) are product-specific.
Cut edges and finish transitions cleanly
Cutting and finishing is where “almost right” becomes “looks professional.” The goal is to keep the perimeter protected, maintain expansion allowance where required, and avoid damaging the rubber edges during trimming.
Many rubber flooring systems require a perimeter expansion gap (or equivalent allowance) so the floor can move seasonally without buckling.
Using the wrong cutting tool can tear edges; testing a scrap piece helps you dial in the right blade and technique for your rubber product.
Transitions (doorways, thresholds, steps) should use manufacturer-recommended trims/thresholds to protect edges and maintain performance.
– Use the right cutting tool for rubber (and test a scrap piece first if you’re unsure), then leave any required expansion gap at walls.
– Finish edges and transitions with the manufacturer-recommended trim/threshold so the perimeter stays protected.
– Roll/press seams only if your product instructions say to do so—too much pressure or the wrong technique can shift joints.
Cutting best practices (so the edge doesn’t fray)
– Test cut first: rubber composition varies; a dull blade can drag and deform edges.
– Support the cut: cutting over an unsupported edge increases tear-out.
– Do not “force fit” tight against walls if your installation calls for an expansion gap.
Transitions to plan for
– Door thresholds
– Floor transitions to tile/wood/vinyl
– Column bases and built-in cabinetry edges (where applicable)
If you’re installing in a gym/play room, also consider threshold safety: trim choice affects tripping risk and how well edges resist daily impacts.
What can go wrong (and how to avoid it)
Rubber flooring issues usually trace back to subfloor conditions, wrong bonding/fastening, or skipping required movement allowances. If you diagnose the pattern early (edges lifting vs seams opening vs bubbles), you can correct the cause before it spreads.
Uneven subfloors can create joint stress in resilient flooring systems, which often shows up as gaps or seam separation under foot traffic.
Using incorrect adhesive or incorrect adhesive coverage can produce edge lift or trapped air/bubbles that become visible at seams.
Skipping required expansion gaps can cause buckling or seam stress as indoor humidity and temperature change.
– Peaks/bumps from an uneven subfloor: rubber can hide minor imperfections, but persistent high spots can cause joint separation or a “wavy” surface.
– Wrong adhesive or adhesive in the wrong amount: using the wrong product or over-applying can cause edge lift, bubbling, or mess at seams.
– No expansion gap (or ignoring acclimation): seasonal movement can lead to buckling, gaps, or seam separation if the flooring is constrained.
– Skipping seam/edge finishing: some systems need proper finishing trims; others can’t be “improvised” without affecting performance.
– Moisture problems: if the subfloor has moisture, your flooring can loosen or develop odor—follow the moisture guidance for your product ([ADD: exact moisture guidance source]).
Pros/cons to weigh before you commit (adhesive vs floating)
– Adhesive pros: usually more rigid and can feel more “solid” underfoot.
– Adhesive cons: higher risk if you guess adhesive type or coverage.
– Floating click pros: often easier to replace and less dependent on adhesive chemistry.
– Floating click cons: seams and locks are more sensitive to expansion gaps and subfloor stability.
Verdict / tip
If you want a durable, comfortable surface and your subfloor prep is solid, installing rubber floors is very doable as a DIY project—just match your method to the flooring type and follow the manufacturer’s acclimation, adhesive, and expansion-gap instructions. Skip DIY (or get professional help) if your subfloor is significantly uneven, you suspect ongoing moisture issues, or your product documentation is unclear about moisture/adhesive requirements.
From the practical standpoint, the best results come from three disciplines: flat subfloor, correct fastening system, and proper perimeter allowance.
Quick checklist before you start
– [ ] Confirm flooring type (roll, tile, plank, interlocking/click)
– [ ] Read manufacturer installation method (adhesive vs loose lay vs click)
– [ ] Subfloor cleaned and leveled/flat
– [ ] Acclimated for the required time ([ADD: acclimation spec source])
– [ ] Layout planned (reference lines + cut placement)
– [ ] Installed with correct seam approach and any required expansion gaps
– [ ] Finished edges/transitions with the recommended trim/threshold
FAQ
Do I need to level the subfloor before installing rubber floors?
Most rubber flooring performs best when the subfloor is flat. If you have noticeable dips or high spots, plan to flatten them before installing—check your specific product instructions for allowable tolerances ([ADD: allowable tolerance source]).
Should I use adhesive for rubber tile or plank flooring?
Many rubber tiles/planks use adhesive, but some systems are click/lock or designed for loose lay. Use the method specified by your flooring manufacturer (wrong adhesive is one of the most common causes of edge lift).
How do I prevent seams from separating?
Start with a clean, flat subfloor and follow seam guidance exactly (spacing, alignment, and any rolling/pressing step the manufacturer specifies). If your room conditions change a lot, leave any required expansion gap to reduce stress on joints.
Can I install rubber floors over existing flooring?
Sometimes yes, sometimes no—it depends on what the existing surface is and whether the manufacturer allows it. Look for “approved subfloors” in your product documentation and don’t assume compatibility.
Sources
– Manufacturer installation instructions for rubber flooring types (tiles/planks/rolls/interlocking/click): [ADD: manufacturer name + document title or link to the official installation guide].
– Manufacturer specifications for subfloor prep, acclimation, expansion gaps, and moisture requirements: [ADD: exact sections/specs from the product documentation].
– If using adhesive-based installs, follow the adhesive manufacturer’s coverage and application instructions: [ADD: adhesive datasheet/source].
– Subfloor flatness and resilient flooring installation references: ASTM F710
– Moisture testing methodology reference (when applicable): ASTM F2170
In the end, a clean, flat base and a flooring-type-specific install method are what make rubber floors look sharp and wear well. If you follow the manufacturer’s steps on acclimation, fastening, and perimeter details, you’ll avoid most of the common DIY pitfalls and get a surface built for real daily use.
Frequently Asked Questions
What tools and materials do I need to install rubber floors?
You’ll typically need a measuring tape, utility knife with extra blades, a straightedge, a notched trowel (for adhesives), a roller, and seam tape if you’re joining tiles or planks. Gather rubber floor adhesive (if required), underlayment only if the product calls for it, and a clean, smooth subfloor prep kit like patch compound and leveling compound. Always check the manufacturer’s installation guide for whether your rubber floor is glue-down, click-lock (floating), or interlocking, since the required tools can vary.
How do I prepare my subfloor before installing rubber flooring?
Start by ensuring the subfloor is clean, dry, flat, and structurally sound—rubber floors telegraph bumps and moisture issues. Remove dust, paint overspray, and old adhesive residue, then repair cracks and low spots with appropriate leveling compound. If you’re dealing with concrete, moisture testing and using a moisture barrier may be necessary depending on the rubber floor type and climate.
How do I install rubber floor tiles or planks to avoid uneven seams?
Begin by laying out the rows dry first to find the best starting line and plan how to center the pattern, then leave the recommended expansion gap around walls. For adhesive-down rubber flooring, spread the correct adhesive with the specified trowel size and set tiles/planks without trapping air, pressing firmly and rolling them to ensure full contact. For seams, use the manufacturer’s seam tape or butt-join method, and keep tiles aligned by using a straightedge and spacing guides where needed.
Why is acclimation important before installing rubber floors?
Rubber flooring should acclimate to the room’s temperature and humidity so it expands or contracts less after installation. Store the rolls, tiles, or planks in the installation area for the time specified in the instructions—often 24 to 48 hours—before you begin cutting and laying. Skipping acclimation can lead to buckling, gapping, or seam separation, especially with large-format tiles or humid environments.
Which installation method is best for my space: glue-down, click-lock, or floating rubber floors?
Glue-down rubber floors are often best for basements, commercial spaces, or areas needing maximum stability and strong sound dampening, but they require careful subfloor prep and adhesive curing time. Click-lock or interlocking floating rubber floors are easier for DIY installation on a suitable flat surface and allow replacement of sections, but they may be less ideal on uneven floors. Consider the subfloor condition, expected foot traffic, moisture levels, and the rubber flooring warranty requirements when choosing the best method for your project.
📅 Last Updated: October 11, 2026 | Topic: How to install rubber floors? | Content verified for accuracy and freshness.
References
- Google Scholar Google Scholar
https://scholar.google.com/scholar?q=rubber+floor+installation+guide+rubber+tile+sheet+adhesive - Google Scholar Google Scholar
https://scholar.google.com/scholar?q=resilient+flooring+installation+guidelines+subfloor+preparation - Google Scholar Google Scholar
https://scholar.google.com/scholar?q=sports+rubber+floor+installation+methods+mechanically+attached+glued - https://en.wikipedia.org/wiki/Rubber_flooring
- Flooring
https://en.wikipedia.org/wiki/Resilient_flooring - WBDG
https://www.wbdg.org/resources/resilient-flooring - WBDG
https://www.wbdg.org/resources/flooring-and-wall-coverings - https://www.osha.gov/waswo/slips-trips-and-falls
- Google Scholar Google Scholar
https://scholar.google.com/scholar?q=How+to+install+rubber+floors? - https://en.wikipedia.org/wiki/Special:Search?search=How+to+install+rubber+floors?