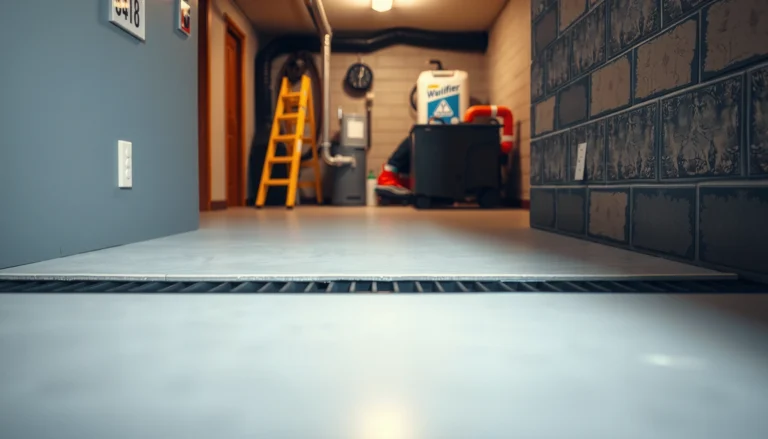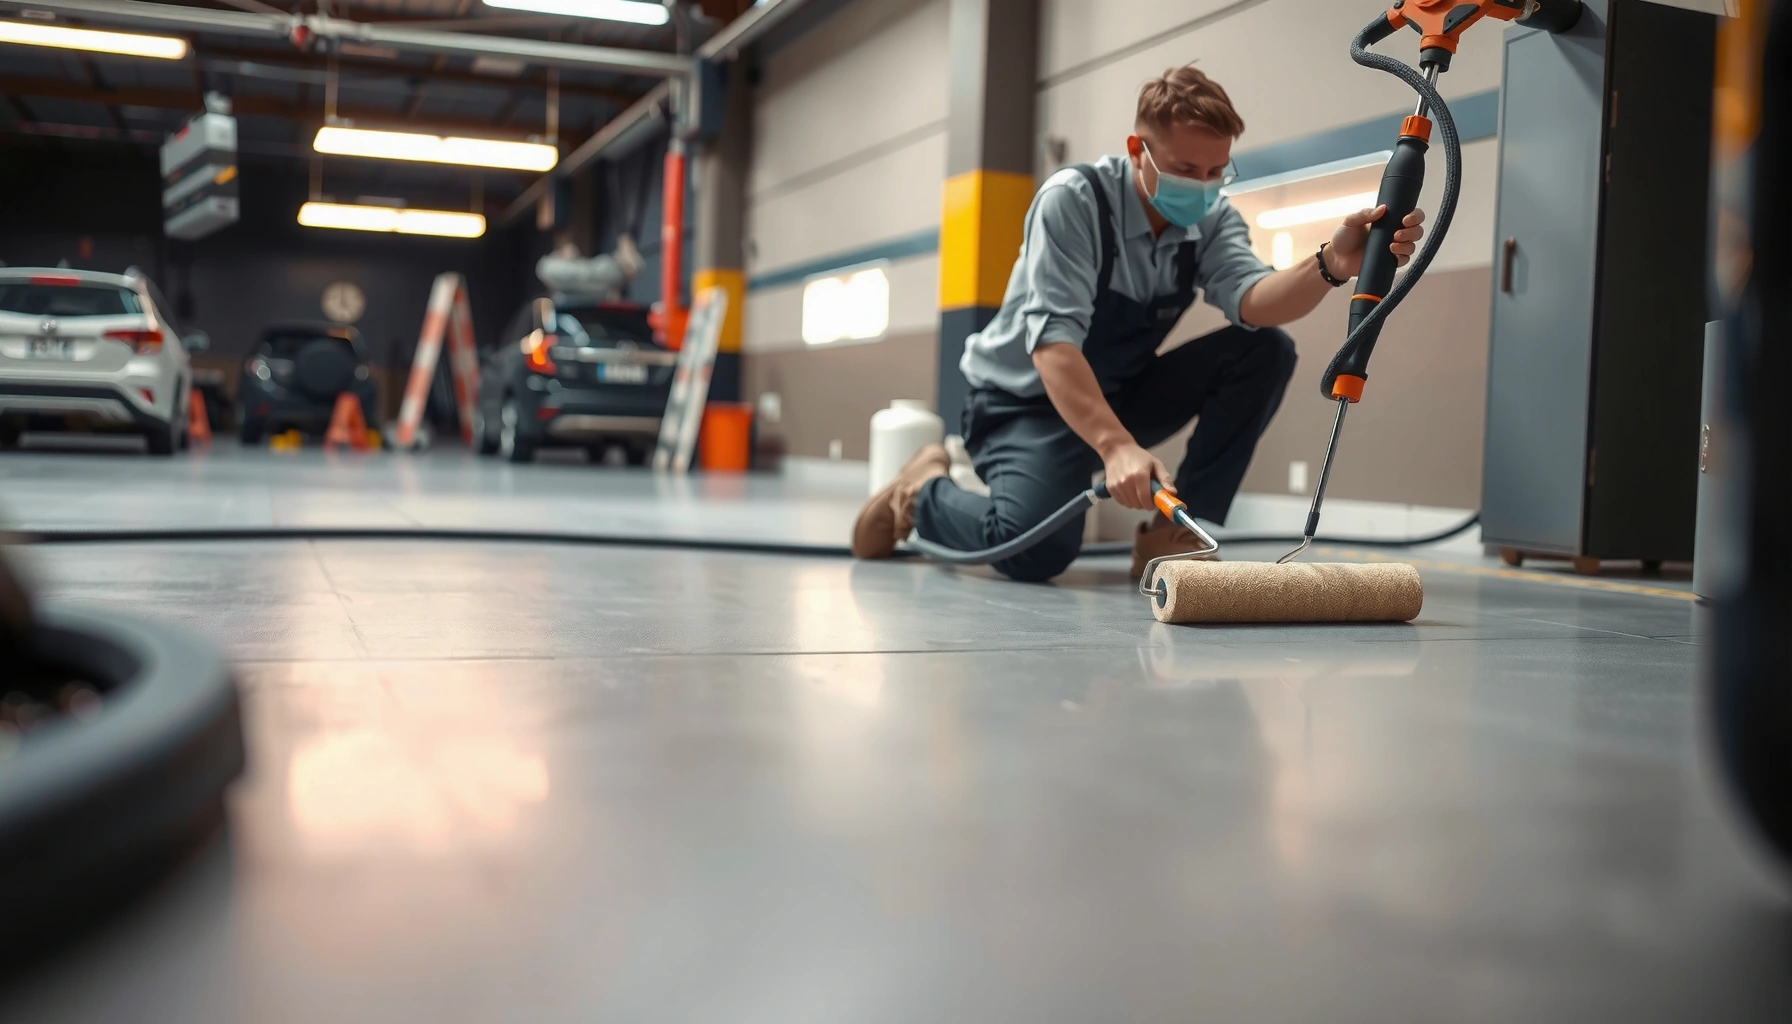

Fixing discoloration on polyaspartic floors is straightforward when you identify the cause first—moisture entrapment, UV fading, chemical staining, or installation-related issues. This guide shows the fastest, most reliable steps to restore clarity and uniform color with the right cleaning, surface preparation, and targeted refinishing approach. You’ll get a clear decision path for what to do before you polish, strip, or recoat so the discoloration doesn’t return.



If your polyaspartic floor is turning blotchy, dull, or discolored, the fastest path is to diagnose the cause first—then use the least aggressive cleaning/restoration method that matches it. In many cases, gentle cleaning plus targeted abrasion or a partial recoat of only the affected area restores uniform color without redoing the entire floor.
If you’re seeing discoloration in commercial spaces (warehouses, retail back-of-house, garages, showrooms), this matters because appearance and traction depend on the finish system remaining intact. Polyaspartic is chemically durable, but it can still show changes from moisture intrusion, UV exposure, chemical staining, or cleaning/maintenance residue.
1) First: Pinpoint what kind of discoloration you have
The quickest win comes from matching the visual pattern to the most likely mechanism: contamination/chemicals usually show localized spots; moisture-related issues tend to track along edges or areas with poor drying; UV degradation often looks more consistent in sunlit zones. If you skip this step, it’s easy to “fix” the surface while the underlying driver keeps changing the color.
Discoloration patterns are diagnostic: localized spots near mats or doors commonly indicate contamination or chemical transfer, while sunlit bands suggest UV impact on the topcoat.
Sticky residue, hazing, or chalkiness after cleaning is a strong clue that cleaning chemicals weren’t compatible or were left behind as film.
Edge darkening or clouding near walls can indicate moisture migration from the substrate or disruption in floor flatness/airflow drying.
Look for patterns (what it suggests)
– Random spots / streaks: Often contamination from tracked soil, rubber backing transfer, food/oil residues, or a spill that wasn’t fully neutralized/removed.
– Edges near walls or at expansion joints: More consistent with moisture movement, alkali effects, or incomplete sealing where water vapor can reach the system.
– Sunlight bands / uniform yellowing in bright zones: Common with UV exposure (polyaspartic topcoats can still yellow or dull under prolonged exterior/bright indoor sunlight, especially with high heat).
– “After-install” discoloration: If it started soon after installation, incomplete cure, trapped solvents, or early exposure to cleaning chemicals during cure can be involved.
Check timing (when it started matters)
– Right after install: focus on cure timing and early contamination.
– After a spill: focus on the chemical (detergent, de-icer, battery acids, solvents).
– Months later, gradually worsening: focus on UV/heat, maintenance compatibility, and whether moisture conditions changed.
Identify residue clues
If the floor looks discolored but also feels different, you may be dealing with surface film rather than true substrate-color change:
– Sticky film: unfinished cleaning chemistry left behind
– Haze: residue causing light scattering
– Chalkiness: oxidation or surface contamination needing controlled removal
2) Clean the floor correctly (before you try “repairs”)
The best first “repair” is usually a correct cleaning pass—because haze and patchy appearance frequently come from leftover cleaner, surfactants, or dissolved oils. Start mild, rinse thoroughly, and only escalate to a light mechanical scrub if you confirm contamination rather than coating failure.
For coating floors, pH-neutral detergents reduce the risk of damaging finish chemistry compared with aggressive alkaline/acid products.
Residue-driven cloudiness often clears only after repeat rinsing plus removal of surface films before any abrasion or recoat.
Non-metal pads and microfiber/mop pads designed for coated floors help minimize micro-scratches that can look like discoloration.
Step-by-step: safest cleaning order
1. Dry removal first: Vacuum/wet-sweep loose grit so you don’t grind abrasives into the finish.
2. Mild wash: Use pH-neutral detergent diluted per the label. Apply with a microfiber mop or coating-safe pad (don’t use stiff bristle brushes initially).
3. Agitate lightly: If you see spots, concentrate on the affected area—keep dwell time short rather than soaking.
4. Rinse thoroughly: Use clean water to remove surfactant residue; wipe-rinse with fresh water if needed.
5. Assess under consistent lighting: Compare the cleaned area with an adjacent unaffected zone so you don’t “chase” shadows/gloss differences.
When to use light mechanical scrub
If cleaning alone doesn’t resolve blotches:
– Use a non-metal scrub pad and proceed gently.
– Stop if you see the discoloration spread or the finish begins to look uniformly “rough”—that suggests you’re removing more than contamination.
Decision guidance table (what cleaning targets)
After you’ve cleaned once, you’re deciding whether the issue is mostly film removal or finish restoration.
Polyaspartic Discoloration: Likely Cause vs. First Corrective Action
| # | Observed appearance | Most likely driver | What to do first | Confidence |
|---|---|---|---|---|
| 1 | Spots near entryways and under mats | Tracked soil / rubber transfer / chemical residue | pH-neutral detergent wash + thorough rinse | ★★★★☆ |
| 2 | Cloudy haze after routine cleaning | Surfactant/cleaner residue left as film | Repeat rinse; then light non-metal pad scrub | ★★★★☆ |
| 3 | Localized darkening after a spill | Chemical staining/etch from cleaners or de-icers | Chemical-compatible remover (if available) or controlled re-clean | ★★★☆☆ |
| 4 | Edge darkening / mottling along walls | Moisture migration or alkali exposure | Moisture investigation before refinishing | ★★★☆☆ |
| 5 | Yellowing mainly in sunny zones | UV/heat exposure of topcoat system | Restoration polishing and UV-appropriate recoat | ★★★★☆ |
| 6 | Uniform dulling across the field | Abrasion/traffic wear or dulling from maintenance | Targeted renewal: controlled abrasion → recoat matching sheen | ★★★☆☆ |
| 7 | Color shifts that return after cleaning | Ongoing residue mobilization or moisture cycle | Stop current cleaner; confirm compatibility + investigate substrate moisture | ★★☆☆☆ |
3) Match the fix to the likely cause
The right fix depends on whether you’re treating surface chemistry (residue/chemical staining), substrate moisture (color returns or edges change), or UV degradation (sunlit zones fade/yellow). The safest approach is to restore only what’s been affected and keep the preparation steps compatible with your coating system.
If discoloration returns after cleaning, the driver is often ongoing (active moisture or incompatible maintenance products), not a one-time surface stain.
UV-affected polyaspartic appearances tend to be most pronounced where sunlight and heat exposure are highest—so repairs should be localized to affected zones first.
When moisture is present, recoating without moisture investigation can lead to repeating discoloration and adhesion issues.
Chemical stains (spills, de-icers, cleaners)
Start with a controlled plan:
– Remove remaining contamination with coating-compatible methods.
– Avoid soaking with strong solvents unless the coating manufacturer explicitly allows it.
– Reassess after cleaning before assuming you need full refinishing.
Moisture-related hints (blistering/dark edges)
If you notice:
– blistering, pinholes,
– edge darkening,
– recurring mottling after cleaning,
then treat moisture as the root cause. For concrete flooring diagnostics, ASTM F2170 (in-place RH testing) is commonly used; many flooring systems reference RH limits (often around 75% RH as a frequent threshold), but the exact acceptable limit must come from your specific manufacturer system and SDS/technical data.
According to ASTM F2170, in-place relative humidity testing measures vapor conditions within concrete rather than guessing from surface dryness. [ADD: cite ASTM F2170 overview/source]
UV/heat fading or yellowing
For sunlit zone yellowing:
– The fix usually requires surface renewal (restoration polishing/abrasion) and a compatible recoat system designed for UV exposure requirements.
– If you recoat without correcting surface oxidation/haze, the gloss match will stay uneven.
According to general coating durability guidance from major resins suppliers and coating standards, UV exposure commonly causes yellowing and gloss reduction by changing polymer chemistry and surface optics over time. [ADD: source for UV yellowing mechanism in polymer coatings]
Quick pros/cons comparison: “clean vs. abrade vs. recoat”
| Approach | Best for | Pros | Cons / risks |
|---|---|---|---|
| pH-neutral cleaning + rinse | Film/haze, residue, light spots | Lowest risk to coating chemistry; often fixes cloudiness | Doesn’t remove true etching or deep chemical staining |
| Controlled abrasion/polishing | Surface contamination embedded in the top skin; hazed finish | Restores uniform sheen without full floor redo | Can create patchiness if uneven; exposes new surface requiring topcoat match |
| Targeted recoat of only affected area | UV dulled/yellowed zones; finish wear | Faster than full redo; improved long-term appearance | Requires compatible prep/primer; poor prep can cause adhesion or texture differences |
4) Restore sheen and color using controlled abrasion (when appropriate)
Controlled abrasion works when the discoloration is mostly top-layer contamination or surface oxidation—not when a moisture issue is actively driving the change. The goal is even removal: you remove a consistent thin layer, then recoat (or seal) so the finish level matches.
Controlled abrasion is most effective when discoloration is surface-level; if moisture is active, appearance can return even after polishing.
Uneven sanding/polishing can create “patchwork” color differences because gloss and reflectivity change with surface profile.
After mechanical preparation, compatible topcoat/recoat is often required to restore the protective barrier and uniform appearance.
How to do it without making it worse
– Work in small zones first: test an inconspicuous area and compare before expanding.
– Progress in steps: move gradually from lighter abrasive options to stronger ones only if needed.
– Keep motion consistent: overlapping passes reduce “striping.”
– Remove dust completely: residue dust will interfere with adhesion during recoat.
When abrasion is the wrong choice
Avoid sanding/polishing if:
– discoloration is tied to moisture you haven’t identified,
– the floor shows blistering or delamination,
– the finish is actively failing (peeling, widespread texture changes).
In those cases, repair becomes a system-level issue, not a cosmetic one.
5) What can go wrong (common mistakes and edge cases)
Most failures come from treating the symptom, using incompatible chemicals, or skipping substrate checks. If you’ve ever watched a “spot repair” get worse after a few cleanings, you’ve likely seen coating chemistry or moisture problems in action.
Harsh solvents and unapproved spot removers can permanently alter polyaspartic topcoat chemistry, making discoloration harder to reverse.
Recoating without proper surface preparation can reduce adhesion and increase the likelihood of future discoloration, peeling, or texture variation.
Over-aggressive abrasion can dull the finish and reveal mottling you couldn’t see on a glossy surface.
Common mistakes
– Using unknown “strong” cleaners: even if they remove the stain quickly, they can cause gloss/color changes.
– Recoating too early: incomplete cure or inadequate surface prep can lock in problems.
– Ignoring moisture: if discoloration is driven by ongoing moisture, any cosmetic fix will be temporary.
– Not matching gloss/finish level: partial repairs can stand out if the sheen isn’t matched.
Edge cases
– Rubber mat transfer can be stubborn and may require surface abrasion beyond simple washing.
– Alkali/hard-water films can cause haze that looks like coating dulling, so thorough rinse and compatible chemical choice matters.
– Exterior or skylit spaces need UV-aware maintenance—otherwise discoloration keeps returning.
6) Verdict / practical tip (what we’d do next)
The safest route is a cause-first approach: clean with pH-neutral products, assess whether discoloration is localized (contamination/chemical) or zoned (UV), then use controlled abrasion or a compatible partial recoat only when the problem is clearly surface-level. The downside of this method is that it may require multiple inspection-clean-reassess cycles; if you jump straight into recoat, you risk wasting time and money.
Partial repairs work best when testing confirms the discoloration is a surface-film or surface-oxidation problem—not a continuing substrate moisture condition.
If discoloration is widespread, keeps returning, or is associated with edge change, diagnosis beats refinishing because appearance can recur after recoating.
When you can’t confirm compatibility of cleaners or the original coating system, follow the coating manufacturer’s technical data for cleaning and allowable mechanical prep.
If you’re dealing with structural moisture, active leaks, or you’re unsure of the original coating system, skip DIY chemical attempts and prioritize diagnosis first (moisture testing, maintenance review, and manufacturer guidance). For contractors, that’s often the difference between a one-day cosmetic refresh and a repeating repair cycle.
7) Quick checklist (scan/save)
– Identify pattern: spots vs hazing vs UV bands
– Recall trigger: spill/cleaner vs sunlight vs after install
– Test mild cleaning first: pH-neutral detergent + thorough rinse
– Look for residue: stickiness/chalkiness = likely film/maintenance incompatibility
– Escalate carefully: controlled scrub → then controlled abrasion only if surface-only
– If moisture suspected: stop and investigate before refinishing
– Use compatible materials: cleaners/topcoats/pads matched to your polyaspartic system
8) FAQ
Can discoloration on polyaspartic floors be fixed without redoing the whole floor?
Often, yes—if it’s surface contamination, residue haze, or chemical staining limited to the top layer. If discoloration is driven by UV degradation or moisture conditions, partial restoration may help, but full system remediation can be necessary.
Why does my polyaspartic floor look cloudy after cleaning?
Cloudiness is commonly caused by leftover detergent/cleaner residue, an incompatible cleaning product, or surface contamination that needs mechanical removal plus thorough rinsing.
What should I avoid using on polyaspartic floors?
Avoid harsh solvents and unknown “strong” stain removers unless the coating manufacturer explicitly allows them. Incompatible chemicals can permanently change color and gloss.
Is it safe to buff or sand polyaspartic discoloration?
It can be, but only in a controlled, staged way to avoid patchy results and sheen mismatch. If discoloration isn’t confirmed as surface-only, mechanical restoration may not solve the root cause.
9) Sources
– [ADD: polyaspartic/coating manufacturer technical data sheet for cleaning, compatible cleaners, and surface prep]
– [ADD: polyaspartic/coating manufacturer instructions for refinishing/recoating and allowable mechanical preparation methods]
– [ADD: official manufacturer guidance on UV exposure and how it affects polyaspartic topcoats/finish systems]
– ASTM F2170 (in-place RH testing method summary and relevant interpretive guidance) [ADD: official ASTM F2170 source]
Discoloration on polyaspartic floors is usually fixable when you treat it like a diagnostic problem instead of a cosmetic guessing game. Start with careful pattern recognition, perform pH-neutral cleaning with thorough rinsing, then choose controlled abrasion and/or targeted recoat only when the evidence shows a surface-level issue—otherwise, investigate moisture and maintenance compatibility first to prevent the same discoloration from coming back.
Frequently Asked Questions
What causes discoloration on polyaspartic floors?
Polyaspartic floor discoloration is often caused by UV exposure, moisture intrusion, chemical spills, or improper surface preparation before coating. It can also happen when the topcoat cures unevenly due to temperature swings, humidity, or inadequate mixing/application. Identifying the cause (sunlight, cleaner/chemical, or moisture) is critical because the right fix depends on what triggered the staining or fading.
How can I remove white spots or hazing on a polyaspartic floor?
White spots, frosting, or haze typically come from trapped moisture, curing issues, or contamination during installation. Start by cleaning the area with a pH-neutral cleaner and gently scrubbing to remove residue, then dry completely. If the haze remains, try a manufacturer-approved concrete/epoxy surface polish or light abrasion method, and for persistent discoloration you may need spot sanding followed by reapplication of polyaspartic topcoat.
How do I fix yellowing or fading from UV exposure on polyaspartic floors?
UV yellowing is common when polyaspartic lacks sufficient UV-stable formulation or when floors receive direct sunlight without protective measures. For sun-related fading, the best approach is usually system-level correction: light sanding to remove the degraded top layer, then applying a UV-resistant clear topcoat designed for polyaspartic floors. Avoid harsh solvents during cleaning, as they can further degrade the finish and make discoloration more noticeable.
Which cleaning products are safe for polyaspartic floors to prevent further staining?
Use pH-neutral, non-abrasive cleaners recommended for polyaspartic or coatings systems, and avoid harsh acids, strong alkalis, and solvent-based degreasers. Even common products like bleach or aggressive bathroom cleaners can dull or discolor the finish over time. For best results, follow with clean water rinsing if the cleaner is not “no-rinse,” and always test new cleaners in a small inconspicuous area first.
What is the best way to spot-repair localized stains on polyaspartic floors?
For localized discoloration, spot repair typically involves cleaning, drying, and then mechanically preparing the affected area by sanding or grinding until you reach sound, clean substrate. Remove all dust thoroughly, then apply the correct polyaspartic coating (matching color or using a clear topcoat if appropriate) per the product’s mixing and recoat times. After curing, protect the area from foot traffic and chemical exposure to ensure the repaired polyaspartic floor blends cleanly and resists future discoloration.
📅 Last Updated: October 11, 2026 | Topic: How to fix discoloration on polyaspartic floors? | Content verified for accuracy and freshness.
References
- Google Scholar Google Scholar
https://scholar.google.com/scholar?q=polyaspartic+floor+discoloration+fix - Google Scholar Google Scholar
https://scholar.google.com/scholar?q=polyaspartic+coating+yellowing+UV+degradation - Google Scholar Google Scholar
https://scholar.google.com/scholar?q=concrete+coating+discoloration+whitening+epoxy+urethane+moisture+contamination - https://pubmed.ncbi.nlm.nih.gov/?term=polyurethane+photooxidation+yellowing
- PMC Home
https://pmc.ncbi.nlm.nih.gov/?term=polyurethane+photooxidation+yellowing - Photooxidation
https://en.wikipedia.org/wiki/Photo-oxidation - https://en.wikipedia.org/wiki/Ultraviolet_radiation
- https://en.wikipedia.org/wiki/Efflorescence
- Epoxy
https://en.wikipedia.org/wiki/Epoxy - Polyurethane
https://en.wikipedia.org/wiki/Polyurethane