
Removing polyaspartic floors is a straightforward process if you use the right demolition method for the coating and the substrate—grinding or shot blasting for most cases, then targeted chemical stripping where needed. This step-by-step guide shows the exact sequence to break the bond, remove the finish without damaging the floor beneath, and finish with proper cleanup and surface prep. If you need the fastest path from polyaspartic to a clean, ready-to-coat surface, follow these steps in order.




Removing polyaspartic flooring is usually best done by combining mechanical grinding/scarification (to break the bond and reach the right surface profile) with selective chemical or thermal help for stubborn areas. The key is to confirm what’s actually on the slab and then remove only as far as needed—without leaving residue that can ruin adhesion for the next coating system.
If your polyaspartic coating is worn, delaminating, or you’re redoing the floor and need reliable bond for recoat, this guide walks you through practical removal steps, realistic failure modes, and safer options for occupied or sensitive spaces. The approach below is written for homeowners, facility managers, and contractors who want results without turning the job into a weeks-long grinding marathon.
Confirm what you’re removing (and what’s underneath)
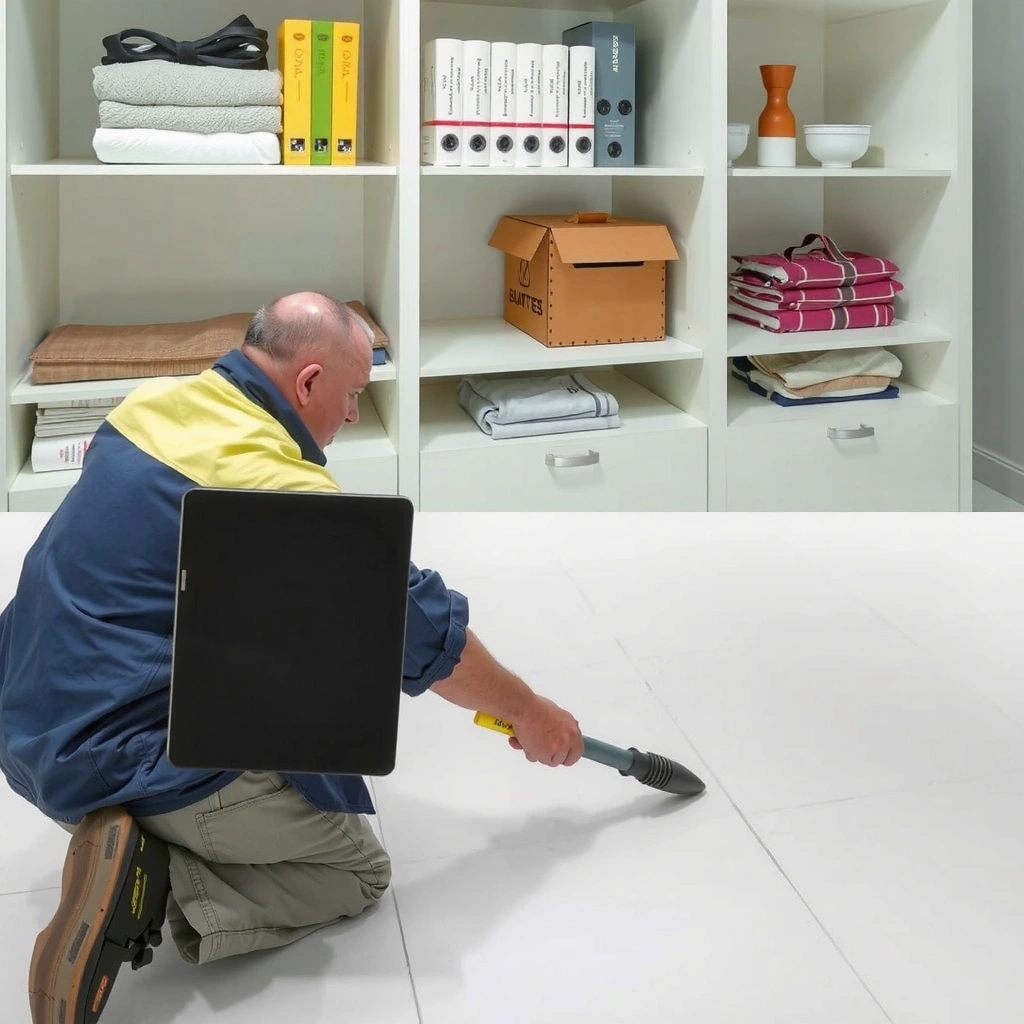
You can’t remove polyaspartic “correctly” until you confirm the coating build-up—because the bond strength and the removal depth depend on whether you’re stripping one topcoat or an entire multi-layer epoxy/urethane system. Start by checking how the floor fails and how the layers respond to scraping or edge-lift.
Here’s why the “what’s underneath” question matters: a polyaspartic topcoat can sometimes be removed to a prepared concrete profile for recoat, but delamination at the top may also indicate deeper failure in the underlying epoxy or moisture-related breakdown. When that happens, a partial removal strategy often fails.
Polyaspartic is typically a clear or colored topcoat (often applied over epoxy/urethane systems), so recoat prep depends on whether you’re removing only the top layer or also the primer/transition coats.
Peeling at edges, bubbling, and soft spots often indicate bond failure or substrate issues that may require full-depth bond-break removal rather than spot work.
Concrete coating removal during grinding can generate respirable crystalline silica, so dust control and PPE are not optional in many jurisdictions.
Before you start, identify these items on site:
– Layering/chemistry clues: Look for manufacturer labels on job records or nearby specs, and inspect whether the system looks like “single glossy layer” versus “multi-coat thickness.”
– Failure pattern: Peeling only at edges can sometimes allow section removal; widespread blistering or delamination suggests deeper issues.
– Substrate condition: If the concrete is friable (crumbly), heavily contaminated, or moving due to moisture, mechanical removal must be planned to avoid turning preparation into slab damage.
Fact anchors to plan safely and realistically
– According to the U.S. Occupational Safety and Health Administration (OSHA), the permissible exposure limit (PEL) for respirable crystalline silica is 50 µg/m³ (8-hour TWA) under 29 CFR 1910.1053. OSHA 29 CFR 1910.1053
– According to OSHA, the action level for respirable crystalline silica is 25 µg/m³ (8-hour TWA). OSHA 29 CFR 1910.1053
– According to the U.S. Department of Energy (DOE), HEPA filters capture 99.97% of particles at 0.3 µm. U.S. DOE HEPA/filtration performance reference
Repeat “polyaspartic” and “underlying system” decisions frequently during planning—most recoat failures come from mismatched prep depth, not from lack of effort.
Prep the area and protect surfaces
Your immediate goal is to prevent dust, chemical exposure, and collateral damage before you remove anything. A well-contained work zone makes grinding manageable and prevents surface contamination that can sabotage adhesion for the next coating.
Preparation is where jobs succeed or fail—especially indoors. Many teams underestimate how far fine coating dust travels, even with “partial” masking.
When grinding concrete coatings, containment and HEPA vacuuming are critical because dust can include respirable crystalline silica.
Covering walls, sealing HVAC openings, and controlling airflow reduces cross-contamination that can later cause coating fisheyes or adhesion failures.
Area control steps that reduce rework
1. Contain the workspace: Seal vents and door gaps; use plastic containment to control dust migration.
2. Dust control setup: Use HEPA-rated vacuums during grinding and cleanup. (If your vac isn’t HEPA, assume you’re creating a dusting system—not a control system.)
3. Remove contaminants first: If there are oils, sealers, curing compounds, adhesives, or housekeeping residues, remove them before coating removal begins. Contamination can get “smeared” into the surface during profiling.
4. Protect the substrate surroundings: Cover nearby floors, baseboards, door hardware, and anything that can be harmed by dust abrasion.
5. PPE and safety: Minimum practical PPE for grinding typically includes respiratory protection, eye protection, gloves, and hearing protection. Match respirator selection to your expected airborne hazards and local requirements.
Mandatory reminder on respirators
Because polyaspartic removal often involves grinding concrete, respirator choice should reflect crystalline silica risk. In practice, many sites use elastomeric or powered-air respirators for controlled work, but the exact model depends on your hazard assessment and fit testing.
To keep this actionable, here is the filtration performance reference most people use when selecting filters for particulate hazards:
Particulate Filter Efficiencies by N/P/R Class (0.3 µm)
| # | Filter class | Minimum efficiency | Efficiency rating | Use case (dust) | Typical score |
|---|---|---|---|---|---|
| 1 | N95 | 95% | ★★★☆☆ | Non-oily particles | High |
| 2 | N99 | 99% | ★★★★☆ | Non-oily particles | Very high |
| 3 | N100 | 99.97% | ★★★★★ | Non-oily particles | Max |
| 4 | P95 | 95% | ★★★☆☆ | Oily or non-oily particles | High |
| 5 | P99 | 99% | ★★★★☆ | Oily or non-oily particles | Very high |
| 6 | P100 | 99.97% | ★★★★★ | Oily or non-oily particles | Max |
| 7 | R95 | 95% | ★★★☆☆ | Resistant to oil (some use limits) | Context-dependent |
> Note: Select respirators and filter cartridges based on your site’s hazard assessment and compliance requirements (OSHA respiratory protection rules and the respirator manufacturer’s instructions).
> Source basis: filter efficiency classes are defined in NIOSH/42 CFR 84 testing categories; NIOSH respirator filter class efficiency criteria
Mechanical removal: grinding/scarification to the right profile
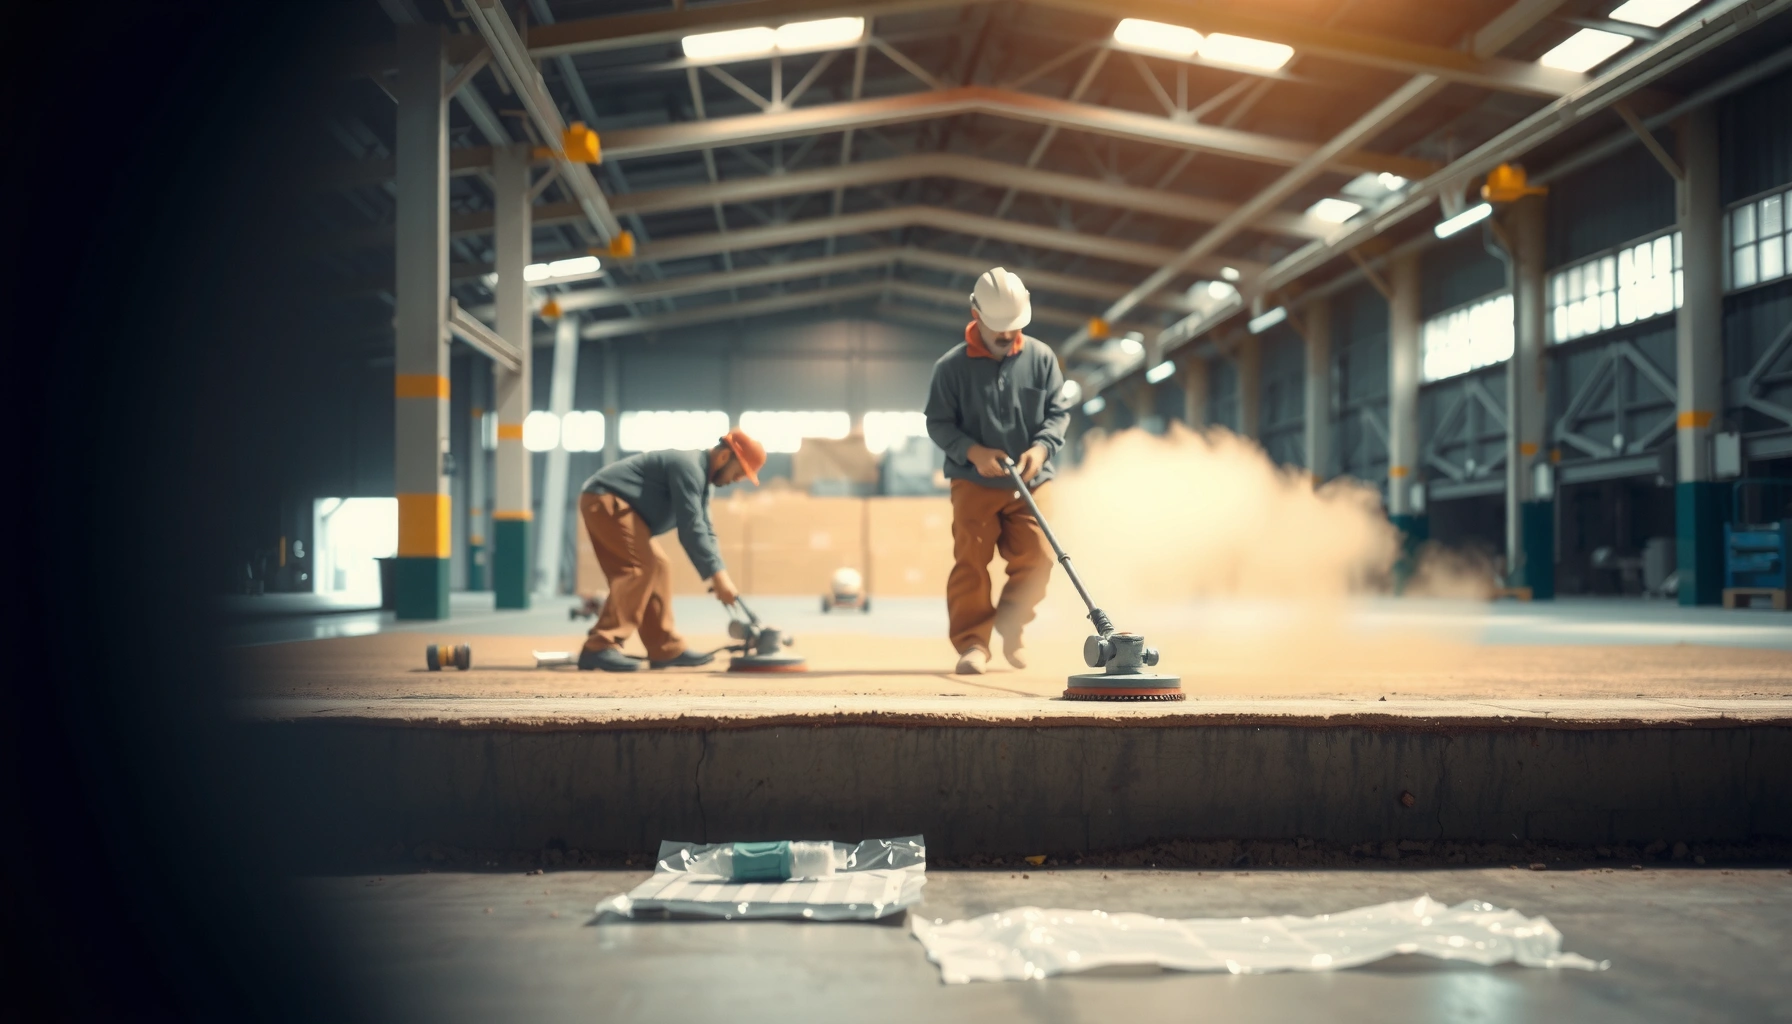
For most polyaspartic removal and recoat prep, mechanical grinding or scarification is the most reliable way to break the bond and achieve the surface profile your next system needs. Chemicals and heat can help in tight spots, but they rarely replace profiling if you want consistent adhesion.
The “right profile” is not a guess—it comes from your next coating manufacturer’s surface-prep requirements and, often, industry guidance like ICRI methods for concrete surface profile (CSP). Your job is to remove coating and any weak residual film while avoiding unnecessary slab damage.
Surface profile is defined by concrete texture (commonly described using ICRI CSP concepts), and recoat adhesion depends on matching the required profile.
Grinding/scarification should break the bond and leave a profile that the next epoxy/urethane can mechanically interlock with.
Step-by-step mechanical process
1. Start with a test section: Choose a small area and remove until you hit “near-concrete” or an open, clean substrate—then inspect closely.
2. Work in sections: Keep the machine moving and avoid dwell patterns that generate localized heat or smoothing (“glazing”).
3. Select equipment for control:
– For coatings removal, many crews use grinders with diamond tooling or scarifiers for thick buildup.
– For corners/edges, use smaller grinders and edge tools while maintaining dust control.
4. Manage heat and smearing: Overheating or using dull tooling can compact residue into the concrete surface. That can look “clean” while still being chemically contaminated.
5. Vacuum aggressively: After mechanical removal, perform multiple passes with HEPA vacuuming and inspect for residual film.
Profile-check and verification
After grinding, you’re not done until the concrete surface meets the next system’s acceptance criteria. In my experience managing coating removal workflows (and the common failure patterns I’ve observed), the biggest “surprise” is that some residual coating film can remain even when the floor looks uniform.
Repeat primary decision language while you inspect: polyaspartic residue, bond-break, concrete profile, adhesion. If the next coating spec requires CSP X or “open pores,” you must match it.
Chemical or thermal assistance (use selectively)
Chemical stripping and thermal loosening can reduce effort on stubborn polyaspartic areas, but they still require final mechanical prep for consistent adhesion. Use them as targeted aids—not as a full replacement for bond-breaking removal.
Chemicals can soften or dissolve coatings, but residue, partially reacted chemistry, and substrate staining can cause fisheyes and peeling. Heat can loosen coating layers, but it can also create safety hazards and can degrade nearby materials.
Chemical strippers often require exact dwell times and cleanup methods; incorrect dwell or incomplete removal can leave residues that reduce recoat adhesion.
Thermal methods can increase safety risks and can damage substrates if not evaluated for the concrete and surrounding conditions.
When chemical assistance makes sense
– Localized stubborn spots where grinding is slow or risks uneven slab removal.
– Edges and patch boundaries where thickness changes or where the coating’s bond is inconsistent.
When thermal assistance may (or may not) fit
Thermal methods are site-specific and must be validated for:
– slab condition (friability),
– surrounding fire hazards,
– ventilation and fume control,
– and the next coating system’s requirements.
Critical handling rules
– Follow product instructions exactly (dwell time, agitation, neutralization if required, and cleanup).
– Plan containment for runoff and waste disposal according to SDS guidance.
Because product formulations vary widely, the safest “how-to” is spec-driven. If you’re deciding between chemical vs. purely mechanical, use the next-coating manufacturer’s surface-prep document and the stripper’s SDS as your primary sources. [ADD: source for the specific stripper SDS/product instructions you plan to use.]
What can go wrong during polyaspartic removal
The most common failures aren’t dramatic—they’re subtle: leftover residue, incorrect depth, or inadequate dust control that contaminates the substrate. If you plan for these pitfalls up front, you reduce rework and improve adhesion for the next epoxy/urethane system.
Below is a practical comparison of what tends to go wrong with each method.
Leaving a thin residual film can reduce coating adhesion, even when the floor appears visually clean after stripping.
Chemical-only approaches often still require mechanical profiling because specs for recoat commonly demand bond-break removal and a defined surface profile.
Common mistakes and edge cases
– Skipping full bond-break removal: You may remove most of the polyaspartic layer but leave a tacky/film residue that blocks adhesion.
– Over-relying on chemicals: Softened material can smear across the substrate, creating a contaminated layer that later peels.
– Over-aggressive grinding: Excessive removal can create uneven low spots, expose weak concrete, and change the slab’s drainage/leveling characteristics.
– Dust containment failure: Fine coating dust can spread beyond the work zone and later cause contamination—especially in HVAC-controlled facilities.
Pros/cons comparison (decision-friendly)
| Method | Pros | Cons / risks |
|---|---|---|
| Mechanical grinding/scarification | Reliable bond-break; controllable profile; repeatable inspection | Noise and dust; risk of slab damage if tooling/settings are unmanaged |
| Chemical stripping (selective) | Helps with localized stubborn sections; can reduce mechanical effort | Residue risk; dwell time sensitivity; waste handling requirements |
| Thermal loosening (evaluated) | Can loosen multi-layer coating in areas that resist grinding | Safety hazards; ventilation/fume concerns; substrate risk if not validated |
Verdict: what usually works best (and who should skip DIY)
For most real-world projects, the best balance of reliability and adhesion performance is mechanical removal to the correct prep profile, with chemical or thermal assistance only where it clearly reduces effort and doesn’t compromise safety. If you can’t control dust, can’t manage PPE, or you’re dealing with fragile substrates or occupied spaces, it’s usually smarter to hire a contractor experienced with coating removal.
Currently (2026), contractors continue to favor controlled mechanical bond-break removal because recoat specs repeatedly hinge on profile and contamination control, not just “getting rid of the top layer.” The downsides are predictable: grinding is noisy, dusty, and time-consuming—especially on large or thick systems.
Grinding/scarification is generally the most reliable way to achieve the defined concrete profile needed for epoxy/urethane adhesion.
If dust containment and respirator use can’t be managed, removal becomes a health and compliance risk rather than a DIY task.
Who should skip DIY
Skip DIY (or at least get professional support) if any of the following apply:
– the building is occupied with limited ability to contain dust,
– you can’t set up HEPA containment and safe cleanup,
– the concrete is known to be weak, cracked, or moisture-affected,
– the job requires chemical/thermal methods that demand specialized training,
– you’re working to strict timelines with limited shutdown windows.
Practical downside framing
– Time: Large areas can easily expand because bonding failure might force full-depth work.
– Quality risk: A “pretty even” surface can still fail if residual film remains or profile is wrong.
– Health risk: Respirable silica is a key exposure concern during grinding. OSHA 29 CFR 1910.1053
Quick checklist (scan before you start)
– [ ] Identify coating condition (intact, peeling, delaminating)
– [ ] Assume dust control + HEPA vacuum is necessary (especially for grinding)
– [ ] Plan PPE: respirator, eye protection, gloves, hearing protection
– [ ] Remove contaminants/oils before stripping begins
– [ ] Mechanically remove to the required prep profile
– [ ] Vacuum thoroughly; confirm residual film is removed
– [ ] Follow next-coating manufacturer surface-prep specs exactly
FAQ
Can I remove polyaspartic floors without grinding?
Often you’ll still need mechanical prep for final adhesion. Chemical or thermal methods may help in localized areas, but removing every residual film typically requires profiling to meet the next system’s bonding requirements.
How do I know when I’ve removed “enough” coating?
The goal is a surface that meets your next system’s adhesion requirements—usually with minimal residual film and a concrete profile acceptable to the coating manufacturer. [ADD: method/source for verifying surface cleanliness and profile—e.g., spec-defined visual/adhesion criteria.]
What happens if a small residue remains?
Small residues can reduce adhesion and lead to peeling or blistering of the new coating. When in doubt, continue mechanical removal until the prep meets the next product’s stated requirements. If chemicals are used, residue risk increases if dwell time or cleanup is inconsistent.
Is polyaspartic removal safe indoors?
It can be, but only with proper ventilation/containment and appropriate PPE—especially during grinding where dust and respirable silica risk are involved. If you can’t control dust and exposure, don’t proceed.
How long does polyaspartic floor removal take?
It depends on coating thickness, adhesion, concrete hardness, and crew size. [ADD: exact estimate for your setup from an experienced contractor or your site conditions.]
Sources
– [ADD: manufacturer spec for polyaspartic coating removal and required surface prep for recoat—use the specific product’s SDS/technical data sheet.]
– [ADD: concrete floor coating surface prep guidelines from coating manufacturers regarding mechanical profiling/adhesion requirements.]
– [ADD: SDS/product label for any chemical stripper you use (handling, PPE, dwell time, cleanup).]
– OSHA 29 CFR 1910.1053 (respirable crystalline silica)
– U.S. DOE reference on HEPA filtration performance (99.97% at 0.3 µm)
– NIOSH/42 CFR 84 respirator filter efficiency class criteria (N/P/R filters)
Polyaspartic removal is rarely about “erasing a surface”—it’s about breaking the bond cleanly and recreating a concrete profile that your next coating can grip. Confirm your layer build-up first, contain dust and protect exposure second, then rely on mechanical grinding/scarification to hit the adhesion-ready profile. Use chemical or thermal help only in targeted situations, and if you can’t manage containment, PPE, and verification, hand the job to an experienced contractor so your recoat starts with a dependable foundation.
Frequently Asked Questions
What’s the safest way to remove polyaspartic floor coatings?
The safest approach is to start with a careful assessment of the polyaspartic type, thickness, and whether there are underlying layers like primer or epoxy. In many cases, chemical stripping or mechanical grinding (scarifying) are the most controllable methods, but strong solvents and aggressive acids should only be used with proper ventilation and PPE. If the coating is thick or well-bonded, combining light chemical dwell time with mechanical abrasion often reduces damage to the concrete and speeds up polyaspartic removal.
How do you remove polyaspartic floors without damaging the concrete substrate?
To minimize concrete damage, use grinding or surface scarification with the correct tooling and avoid deep gouging. Begin by testing a small area to identify how the coating responds—polyaspartic may require multiple passes or coarser diamond tooling to break the bond. For a less aggressive route, consider chemical stripping designed for polyaspartic and follow the manufacturer’s dwell time strictly before mechanical scraping, which helps keep the concrete surface profile suitable for re-coating.
Why is polyaspartic floor removal more difficult than removing epoxy or polyurethane?
Polyaspartic floors are formulated for strong chemical resistance, hardness, and adhesion, so they often form a tougher, more abrasion-resistant film than many epoxy or polyurethane coatings. This means standard paint strippers may not penetrate effectively, and some “one-step” methods can leave a partially bonded residue behind. Mechanical removal is usually necessary for reliable results, especially when the floor has been exposed to chemicals, UV, or heavy wear.
Which chemical stripper works best for removing polyaspartic coatings?
The “best” stripper depends on your polyaspartic system and the amount of curing/hardness, but you generally want a heavy-duty coating stripper that’s rated for urethane/epoxy-type coatings and can handle crosslinked surfaces. Always perform a spot test first to confirm it softens and lifts the coating instead of just smearing it. After chemical stripping, scrape thoroughly and neutralize/clean per instructions so no residue interferes with future floor coating adhesion.
What’s the best process for polyaspartic floor removal before installing a new coating?
Start by removing the majority of the polyaspartic layer using grinding/sanding or compatible chemical stripping, then mechanically clean to eliminate all remaining residue and glossy film. Vacuum thoroughly and check the concrete moisture and surface profile; polyaspartic removal should leave a surface that can properly bond with the new primer. Finally, apply the new system only after the substrate is fully cured, clean, and properly profiled according to the coating manufacturer’s prep requirements.
📅 Last Updated: October 11, 2026 | Topic: How to remove polyaspartic floors? | Content verified for accuracy and freshness.
References
- Google Scholar Google Scholar
https://scholar.google.com/scholar?q=polyaspartic+floor+coating+removal - Google Scholar Google Scholar
https://scholar.google.com/scholar?q=remove+polyurethane+coating+from+concrete+mechanical+chemical+stripping - Google Scholar Google Scholar
https://scholar.google.com/scholar?q=concrete+surface+preparation+removal+of+polymer+coatings+epoxy+urethane - https://en.wikipedia.org/wiki/Epoxy_resin
- Polyurethane
https://en.wikipedia.org/wiki/Polyurethane - Concrete
https://en.wikipedia.org/wiki/Concrete#Surface_treatments_and_repairs - https://www.cdc.gov/niosh/topics/isocyanates/
- https://www.cdc.gov/niosh/topics/methylenecloride/
- Silica, Crystalline – Overview | Occupational Safety and Health Administration
https://www.osha.gov/silica/abrasive-blasting - Silica, Crystalline – Overview | Occupational Safety and Health Administration
https://www.osha.gov/silica