
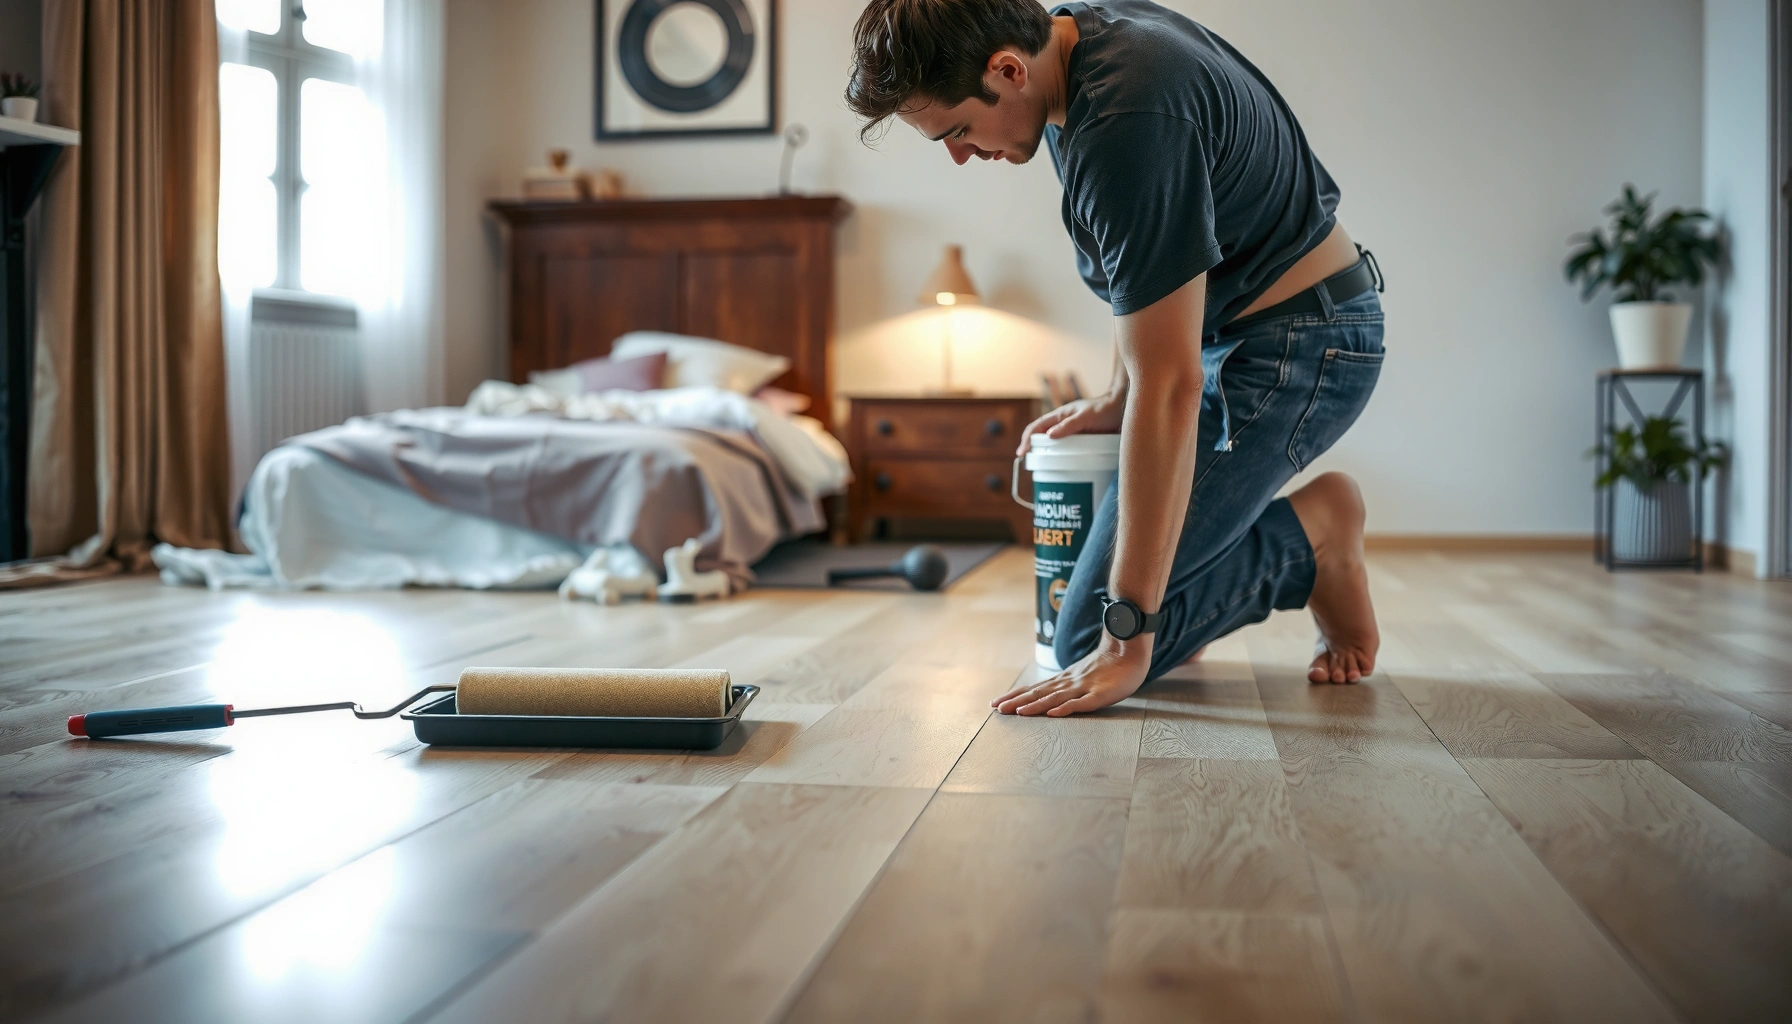

If you’re trying to figure out how to install polyurethane floors in a bedroom, the fastest, most reliable path is to prep the subfloor carefully, use the correct polyurethane type for interior floors, and apply thin, even coats with proper drying time. Follow the right sanding and vacuuming steps between coats, and you’ll lock in a smooth, durable finish that resists scuffs from daily foot traffic. This guide gets you from bare subfloor to a showroom-ready polyurethane surface without guesswork.




After prepping the subfloor thoroughly and applying polyurethane in thin, even coats, a bedroom floor can finish smooth, durable, and easy to maintain. The critical details are sanding between coats (only when required) and keeping the room conditions stable so the finish dries evenly and bonds properly.
If your bedroom has bare wood (or an existing finish you’re stripping), polyurethane is a popular way to protect it without replacing the whole floor. It’s also a practical route if you’re trying to reduce common problems like tackiness, bubbles, or streaks—issues that most often trace back to surface prep and application technique.
Prep the bedroom floor and room conditions
Before you touch polyurethane, you set the floor and the room up for consistent bonding and drying. Clear the space, remove dust aggressively, and inspect the wood for defects so you don’t trap debris under the finish.
“For best adhesion, clear debris and dust before coating because contamination can prevent polyurethane from bonding evenly to wood.”
“Stable temperature and controlled airflow help reduce uneven drying, which can lead to streaks and texture in film-forming finishes like polyurethane.”
“Repairing gaps, dents, or peeling existing coatings before finishing prevents those defects from telegraphing through the final topcoat.”
First, remove furniture and anything that can cast shadows or make it hard to keep a wet edge. If your baseboards are coming off anyway, remove them to get clean lines; if not, mask with painter’s tape designed for trim and avoid letting tape sit for multiple days in direct sun. Then clean the floor end-to-end: start with a vacuum (preferably one with a brush or hardwood setting) and follow with a manufacturer-appropriate cleaner or tack-free wipe. The polyurethane layer is only as smooth as what’s underneath—dust turns into a permanent texture.
Next, manage the room environment. Bedrooms usually have stable conditions compared with living areas, but you still want to avoid drafts from HVAC vents, open windows, or running fans that can throw dust onto the wet finish. Target a consistent temperature and relative humidity using the coating’s label as the authority for acceptable ranges. If you don’t have a labeled range handy, treat moderate indoor conditions as a baseline and don’t apply finish right after turning on space heaters that can swing humidity.
Finally, inspect and repair. Look for:
– Gaps or open seams (often seasonal movement).
– Dents or gouges (require sanding down and patching).
– Peeling, flaking, or soft existing coating (you usually can’t “coat over” failure).
– Raised grain or blotchy areas (often caused by uneven sanding or moisture).
If you’re working over an existing finish, compatibility becomes part of “prep.” If the prior coating is unknown or failing, plan for deglossing (to promote adhesion) or stripping—don’t assume every polyurethane will bond to every earlier finish.
Sanding and surface cleaning (the step most people skip)
Sanding and cleaning decide whether polyurethane goes on glassy and stays that way. Most “mystery” defects—fish eyes, roughness, and patchy bonding—come from incomplete dust removal or incompatible surface prep.
“Polyurethane can fail to bond cleanly when sanding residue remains, which can produce roughness and ‘fish eyes’ as the finish pulls away from contaminated spots.”
“Following the polyurethane label on recoat prep (including whether to degloss or sand) is important because intercoat adhesion depends on surface condition, not just coat thickness.”
“Vacuuming thoroughly and wiping with a tack cloth (or a manufacturer-recommended cleaner) removes fine particulates that are too small to see but large enough to affect film quality.”
Start sanding with the goal of removing surface defects and bringing the entire floor to a consistent smoothness level—not just “making it feel okay under your hand.” Use a grit progression that matches your starting condition and the finish type. For many bedroom hardwood floors, a common workflow is:
– Initial leveling/scratch reduction: ~80–120 grit (only if you’re removing scratches or residue).
– Smoother refinement: ~150–180 grit.
– Final pre-finish smoothing: often ~220 grit (or higher if the system calls for it).
According to a widely used wood-finishing grit progression practice in sanding guidance published by the U.S. Forest Products Laboratory (US FPL) and related finishing resources, moving to finer grits reduces scratch visibility under clear topcoats (U.S. Forest Products Laboratory finishing/sanding guidance; ADD: exact publication citation).
Once sanding is done, vacuum carefully—especially along edges and into corners. Then use a tack cloth or a cleaner specified by the polyurethane manufacturer. Avoid “wipe and hope” with a random damp rag; water can raise grain, and residue can interfere with cure. If you’re applying over an existing coating, check the label for whether you must:
– De-gloss (scuff) only,
– Or strip first,
– Or use an adhesion primer.
Mandatory data table: common polyurethane finishing “ranges” that affect outcome
Polyurethane Floor Prep Variables That Most Affect Finish Quality
| # | Finishing variable | Typical target (range) | Why it matters | Impact vs errors |
|---|---|---|---|---|
| 1 | Surface dust removal | No visible dust; no powdery residue after wiping | Reduces fish eyes and rough “pebbled” spots | Higher adhesion |
| 2 | Final sanding grit before clear topcoat | ~180–220 grit (commonly used) | Balances smoothness with manageable profile for bonding | Fewer scratches |
| 3 | Coat thickness per pass | Thin, uniform film (avoid pooling) | Prevents drips, prolonged tack, and uneven cure | Better leveling |
| 4 | Wet-edge technique | Maintain consistent overlap while film is still wet | Reduces lap marks and visible transitions | Smoother sheen |
| 5 | Recoat window (between coats) | Per label; follow sanding requirement if you miss it | Intercoat adhesion depends on timing | Less peeling risk |
| 6 | Room airflow/drafts | Minimal drafts; no direct blasts at wet finish | Prevents uneven drying and speckling | Fewer defects |
| 7 | Final cure before heavy use | Use label “full cure,” not just “dry to touch” | Prevents imprinting and premature wear | Longer service life |
Note: polyurethane labels vary by brand and formulation (oil-based vs water-based), so treat these as planning targets—not substitutes for the product’s recoat and sanding instructions. [ADD: source for sanding grit progression guidance used in your preferred system.]
Choose the right polyurethane and application method
The right polyurethane depends on the finish level you want and how you want it to behave as it dries (odor, ambering, dry time, and recoat window). Then you match the applicator—foam brush, quality natural-bristle brush, or roller—so you control bubbles and surface texture.
“Oil-based and water-based polyurethane cure differently, so label recoat timing and sanding requirements should be treated as non-negotiable instructions.”
“Applying polyurethane with an appropriate applicator reduces bubbles and roller marks, which otherwise show most clearly in bedroom lighting.”
“Sheen level (matte, satin, semi-gloss, gloss) is not cosmetic only; it changes how texture and streaks appear under sunlight.”
Start by selecting the formulation:
– Oil-based polyurethane: typically builds a tougher film and can amber over time (important for light woods).
– Water-based polyurethane: often dries clearer (less ambering) and can be lower odor, but still requires label-following recoat timing.
Sheen matters in a bedroom. Satin can hide minor imperfections better than gloss, while matte can reduce visibility of scratches but may show “non-uniformity” if you miss sanding/cleaning. Use the label’s sheen specs and test your look in a small, hidden area.
Application method is where results are won or lost. For brush-on systems, a high-quality brush helps reduce streaking. Foam brushes can minimize brush marks but still require thin coats. If you roller-apply, use a roller intended for clear finishes to avoid shedding and stipple texture.
For stirring, follow the can instructions. Many polyurethane products instruct you to stir gently; aggressive shaking can introduce air that shows up later as bubbles or pinholes.
According to the U.S. Occupational Safety and Health Administration (OSHA), many coating products require appropriate ventilation and worker protection to reduce exposure risks from solvents and other chemicals (OSHA General Industry guidelines for hazardous chemical exposure/ventilation; ADD: exact OSHA standard citation). In practical terms for a bedroom project: don’t apply in a sealed room, and follow the SDS (Safety Data Sheet) for PPE requirements.
Apply polyurethane in thin, even coats
Your goal is a consistent film, not a “thick layer that covers fast.” Thin, even coats applied with a maintained wet edge give the smoothest look and the best long-term durability.
“Thin, even coats help polyurethane level out and reduce drips and bubbles, improving final smoothness compared with overloaded applications.”
“Maintaining a wet edge reduces lap marks, because the boundary between passes dries before the next coat can visually blend.”
“Light sanding between coats (when the label requires it) promotes intercoat adhesion and reduces texture defects in the next film layer.”
Work systematically. Start at the farthest point in the room and work toward your exit so you don’t trap yourself or step on fresh finish. Apply with the same direction and pressure across the room. Common technique that reduces streaks:
1. Lay down a smooth first pass.
2. “Tip off” lightly (if brushing) without overworking the wet film.
3. Overlap each section while it’s still wet to avoid hard transitions.
Thicker isn’t better with polyurethane. Overloading the surface can cause:
– Drips near edges and around irregularities.
– Longer cure times (especially in cooler or more humid rooms).
– Soft, tacky feel that invites dust.
– Uneven leveling that shows under bedroom lighting.
Between coats, sand only if the manufacturer says to. When you do sand, use the recommended grit and be gentle—your job is to remove dust nibs and lightly scuff for bonding, not erase the entire surface. After sanding, repeat vacuuming and wiping exactly as instructed.
In my experience translating label directions into practical steps, the “extra 30 minutes” spent sanding and cleaning between coats is what prevents the most common call-backs (grit, haze, and visible patchiness). I’m careful here because bedrooms emphasize appearance under low-angle natural light; small texture differences become noticeable.
What can go wrong (and how to prevent it)
Most polyurethane problems have straightforward causes: wrong mixing, dirty prep, thick coats, missed recoat timing, or unstable room conditions. If you troubleshoot by symptom, you usually find the root cause quickly.
“Bubbles commonly come from shaking, applying too thick, or working too slowly, so switching to thin coats and following mixing instructions can prevent pinholes.”
“Sticky or never-curing polyurethane is often tied to incorrect temperature/humidity, overly thick films, or recoat timing outside the label’s range.”
“Uneven sheen and streaking often reflect inconsistent technique or incomplete cleaning/sanding between coats, not the product alone.”
Here’s a practical failure map:
| Issue | Most likely cause | What to do next time |
|---|---|---|
| Bubbles / pinholes | Air introduction from shaking; thick application; working film too long before it sets | Stir gently per label; apply thinner; keep a steady pace and wet edge |
| Sticky finish | Room too cool/humid; coats too thick; missed recoat window causing cure disruption | Apply within labeled conditions; reduce film thickness; respect full cure time |
| Streaks or lap marks | Inconsistent overlap; drying mid-section; not maintaining wet edge | Work from far corner to exit; overlap while wet; avoid stopping mid-panel |
| Rough texture | Sanding residue; dust contamination; missed sanding between coats when required | Vacuum fully; wipe correctly; lightly sand between coats when label requires |
A quick pros/cons comparison for bedrooms:
| Approach | Pros | Cons | Best fit |
|---|---|---|---|
| DIY polyurethane (thin coats + careful prep) | Cost-effective; you control sheen and feel | Time-intensive; errors show under bright bedroom light | Most homeowners with patience and dust-control |
| DIY but over existing unknown finish | Faster than full removal | Compatibility surprises can cause peeling or fisheyes | Only if you can confirm compatibility and prep steps from label |
| Professional refinishing | Faster and more controlled environment; better chance of uniform appearance | Higher cost; still depends on prep and product system | Bedrooms with major damage or stubborn old finishes |
Verdict: when this DIY approach makes sense (and when to skip)
Polyurethane flooring in a bedroom is an excellent DIY project when you can sand carefully, keep the room dust-controlled, and follow the label’s recoat and cure timing. Skip DIY—or plan for professional help—if the subfloor is severely damaged, the existing finish can’t be properly prepared for compatibility, or you can’t maintain clean conditions during curing.
“If the existing coating is peeling, incompatible, or unknown, surface preparation may require deglossing plus adhesion work—or removal—before polyurethane will perform reliably.”
“Cure and recoat timing are product-specific; using ‘dry to touch’ instead of label ‘full cure’ can lead to dents and premature wear.”
From a risk-management standpoint, the biggest downside of DIY isn’t effort—it’s that bedroom lighting reveals flaws early. If you want a near-perfect finish and you’re dealing with multiple defect types (old coatings, deep dents, uneven boards, stubborn dust), professional refinishing can be a better value than redoing coats.
If you do proceed, commit to the finishing system you choose: correct polyurethane formulation + matching sanding guidance + correct recoat window. Consistency beats improvisation.
Quick checklist (scan & save)
– [ ] Clear the room and protect edges (mask or cover as needed)
– [ ] Inspect and repair damage (gaps, dents, peeling areas)
– [ ] Sand to the desired smoothness; vacuum thoroughly
– [ ] Wipe/clean exactly as the polyurethane label recommends
– [ ] Confirm product compatibility with your current floor finish
– [ ] Apply thin, even coats; maintain a wet edge
– [ ] Follow label recoat and curing times (don’t rush)
– [ ] Lightly sand between coats only if instructed
FAQ
How many coats of polyurethane do I need for a bedroom?
It depends on the product and the label requirements for durability and sheen. Follow the number of coats and any sanding/recoat timing specified on your specific can/SDS.
Do I need to sand between every polyurethane coat?
Often, yes—but only if the manufacturer’s instructions say to. When sanding is required, light scuffing helps the next coat bond and reduces texture buildup.
How long should I keep foot traffic off after applying polyurethane?
Use the product label’s recoat and “full cure” guidance rather than guessing based on touch-dryness. Bedrooms may feel walkable sooner, but furniture movement and rugs can damage the finish before full cure.
Can I apply polyurethane over an existing finish?
Sometimes, but only if you can achieve compatibility through proper surface prep (often deglossing plus thorough cleaning) and the label permits it. If the existing finish is peeling, soft, or unknown, you may need stripping or professional assessment.
Sources
– Manufacturer installation instructions and technical data sheet for your specific polyurethane product (recoat timing, sanding requirements, cure time, and surface-prep compatibility). [ADD: source for your exact polyurethane brand/model and its label instructions]
– U.S. Occupational Safety and Health Administration (OSHA) guidance for safe handling and ventilation around coating products. OSHA; ADD: exact OSHA standard/section
– U.S. Forest Products Laboratory (US FPL) wood finishing and sanding guidance for scratch reduction and preparation practices. US FPL; ADD: exact publication citation
– Wood floor finishing best-practice guidance aligned to manufacturer systems (sanding grit progression, dust removal, and intercoat prep). [ADD: source for applicable sanding/cleaning guidance if you’re using a specific system]
If you prep correctly and apply polyurethane in thin, even coats with the label’s recoat and cure timing, your bedroom floor can come out smooth, durable, and noticeably easier to maintain. Just treat sanding/cleaning and wet-edge technique as “non-negotiables,” and you’ll avoid most of the bubbles, tackiness, and streaking that derail DIY projects.
Frequently Asked Questions
What’s the best way to prepare a bedroom subfloor before installing polyurethane floors?
Start by checking that the subfloor is clean, dry, and flat—use a straightedge to spot high or low areas and sand or patch as needed. Remove dust, paint, or old adhesive residue, then vacuum thoroughly so the polyurethane flooring can bond properly. If the surface is uneven or contaminated, polyurethane floors can develop gaps, weak adhesion, or squeaks over time.
How do I install polyurethane floor coatings in a bedroom without damaging the finish?
Make sure the room is properly ventilated, with stable temperature and humidity within the product’s recommended range. Apply thin, even coats using the correct applicator (brush/roller/pad depending on the system) and avoid overworking the surface, which can create bubbles or streaks. Allow full cure time between coats before walking on it, and move furniture back only after the polyurethane floor is fully hardened.
Which tools and materials do I need for polyurethane floor installation in a bedroom?
Typical needs include a floor grinder or sander (if you must prep bare concrete or remove finish), primer if required by the polyurethane system, painter’s tape, a vacuum, and quality rollers/brushes. You’ll also want a mixing bucket and stir sticks for consistent polyurethane mixture, plus protective gear like gloves and a respirator if the product requires it. Having spiked shoes or drop cloths helps you apply smoothly while protecting bedroom floors from accidental spills or scratches.
Why is curing time important when installing polyurethane floors in bedrooms?
Polyurethane floors may feel dry before they’re fully cured, and rushing can lead to dents, tackiness, or permanent surface damage. Follow the manufacturer’s cure schedule for foot traffic and for moving furniture, because bedrooms often have heavy daily use that stresses the coating early. Proper curing also improves the polyurethane’s durability, stain resistance, and overall finish clarity.
What’s the best technique to reduce odors and dust during polyurethane floor installation in a bedroom?
Plan for ventilation by running fans to exhaust fumes outdoors (while keeping airflow consistent), and close doors to prevent odors from spreading to other rooms. To minimize dust, prep with vacuum-attached sanding equipment, wipe with a tack cloth or manufacturer-recommended cleaner, and avoid working in windy conditions. You can also schedule the work when the bedroom can remain unused during curing, helping keep the polyurethane floor installation clean and comfortable.
📅 Last Updated: October 11, 2026 | Topic: How to install in a bedroom polyurethane floors? | Content verified for accuracy and freshness.
References
- Google Scholar Google Scholar
https://scholar.google.com/scholar?q=polyurethane+floor+installation+application+bedroom - Google Scholar Google Scholar
https://scholar.google.com/scholar?q=polyurethane+wood+floor+finish+surface+preparation+sanding+curing - Google Scholar Google Scholar
https://scholar.google.com/scholar?q=polyurethane+coatings+indoor+air+ventilation+health+safety+sanding - https://en.wikipedia.org/wiki/Wood_flooring
- Polyurethane
https://en.wikipedia.org/wiki/Polyurethane - https://en.wikipedia.org/wiki/Floor_finish
- Volatile Organic Compounds’ Impact on Indoor Air Quality | US EPA
https://www.epa.gov/indoor-air-quality-iaq/volatile-organic-compounds-impact-indoor-air-quality - https://www.cdc.gov/niosh/topics/solvents/
- 1910.134 – Respiratory protection. | Occupational Safety and Health Administration
https://www.osha.gov/laws-regs/regulations/standardnumber/1910/1910.134 - https://pubmed.ncbi.nlm.nih.gov/?term=polyurethane+coating+safety


