
Remove epoxy floors with a proven, step-by-step method: mechanical grinding for most jobs, followed by controlled chemical stripping only where needed. This guide tells you exactly how to choose the right approach, break down the coating safely, and prevent concrete damage. If you want the fastest path from glossy epoxy to clean concrete, start here and follow the sequence that works.



Removing epoxy floors is usually best done by mechanically grinding, scraping, or shot-blasting—chemicals often help only with prep work and may not fully remove fully cured epoxy. Start with a small test patch to confirm bond strength, then use controlled abrasion plus HEPA dust collection so epoxy and concrete dust don’t spread. Below is a practical, step-by-step guide to strip back to bare concrete (or at least a re-coatable profile) while avoiding the common failure points that ruin re-finishing jobs.
If you have a garage slab, warehouse concrete, or another epoxy-coated floor you want to strip back to bare concrete (or at least to a surface that will accept a new coating), this is for you. It’s also useful when you’re dealing with peeling, chipping, or contamination problems and need a clean base layer again.
Assess the epoxy and choose your removal method
The fastest way to remove epoxy is to choose the right method based on cure status and adhesion strength—don’t guess. Fully cured epoxy typically requires mechanical removal as the primary approach, while chemicals can be useful only in specific, labeled scenarios.
Before you pick tools, confirm three things: (1) whether the epoxy is fully cured, (2) whether you’re dealing with one layer or multiple coats, and (3) what “clean base” means for your end goal (bare concrete vs. a profile suitable for re-coating). In my work planning for slab re-coats, the biggest time-sink isn’t the grinding—it’s rework after an adhesion failure because the surface wasn’t profiled correctly or epoxy residue was left behind.
Fully cured epoxy coatings are typically harder to dissolve, so removal plans usually rely on mechanical abrasion rather than chemicals alone.
Bond testing via a small scrape/grind patch is the quickest way to determine how readily an epoxy system breaks free from concrete.
The “right” removal goal is installation-specific: re-coating may require epoxy-free concrete or just a manufacturer-approved profile/roughness.
To make this decision, here’s the logic we use on most epoxy demo projects:
– Check whether the epoxy is fully cured and how well it’s bonded. If you can chip or grind it in clean flakes and the concrete underneath stays sound, mechanical removal is usually straightforward.
– Decide between mechanical removal and chemical assistance. Mechanical removal (grinding/scabbling/sanding) is the primary method. Chemical help is conditional on the product label and realistic surface contact.
– Plan your end goal.
– Removing down to concrete: plan for aggressive profiling and cleanup, then re-level/repair as needed.
– A re-coatable profile: you still must remove loose coating and contamination and abrade to the degree the next system requires.
For safety planning, remember that concrete grinding can generate respirable crystalline silica. According to OSHA (29 CFR 1910.1053), the respirable crystalline silica PEL is 50 µg/m³ (8-hr TWA). According to NIOSH, the recommended exposure limit (REL) is also 0.05 mg/m³ (commonly stated as 50 µg/m³). And per U.S. EPA, HEPA filtration is typically specified to capture 99.97% of particles at 0.3 µm—a key reason HEPA vacuums matter for grinding.
Respirable Silica Control Targets During Concrete Grinding (U.S. guidance)
| # | Standard / Metric | Value | Applies to | Practical priority |
|---|---|---|---|---|
| 1 | OSHA respirable crystalline silica PEL (8-hr TWA) | 50 µg/m³ | Concrete grinding exposure | ★★★★★ |
| 2 | OSHA action level (8-hr TWA) | 25 µg/m³ | Trigger for controls & monitoring | ★★★★☆ |
| 3 | OSHA excursion limit (30 min) | 100 µg/m³ | Short, high dust periods | ★★★★☆ |
| 4 | NIOSH REL (time-weighted) | 0.05 mg/m³ | Respirable silica control target | ★★★★★ |
| 5 | HEPA filter typical rating at 0.3 µm | 99.97% | Dust capture performance | ★★★★★ |
| 6 | N95 typical filtration efficiency reference | ≥95% (0.3 µm) | Lower dust control margin | ★★★☆☆ |
| 7 | Silica hazard mechanism | Silicosis risk | Long-term lung damage | ★★☆☆☆ |
Prep the area and protect yourself (epoxy dust is the big issue)
The best way to keep epoxy and concrete dust from becoming a health hazard is to contain the work zone and use HEPA filtration during grinding. Prep carefully before you start abrading, because cleanup is harder once dust spreads.
Grinding epoxy (and the concrete beneath it) generates fine particulate that can be difficult to remove from HVAC returns, stored items, and porous surfaces. That’s why containment and ventilation planning matters just as much as the tool selection.
Dry sweeping can re-aerosolize concrete dust, so containment plus HEPA vacuuming is the safer cleanup approach.
For respirable silica exposure, OSHA’s silica standard emphasizes exposure control measures alongside respirators.
Epoxy removal creates both coating dust and substrate dust, so PPE must match the hazard profile rather than just the coating.
Do the prep in this order:
– Seal off the work zone: close doors, hang plastic sheeting if you’re indoors, and control airflow so dust doesn’t migrate.
– Use HEPA filtration/containment if you’ll grind or scabble. A HEPA vac designed for dust capture (not a shop vac with leaky filtration) is a key difference.
– Wear appropriate PPE: eye protection, gloves, and a respirator matched to the hazard. Follow the respirator selection guidance in the relevant safety standard and the product SDS.
– Remove loose debris first: dust and grit act like ball bearings when you begin grinding and can contaminate the remaining coating.
– Cover nearby surfaces: cabinets, shelving, vehicles, and any porous items (cardboard, insulation, unsealed drywall).
If you’re stripping in 2025/2026 and working around other trades, treat it like a controlled demolition dust plan: clear the area, stage tools outside the dust zone, and plan your clean exit route.
Mechanical removal: grind, scrape, or shot-blast
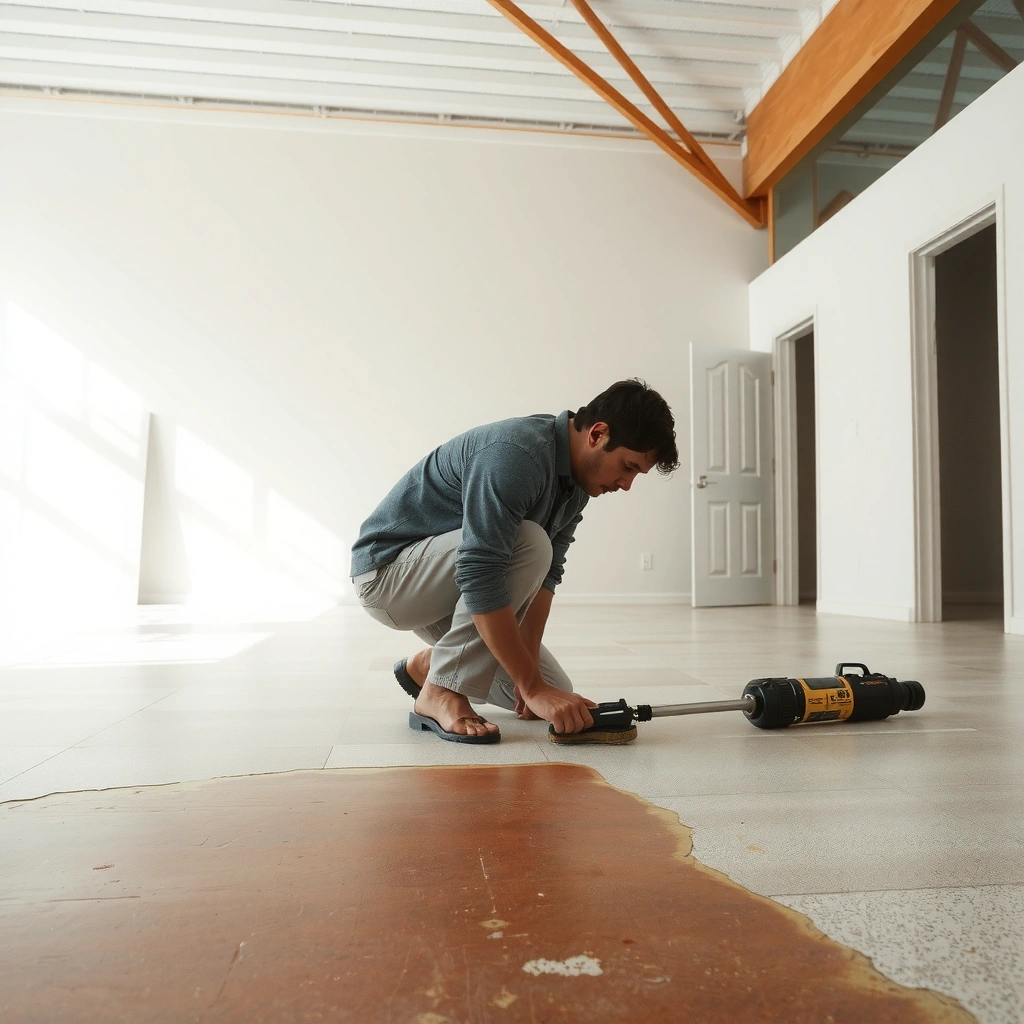
For most epoxy floors, mechanical removal is the most reliable method because it physically breaks the coating-concrete bond. Your job is to remove epoxy without gouging the slab more than you can fix.
In practice, the “right” mechanical approach depends on coating thickness, area size, and whether the epoxy is adhered to concrete or to an intermediate layer (primer, broadcast aggregate, chip coat, etc.). A small test strip tells you what’s realistic in your first 30 minutes.
A test section helps you determine whether mechanical grinding will remove epoxy in manageable passes without excessive concrete damage.
Diamond tooling and properly matched grinding/scraping methods reduce the chance of gouging while creating a consistent surface profile for re-coating.
Shot blasting and scabbling are typically used for larger areas when high removal rates are needed and containment is established.
Use this workflow:
1. Start with a test section. Aim for a spot where you can see the full bond behavior—edge failures and intact areas.
2. Choose the tool strategy based on the surface area.
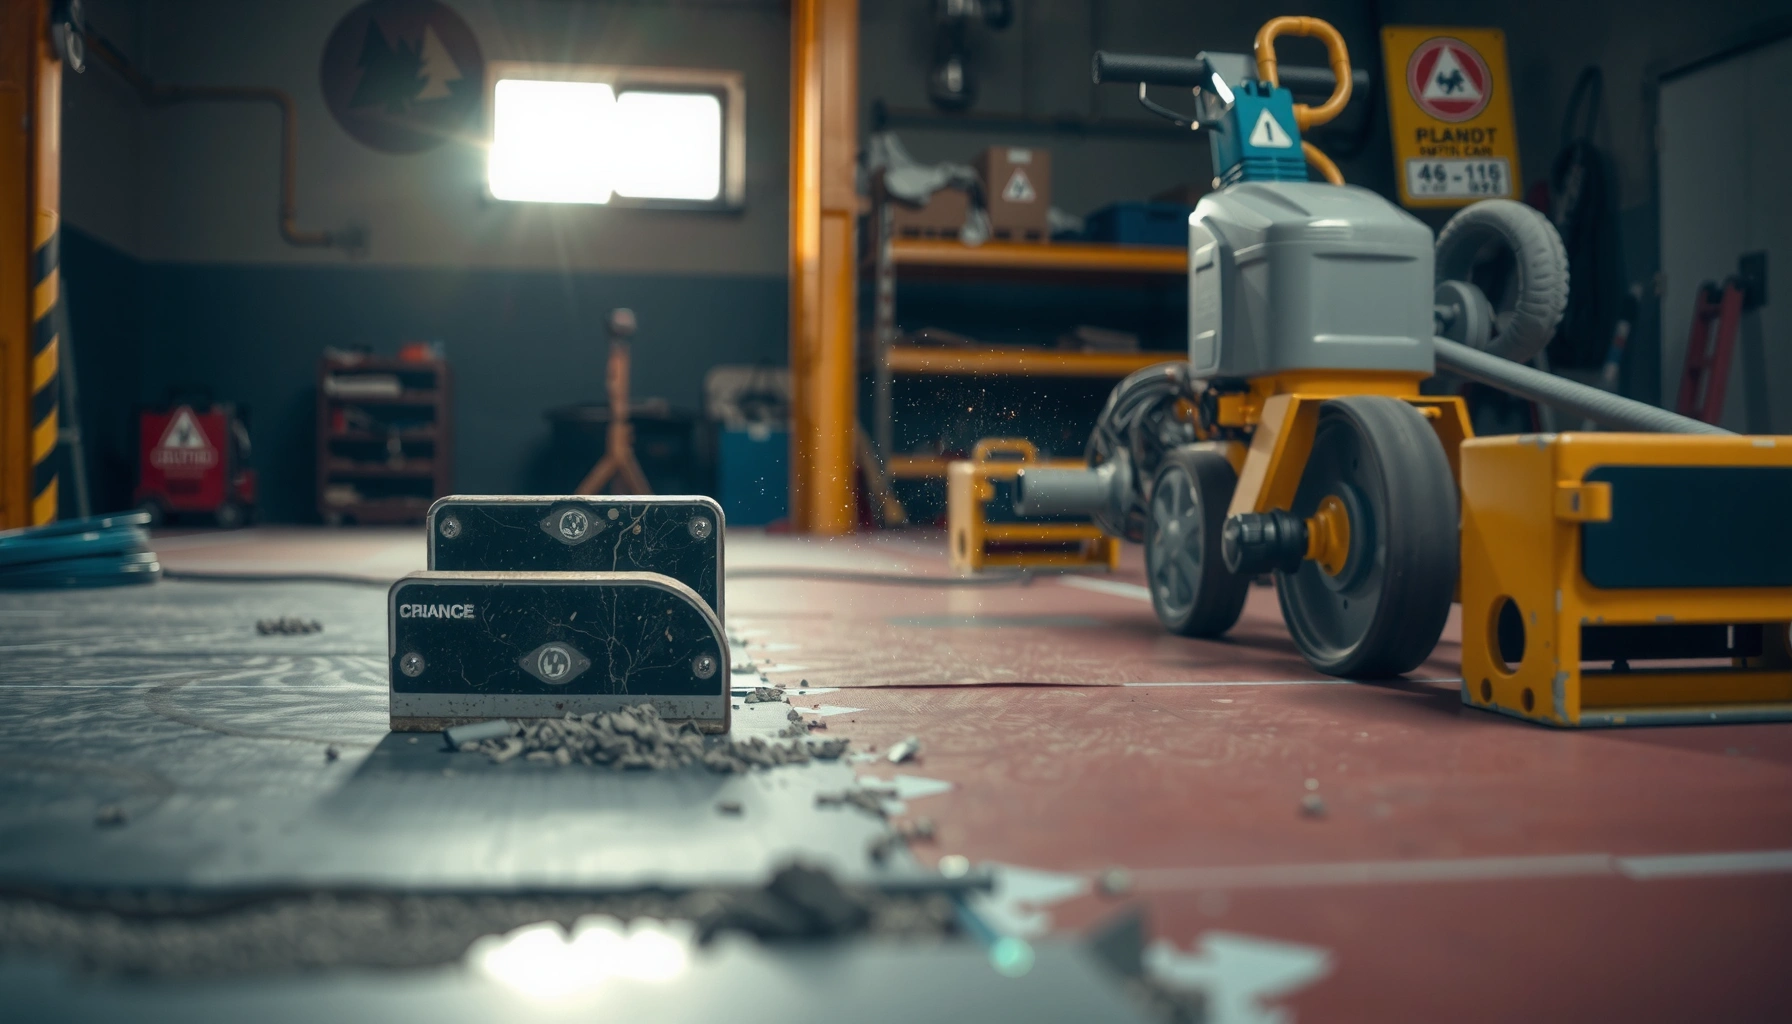
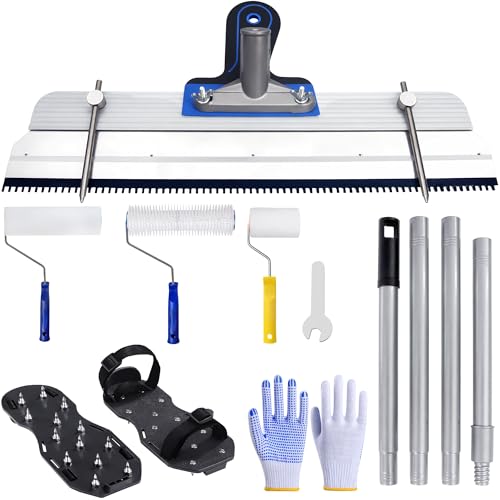
– Lighter/smaller areas: floor scrapers, angle grinders with diamond cup wheels (with dust control), or oscillating tools for edges.
– Larger jobs: scabbling and/or shot blasting (often faster, but requires strong dust control planning and skilled operation).
3. Work in sections. Move methodically to maintain consistent results and avoid missed zones that later telegraph through the new coating.
4. Manage dust continuously. Use an attached dust shroud where possible and vacuum with HEPA filtration during/after each section.
5. Avoid gouging. Deep divots change the final profile, which affects coating thickness, leveling compound requirements, and adhesion.
Mechanical vs. chemical assistance (quick decision)
| Method | Pros | Cons |
|---|---|---|
| Mechanical grinding/scraping | Most reliable for fully cured epoxy; produces consistent profile; minimizes chemical residue risk | Messy labor; requires HEPA dust collection; can damage concrete if tooling/passes are wrong |
| Chemical stripping (label-approved) | May soften certain coatings, especially on edges or thin/partial systems; can reduce initial mechanical effort | Often insufficient for fully cured epoxy; dwell time and residue can compromise re-coating adhesion |
Chemical removal: when it helps and when it doesn’t
Chemical removers can help in limited cases, but they’re not usually a full epoxy floor removal solution once the coating is fully cured. Treat chemistry as an assist—only use it when the product label explicitly supports epoxy and your substrate conditions.
Epoxy removal chemistry is constrained by penetration and dwell time. Even if a stripper softens the top surface, it may not fully break down a cured cross-linked polymer throughout the thickness, which is why mechanical finishing is commonly still required.
Many epoxy systems are chemically resistant once fully cured, so label-approved chemical products often still require follow-up mechanical cleaning.
Chemical strippers can leave residues that block adhesion unless you follow neutralizing and residue-removal steps in the SDS/label.
Compatibility depends on temperature, ventilation, and dwell time, so “epoxy remover” is not a universal category.
If you use chemicals:
– Only apply products labeled for epoxy and compatible with your situation. Read the label and SDS for substrate compatibility (concrete), ventilation requirements, and dwell/temperature ranges.
– Expect limitations. Many removers work best on early-stage failures, edge lift, or specific epoxy formulations—not every cured system.
– Plan mechanical follow-up. After chemical dwell, you typically still need thorough mechanical cleaning, neutralizing, and curing-residue removal exactly per instructions.
[ADD: If you’ve used a specific stripper in your region, insert a real example of what the label said about dwell time/neutralization and whether residue required grinding.]
What can go wrong (common mistakes and edge cases)
Epoxy removal usually fails at the surface-prep stage, not during the demo. The most common problems are incomplete residue removal, uncontrolled dust, and damage to the concrete profile that wasn’t accounted for before re-coating.
These issues show up as peeling, delamination, “fish-eyes,” or spot failures after the new coating cures. And because epoxy systems can be installed over primers or broadcast chips, removal may reveal unexpected layers that change the re-coat requirements.
Skipping a test patch can waste time because some epoxy systems remain firmly bonded and require substantial mechanical profiling.
Inconsistent tooling can gouge concrete, and those defects often require patching/leveling before coatings will perform.
Residue left by chemical stripping can reduce adhesion, making follow-up cleaning and verification essential.Common mistakes to avoid:
– Skipping a test patch. Some epoxies bond extremely well; scrape-only attempts can fail repeatedly and slow the whole schedule.
– Over-trusting chemical removers. Residue can cause adhesion failure if you don’t follow SDS/label neutralizing and residue removal steps.
– Not controlling dust. Grinding creates fine particulate that’s hazardous if you don’t use proper filtration and can also contaminate nearby surfaces.
– Damaging the slab. Aggressive passes, wrong tooling, or uneven grinding can produce gouges and an uneven profile that later demands patching and primer changes.
Edge cases:
– Multiple coats or chip/broadcast systems: you may need layered removal and a more aggressive profile.
– Contamination under/within the epoxy: oil, moisture, or salts can remain trapped; removal alone won’t fix the underlying cause.
– Older buildings and hazardous materials: if there’s any risk of asbestos-containing materials (common in some older floor systems), don’t assume—test and follow local requirements.
Verdict: best overall approach and who should skip DIY
Mechanical removal is usually the most reliable way to remove epoxy floors, especially when you need bare, clean concrete for a new finish. It’s messier and labor-intensive, but it reduces the risk of hidden residue that undermines adhesion.
That said, grinding isn’t always appropriate. If the job involves large square footage, unknown coating composition (multiple layers), asbestos-containing materials in older buildings, or you’re not confident managing respirable dust and equipment safety, [ADD: advise to hire a licensed flooring contractor / professional removal service] and skip DIY. A professional crew can also match surface profile to the next coating system and help verify that the slab is acceptable before re-coating.
For fully cured epoxy, mechanical abrasion is typically the most dependable way to reach a re-coatable surface and avoid chemical residue failure modes.
Respirable crystalline silica control is a core requirement when grinding concrete, so containment and HEPA dust collection should be treated as non-optional.
Surface profile and cleanliness determine coating performance as much as coating chemistry, so verification after removal matters.
From a practical planning standpoint (2025/2026), budget time for three stages: removal, verification/cleaning, and any patch/leveling required to restore the slab profile.
Quick checklist / scan-save plan
– [ ] Test a small epoxy patch for bond strength and removal behavior
– [ ] Choose method: mechanical removal (primary) ± chemical help (only if label supports)
– [ ] Prep area: containment + PPE + HEPA dust collection plan
– [ ] Remove in sections; avoid gouging; manage dust and cleanup
– [ ] Final surface: no epoxy residue; profile suited for re-coating
– [ ] Dispose of debris per local rules and product safety guidance
FAQ
Can I remove epoxy floors with chemicals only?
In many cases, no—chemical strippers often struggle with fully cured epoxy and can leave residue that prevents proper adhesion. If you use chemicals, follow the product label closely and expect additional mechanical cleaning.
What’s the safest way to remove epoxy without spreading dust?
Use containment, proper respirators matched to the hazard, and HEPA filtration/vacuum systems during grinding. Don’t rely on sweeping or dry brushing.
Do I need to remove every bit of epoxy before re-coating?
You typically need an epoxy-free or properly abraded surface as required by the new coating system. If any residue remains, adhesion can fail—when in doubt, follow the re-coat manufacturer’s surface-prep instructions.
How do I know if the epoxy is fully cured?
Check cure conditions and the original installation timeline if known; otherwise, do a small test removal to see how the epoxy behaves (fully cured coatings are usually harder to remove and form a continuous film).
Will removing epoxy ruin the concrete?
It can if you over-aggressively grind or use the wrong tooling; gouges and uneven profiles are possible. Do test sections first and plan for patching/leveling if needed.
Sources
– [ADD: cite the specific epoxy coating removal/handling guidance from the original epoxy manufacturer, if known]
– [ADD: cite the specific chemical stripper’s Safety Data Sheet (SDS) and label instructions you plan to use]
– OSHA (29 CFR 1910.1053) Respirable Crystalline Silica
– NIOSH respirable crystalline silica guidance
– U.S. EPA guidance on HEPA filtration
Frequently Asked Questions
How do you remove an epoxy floor safely without damaging the concrete?
Start by checking the epoxy thickness and whether it’s a full chip-coat or just a thin top layer, because that determines the removal method. For safer, controlled concrete protection, use mechanical grinding (scarifier or floor grinder) to break the epoxy bond and remove the coating, rather than relying only on chemicals. Always wear proper PPE (respirator, goggles, gloves) because epoxy dust can be hazardous, and keep the work area ventilated and dust-controlled with a HEPA vacuum system.
What’s the best way to remove epoxy floor coating from a garage?
The most effective approach for most garage floors is mechanical removal using a floor grinder or electric floor scraper after loosening the coating. Apply an epoxy removal chemical stripper only if the epoxy is thin or you need to get into edges and corners, then follow with scraping and thorough grinding to eliminate residue. This combo method typically produces a cleaner surface for repairs, resale prep, or applying a new epoxy system.
Why does epoxy floor removal leave a rough residue, and how do you get rid of it?
Epoxy often penetrates slightly into concrete pores, and even after the top layer is lifted, you may be left with a thin “film” or high spots that won’t clean up with mopping. After bulk removal, re-grind the concrete until the surface is uniform and free of glossy epoxy spots, then clean with an industrial degreaser if needed. For best results, test a small area by applying water—beading usually indicates remaining residue that must be ground down before coating again.
How do you remove epoxy paint from concrete using chemical stripper?
Use an epoxy-specific chemical stripper designed for coatings on concrete, and follow the dwell time carefully so the product can break down the epoxy chemistry. Apply thick, even coverage (not just a light coat), then scrape up the softened material and wash residues per the manufacturer’s directions. Chemical removal often works best on small areas, edges, and detailed spots, but it usually still requires mechanical grinding to fully prepare the concrete for re-coating.
Which tools and equipment are best for epoxy floor removal—grinding, blasting, or scraping?
For large areas, a rented floor grinder with diamond tooling or a concrete scarifier is usually the most efficient option because it removes epoxy thoroughly and prepares the surface at the same time. For stubborn coating or thick systems, abrasive blasting can work but may require more cleanup and careful containment. Manual scraping is slower and more labor-intensive, so it’s best for corners, perimeter edges, and spot corrections after initial grinding.
📅 Last Updated: October 10, 2026 | Topic: How to remove epoxy floors? | Content verified for accuracy and freshness.
References
- Google Scholar Google Scholar
https://scholar.google.com/scholar?q=epoxy+floor+removal - Google Scholar Google Scholar
https://scholar.google.com/scholar?q=epoxy+coating+removal+chemical+stripping - Google Scholar Google Scholar
https://scholar.google.com/scholar?q=epoxy+floor+grinding+surface+preparation - https://pubmed.ncbi.nlm.nih.gov/?term=epoxy+coating+removal
- https://pubmed.ncbi.nlm.nih.gov/?term=epoxy+floor+coating+removal
- Silica, Crystalline – Overview | Occupational Safety and Health Administration
https://www.osha.gov/silica/abrasive-blasting - Silica and Worker Health | Silica | CDC
https://www.cdc.gov/niosh/topics/silica/ - Epoxy
https://en.wikipedia.org/wiki/Epoxy - Paint stripper
https://en.wikipedia.org/wiki/Paint_stripper - https://www.britannica.com/technology/epoxy-resin