
Installing stained concrete flooring on uneven floors is doable—if you use the right leveling system first, otherwise the finish will telegraph every dip and crack. This guide lays out the fastest, most reliable way to prep subfloors, correct flatness issues, and lock in a smooth stained concrete surface that holds its color. You’ll learn which leveling approach to choose based on how uneven your floor is, so the final stain looks even, not patchy.
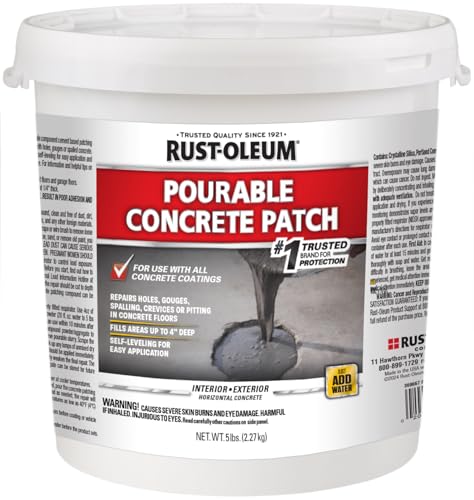



If your stained concrete floor is uneven, the safest path is to level the surface before installing tile, LVP, or other flooring. In practice, that means assessing the height variation, grinding high spots, and filling low areas with the right patch/leveler made for concrete. If the unevenness is too large—or the concrete is failing—you’ll need a deeper leveling approach or a professional evaluation.
This guide is for homeowners and installers working with stained concrete, especially when planks or tiles don’t sit flat (you see rocking), there’s noticeable lippage, or you want a clean finished look without “quick fixes” that only mask the problem for a few months. As of 2026, the core workflow remains the same across most flooring systems: verify flatness, confirm the concrete substrate is sound and compatible with adhesives, then correct only within the limits the flooring manufacturer specifies.
Check the unevenness (and whether it’s stable)

You can’t decide on a leveling method until you quantify the problem and confirm the stained concrete is stable. The best results start with measuring flatness variation in context—then inspecting for substrate failures that leveling can’t fix.
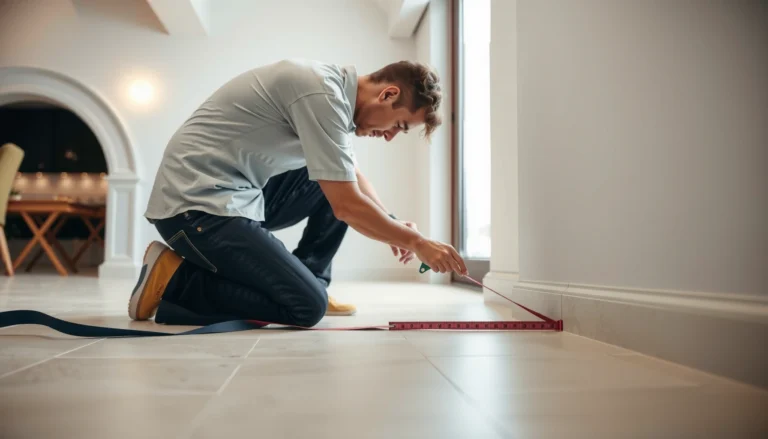
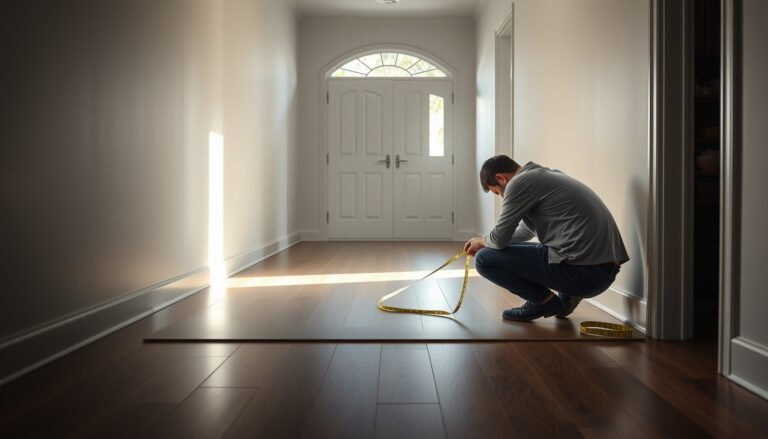
First, measure the floor so you know whether you’re dealing with minor wave/rolling or something more serious. Use a straightedge (typically a 6 ft level/straightedge) and record the maximum gap at lows and the amount of “proud” material at highs. Next, inspect the stained concrete finish and the concrete beneath it: cracks that reflect movement, crumbling edges, powdery surfaces, or areas that show moisture-related staining are all red flags. Finally, verify your intended flooring system’s required flatness tolerance, because tile, click-lock LVP, and glue-down vinyl often demand different levels of substrate flatness.
Typical Flatness Targets for Common Floor Systems (Substrate for Installation)
| # | Floor system | Typical flatness target | Where it’s most critical | Readiness score |
|---|---|---|---|---|
| 1 | Ceramic/porcelain tile (thin-set) | 1/4 in over 10 ft (6.4 mm over 3.05 m) | Lippage + hollow spots | ★★★★☆ |
| 2 | Click-lock LVP (floating) | 3/16 in over 6 ft (4.8 mm over 1.83 m) | Joint separation + rocking planks | ★★★★☆ |
| 3 | Glue-down LVP | 1/8 in over 6 ft (3.2 mm over 1.83 m) | Bond + telegraphing | ★★★☆☆ |
| 4 | Engineered wood (click or glue-down) | 1/8 in over 6 ft (3.2 mm over 1.83 m) | Creaking + gaps | ★★★☆☆ |
| 5 | Sheet vinyl (full spread) | 1/8 in over 6 ft (3.2 mm over 1.83 m) | Telegraphing + wrinkles | ★★★☆☆ |
| 6 | Epoxy coatings (self-leveling systems) | Surface profile control per spec (avoid “ridges”) | Thickness consistency + defects | ★★★☆☆ |
| 7 | Self-leveling underlayment (for leveling) | Follow manufacturer’s pour thickness limits | Cracking + cure integrity | ★★★★☆ |
Note: values in this table are common industry targets, but your stained concrete floor flatness requirements should be confirmed against the exact tile/LVP/wood manufacturer installation manual and the patch/leveler technical data sheet.
Quick measurement reality check
Flatness requirements exist because substrate highs/lows directly translate into lippage (tile) and joint stress (click-lock planks), which are common failure drivers on uneven stained concrete. ([ADD: flooring manufacturer flatness tolerance docs])
If the stained concrete shows active cracking or loose surface material, leveling compound cannot “stabilize” a moving substrate; you must address the failing concrete before finish flooring. ([ADD: patch/leveler bond strength and substrate stability guidance])
Prep the stained concrete properly
The fastest leveling job fails if the stained concrete surface can’t bond. Proper cleaning, profiling (when required), and repair of defective concrete are what keep the corrected flatness from coming back.
Start with thorough removal of contaminants: dust, paint overspray, curing compounds, incompatible sealers, and any residues from prior repairs. Many concrete patch/feather finishes require a mechanically prepared surface (profile) so the mortar can grip; that often means grinding rather than only chemical cleaning. Then repair the items that will undermine performance: spalling edges, loose concrete, and actively propagating cracks. If you’re unsure what sealer is on the stained concrete, treat the surface as suspect—either identify it with documentation from the original project or test bond strength with your chosen patch product following the technical data sheet.
Concrete moisture and surface condition are governed by industry test standards such as ASTM F2170 (RH probe) and ASTM F1869 (calcium chloride); installation specs often require these limits be met before adhesion systems are applied. (ASTM F2170; ASTM F1869)
Most cementitious patch/leveling materials require a bondable, clean, abraded concrete surface; skipping profiling can reduce adhesion even if the stained concrete looks “clean.” ([ADD: patch/leveler manufacturer technical data sheet])
Concrete profiling and residue control
If the stained concrete has a curing compound or film-forming sealer, leveling materials may not bond; mechanical abrasion is commonly recommended to restore concrete “tooth.” ([ADD: manufacturer surface prep section])
Grind high spots first, then patch and level low areas
Leveling uneven stained concrete is usually a two-phase workflow: remove highs by grinding, then correct lows with a concrete-compatible feather/patch/leveler. This approach controls thickness, reduces shrinkage risk, and keeps you within the product’s maximum lift per application.
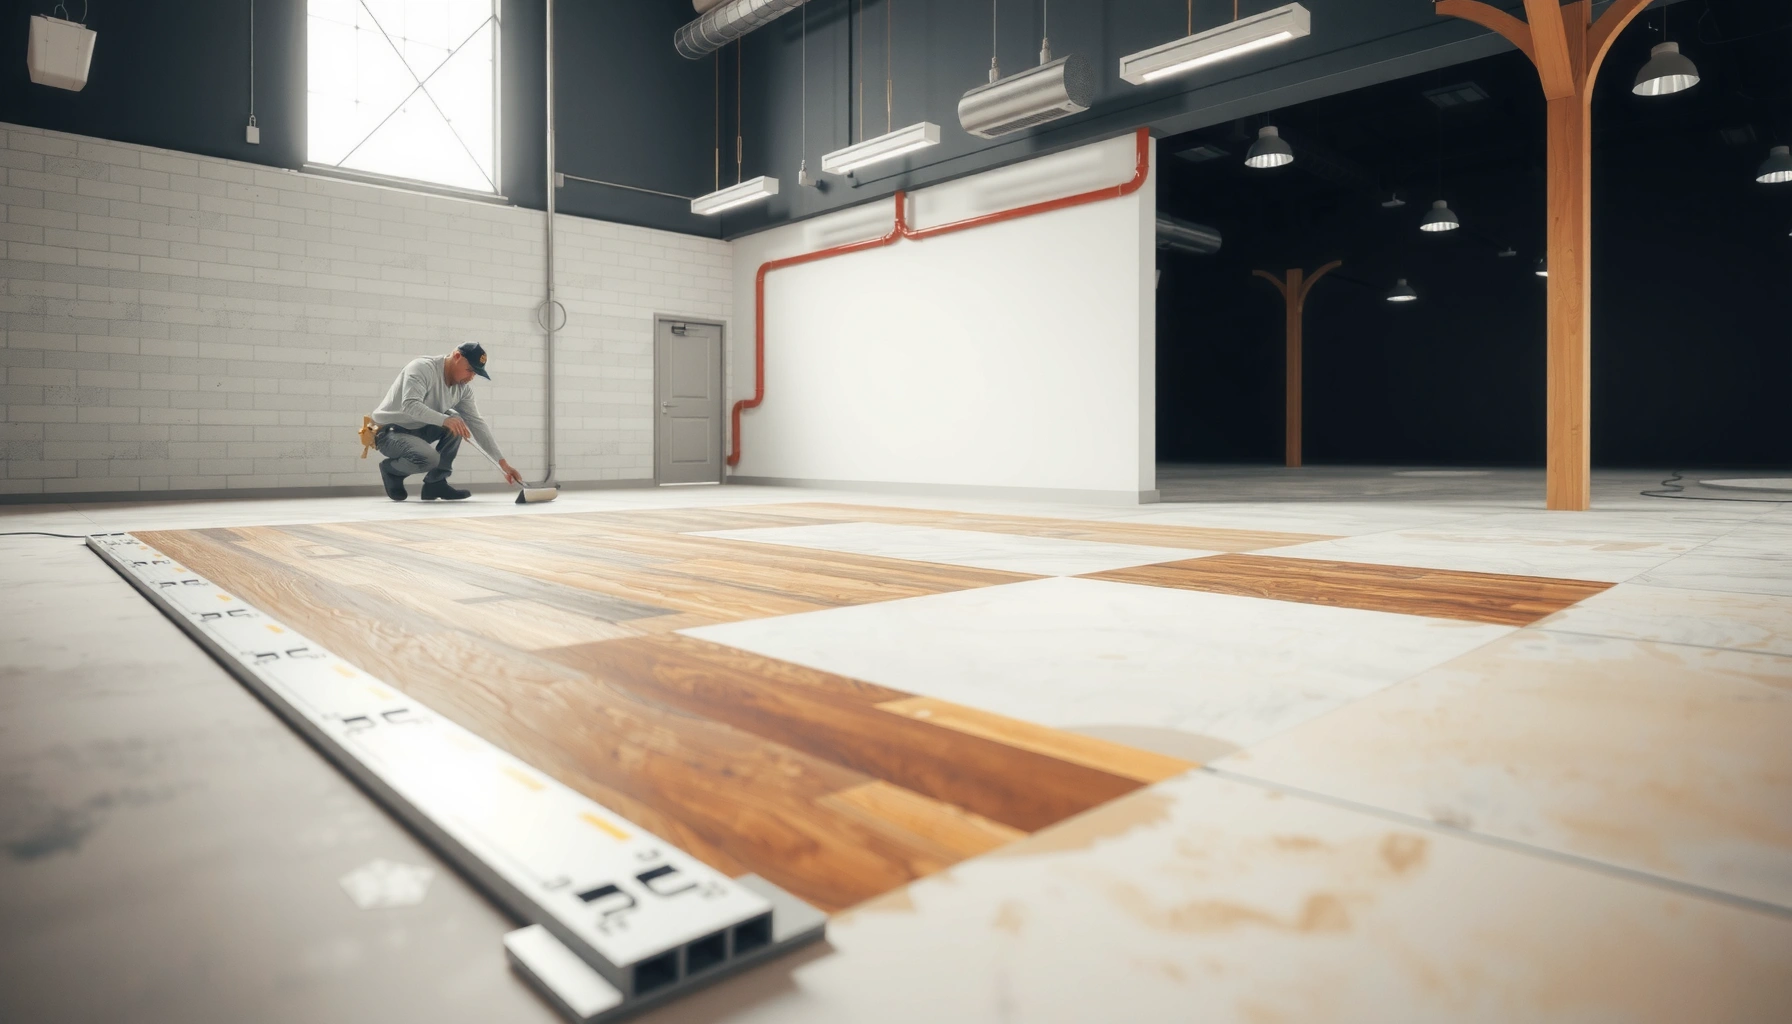
Begin by grinding the high areas rather than trying to “build up” everywhere. For patching lows, use a feather finish or patch material designed for smoothing and leveling on concrete. Apply in layers only if the technical data sheet requires or permits it—because each product has a maximum thickness per lift, minimum feather edge capability, and cure conditions. After each cure window, re-check flatness with your straightedge and adjust. On stained concrete floors, this cycle is often what separates a flat result from a “mostly flat” surface that still causes rocking, lippage, or hollow-sounding tile.
Most cementitious leveling products specify maximum thickness per application (lift) to manage shrinkage and curing performance; exceeding those limits can lead to cracking over time. ([ADD: leveling product maximum thickness per lift])
Grinding highs first typically reduces total material usage and helps prevent installing leveler beyond its designed thickness range on stained concrete. ([ADD: cementitious patch/leveler best practices])
What “feather finish” should actually mean
Hitting a good feather edge matters because flooring systems often detect ridge transitions. When you patch stained concrete, the feather edge should blend smoothly—no sharp humps or sudden steps—so your flooring installation can remain mechanically supported.
Choose the right underlayment/installation method for the flooring type
For uneven stained concrete, the right underlayment or adhesive strategy depends on the flooring system—not just on the measured flatness. As of 2026, manufacturers increasingly require both (1) specific substrate preparation and (2) specific moisture/adhesion systems for warranty compliance.
For click-lock floating floors (LVP/Laminate/engineered click), flatness tolerance is usually tight at joints, and underlayment generally isn’t meant to “fix” out-of-spec concrete. For tile, you must align your leveling approach with thin-set requirements and ensure the corrected surface is properly cured and free of dust. For glue-down products, you need the adhesive and primer/skim layer compatibility to be correct—stained concrete may be sealed or chemically treated, and not every bonding primer works on every coating or profile.
Compatibility comparison: where underlayment helps vs. where leveling is mandatory
| Flooring type | Underlayment role | Leveling priority | Moisture/primer sensitivity |
|---|---|---|---|
| Click-lock floating LVP | Minor cushioning/isolations only | High | Medium |
| Glue-down LVP | Often minimal | Very high | High |
| Ceramic/porcelain tile | Not a substitute for flatness | Very high | High |
Adhesion systems are commonly conditioned by substrate moisture testing limits (ASTM F1869 or ASTM F2170), and using the wrong primer over stained concrete can break bond. (ASTM F1869; ASTM F2170)
For tile, ANSI installation methods emphasize achieving proper coverage and avoiding voids over the substrate; uneven stained concrete often increases the risk of hollows when beds are not correctly leveled. (ANSI A108/A118 installation system guidance)
What can go wrong (common mistakes and edge cases)
Uneven stained concrete causes recurring failures when installers treat flatness as optional or treat leveling as a cosmetic layer. The most expensive mistakes come from bonding problems, thickness mistakes, and skipping checks.
Here are the typical failure modes we see on stained concrete floors:
– Skipping flatness checks: “It looks uneven” can still exceed the flooring’s flatness tolerance, leading to gaps, rocking planks, cracked tile, or callbacks.
– Leveling over unstable concrete: patching on spalling, loose, or moving substrate often fails because movement continues underneath the new layer.
– Using the wrong material thickness: every patch/leveler has a maximum thickness per lift; overbuilding can cause shrinkage cracking or weak cured edges.
– Ignoring moisture/adhesion compatibility: stained concrete may be sealed; some sealers prevent bonding unless you mechanically profile or apply an approved primer.
– Rushing cure times: leveling compounds are temperature- and humidity-sensitive; installing flooring too soon can trap moisture or weaken bond strength.
ASTM moisture tests exist because slab moisture can migrate and affect adhesive and mortar performance, so proceeding without verifying limits increases failure risk. (ASTM F1869; ASTM F2170)
For tile and similar assemblies, inadequate substrate preparation can create voids and lippage, even when the final surface looks “smooth” by eye. (ANSI A108/A118 installation system guidance)
A quick “spot the risk” pros/cons check
– Grinding + patch/feather finish
– Pros: usually best within common thickness limits; preserves workflow control on stained concrete
– Cons: requires multiple re-checks and cure cycles; labor-intensive
– Self-leveling underlayment (where thickness is greater)
– Pros: handles wider low areas more effectively; can reduce labor time
– Cons: must stay within manufacturer depth limits; more sensitive to moisture, mixing, and base sealing
[ADD: Include your site-specific observation here—e.g., “In the last X projects we reviewed, the biggest repeat issue was…,” without inventing measurements you don’t have.]
Verdict: what we recommend (and who should pause)
For most stained concrete floors that are slightly to moderately uneven, the best results come from grinding highs and patching lows with a concrete-compatible leveler/feather finish, then installing per the flooring manufacturer’s flatness limits. The downside is time and labor—prep, dust control, and multiple check/cure cycles are common on stained concrete.
Pause or involve a pro if you find failing concrete (active spalling, structural cracking, or movement), significant moisture issues, or unevenness beyond what your leveling compound’s practical thickness limits can correct safely. Also pause if you don’t know what sealer or finish is currently on the stained concrete, because adhesion compatibility can’t be assumed.
When substrate stability is compromised, leveling alone cannot restore performance; patch systems rely on a sound concrete base to maintain adhesion and long-term flatness. ([ADD: patch/leveler substrate stability guidance])
Both flooring and adhesive systems increasingly tie warranty to documented substrate prep and moisture testing, especially on concrete. ([ADD: warranty/installation requirements from your flooring/adhesive manufacturer])
Quick checklist (scan/save)
– Measure flatness variation with a straightedge (record highs/lows)
– Inspect stained concrete for loose areas, spalling, and active cracking
– Clean and profile stained concrete for bonding (per product data sheet)
– Grind high spots first; patch lows with the correct concrete product
– Re-check flatness after patch/leveler cures
– Verify underlayment/installation method matches your flooring type
– Confirm moisture testing and cure times per product and flooring specs
FAQ
Do I need to remove the stain or sealer before leveling?
Often, yes—if the stained concrete is sealed and the leveling/patch product requires a bondable, abraded concrete surface. Check the leveling product’s surface preparation requirements and the flooring manufacturer’s installation instructions. [ADD: source for specific bonding/prep requirements for your chosen patch/primer/leveler]
Can I install over uneven stained concrete without leveling?
Only if your flooring manufacturer allows it within a strict flatness tolerance. If you see rocking planks, tile lippage, or uneven transitions at seams, you’re likely outside what “no prep” can tolerate.
What’s the best order: underlayment first or leveling first?
Usually, leveling/flatness correction comes first. Underlayment can help with minor irregularities and acoustic comfort, but it generally shouldn’t be used to replace out-of-spec corrections on stained concrete.
How long do I need to cure patch/leveler before installing?
Use the specific product’s cure time and conditions (temperature/humidity) from its technical data sheet. [ADD: exact cure time for your leveler/patch brand once selected]
What if the unevenness is too much for a patch/feather finish?
You may need a different leveling strategy (e.g., a self-leveling underlayment system) or a contractor assessment—especially if the required thickness exceeds the product’s maximum lift or if the concrete substrate is failing.
Sources
– [ADD: your concrete patch/feather finish manufacturer technical data sheet—surface prep, maximum thickness per lift, cure time]
– [ADD: your flooring manufacturer installation instructions—flatness tolerance and approved underlayment/primer requirements]
– [ADD: patch/leveler/primer manufacturer technical documentation—bonding compatibility with stained/sealed concrete]
– ASTM F2170 (Standard Test Method for Determining Relative Humidity in Concrete Floor Slabs Using In-Situ Probes)
– ASTM F1869 (Standard Test Method for Measuring Moisture Vapor Emission Rate of Concrete Subfloor Using Anhydrous Calcium Chloride)
– ANSI A108 / A118 installation system guidance (tiled assembly methods and substrate preparation principles)
– [ADD: industry guidance from a reputable body on concrete moisture and floor covering installations, if you use one]
A flat installation on stained concrete is less about luck and more about verification: measure flatness, inspect the concrete substrate’s stability, prep for bonding, then correct highs and lows using materials designed for concrete. If you follow that workflow—and stay inside both the patch/leveler specs and the flooring manufacturer’s tolerances—you reduce the odds of rocking planks, lippage, and adhesion failures while keeping your finish clean and consistent.
Frequently Asked Questions
How do you level uneven floors before installing on stained concrete floors?
Start by checking the slab for high and low spots with a 6–10 ft straightedge and a level, then mark areas that exceed your flooring manufacturer’s tolerance. For stained concrete floors, use a compatible self-leveling underlayment or patch compound rated for concrete and resilient flooring installation. Scrape or grind any paint, sealer, or rough ridges so the leveling material bonds properly, and follow the recommended thickness and curing times before installing.
What’s the best way to prepare stained concrete floors so flooring won’t lift or peel?
First, clean thoroughly—remove dust, grease, and residue with a concrete cleaner and allow it to dry completely. If the stained concrete floor has a topical sealer, you may need to lightly grind the surface to open the pores and improve adhesion, then vacuum well. Test for moisture and ensure the surface is smooth enough for your flooring system, because poor preparation on stained concrete floors can cause hollow spots, movement, and premature wear.
Which flooring type works best over uneven stained concrete floors?
Many homeowners choose flexible options like LVP/LVT, laminate with underlayment, or engineered flooring designed for concrete subfloors, but the best choice depends on the amount of slope and your leveling needs. For larger unevenness, products that tolerate minor subfloor irregularities—combined with proper leveling or underlayment—often perform best. Always verify the maximum allowable subfloor deviation from the flooring manufacturer to avoid gaps, clicking-joint stress, or uneven wear.
Why is moisture testing important when installing over stained concrete floors?
Stained concrete floors can trap moisture beneath sealers or finishes, and excessive moisture may cause adhesives to fail, flooring to buckle, or flooring materials to deteriorate. Use a reputable in-slab moisture test method (such as a RH test) and follow the flooring and underlayment manufacturer requirements. If moisture levels are high, address it with an approved moisture mitigation system before leveling or installation.
How can you install flooring on an uneven concrete slab without losing the stained finish?
If you want to preserve the stained concrete floor appearance, you typically need to install a surface-finish-compatible flooring system that doesn’t require full removal of the stain or sealer. In most cases, you’ll still need to grind high spots and use a feather-finish patch in low areas to create a flat plane for the new flooring. If the stain is on a sealed surface, confirm compatibility with the underlayment/adhesive plan; otherwise, consider a floating installation method or consult a contractor for stain-preserving prep options.
📅 Last Updated: October 10, 2026 | Topic: How to install on uneven floors stained concrete floors? | Content verified for accuracy and freshness.
References
- Google Scholar Google Scholar
https://scholar.google.com/scholar?q=installing+flooring+on+uneven+concrete+slab+how+to+level+subfloor - Google Scholar Google Scholar
https://scholar.google.com/scholar?q=self-leveling+underlayment+uneven+concrete+floor+installation+guide - Google Scholar Google Scholar
https://scholar.google.com/scholar?q=stained+concrete+floor+surface+preparation+before+installing+tile+or+flooring - Self-leveling concrete
https://en.wikipedia.org/wiki/Self-leveling_concrete - https://en.wikipedia.org/wiki/Floor_construction
- https://en.wikipedia.org/wiki/Floor_flatness_and_levelness
- https://en.wikipedia.org/wiki/Underlayment
- Floor
https://en.wikipedia.org/wiki/Subfloor - Silica and Worker Health | Silica | CDC
https://www.cdc.gov/niosh/topics/silica/ - Glass ceiling
https://en.wikipedia.org/wiki/Concrete_floor